Number Panels installation guide
Follow the steps below to install the side number panels accessory on a RadRunner or RadRunner Plus.
Tools needed:
- Flat side cutters
- Rubbing alcohol or isopropyl alcohol
- A couple of clean paper towels
- Scissors
- A piece of sturdy cardboard with a flat edge about the size of a number decal
- A tape measure or ruler (optional)
- Masking tape (optional)
- A friend (optional)
- The side number panels accessory kit from Rad Power Bikes
Install the Front Panel
- Get the bike ready to work on. Turn off the bike, remove the battery, and press and hold the MODE or power button to discharge remaining power.
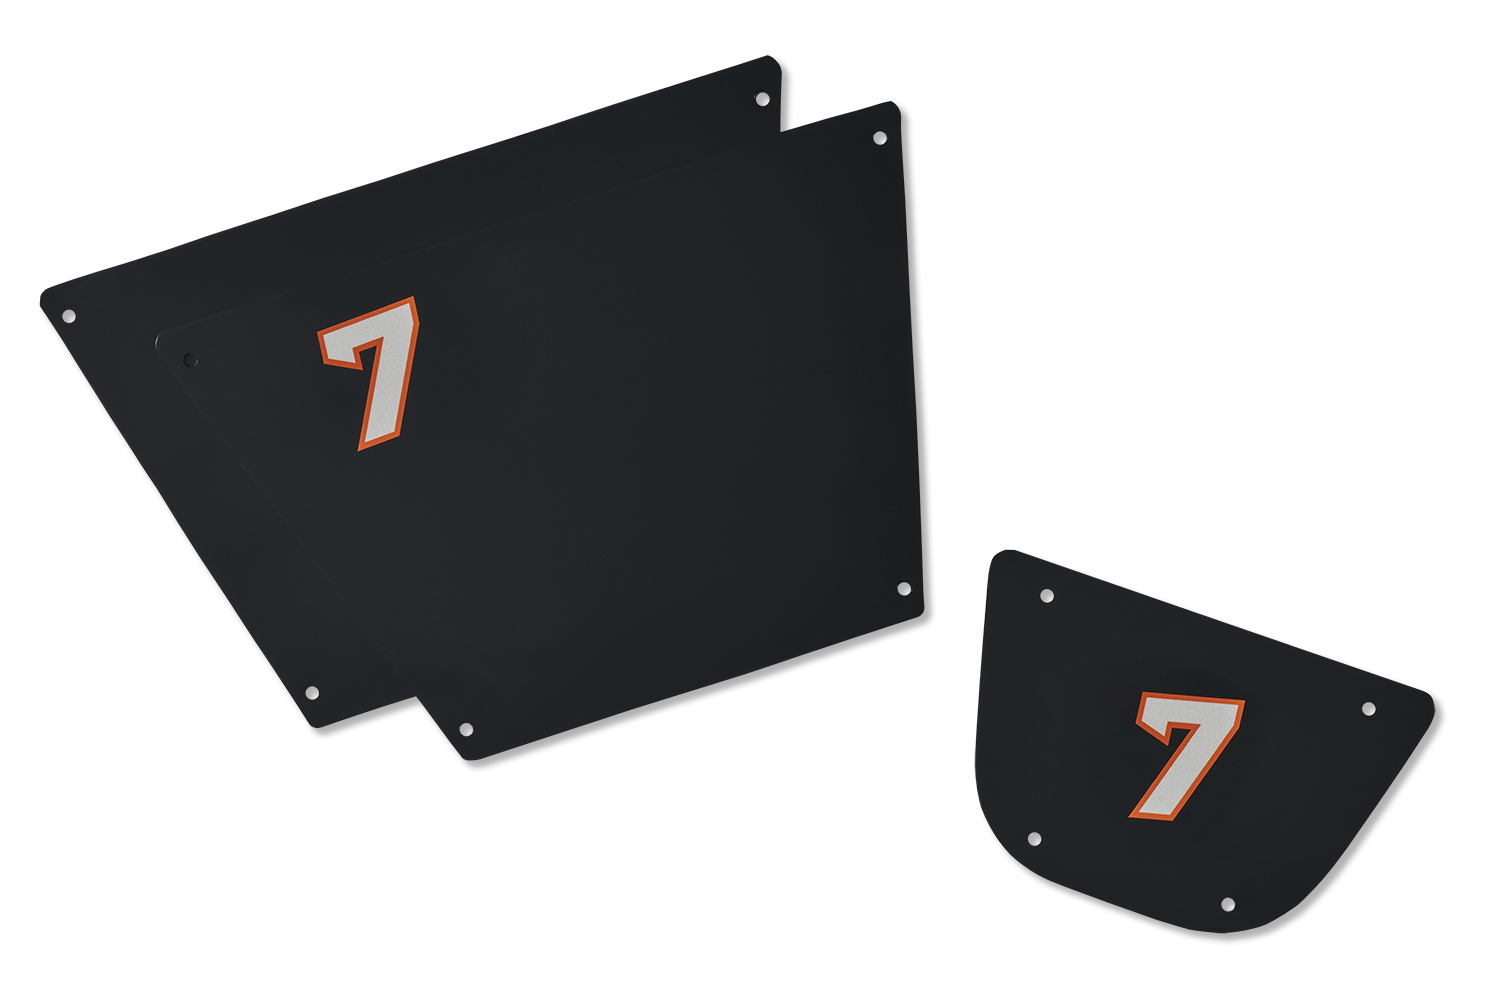
- Locate the two identical side panels, the slightly different front panel, and the zip ties included in the kit.
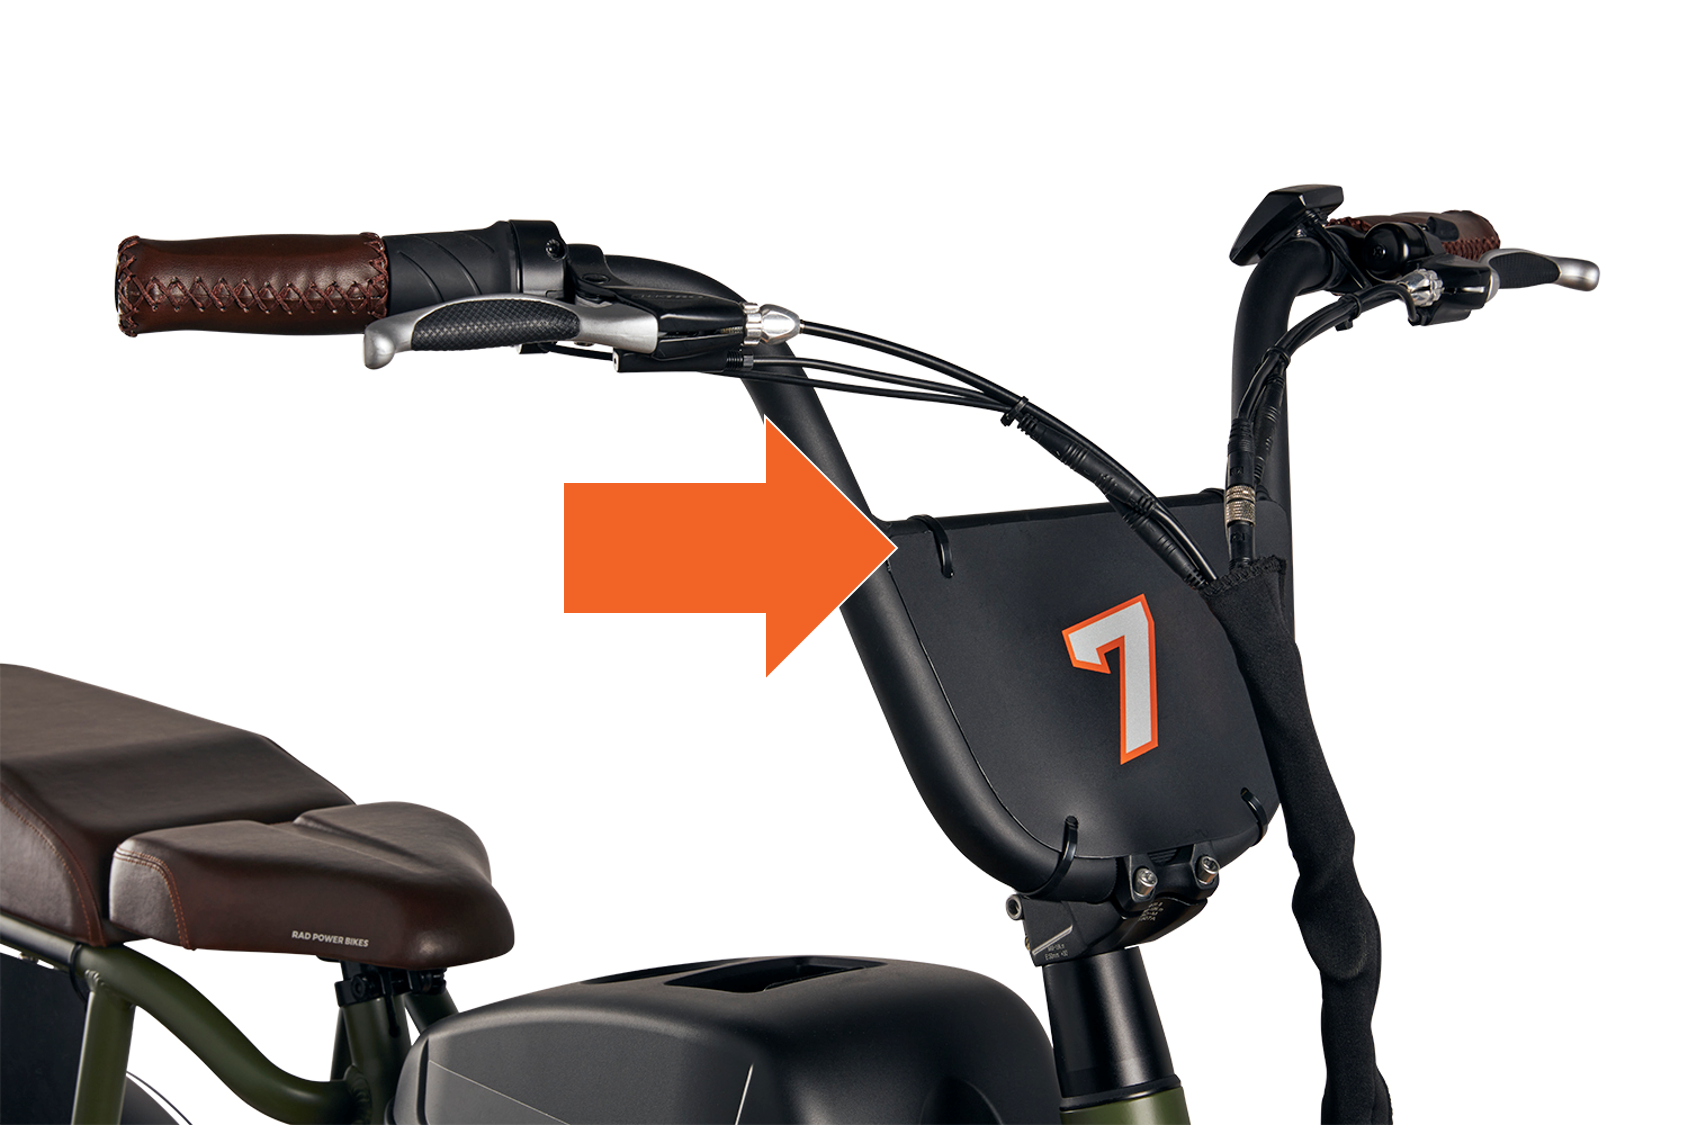
- Orient the front panel with the longer edge at the handlebar cross tube.
- Secure the panel to the handlebar cross tube using zip ties.
- Attach the front panel to the handlebar cross tube. Pass a zip tie through the mounting hole in the panel, around the cross tube, and secure the zip tie end into the locking portion loosely. Get a friend to help hold the panel in place if needed. Repeat with the other upper mounting point, securing the zip tie loosely.
- Attach the front panel to the lower portion of the handlebar. Pass a zip tie through each mounting point, around the handlebar, and secure the zip tie ends into the locking portions loosely.

- Tighten each zip tie evenly a small amount at a time until the panel is secured in place.
- Use flat side cutters to snip off the zip tie excess. Ensure the zip tie end is cut flush so it is smooth.
- Attach the front panel to the handlebar cross tube. Pass a zip tie through the mounting hole in the panel, around the cross tube, and secure the zip tie end into the locking portion loosely. Get a friend to help hold the panel in place if needed. Repeat with the other upper mounting point, securing the zip tie loosely.
Ensure the number panel and zip ties do not interfere with any handlebar components, cables, or wires, and that the handlebar can turn freely when the front panel is installed.
Continue to the next section to install the side panels.
Install the Side Panels
- Locate the two side panels and the remaining zip ties included in the accessory kit.
- Stand at the right side of the bike and hold one of the panels up to the rack where it will be installed. Identify the side of the panel that is angled more than the other side; the angled side will be installed toward the back of the bike. Tip: Hold the panel where it will be mounted on the rack. Flip the panel so the side that is angled more is pointing toward the back of the bike. You can also lay the panel on a flat surface to help make it easier to see which side is angled more than the other side.
.png?revision=1)
- Secure the panels to the rear rack tubing using zip ties.
- Pass a zip tie through one of the upper mounting points, around the rear rack tubing, and secure the zip tie end into the locking portion loosely. Get a friend to help hold the panel in place if needed.
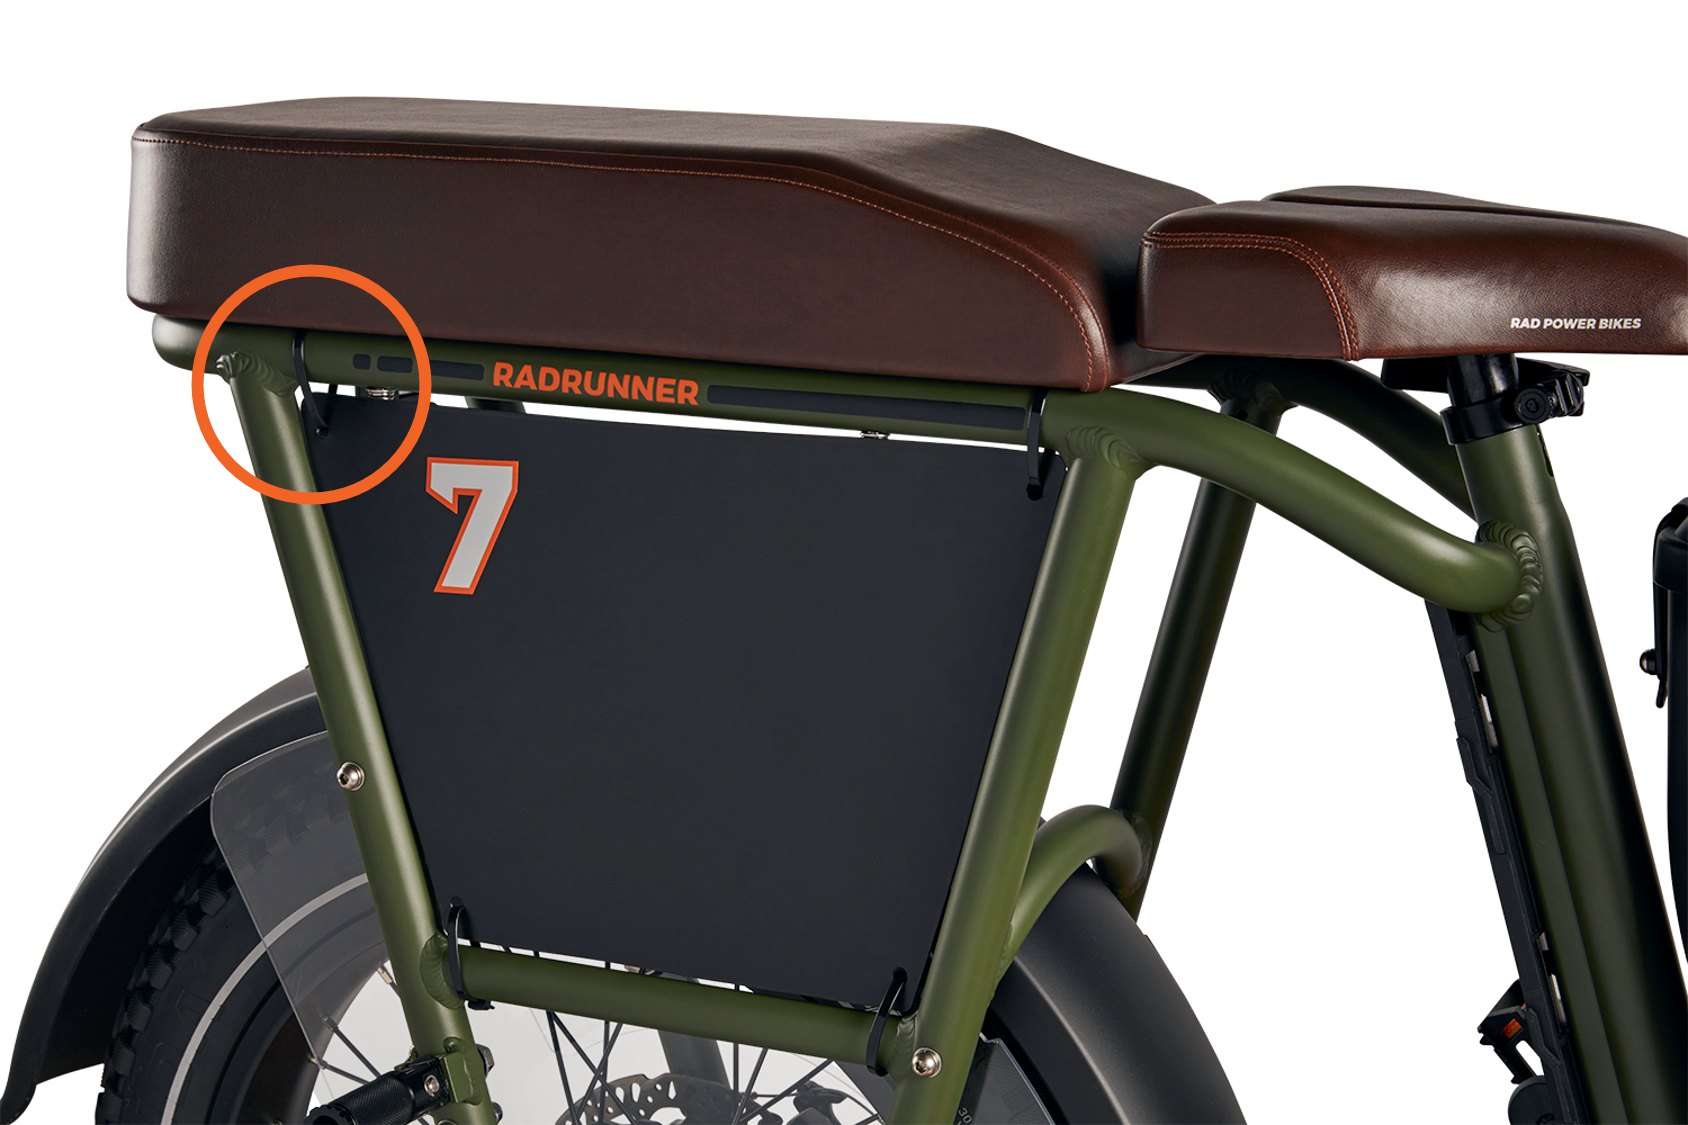
- Repeat with the other upper mounting point, then the two lower mounting points, securing the zip ties loosely.
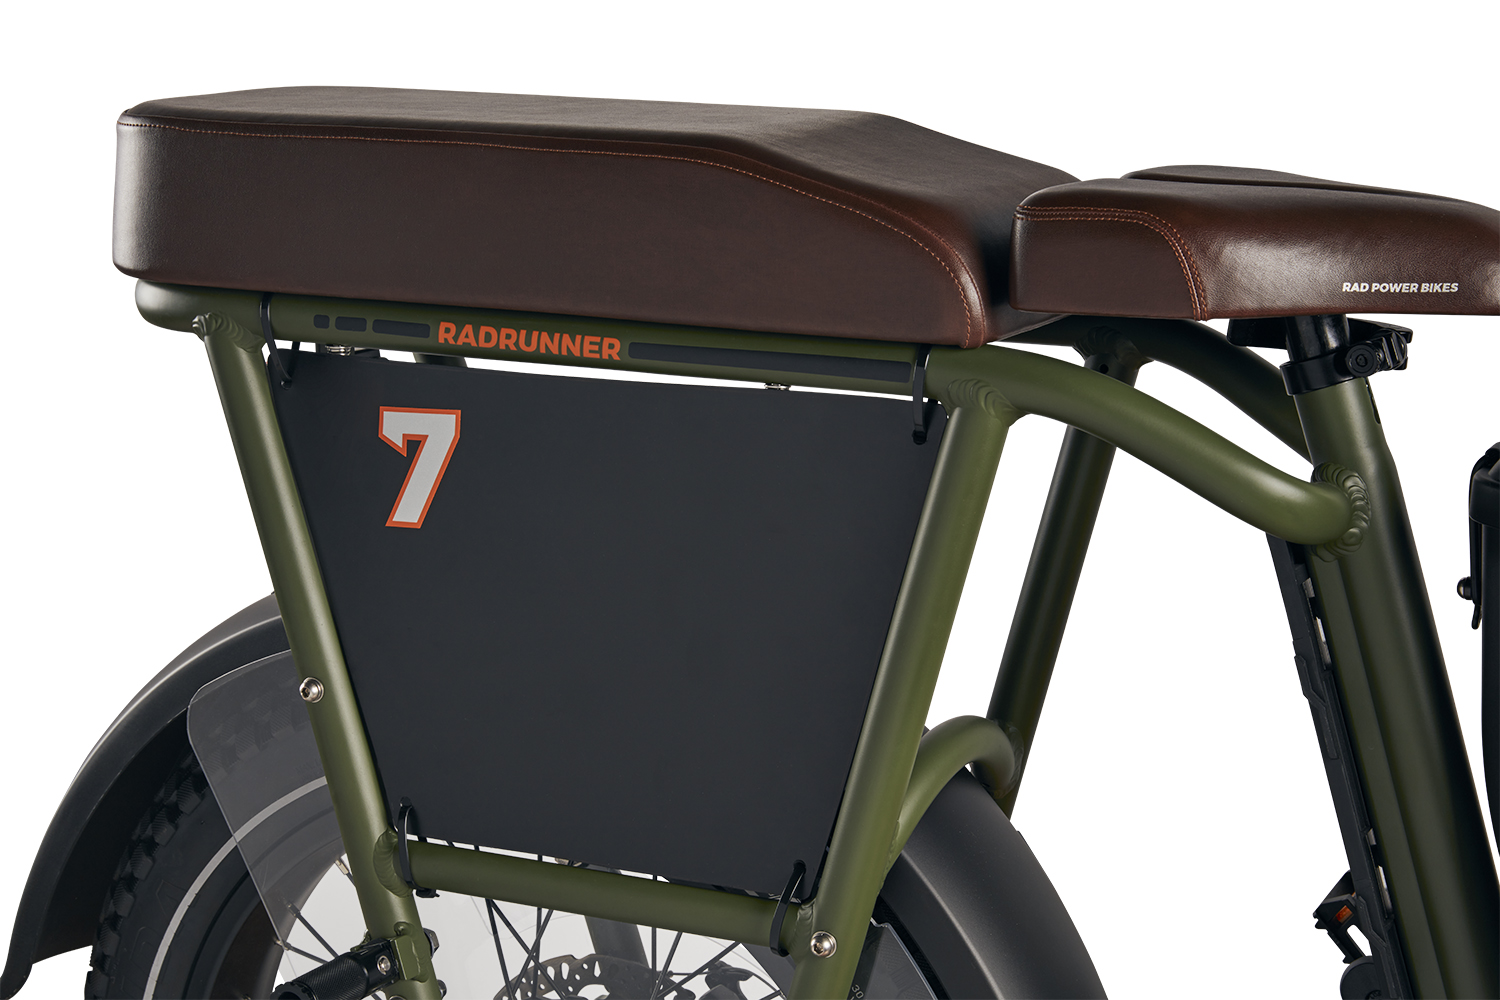
- Tighten each zip tie evenly a small amount at a time until the panel is secured in place.
- Use flat side cutters to snip off the zip tie excess. Ensure the zip tie end is cut flush so it is smooth.
- Repeat steps a-d on the other side panel. Make sure the side with more of an angle is installed closest to the back of the bike.
- Pass a zip tie through one of the upper mounting points, around the rear rack tubing, and secure the zip tie end into the locking portion loosely. Get a friend to help hold the panel in place if needed.
- Check that the side panels and zip ties do not touch any moving parts.
Ensure the number panels and zip ties do not interfere with any moving parts, cables, or wires, and that the wheel and drivetrain can move freely when the front panel is installed.
Apply a Number Decal
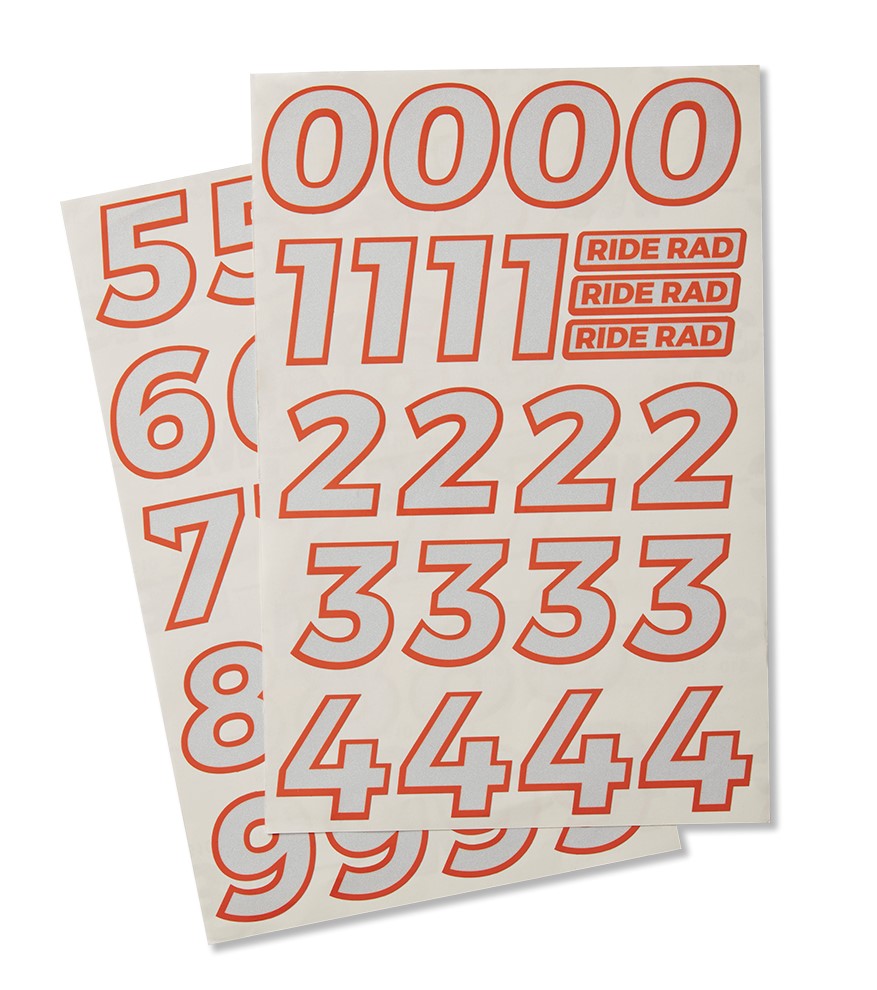
- Choose the number you would like to apply to the front and/or side panels. If needed, use scissors to cut your number(s) from the decal sheet.
- Clean the panels. Apply a small amount of isopropyl or rubbing alcohol to a clean paper towel and clean each of the panels. Remove any dust, hand oils, etc., for the best decal adhesion.
- Determine where you want to place the decal. With the decal backing still in place, determine where you want to place the decal on one panel. Use a tape measure or ruler to center the decal if desired. Once you decide where you want it, tape the decal in place temporarily. Check that you love your placement and adjust the decal and masking tape as needed.
- Apply the decal!
- Peel away a few-inch portion of the decal backing and use scissors to cut away the backing.
- Use the cardboard as a flat edge to secure the decal to the panel from the end with the backing towards the decal's edge. Ensure the decal stays flat without wrinkles. Roll the decal into place while pressing with the edge of the cardboard so no air bubbles form.
- Remove the masking tape. The decal will remain in place.
- Use the cardboard as a flat edge to secure the decal to the panel while peeling away the backing towards the decal's edge. Ensure the decal stays flat without wrinkles. Roll the decal into place while pressing with the edge of the cardboard so no air bubbles form.
- Repeat with the other number decals.
- Reinstall the battery, test the bike fully before riding, and ride Rad!
Do not exceed the rear rack weight limit listed in your owner's manual. Overloading any component can cause component failure, loss of control, serious injury, or death.