Crank replacement guide
In the unlikely event the cranks on your bike are damaged or non-functioning, they can be replaced using the steps below.
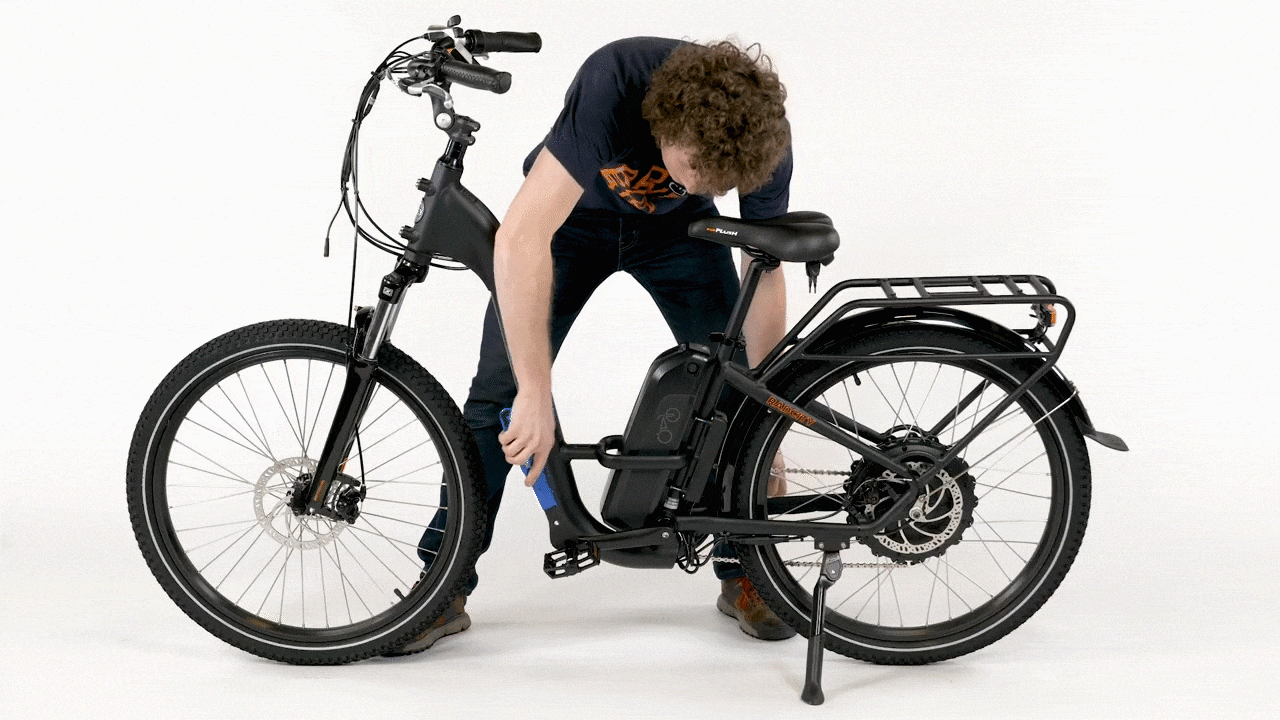
This article shows a crank replacement on a RadCity Step-Thru 2, but the steps will be similar for all models.
Tools needed:
- A pedal wrench
- An 8 mm Allen wrench
- Paper towels
- A crank puller for standard square taper cranks
- Bicycle grease
- A torque wrench with an 8 mm Allen bit
- A replacement crank from Rad Power Bikes
Uninstall the Pedal
- Get the bike ready for maintenance. Turn off the bike, remove the battery, and press and hold MODE (or the Power button) to discharge remaining power.

- Identify the crank that will be replaced.
- Uninstall the pedal from the crank arm. The pedal will be reinstalled on the new crank arm at a later step.
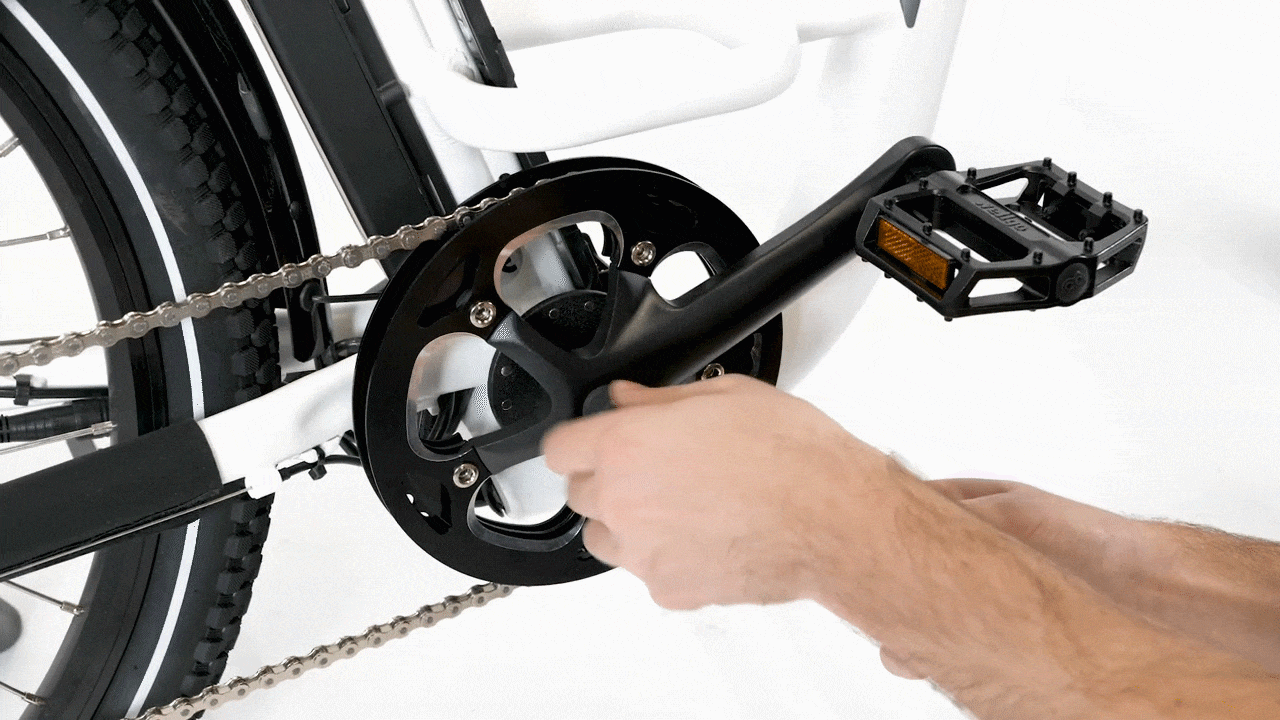
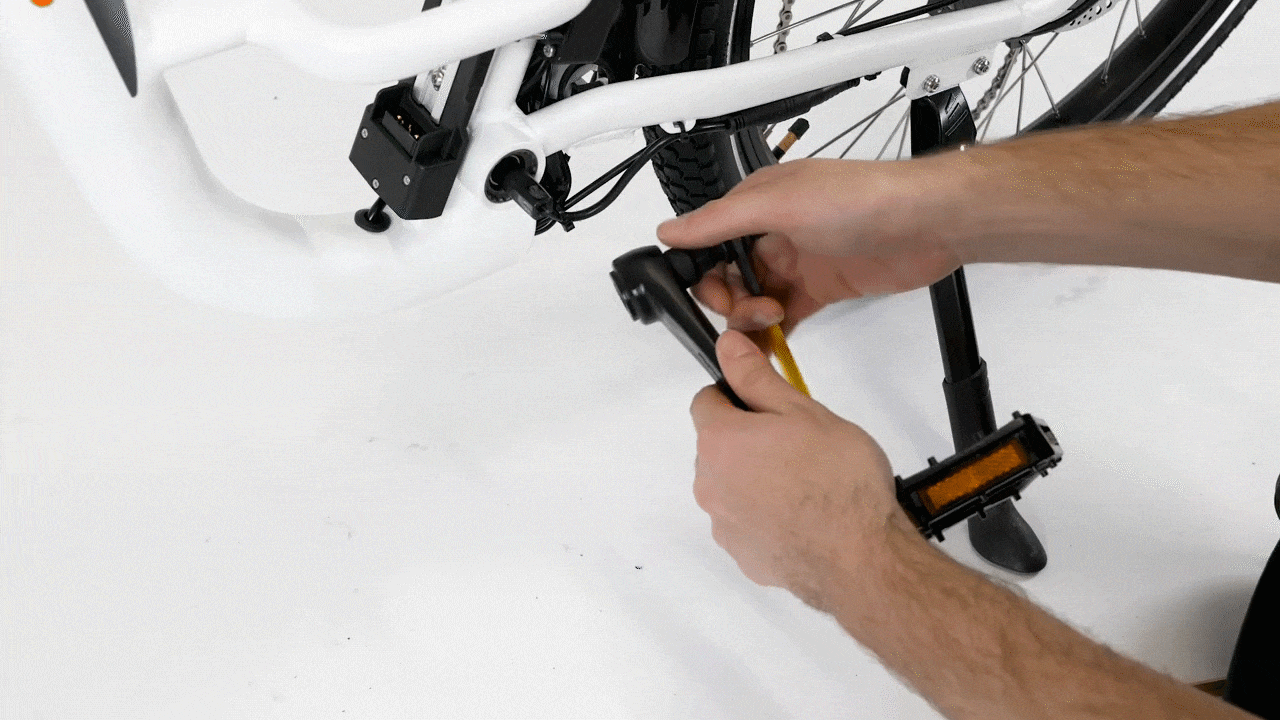
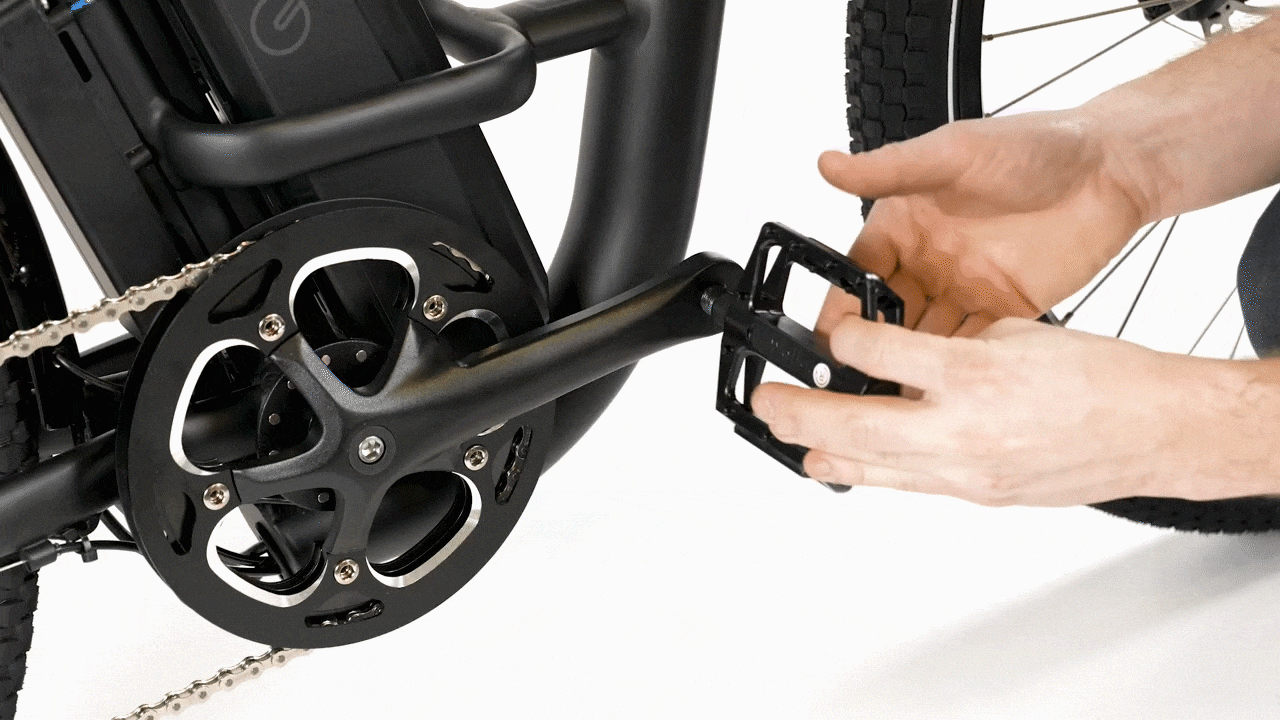
- To remove the right pedal:
- At the right side of the bike, use a pedal wrench, turning counterclockwise (toward the back of the bike) until the pedal loosens. Once the pedal is loose, unthread the pedal by hand until fully released.
- Set the pedal aside for reinstallation.
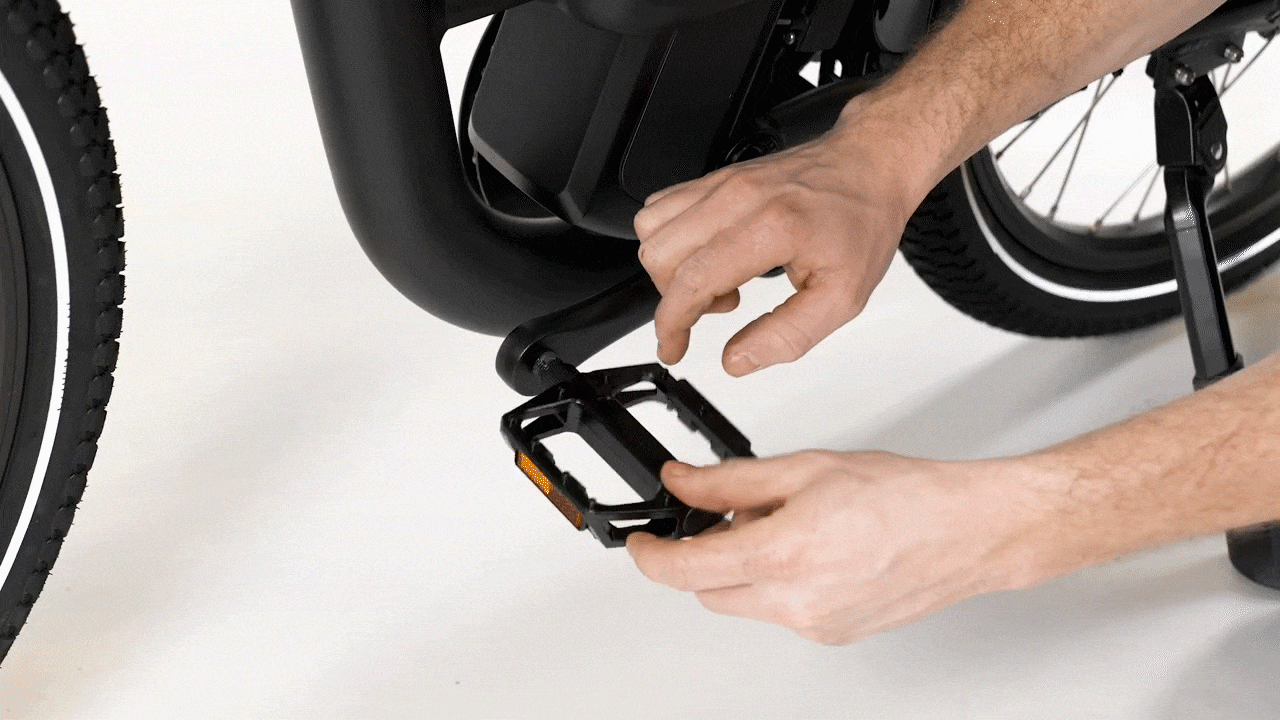
- To remove the left pedal:
- At the left side of the bike, use a pedal wrench, turning clockwise (toward the back of the bike) until the pedal loosens. Once the pedal is loose, unthread the pedal by hand until fully released.
- Set the pedal aside for reinstallation.
- To remove the right pedal:
Remove the Old Crank
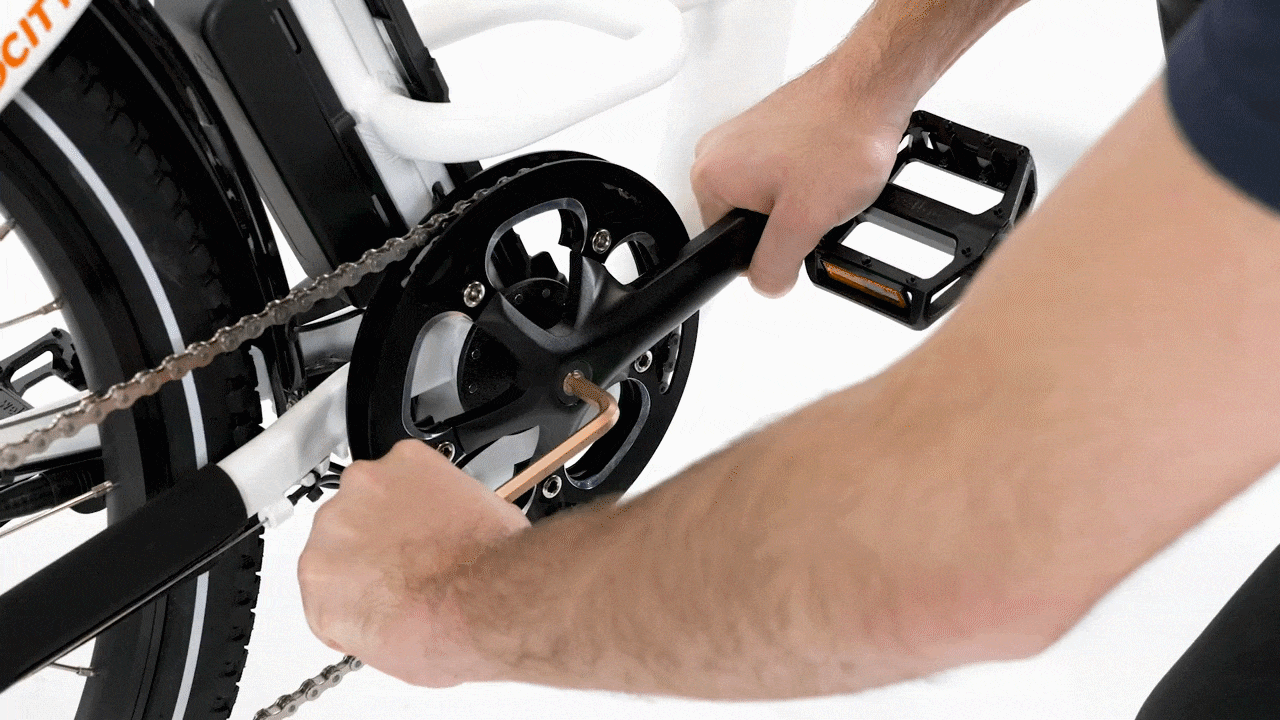
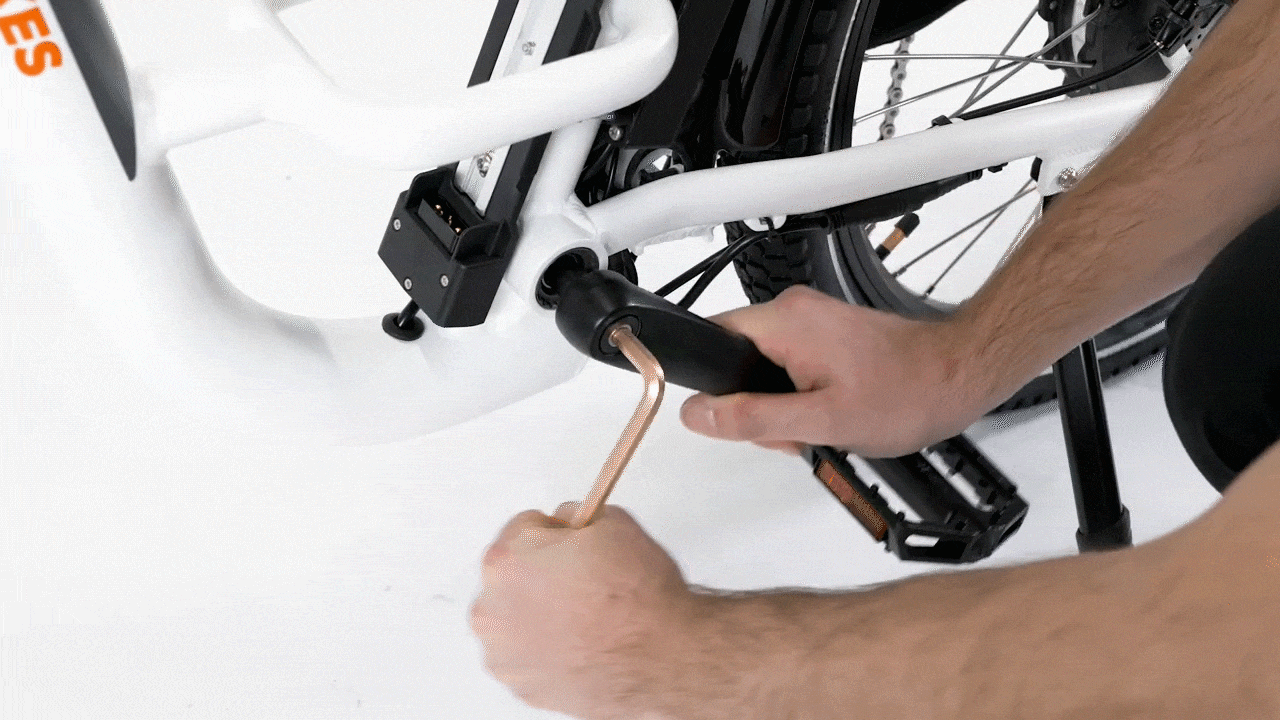
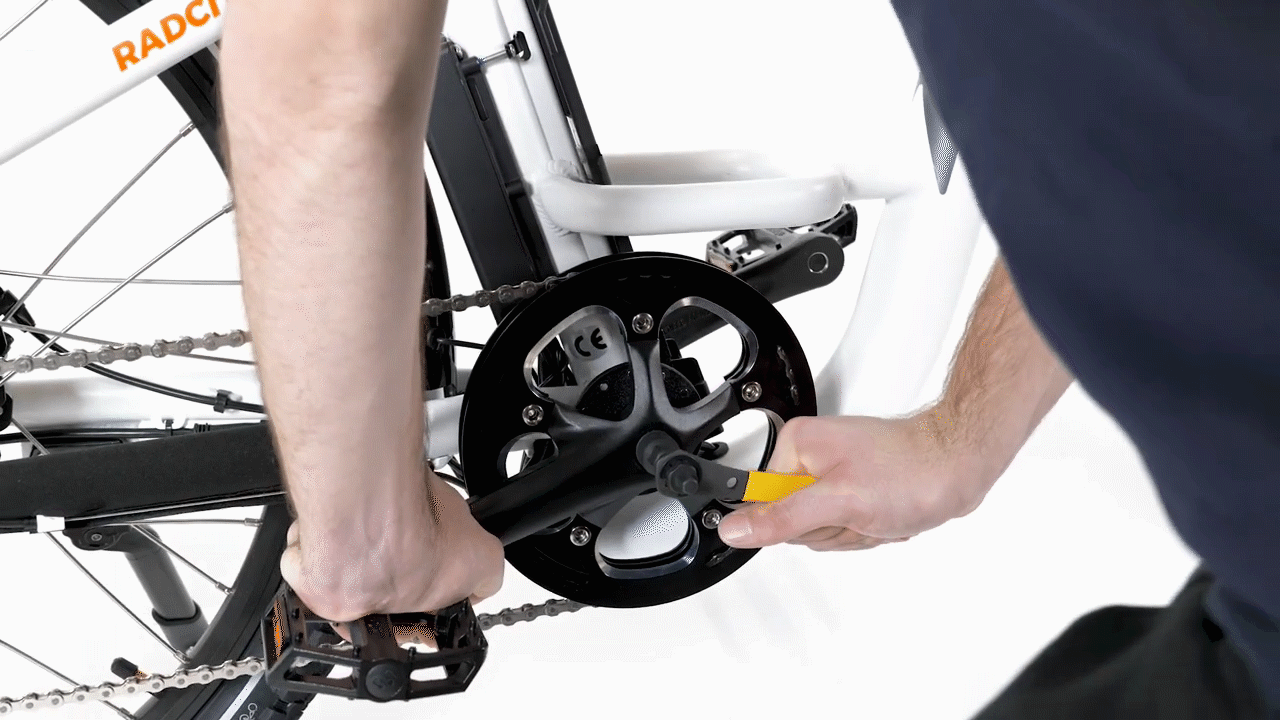
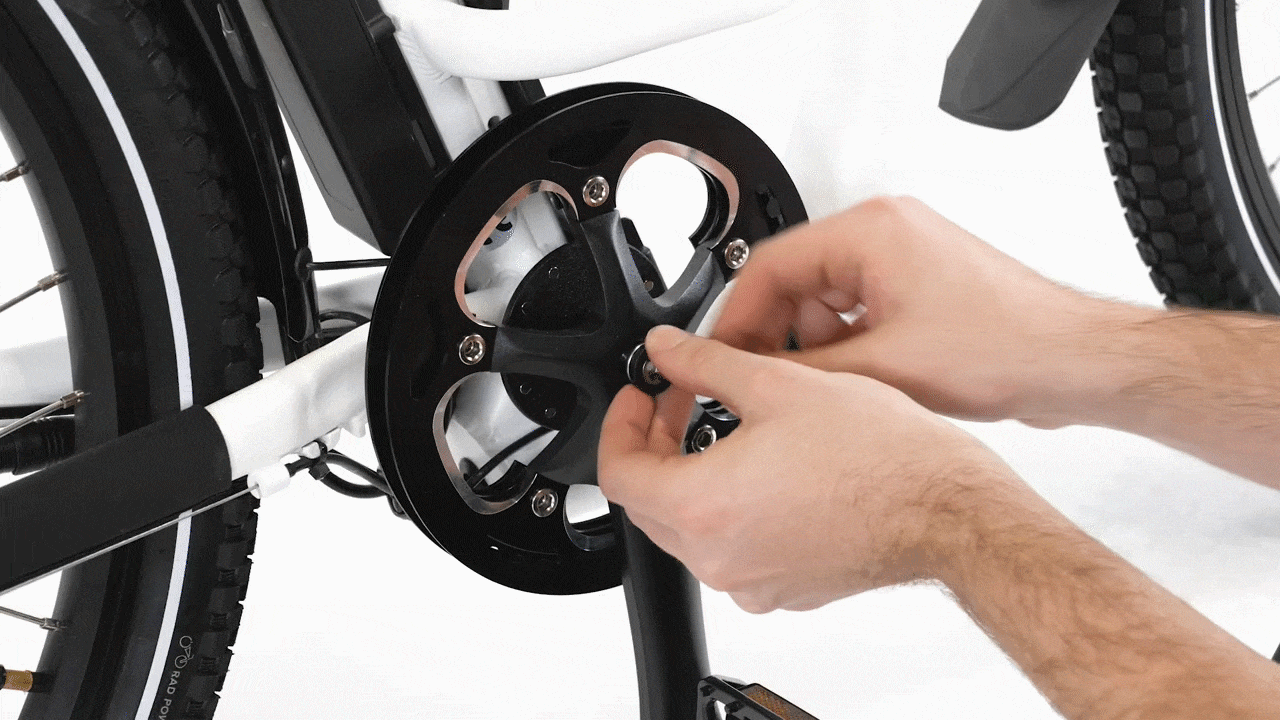
- Remove the crank bolt. Have a friend stabilize the bike if needed, and use an 8 mm Allen wrench, turning counterclockwise, to remove the crank arm bolt. Set the bolt aside for reinstallation.
Right crank:
Left crank:
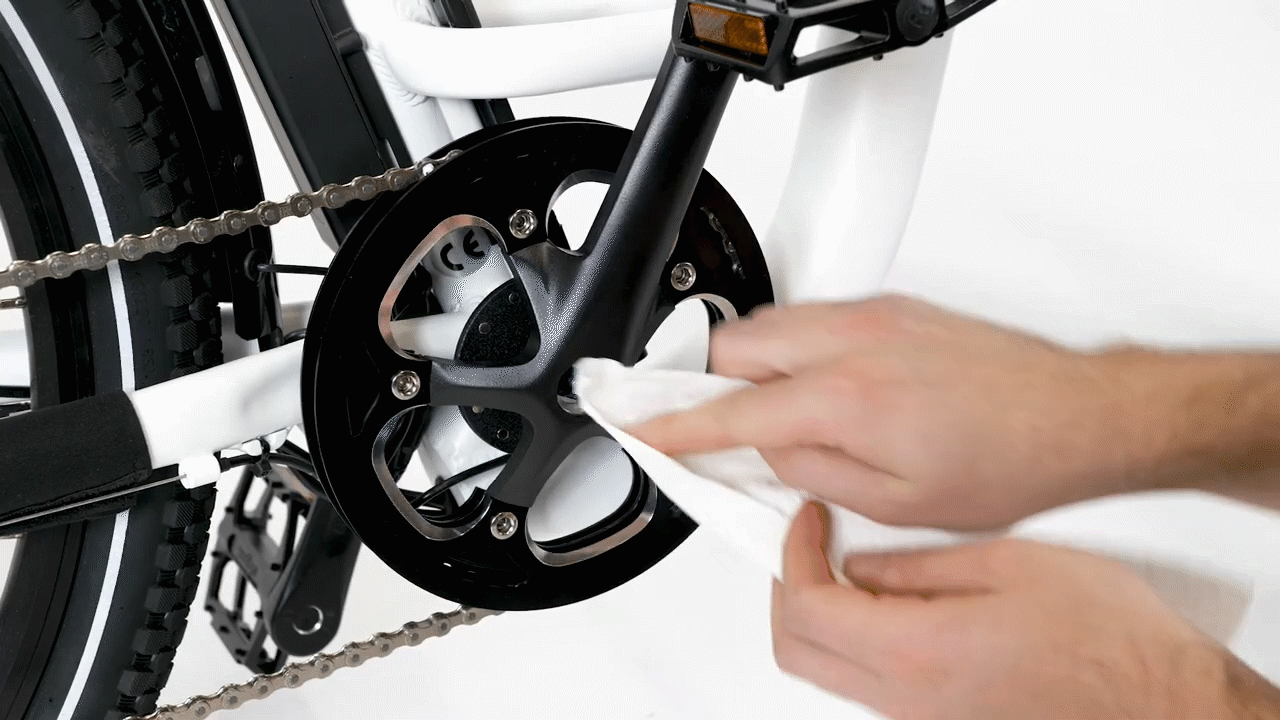
- Inspect and clean the crank threads. Take a look at the inside of the crank arm threads and use a paper towel to remove any dirt or grime, which can cause damage.
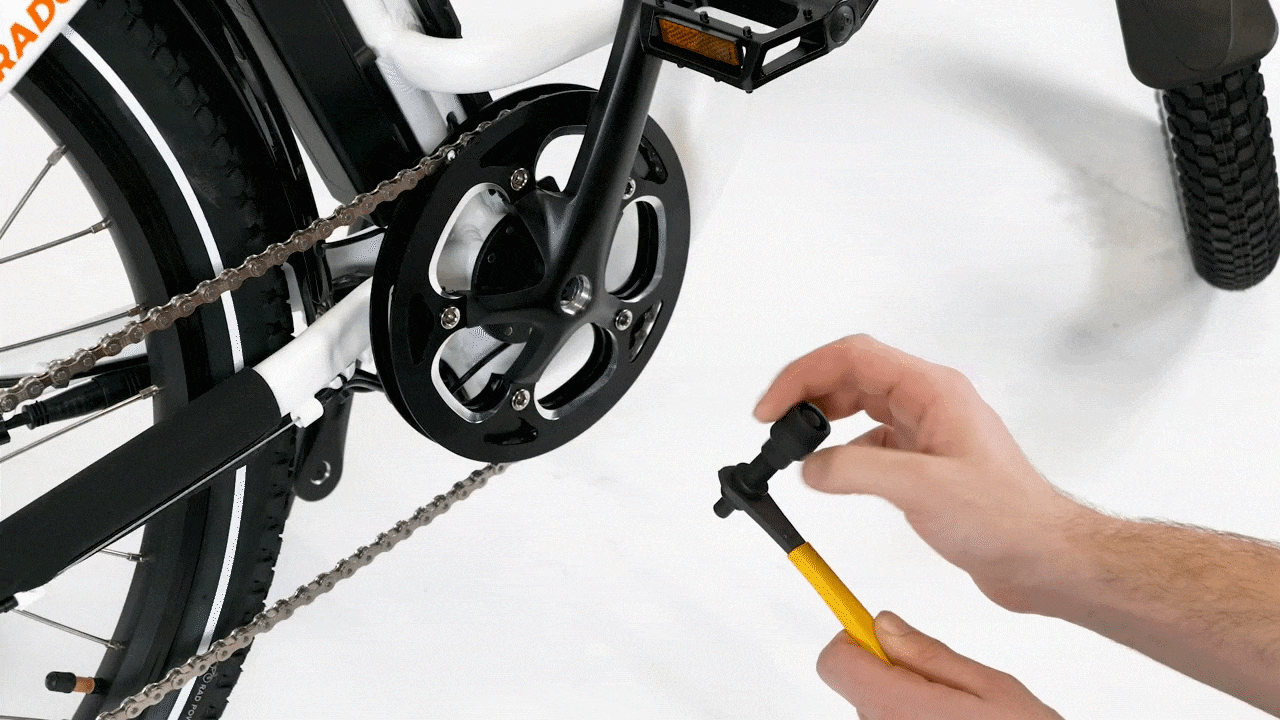
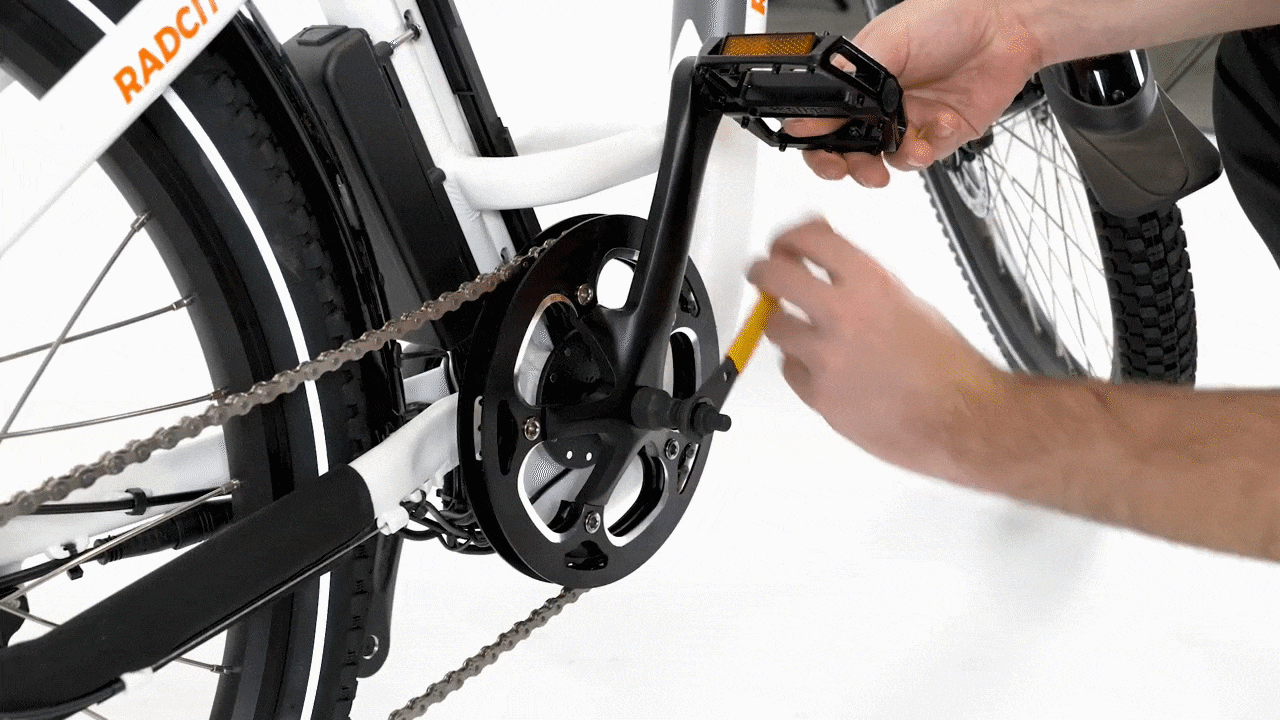
- Prepare the crank puller. Prepare the crank puller so the inner bolt, or press, is below the end of the outer portion of the tool.
- Carefully thread the outer portion of the tool into the crank clockwise, by hand. The outer portion of the crank puller will thread easily when properly aligned. Use caution to not cross thread or damage the threads.
Ensure the outer portion threads into the crank fully, at least five full turns. This will ensure the crank and tool threads have as much gripping power as possible. Using the press of the tool when it is not properly secured can lead to irreversible damage to the crank.
- Use the crank puller to press the crank off the bottom bracket. Hold onto the crank arm, and push down on the tool's handle to engage the inner bolt, which will press against the bottom bracket and will eventually (sometimes suddenly) unseat the crank.
Use caution and keep fingers clear of the space between the crank and the tool to avoid injury.
- Remove the crank. If removing the right crank and chainring, allow the chain to hang out of the way.
Right crank:
Left crank:
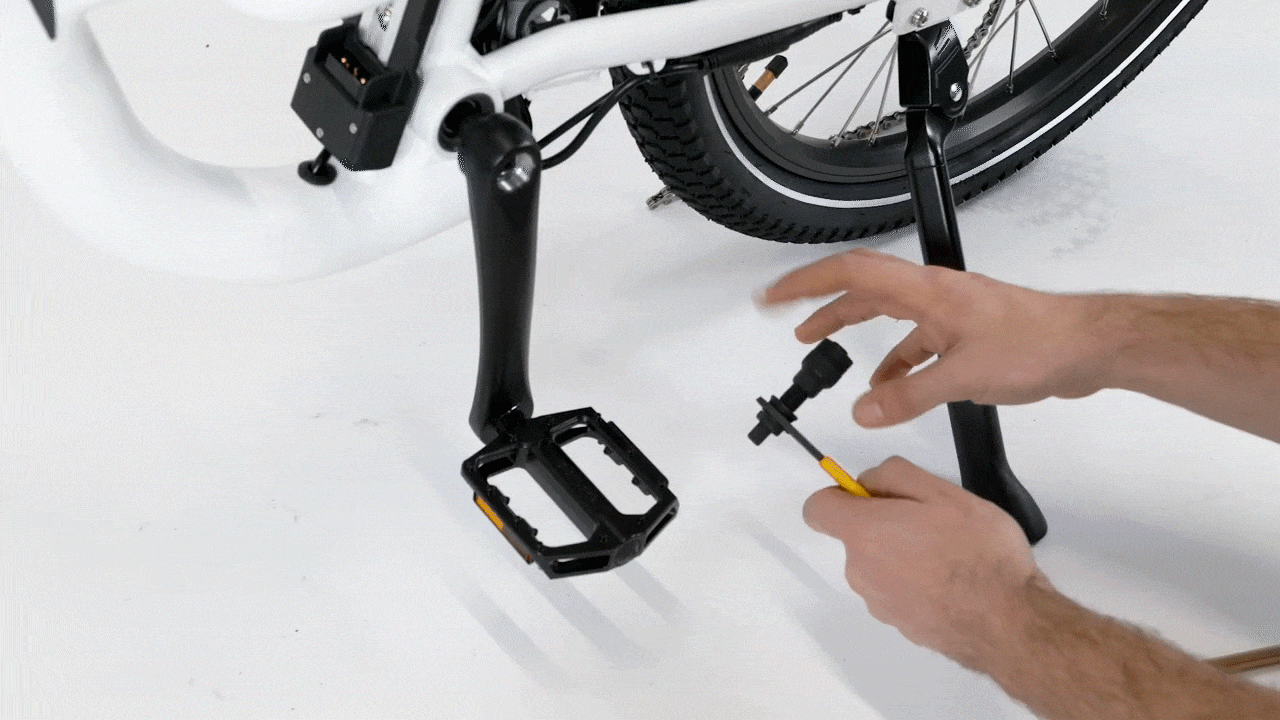
- Carefully remove the crank puller from the crank by turning the outer portion counterclockwise.
- Inspect the crank and the square taper mount on the bottom bracket spindle. After the crank is removed, it's a good time to take a close look at the crank and the square taper mount to make sure it's in good condition. It is unlikely that there will be any signs of wear, rounding/warping, or damage, but if you do notice anything that could cause damage on the new crank once installed, contact us for help. Recycle the crank according to local rules.
Continue to the next section to install the new crank.
Install the New Crank
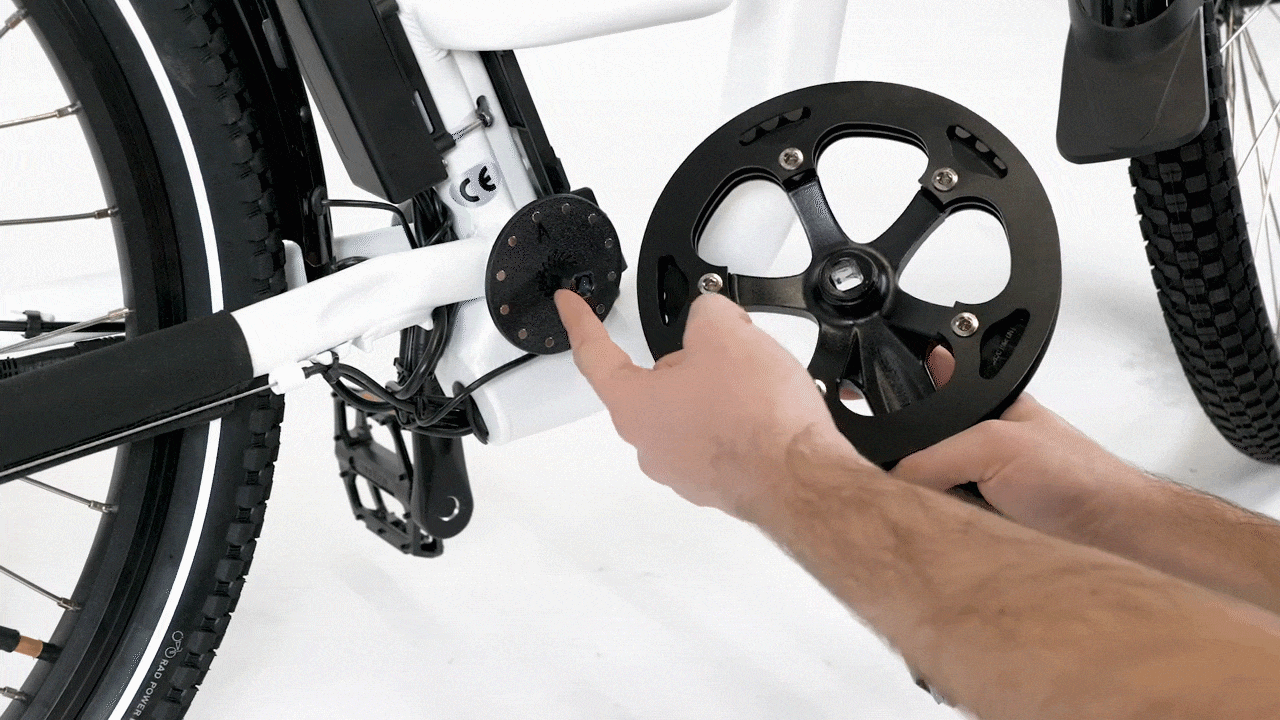
- Locate the new crank and the crank bolt.
- Orient the new crank so it is in line with the other crank, as shown below, and press the crank onto the square taper mount.
Right crank:
Left crank:
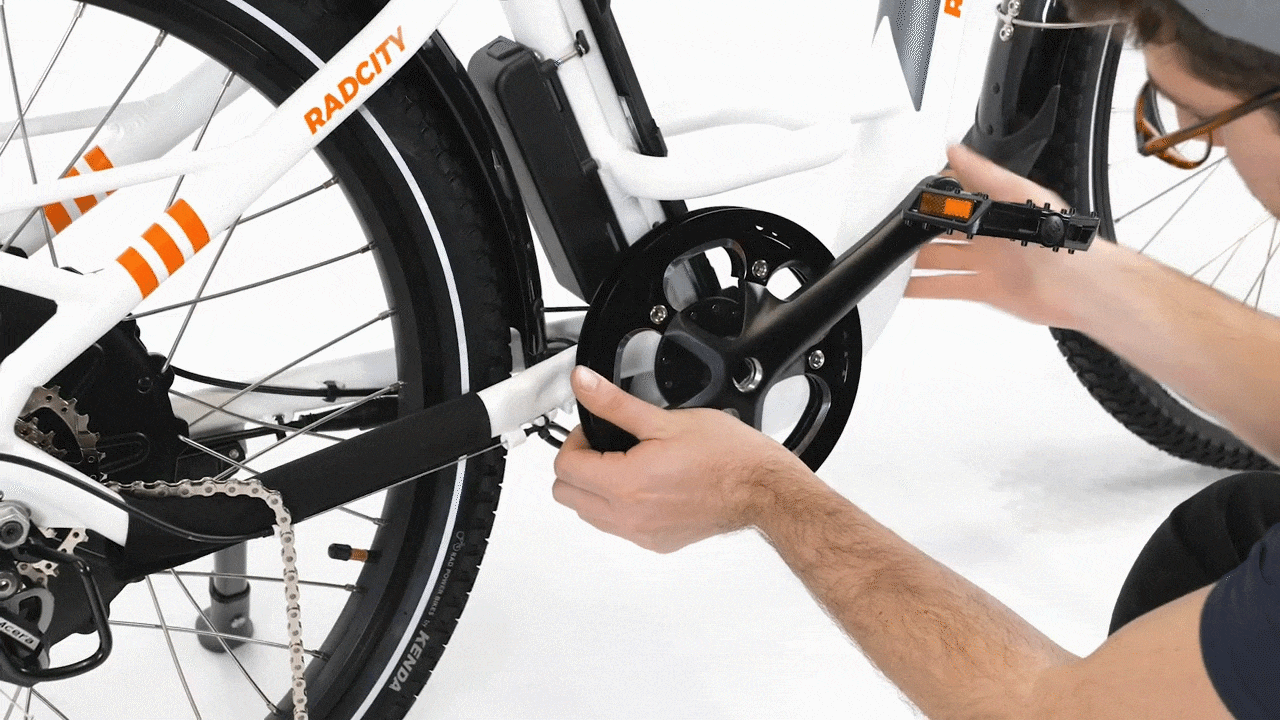
- Install the crank arm bolt. Apply a small amount of bicycle grease to the bolt threads. Carefully thread in the bolt to the crank arm by hand.
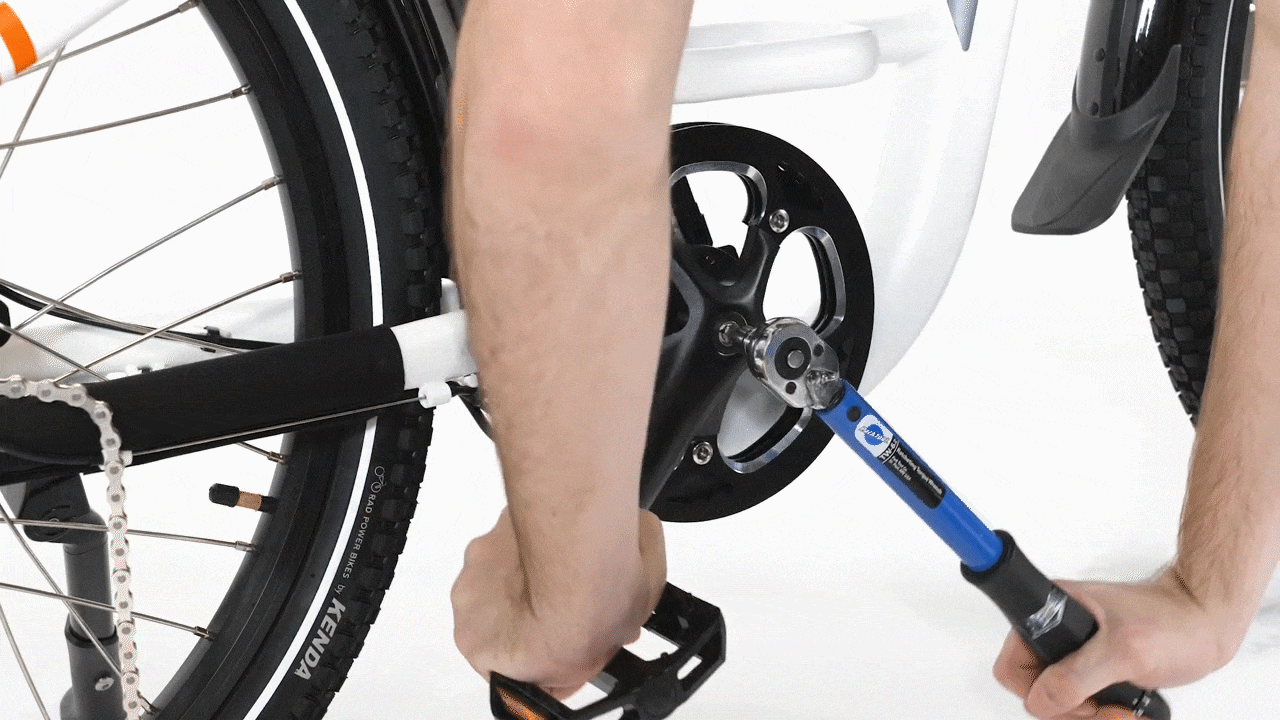
- Torque the crank arm bolt. Use a torque wrench with an 8 mm Allen bit to torque the crank arm bolt to 35 Nm.
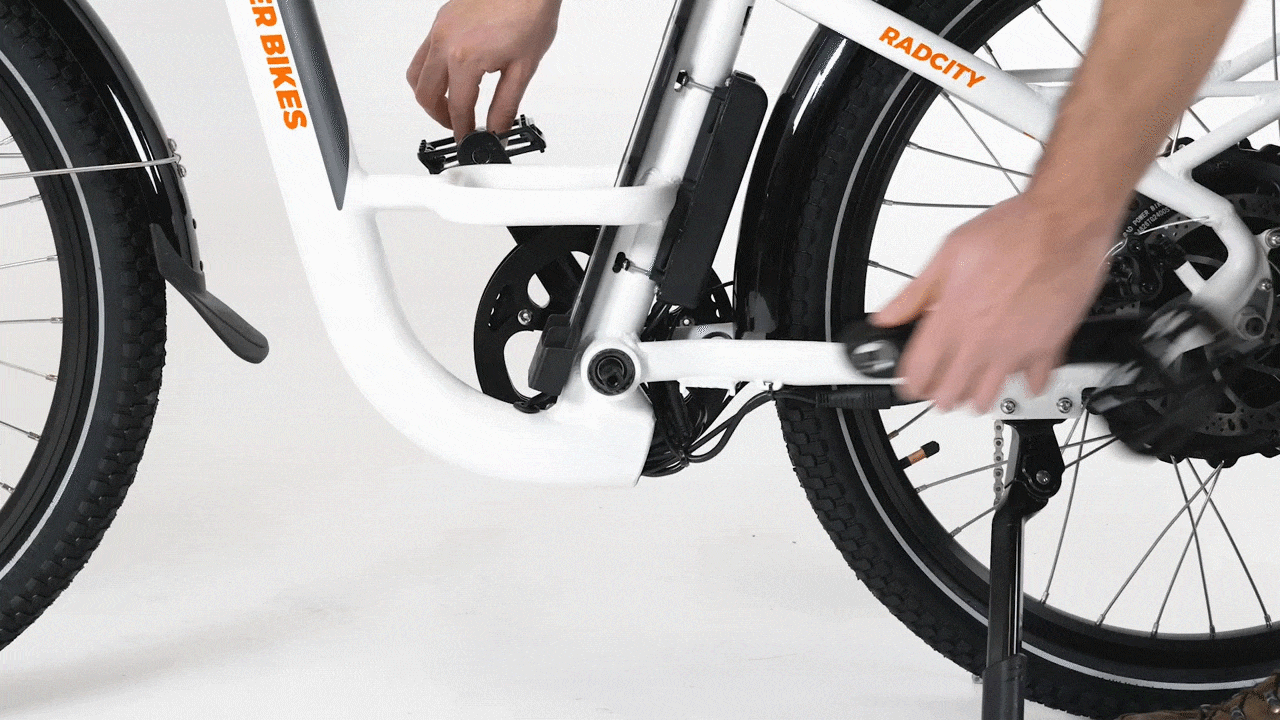
- Reinstall the chain, if removed. Push the derailleur housing (or chain tensioner) forward to create chain slack. At the same time, use a paper towel (or the shaft of an Allen wrench) to lift the chain onto the teeth of the chainring.
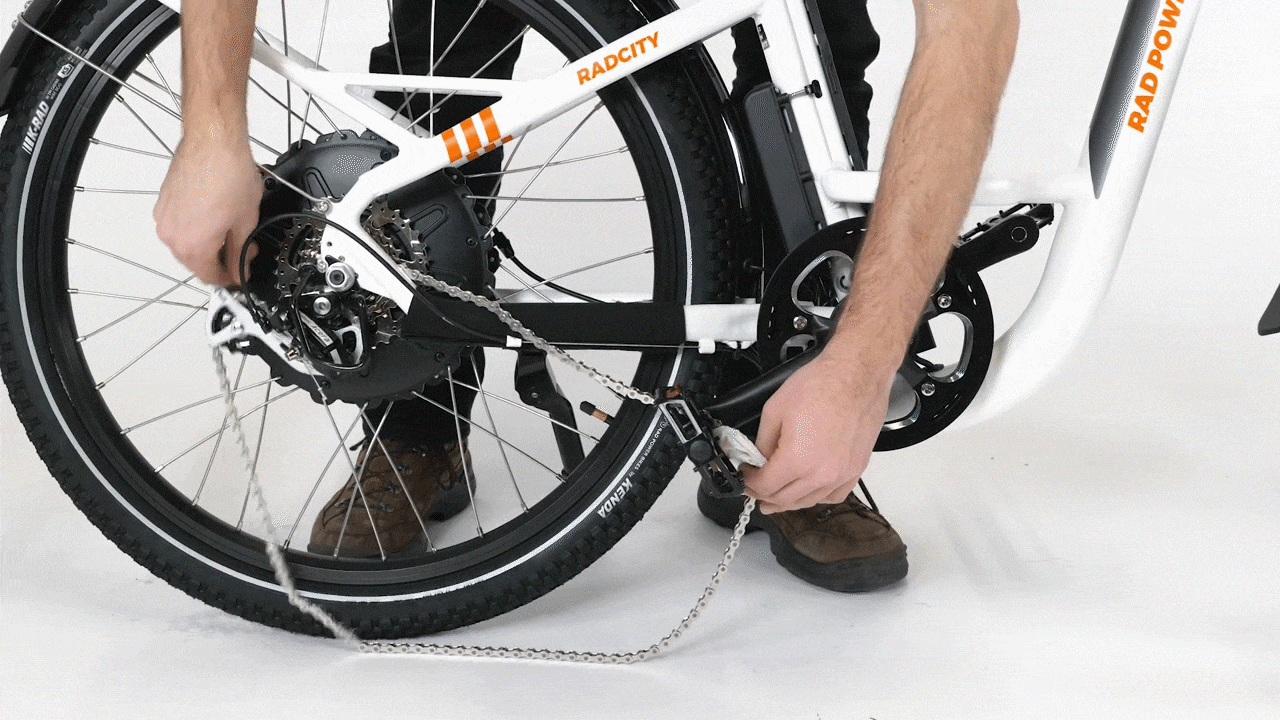
- Test the chain. Prop the bike on the kickstand so the rear wheel is off the ground, and rotate the cranks backward to revolve the rear wheel. Check that the chain is properly mounted on the chainring.

Continue to the next section to install the pedal.
Install the Pedal
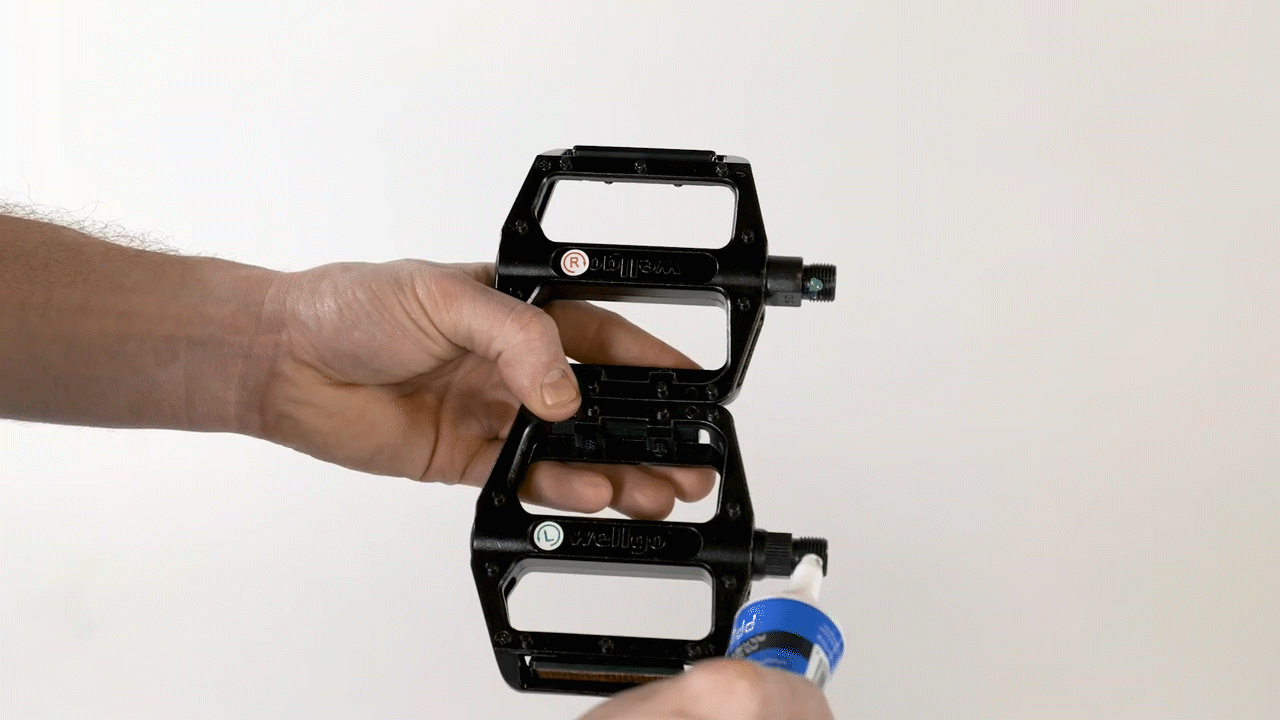
- Locate the pedal. If both pedals need to be installed, identify each pedal by the sticker and the markings on the pedal axle. The left pedal has grooves on the axle. The right pedal has a smooth axle. Set the pedal next to the correct crank.
- Check that the crank arm threads are clean and dry. If needed, use a clean and dry paper towel to clean the threaded portion of the crank arm. Dirt and grit can lead to damage during installation or use.
- Apply grease to the threaded portion of the pedal axle.
- Install the pedal.
- To install the right pedal:
- At the right side of the bike, carefully thread in the right pedal by hand, turning clockwise (toward the front of the bike). Use caution to not cross thread or damage the threads
- At the right side of the bike, carefully thread in the right pedal by hand, turning clockwise (toward the front of the bike). Use caution to not cross thread or damage the threads
- To install the left pedal:
- At the left side of the bike, carefully thread in the left pedal by hand, turning counterclockwise (toward the front of the bike). Use caution to not cross thread or damage the threads.
- At the left side of the bike, carefully thread in the left pedal by hand, turning counterclockwise (toward the front of the bike). Use caution to not cross thread or damage the threads.
- To install the right pedal:
- Tighten the pedal securely. Once the pedal is fully threaded into the proper crank, use a pedal wrench to torque the pedal to 35 Nm.
- Reinstall the battery and test the bike fully before riding.