2019/2020 RadMini and RadMini Step-Thru Controller Replacement Guide
The controller connects and controls all of the other electrical components on the bike. In the unlikely event that your controller is damaged or determined to be non-functional by Rad Power Bikes Product Support, you will need to replace it.
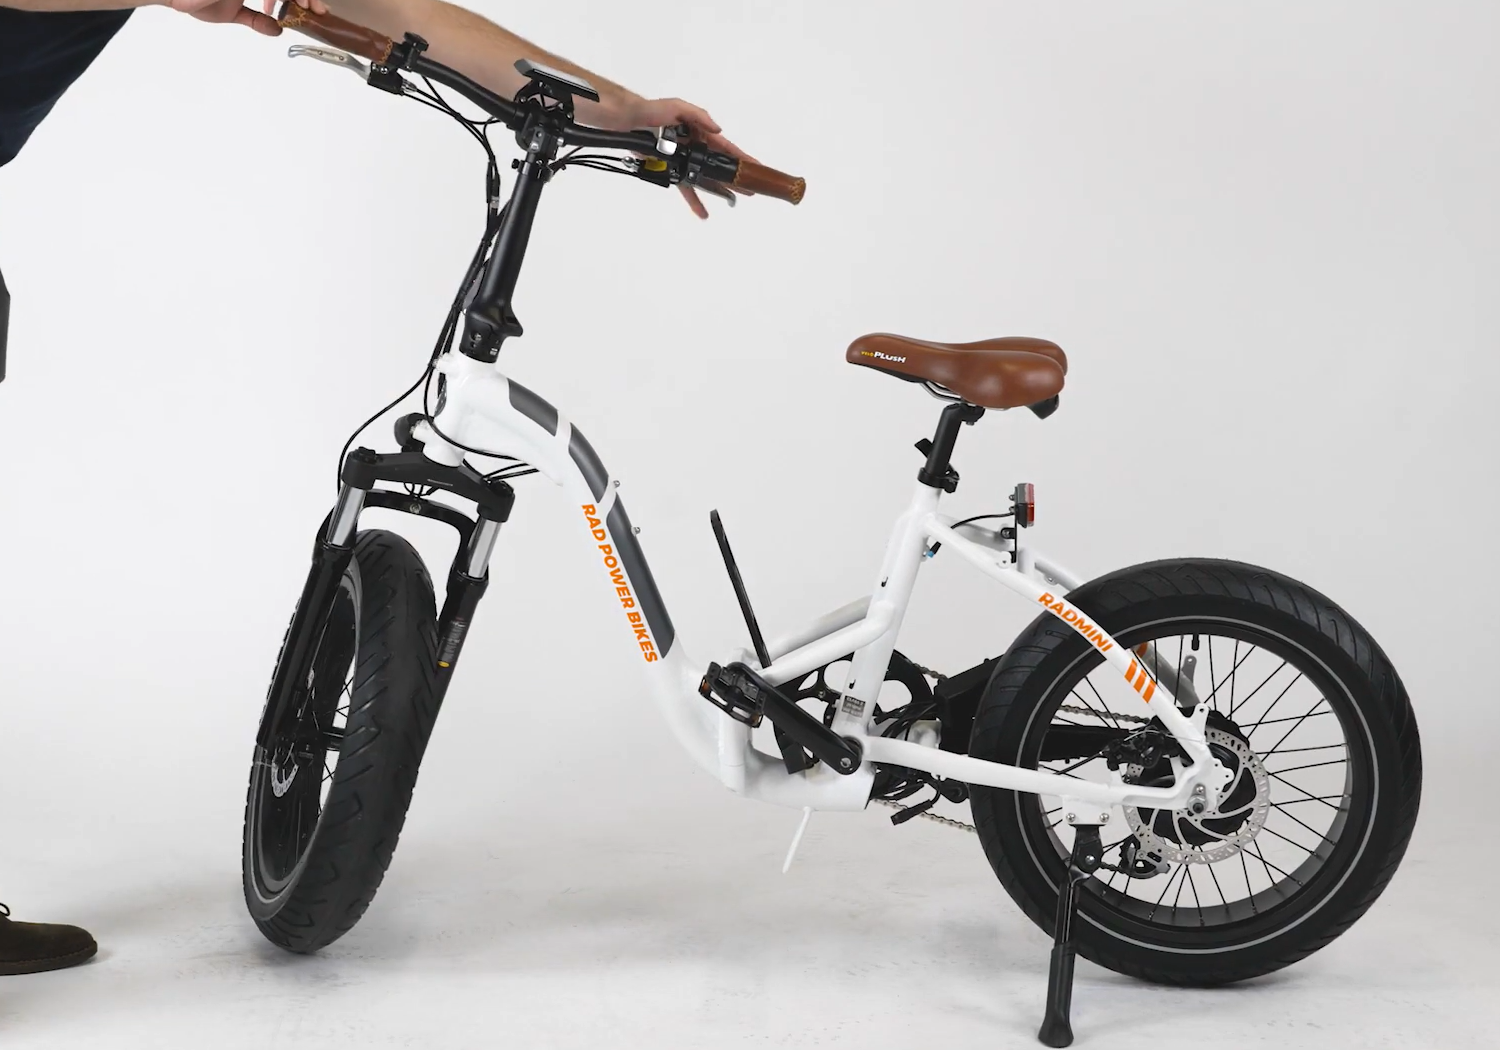
The process for replacing a controller differs slightly between the 2019/2020 RadMini (listed first in this article) and 2019/2020 RadMini Step-Thru (listed second). Find your model below, watch the video, and follow the steps to replace your controller.
RadMini
Tools needed:
- A Phillips head screwdriver (optional: a stubby screwdriver for easier access),
- Flat side cutters,
- A few zip ties, and
- The replacement controller from Rad Power Bikes
Access the Controller
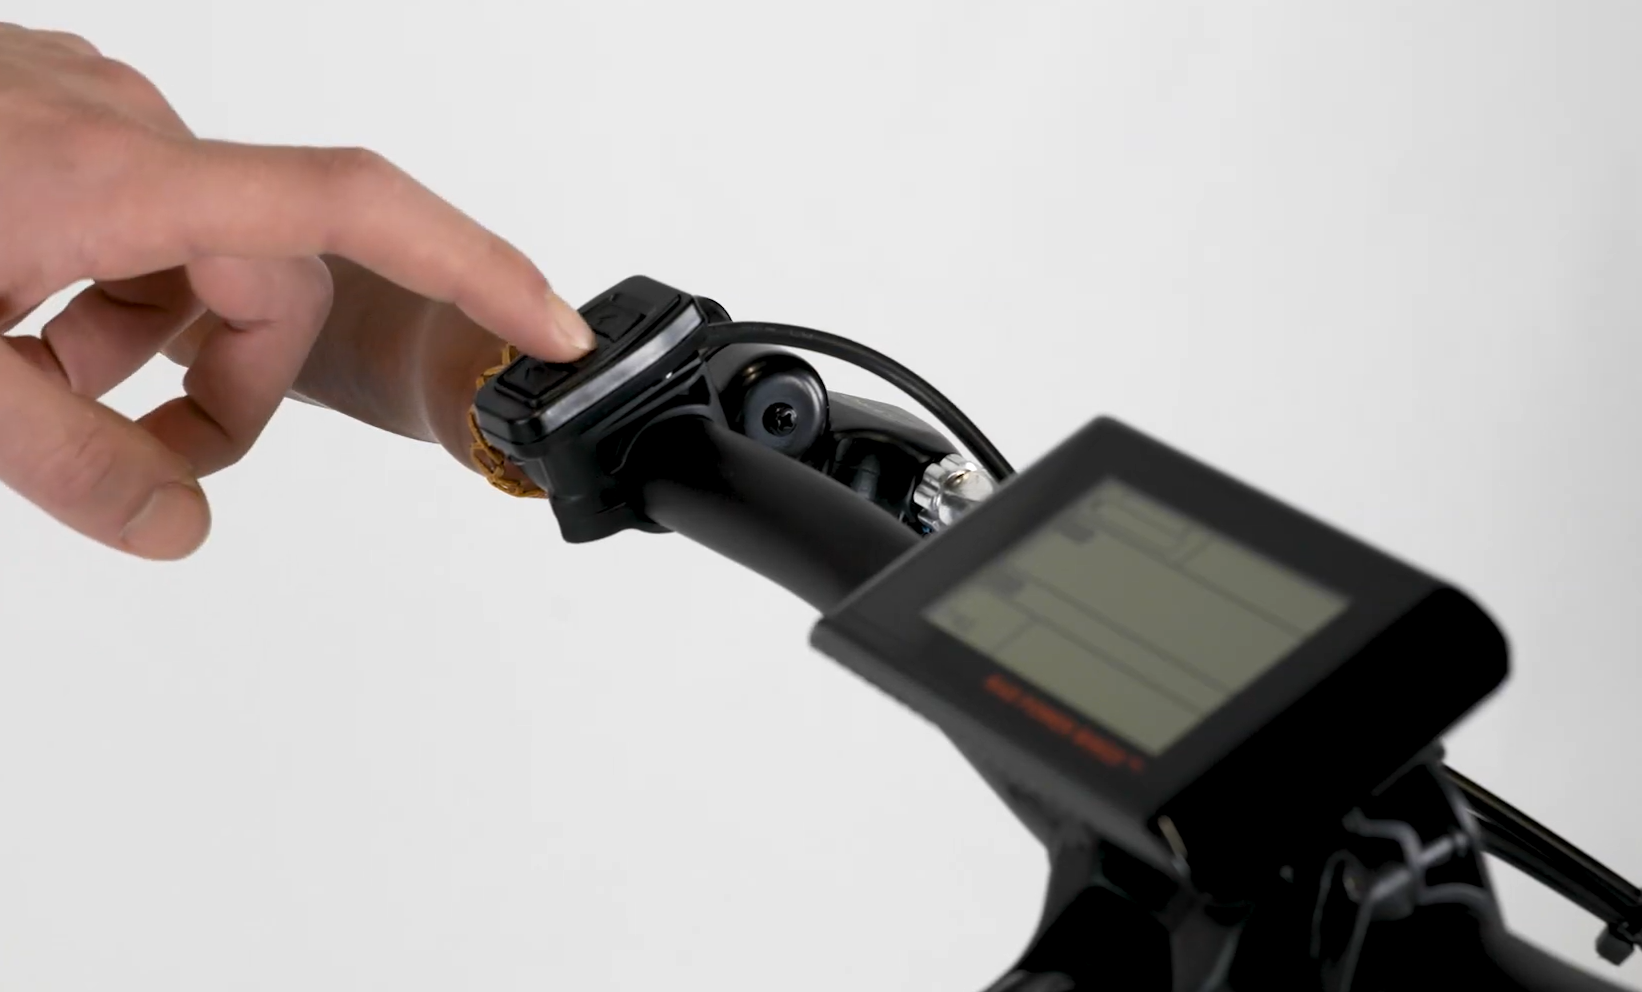
- Turn off the bike, remove the battery, and discharge remaining power. Press and hold the MODE button on the LCD display remote until the display turns off. Turn the battery key barrel to the off-and-unlocked position, then remove the battery. Press and hold the MODE button again until the display remains off.
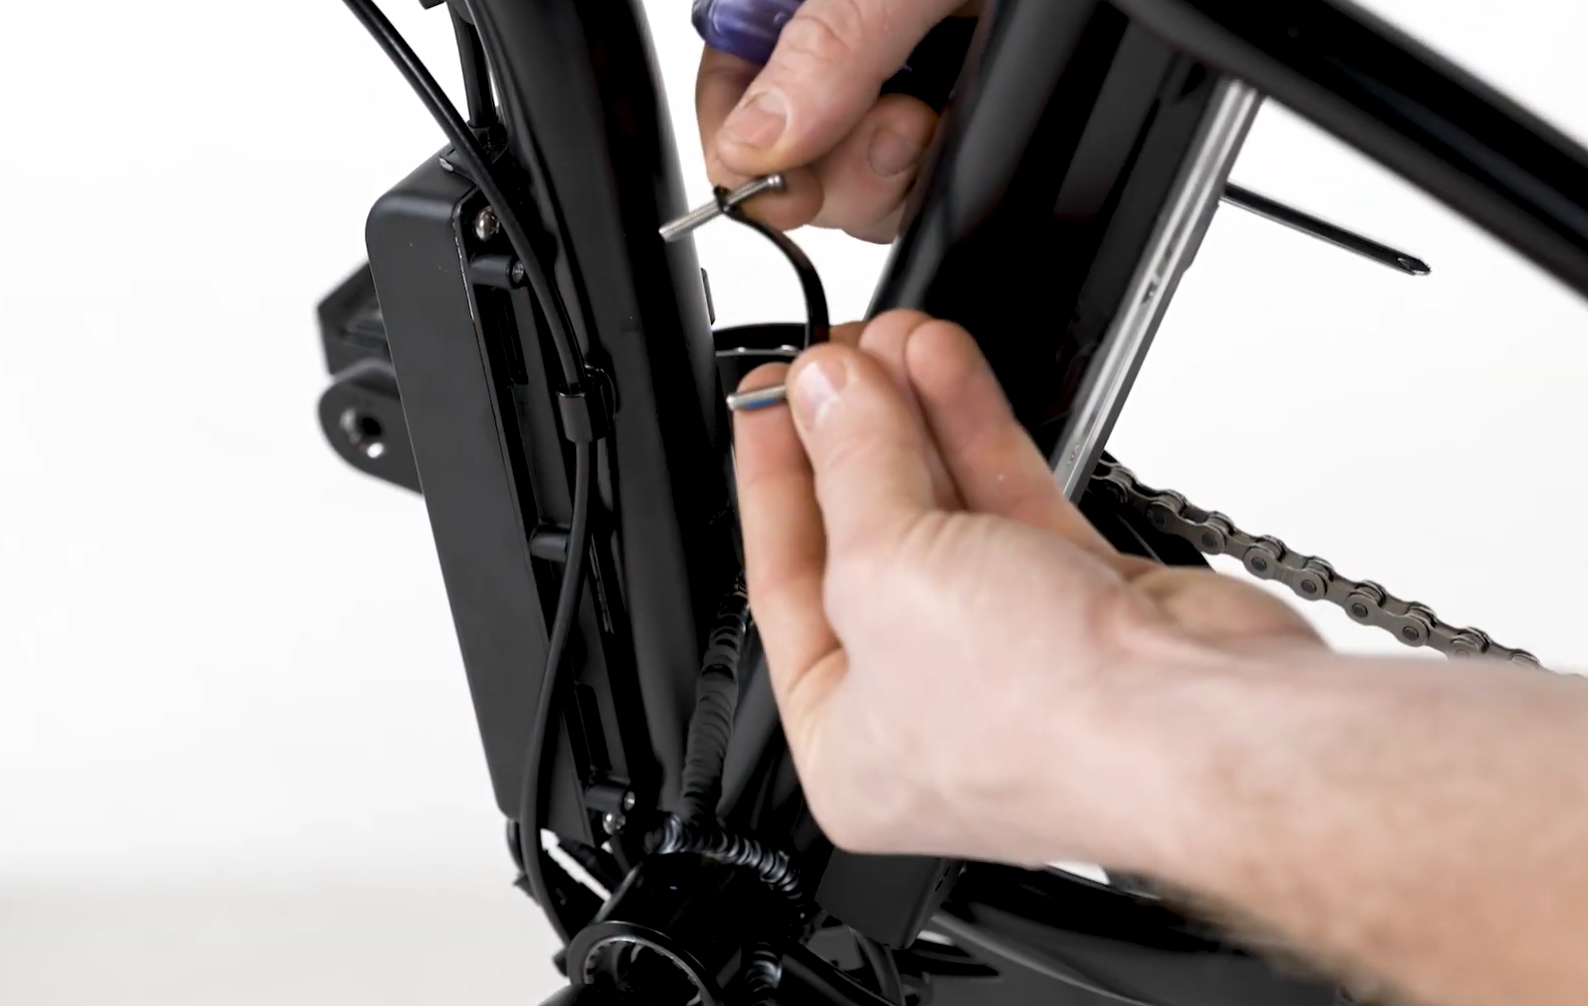
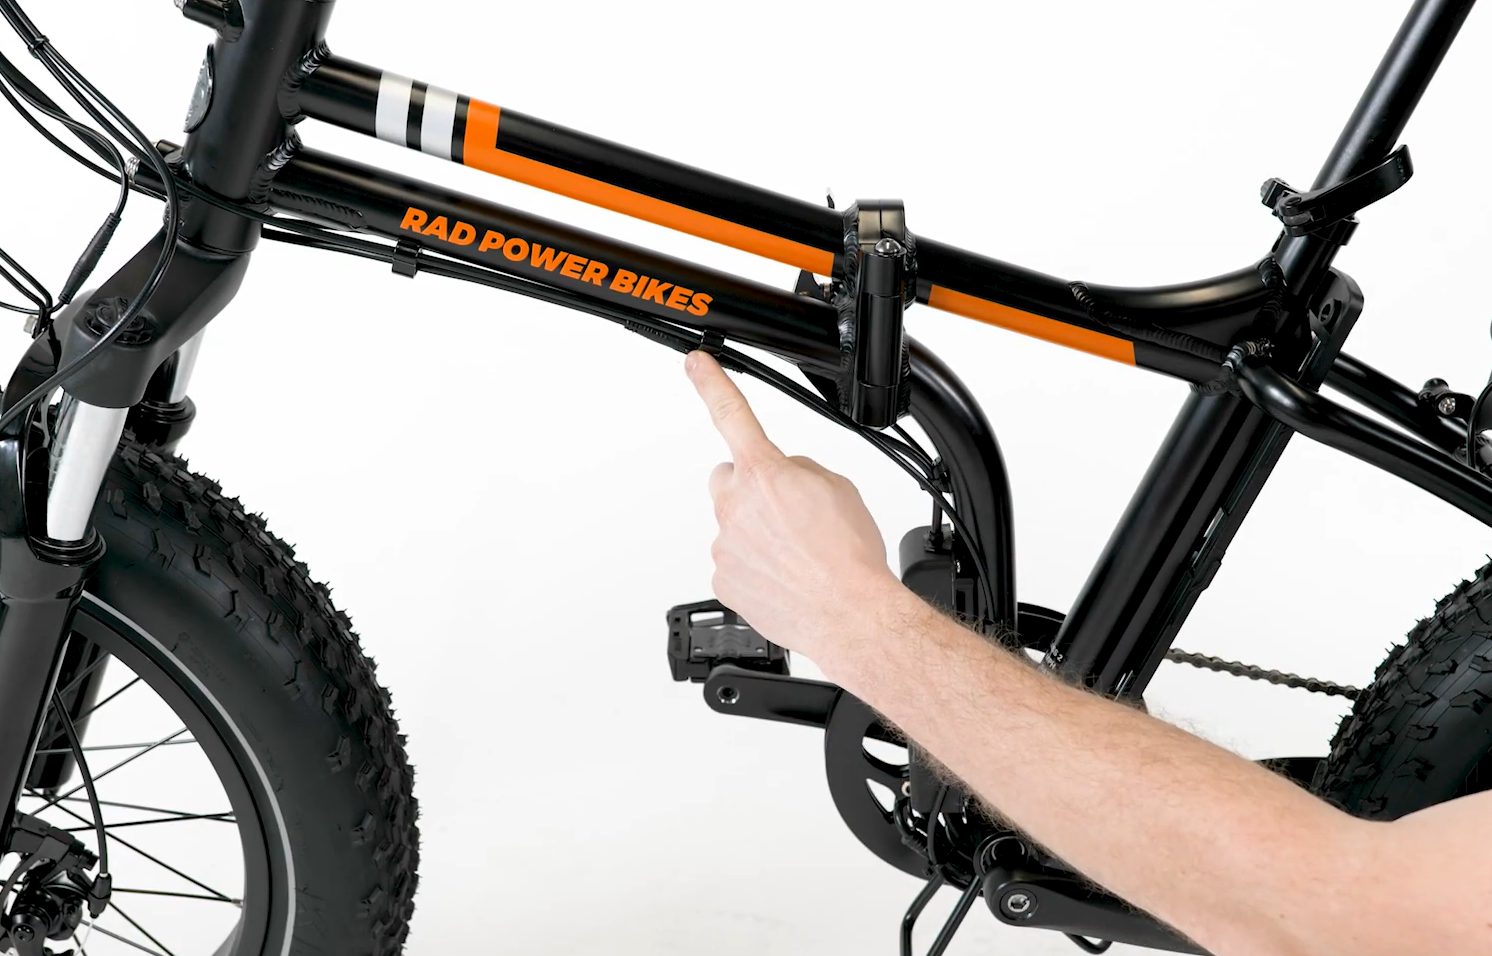
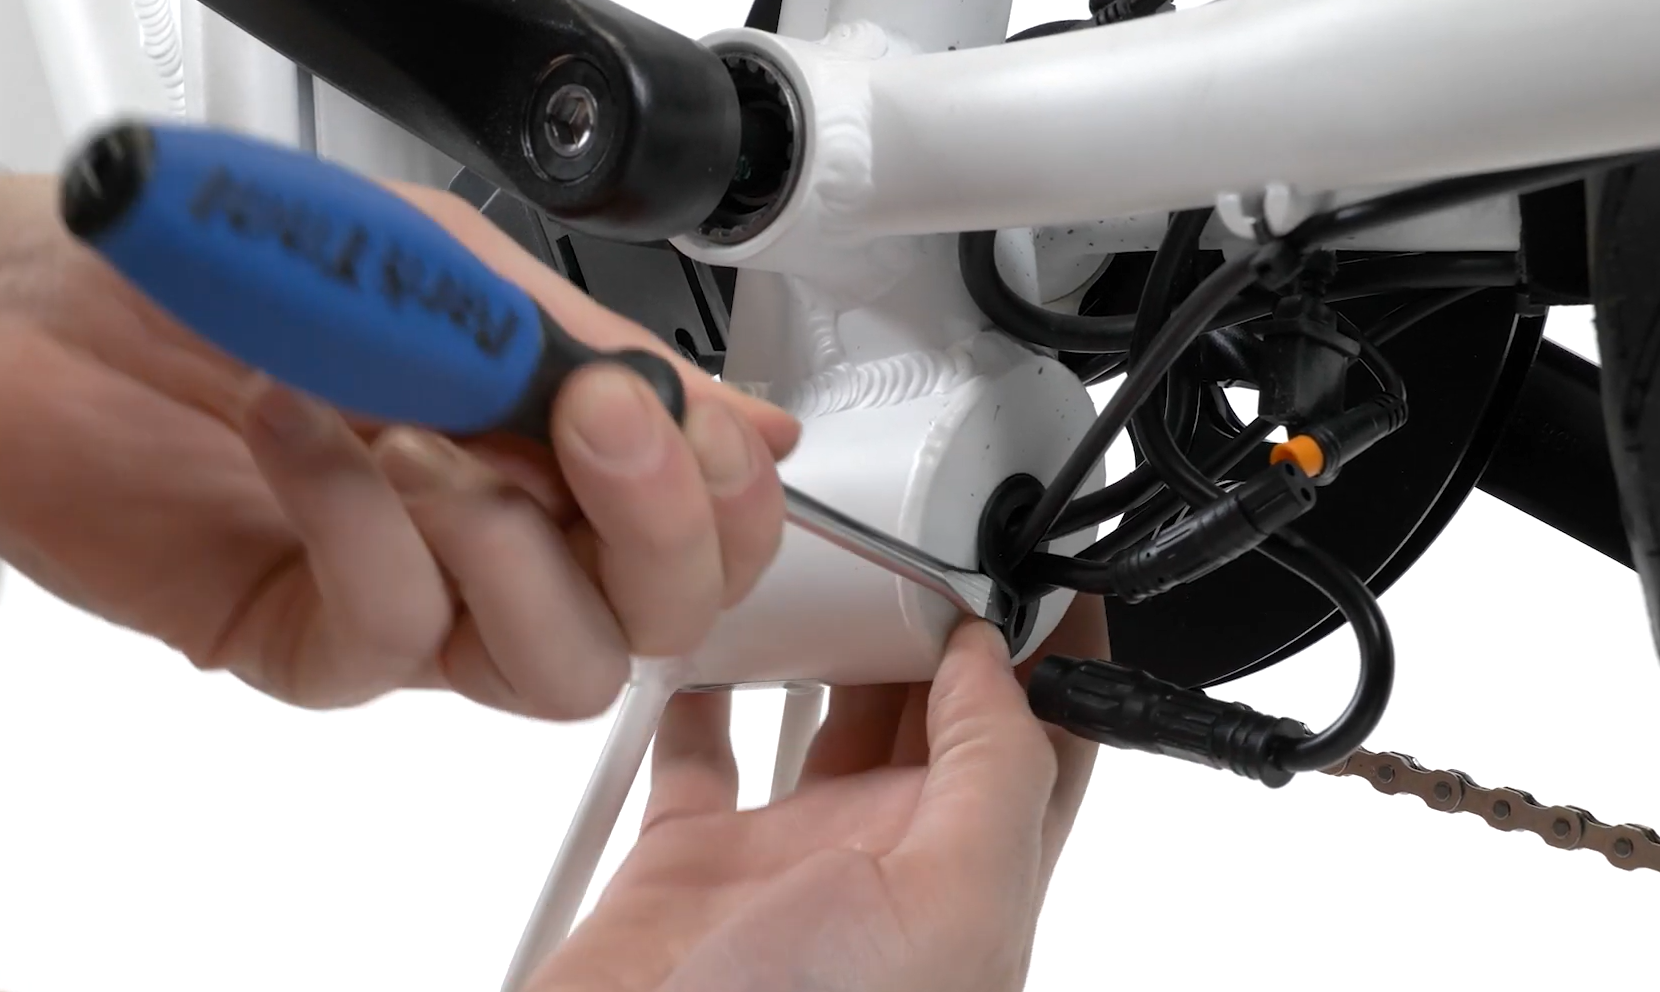
- Remove the controller mounting bolts. Locate the controller on the downtube, above the bottom bracket. Press the Phillips head screwdriver firmly against the bolt and turn slowly to prevent stripping the bolt head. Remove all four mounting bolts and two mounting brackets and set them aside.
Disconnect and Remove the Controller
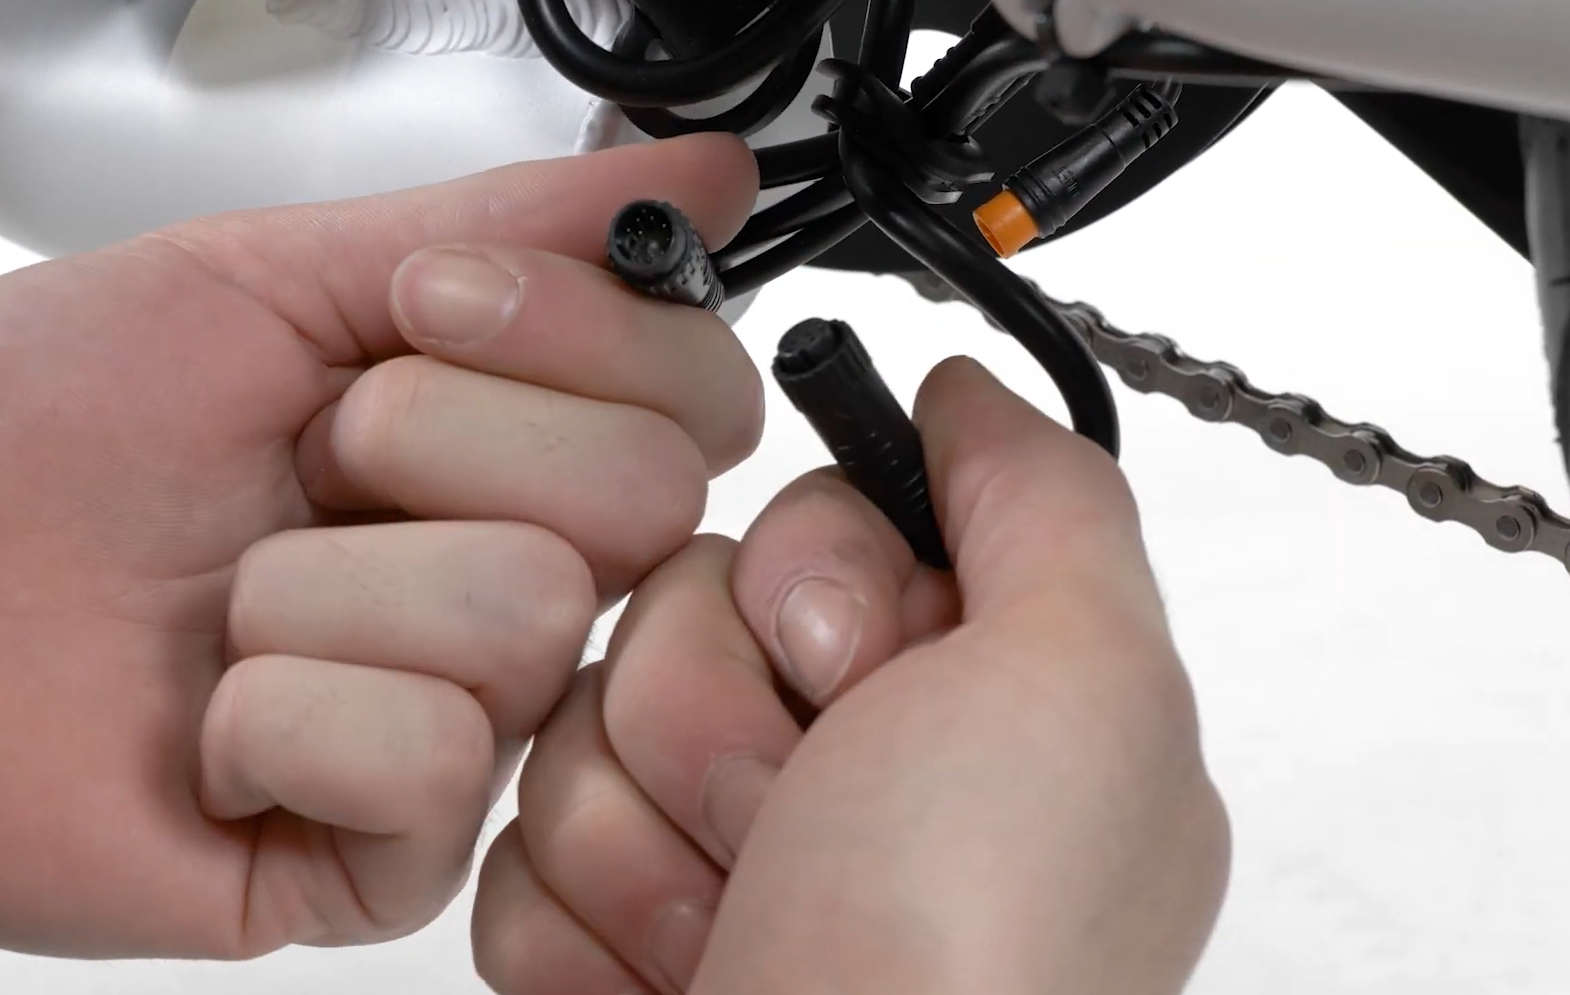
- Unplug each connector from the controller. Trace each cable coming out of the top and bottom of the controller to the connector. Snip zip ties as needed, and unplug each connector by pulling directly apart without twisting.
- Remove the old controller and dispose of it according to local electronics recycling rules.
Install the New Controller
- Position the new controller on the downtube so the mounting holes face the downtube and the side of the controller with the single cable is pointed upward.
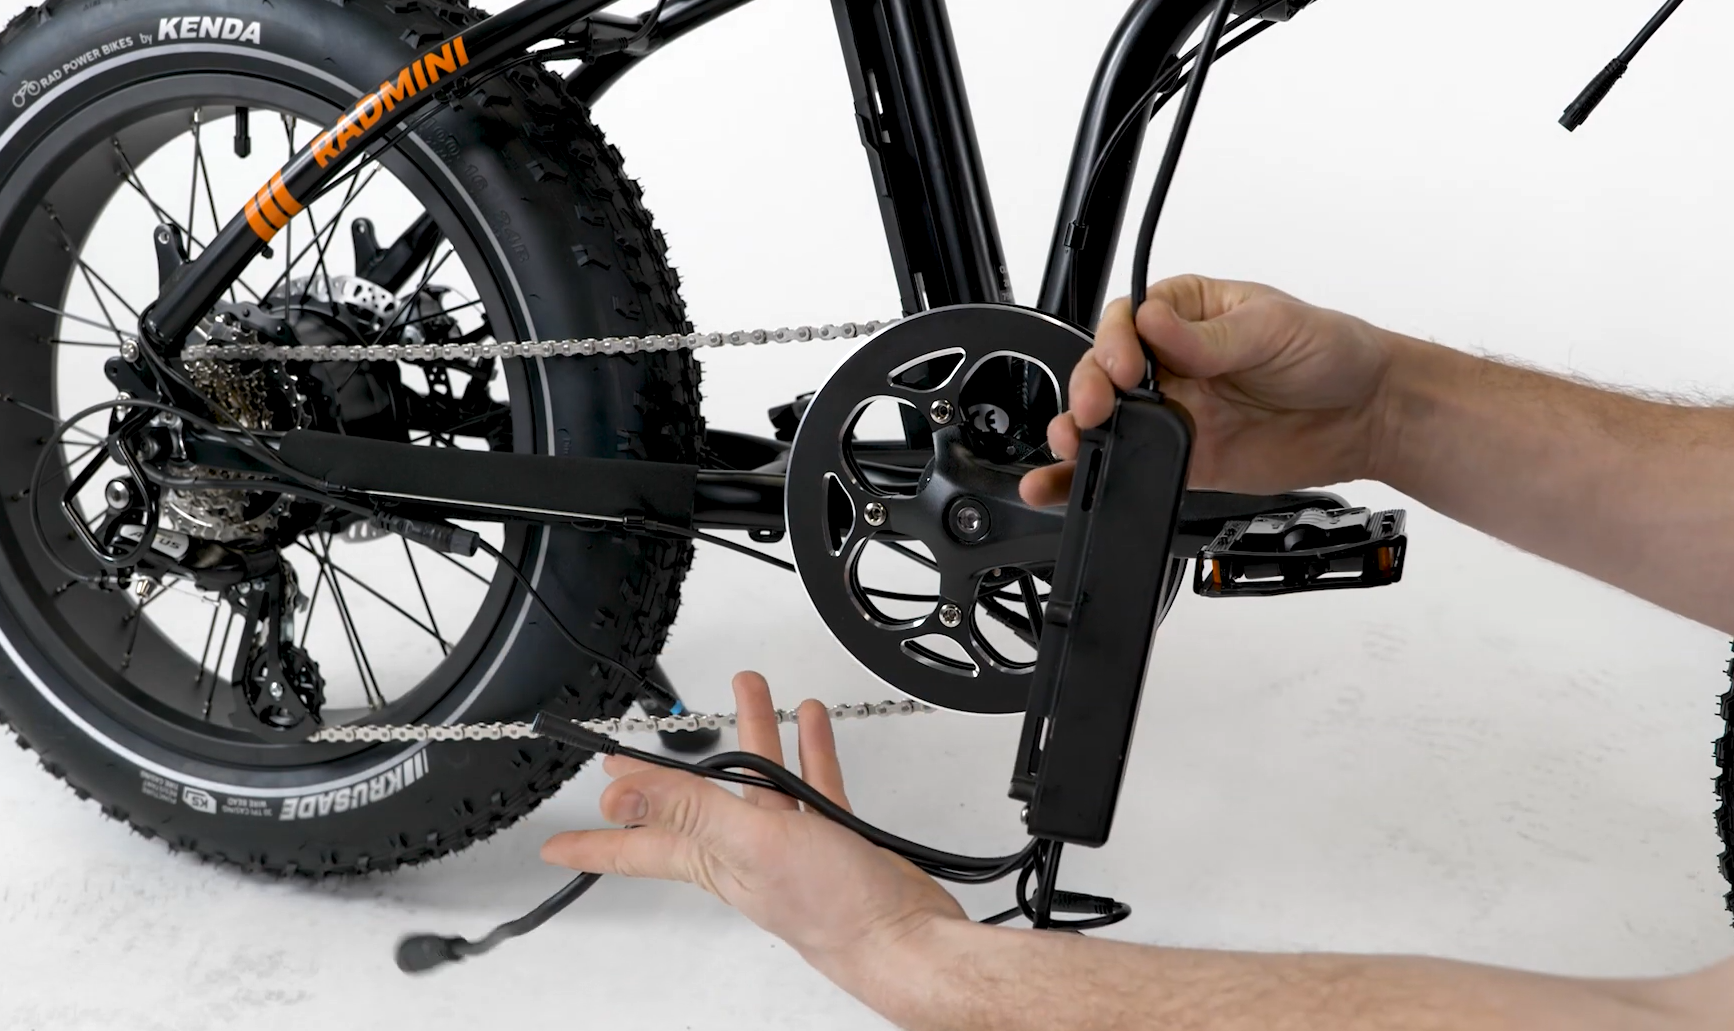
- Secure the controller to the downtube. Pass a bolt through a bracket and into a mounting point on the controller. Thread the bolt by hand and tighten partway. Repeat with the other bolts and mounting bracket. Ensure the shifter cable and brake cable on either side of the downtube are clear of the controller, mounting brackets, and bolts.
- Center and secure the controller. Ensure the controller is centered on the downtube, then tighten the four bolts evenly.
Connect the New Controller
- Plug in the wiring harness cable. Pass the cable coming out of the top of the controller through the cable guide on the downtube. Align the internal notch and pins (and external arrows) and press directly together, without twisting, to fully seat the connection.

- Plug in each remaining connector. Pass the connectors through the frame stand and toward the back of the bike. Locate the matching connector end. Carefully align the internal notch and pins (and external arrows) and press each side directly together, without twisting, to fully seat the connection.
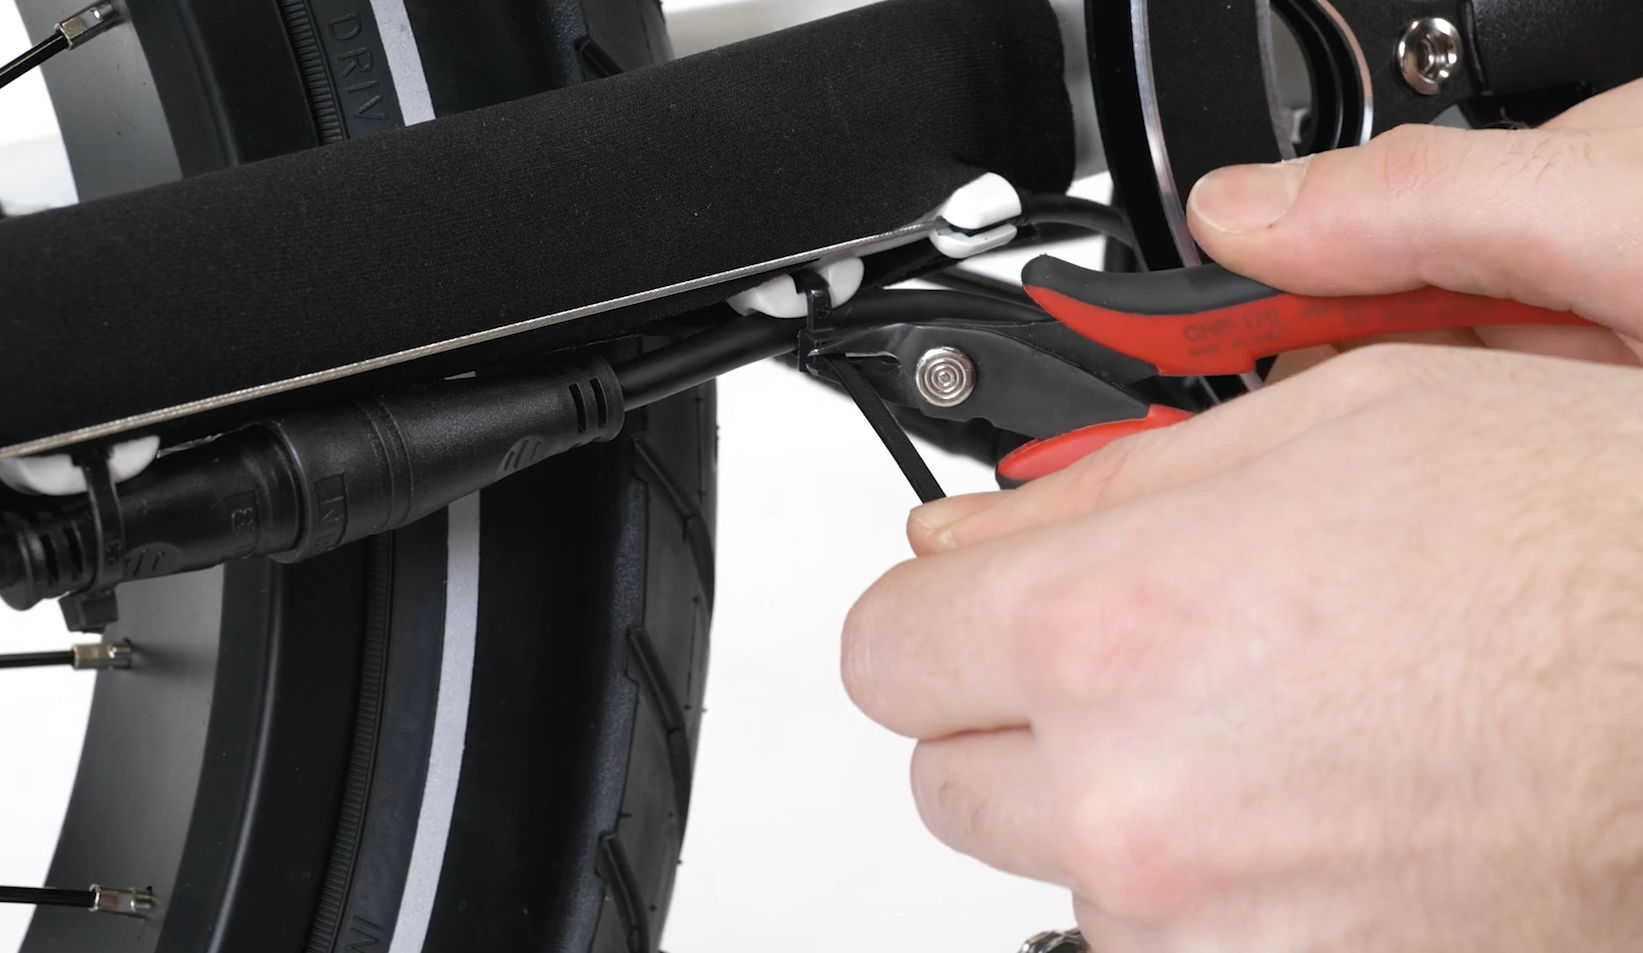
- Organize the cables and replace any zip ties. Secure all cables so they are clear of any moving parts. Snip zip tie excess and ensure the cut is flush and smooth.
- Reinstall the battery, check that all cables are free from any moving parts, and test the bike fully before riding.
RadMini Step-Thru
Gather the tools you will need:
- 4 mm Allen wrench,
- A Phillips head screwdriver (optional: a stubby screwdriver for easier access),
- Flat side cutters,
- Flat head screwdriver,
- A few zip ties, and
- The replacement controller from Rad Power Bikes
Access the Controller
- Turn off the bike, remove the battery, and discharge remaining power. Press and hold the MODE button on the LCD display remote until the display turns off. Turn the battery key barrel to the off-and-unlocked position, then remove the battery. Press and hold the MODE button again until the display remains off.
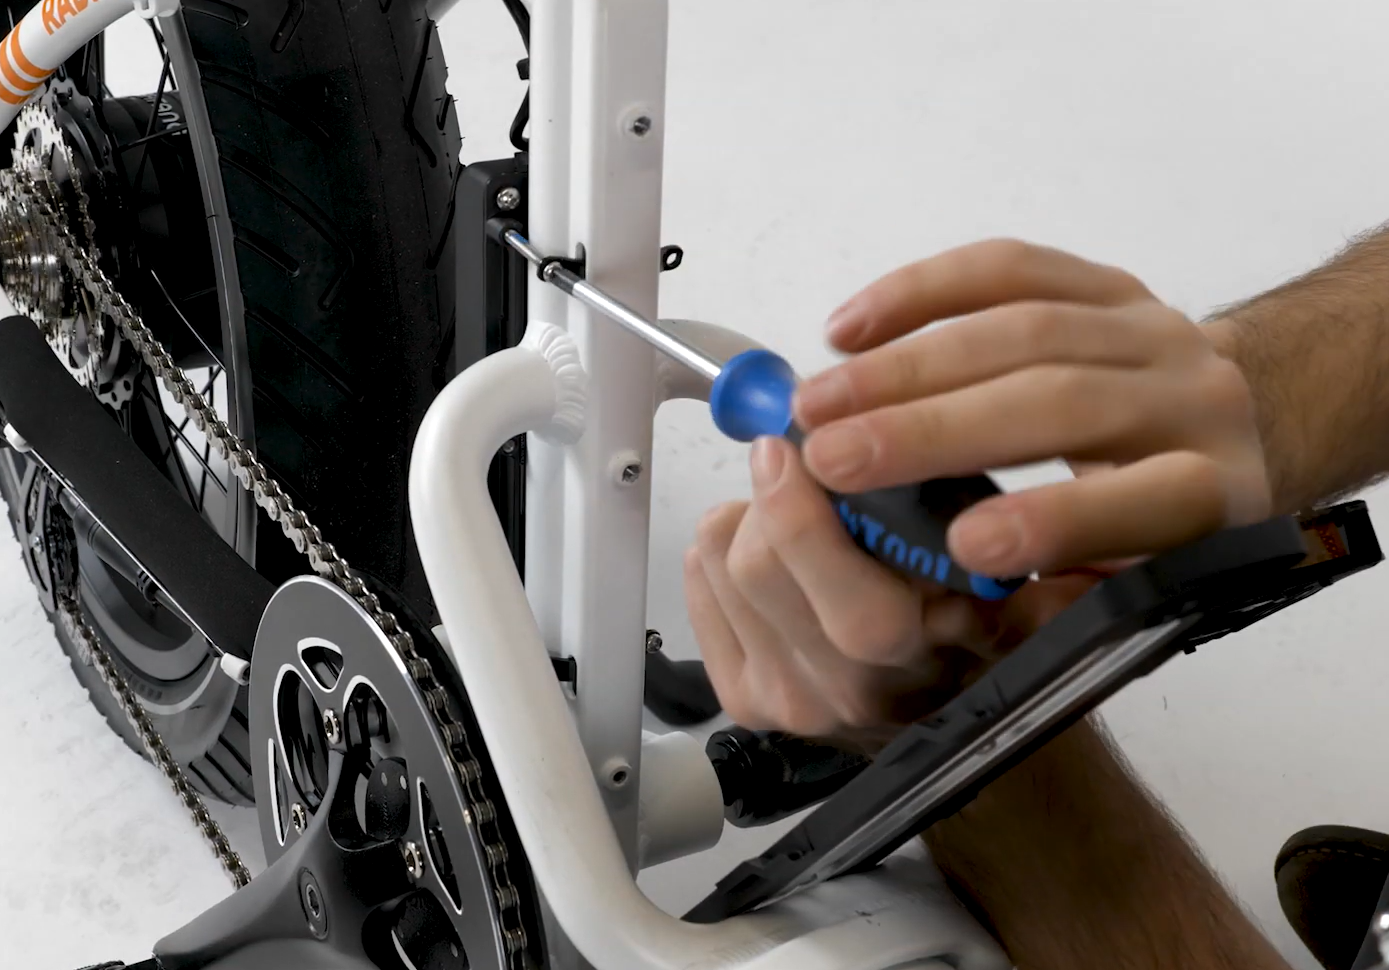
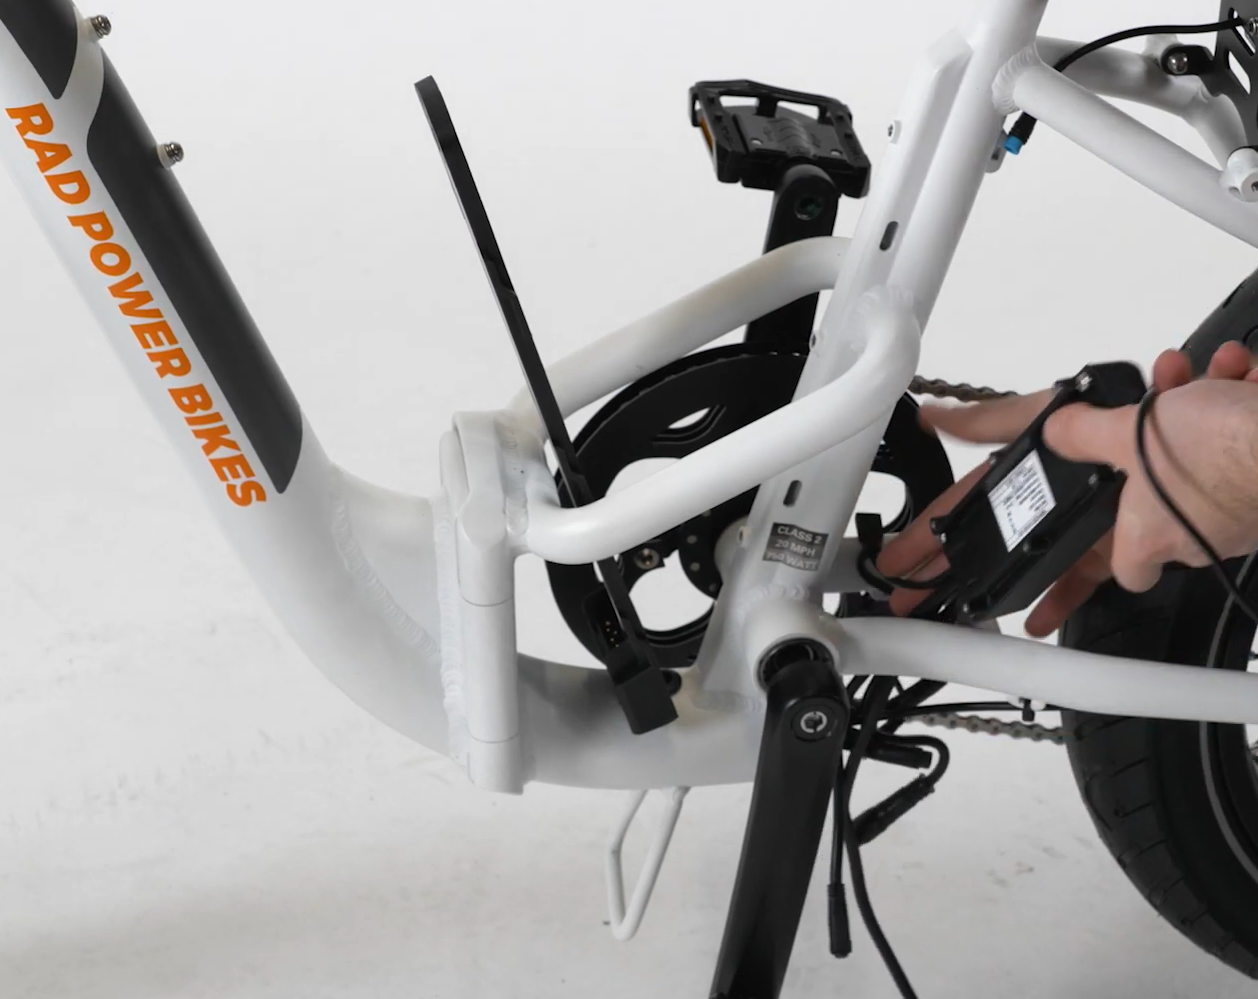
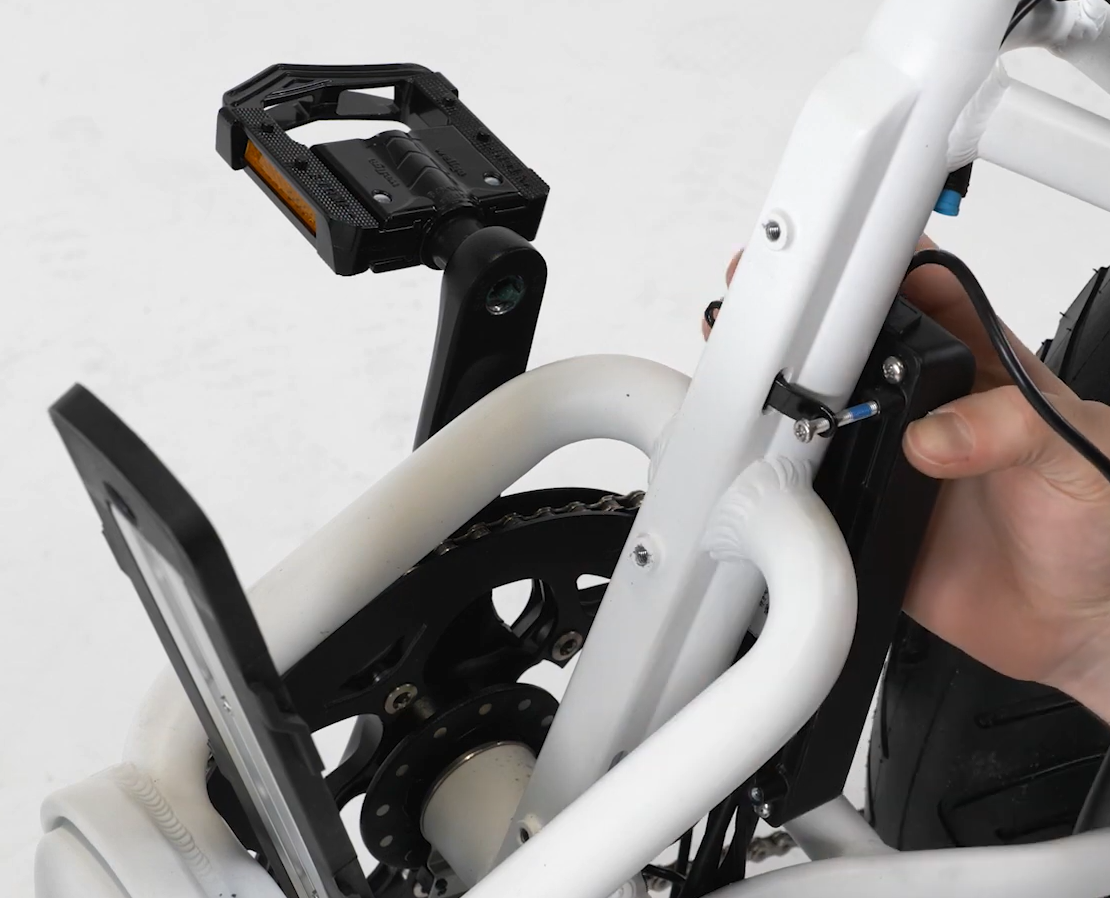
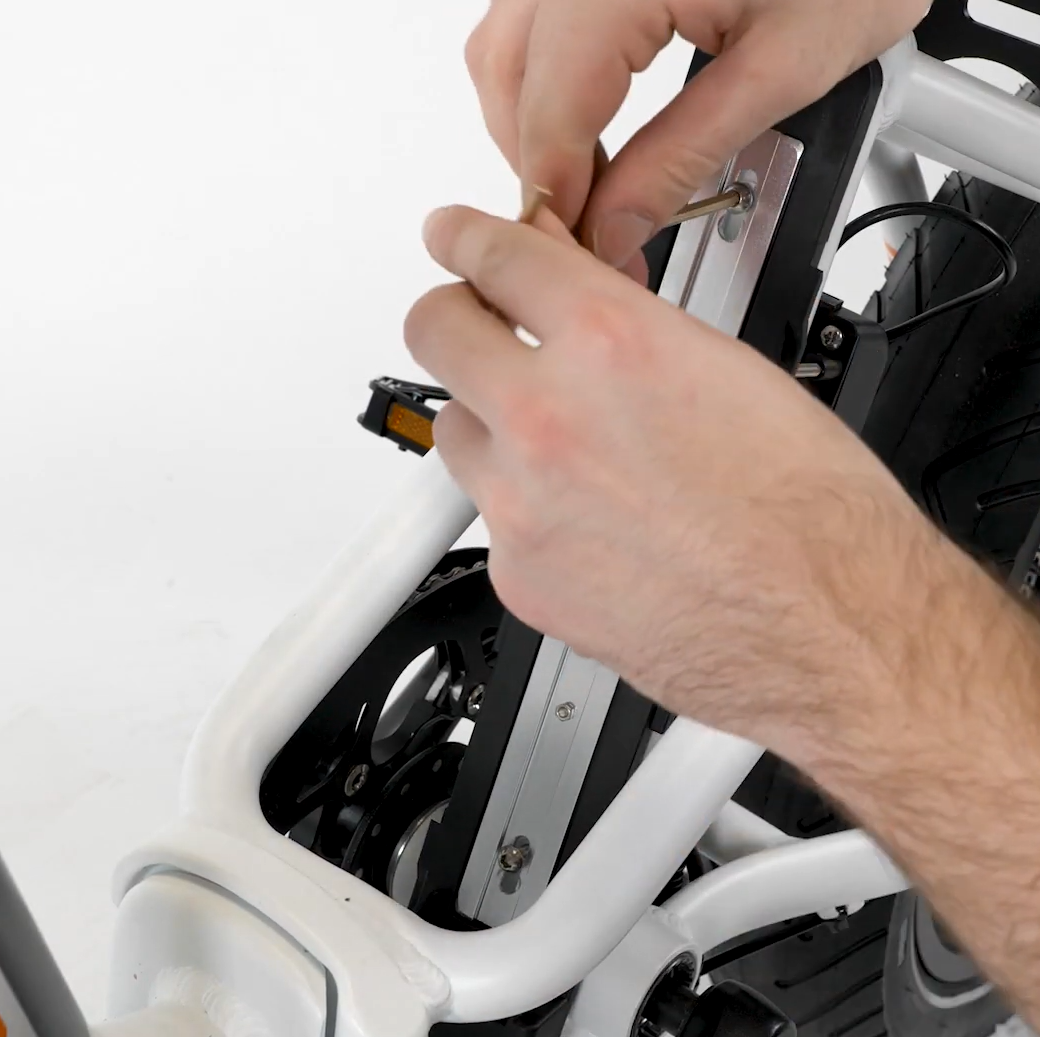
- Remove the battery mounting tray bolts. Use a 4 mm Allen wrench to remove the four bolts securing the battery mounting tray to the seat tube. Press the Allen wrench firmly against the bolt and twist slowly to prevent stripping the bolt head. Set the bolts aside and tilt the tray away from the seat tube to access the controller mounting bolts.
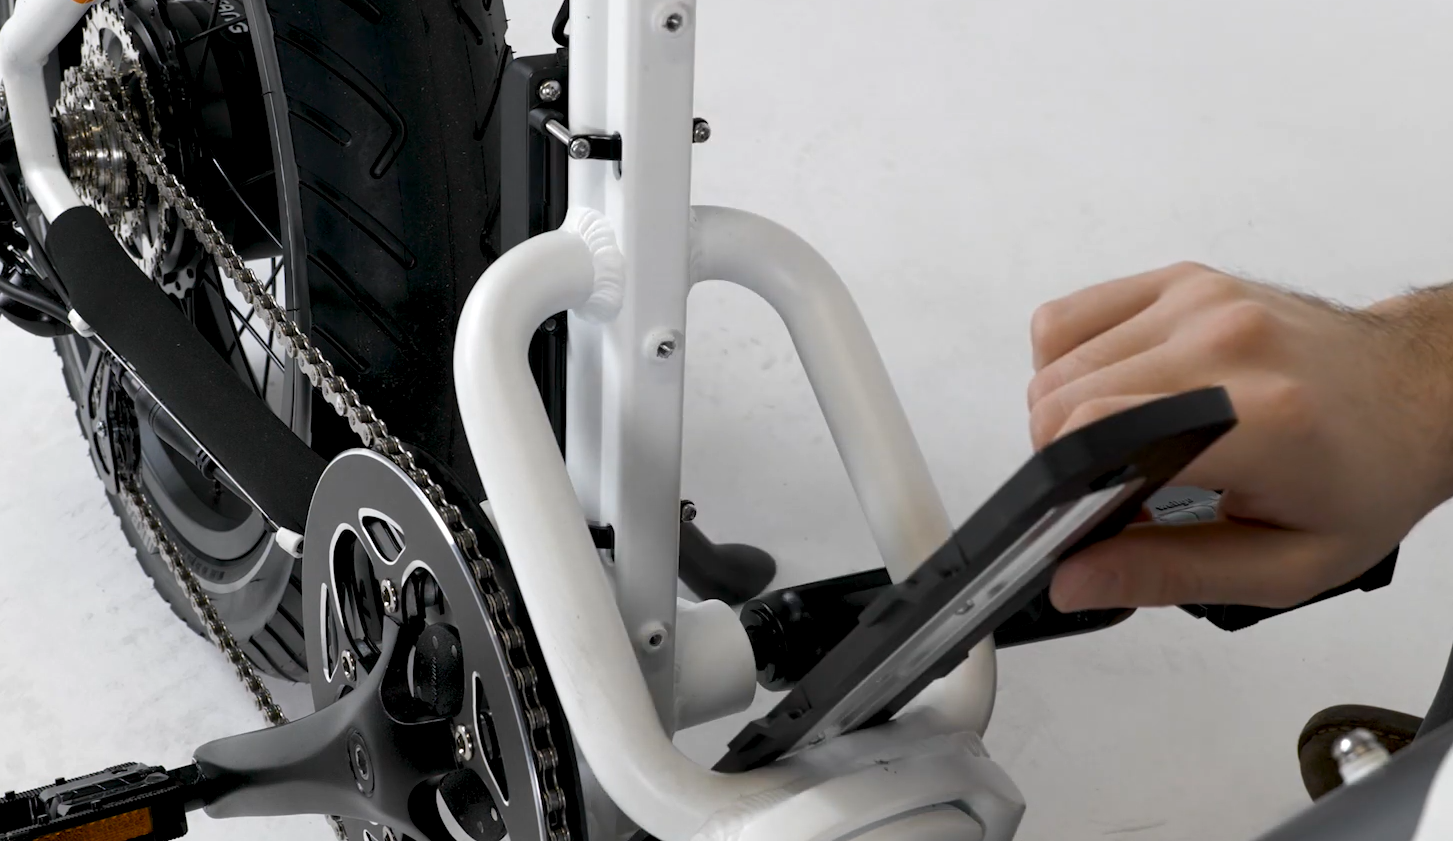
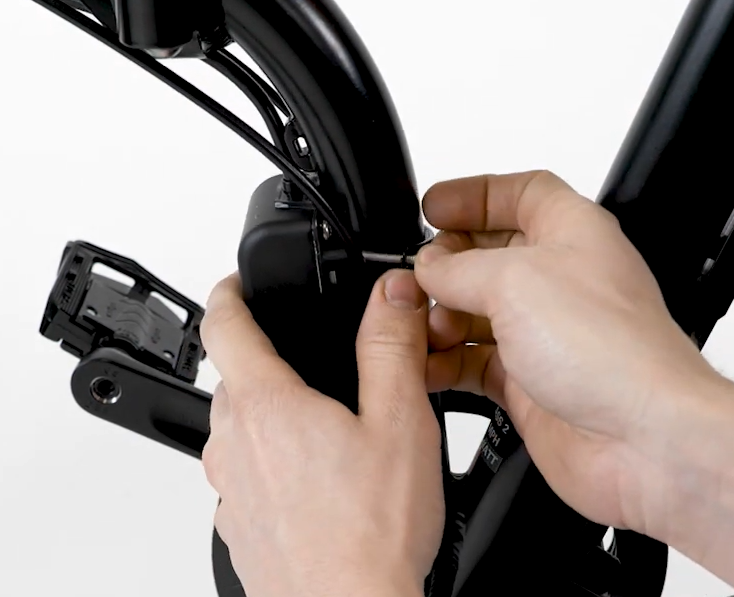
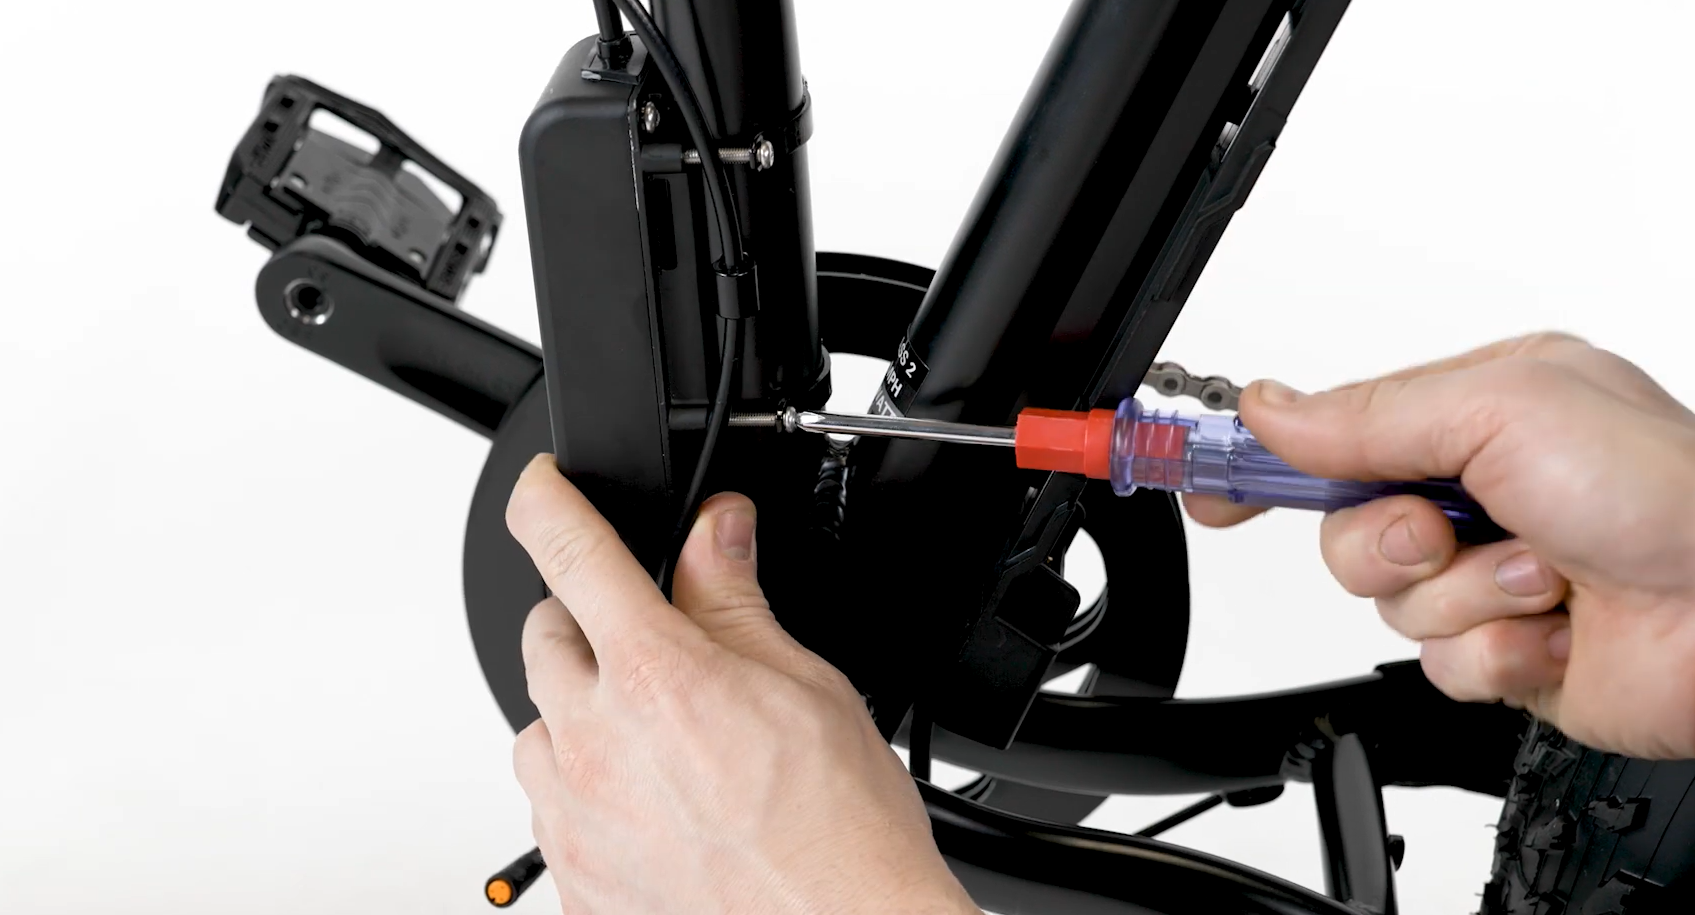
- Remove the controller mounting bolts. Press the Phillips head screwdriver firmly against the bolt and turn slowly to prevent stripping the bolt head. Remove all four mounting bolts and two mounting brackets and set them aside.
Disconnect and Remove the Controller
- Unplug the taillight connector. Trace the cable coming out of the top of the controller to the connector. Snip zip ties as needed, and unplug the taillight connector by pulling directly apart without twisting.
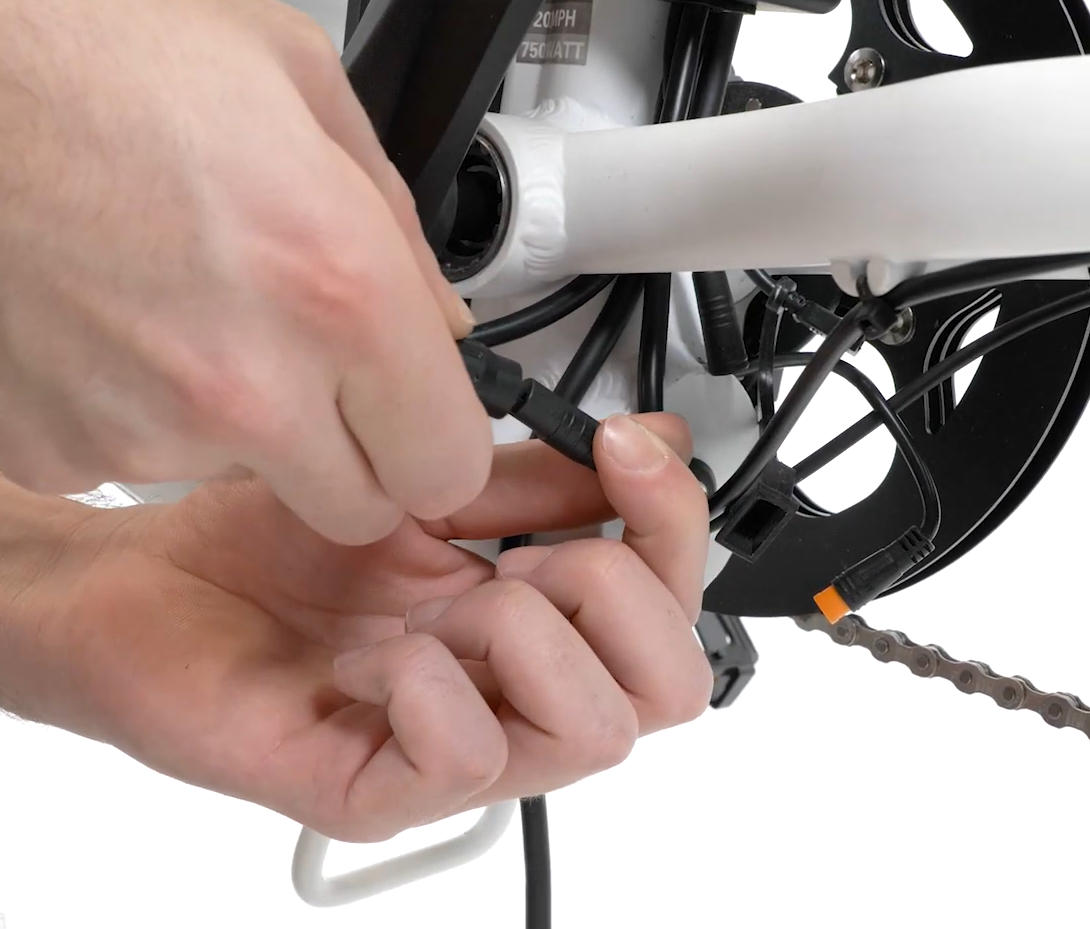
- Unplug the battery connector, PAS sensor connector, and motor connector. Trace each cable coming out of the bottom of the controller to the connector. Snip zip ties as needed, and unplug each connector by pulling directly apart without twisting.
- Access and unplug the wiring harness.
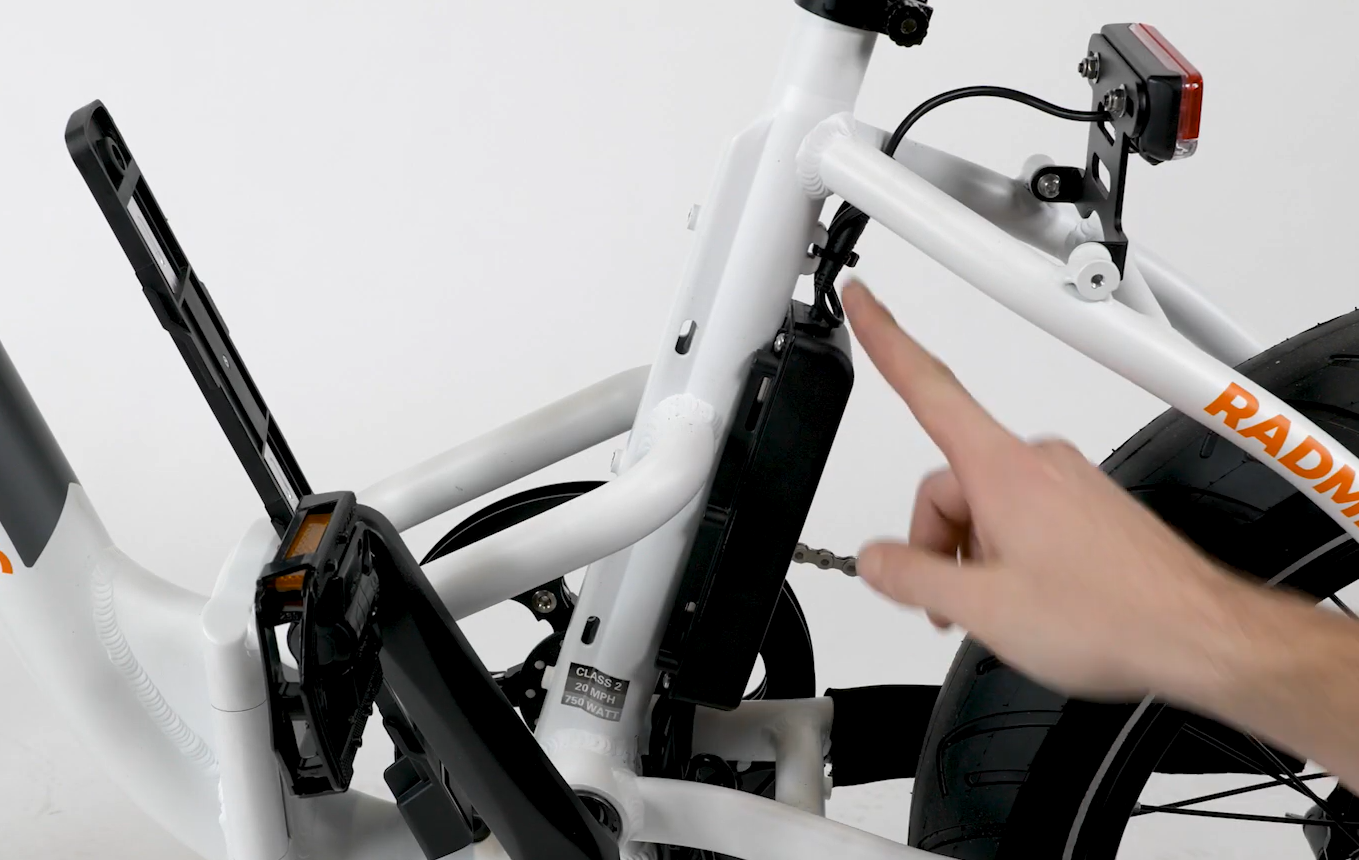
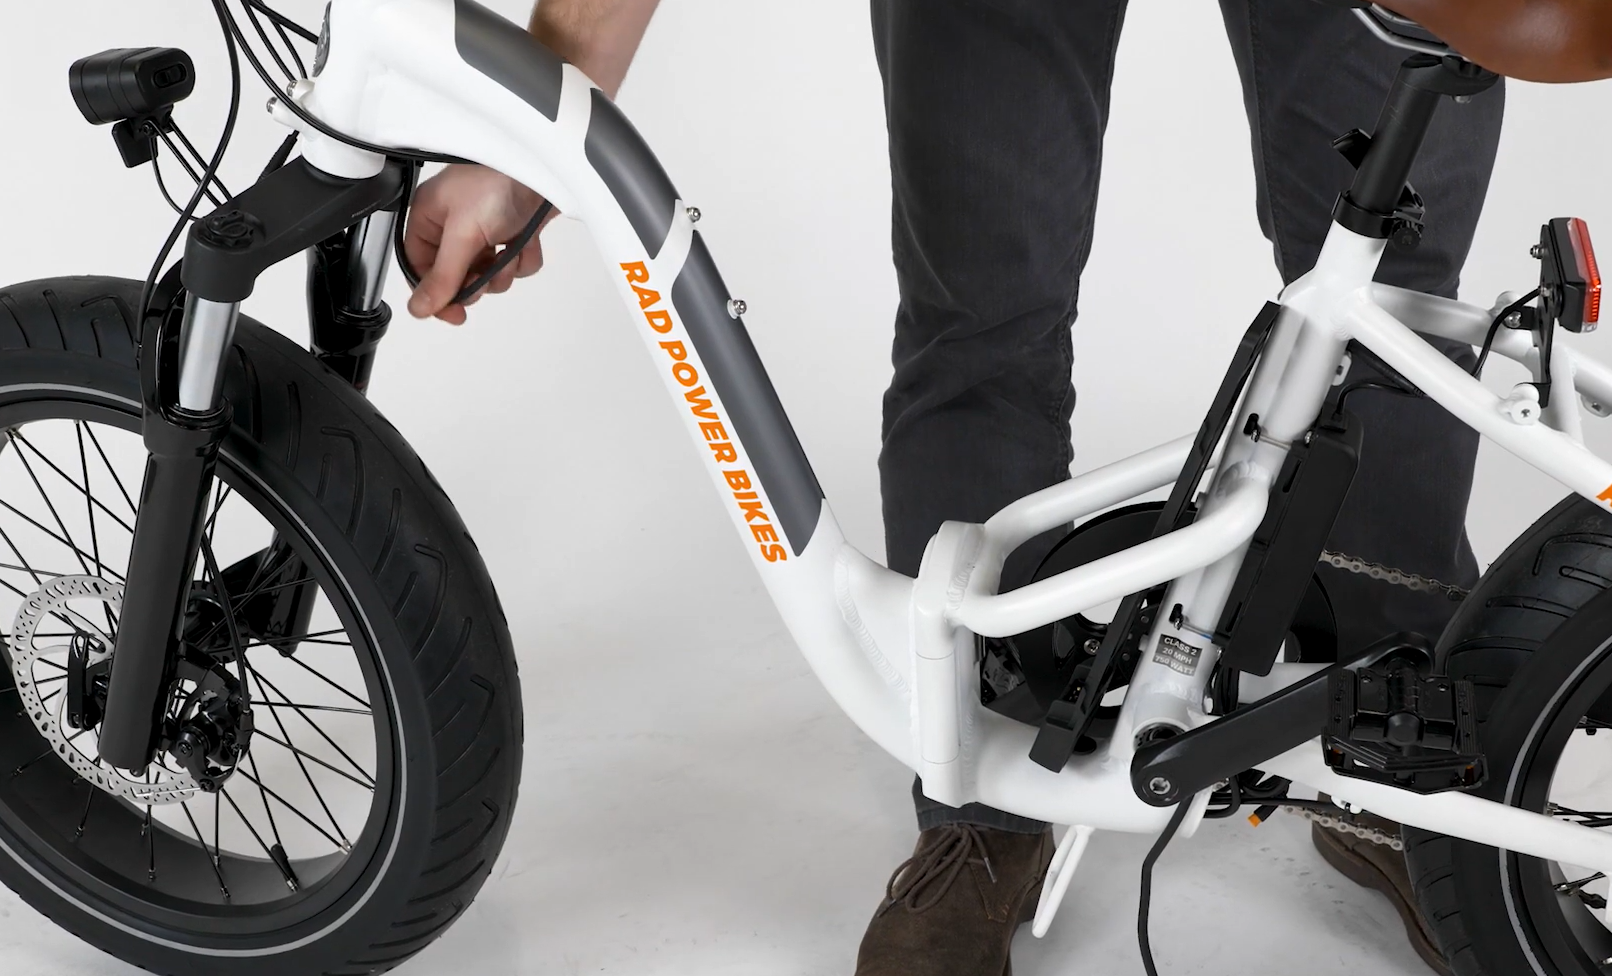
- Create cable slack. Turn the handlebar to the side and locate the large wiring harness cable at the front of the bike. Gently feed the cable into the upper cable opening at the front of the downtube.
- Unseat the rubber grommet at the lower cable opening of the downtube. Use a flat head screwdriver to carefully unseat the rubber grommet. Use caution to not damage the cable housing or scratch the frame.
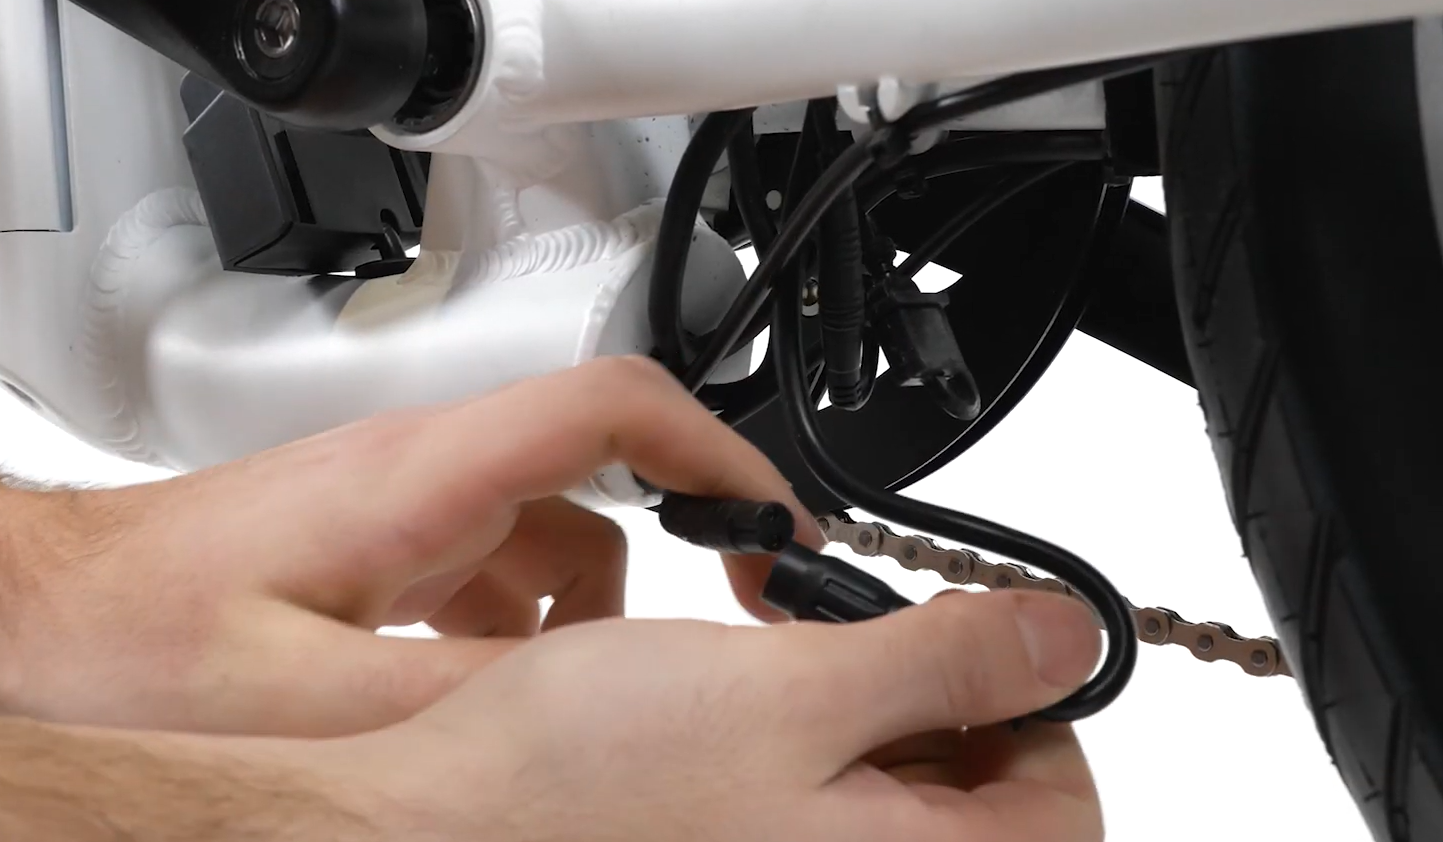
- Pull out the wiring harness connector and unplug. Use caution to avoid unplugging the connector while it is still in the frame and gently pull the wiring harness connector out of the opening. Unplug the connector by pulling directly apart without twisting.
- Create cable slack. Turn the handlebar to the side and locate the large wiring harness cable at the front of the bike. Gently feed the cable into the upper cable opening at the front of the downtube.
- Remove the old controller and dispose of it according to local electronics recycling rules.
Install the New Controller
- Position the new controller on the seat tube so the mounting holes face the front of the bike and the side with the single cable is pointed upward.

- Pass the cables coming out of the bottom of the controller down through the opening between the frame tubing.
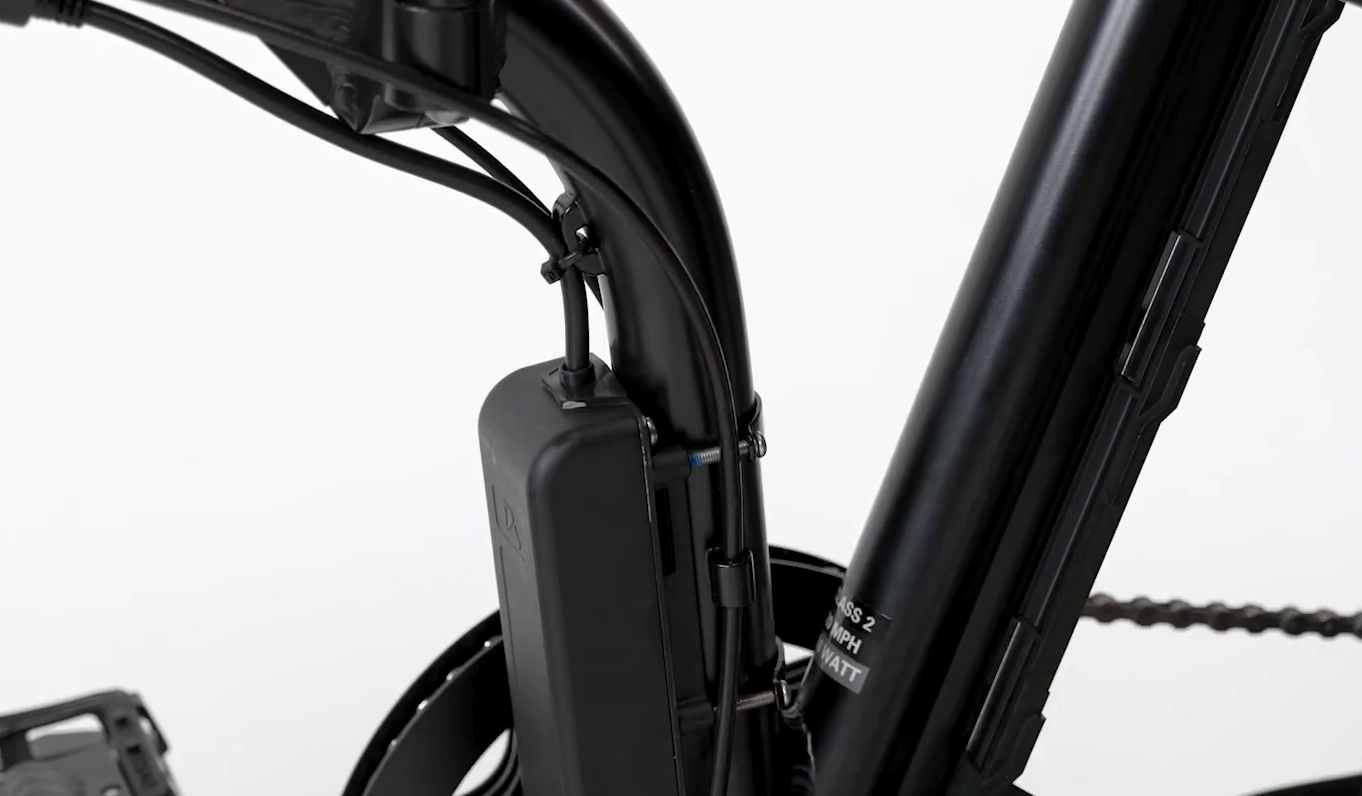
- Secure the controller to the bike. Pass the mounting bracket through the mounting point on the frame. Pass a bolt through the bracket and into the mounting point on the controller and thread the bolt by hand. Repeat with the other bracket and three bolts, tightening partway.
- Center and secure the controller. Ensure the controller is centered on the downtube, then use a Phillips head screwdriver to tighten the four bolts evenly.

Connect the New Controller
- Plug in the taillight connector. Carefully align the internal notch and pins (and external arrows) and press each side directly together, without twisting, to fully seat the connection.
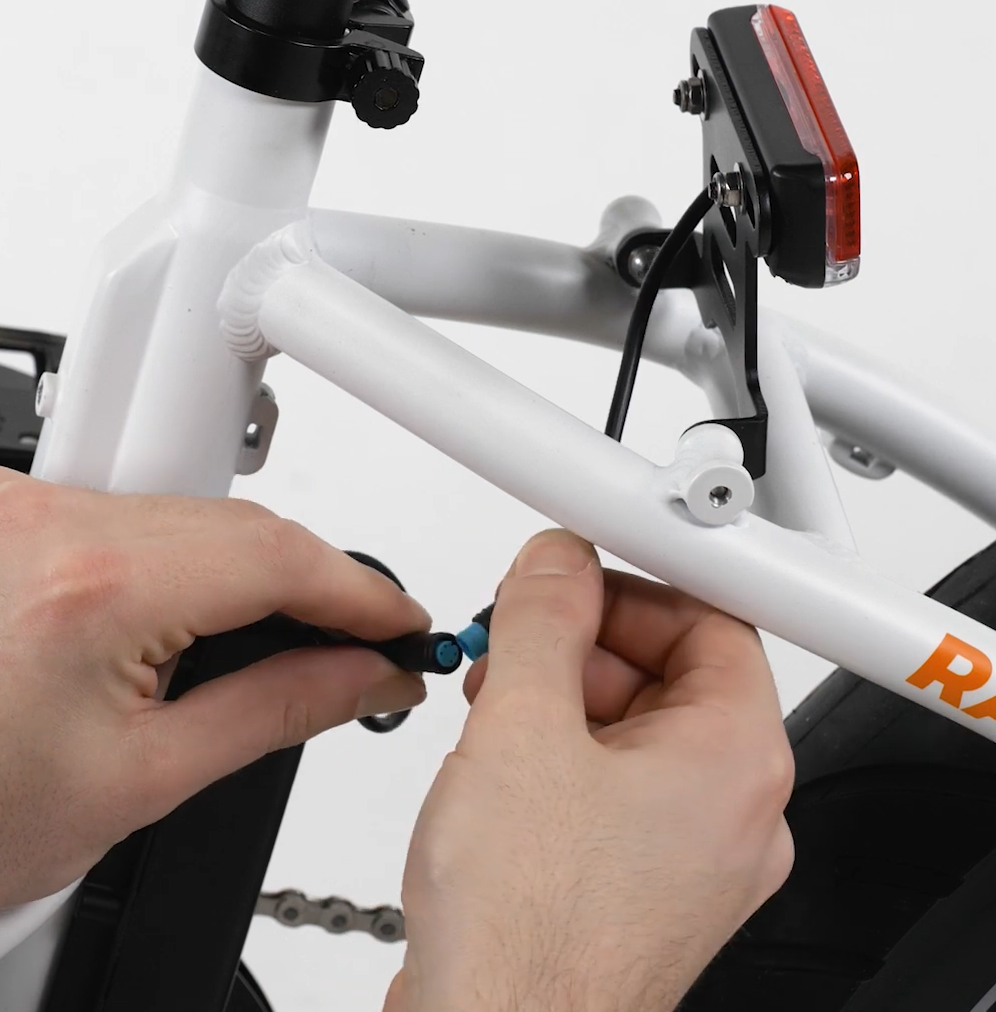
- Plug in the wiring harness connector. Pass the connector end through the grommet and locate the matching connector end. Align the internal notch and pins (and external arrows), and press directly together, without twisting, to fully seat the connection.
- Double-check the wiring harness connector is fully secure, then pass the connector through the lower cable opening of the downtube. Carefully press the grommet into place at the cable opening.
- Create cable slack at the handlebar. At the top of the downtube, gently pull the wiring harness cable to create cable slack at the front of the bike to allow the front wheel to turn fully.
- Plug in the remaining connectors. Locate the matching connector end, carefully align the internal notch and pins (and external arrows) and press each side directly together, without twisting, to fully seat the connection.
- Organize the cables and replace any zip ties. Secure all cables so they are clear of any moving parts. Ensure the motor cable and shifter cable on the drive-side of the bike are zip tied to the chainstay and clear of the chainring and rear wheel. Snip zip tie excess and ensure the cut is flush and smooth.
- Reinstall the battery mounting tray. Thread on the three bolts by hand, then use a 4 mm Allen wrench to tighten the bolts evenly. When fully secure, the battery mounting tray must not move.
- Reinstall the battery, check that all cables are free from any moving parts, and test the bike fully before riding.