RadWagon rear wheel removal guide
This guide will show you how to remove and reinstall the rear wheel on a RadWagon. The photos below show a 2020 RadWagon, but the process will be similar for most RadWagon models, with the exception of the original 2015-2017 RadWagon model (see below).
Tools Needed:
- Wooden blocks to prop up the bike
- 15 mm wrench to remove rear axle (RadWagon 1)
- 18 mm wrench to remove rear axle (RadWagon 2-4)
- 21 mm wrench to remove rear axle (RadWagon 5)
- 4 mm Allen wrench
- Flat side cutters
- Torque wrench with socket heads or crowfoot bit
- A friend to help
- A few zip ties
- Nitrile gloves (optional)
Remove the Wheel
- Get the bike ready for maintenance. Turn off the bike, remove the battery, and press and hold MODE or the Power button to discharge any remaining power.
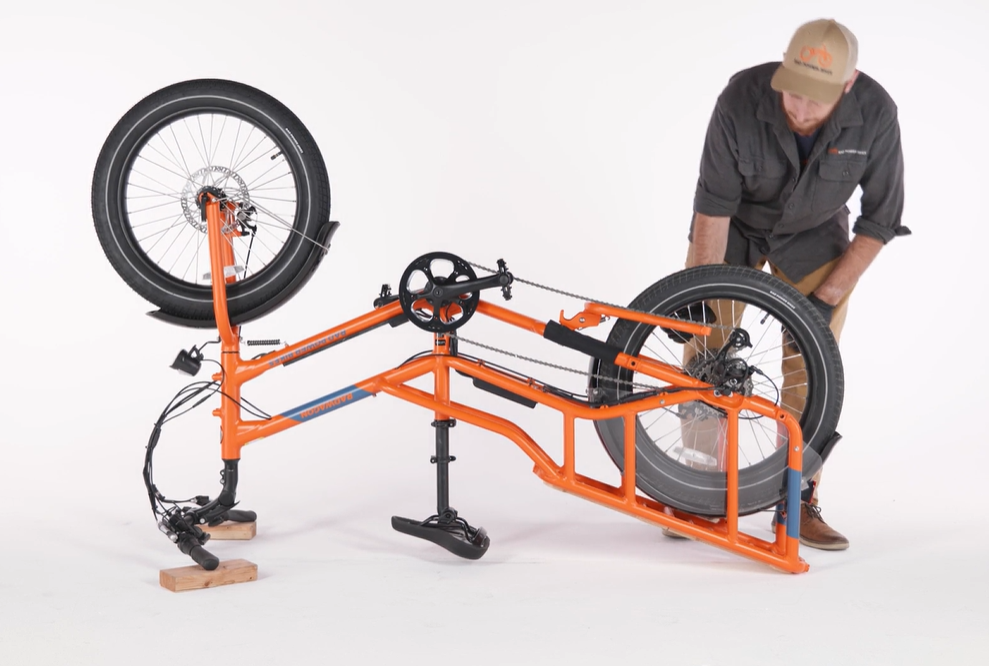
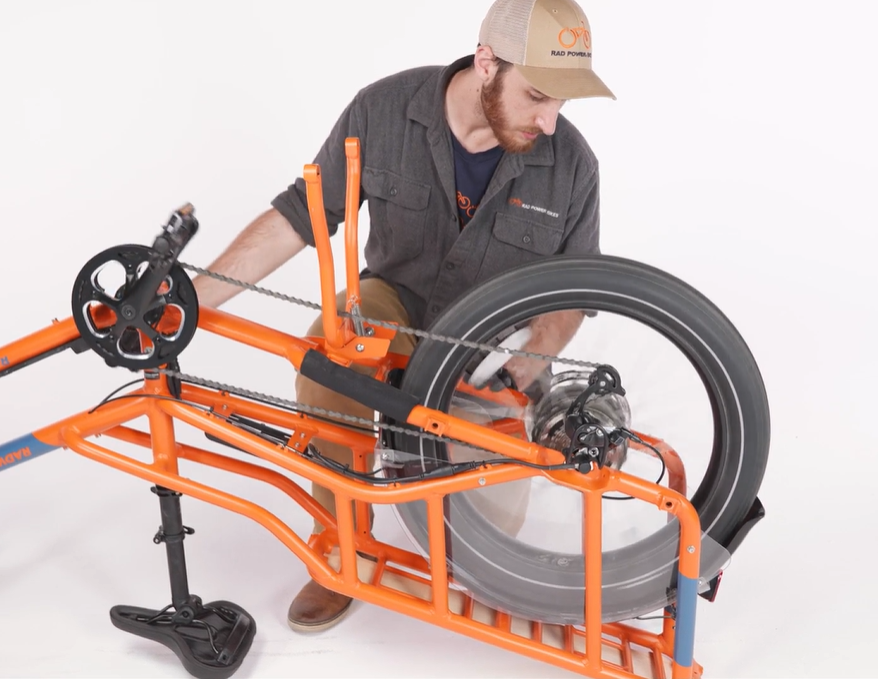
- Flip over the bike. Have a friend help flip over the bike. Set the handlebar grips on blocks to protect the LCD display from damage while performing maintenance.
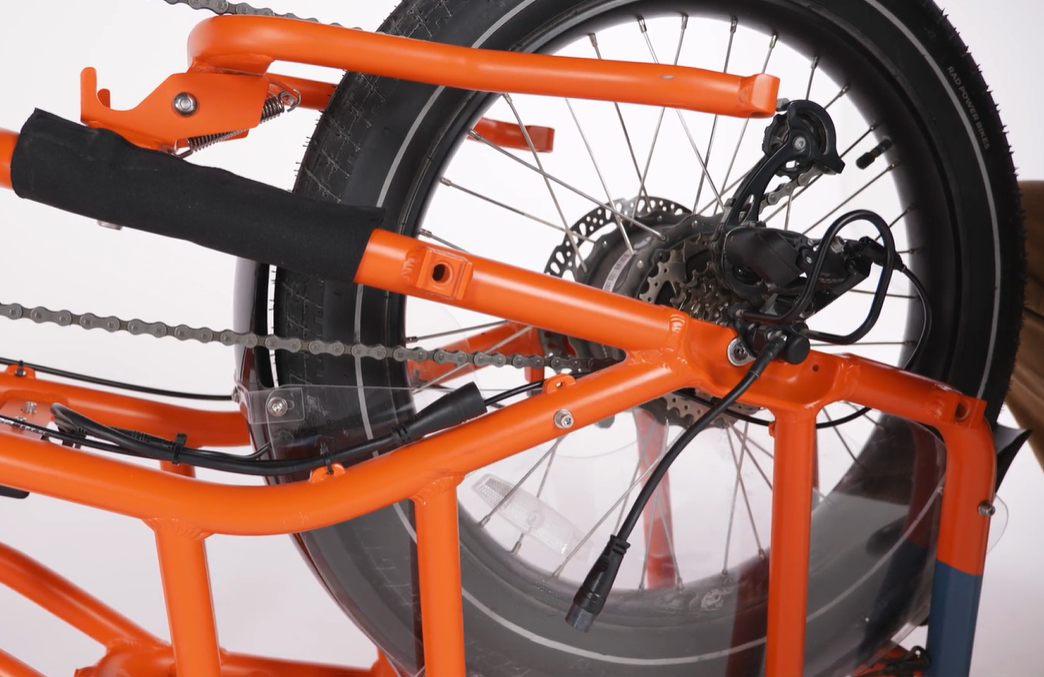
- Locate and unplug the motor cable. The motor cable is located by the chainstay. Snip zip ties as needed and pull the connector directly apart, without twisting, to unplug.
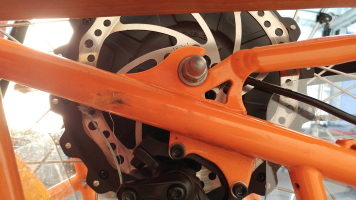
- Remove the torque arm bolt. On the brake side of the wheel, use a 4 mm Allen wrench to remove the torque arm bolt and set aside.
Do not touch the brake rotor, which has sharp edges and can cause serious injury. Touching the brake rotor or brake pads with bare skin can also transfer natural oils. Oils or other lubricants can decrease braking performance. We recommend wearing protective gloves when working near the braking system. 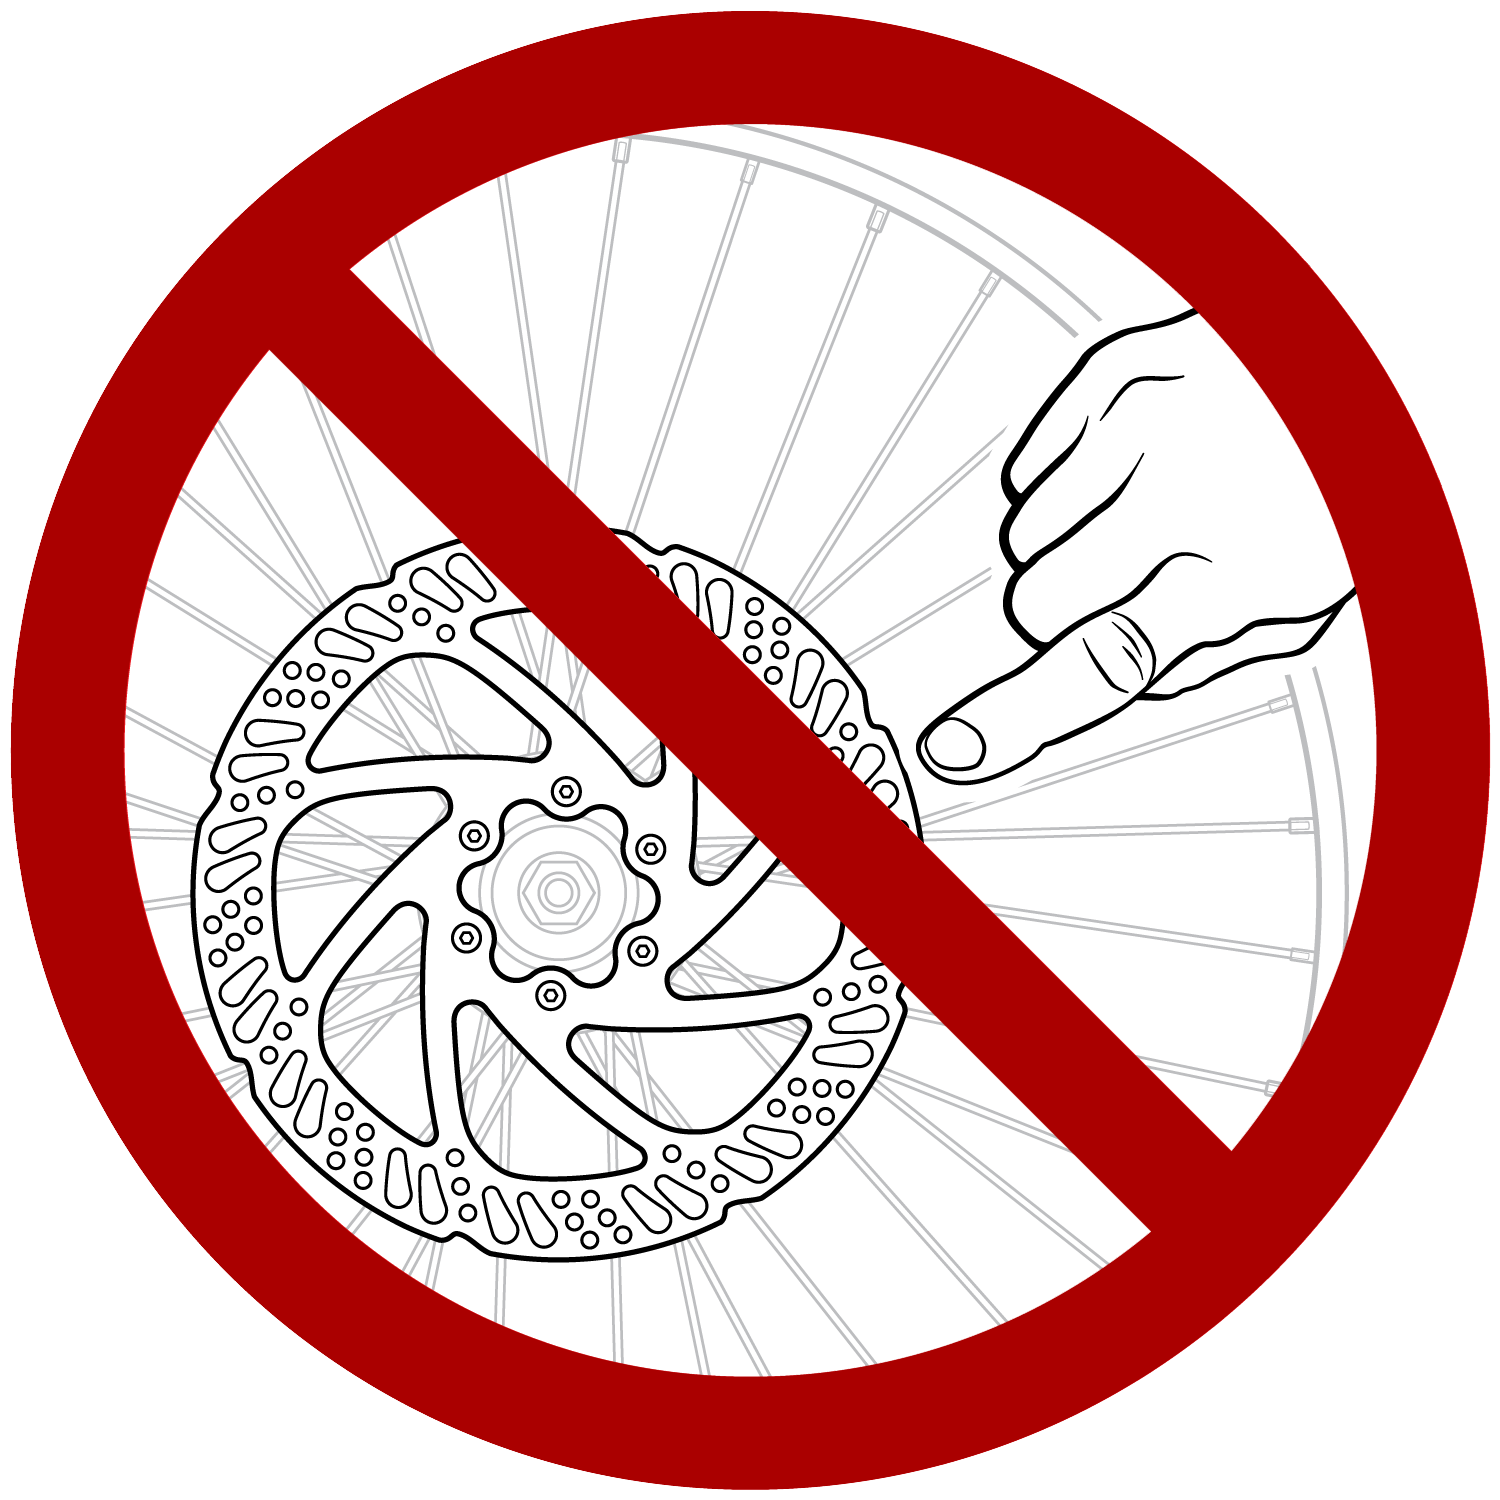
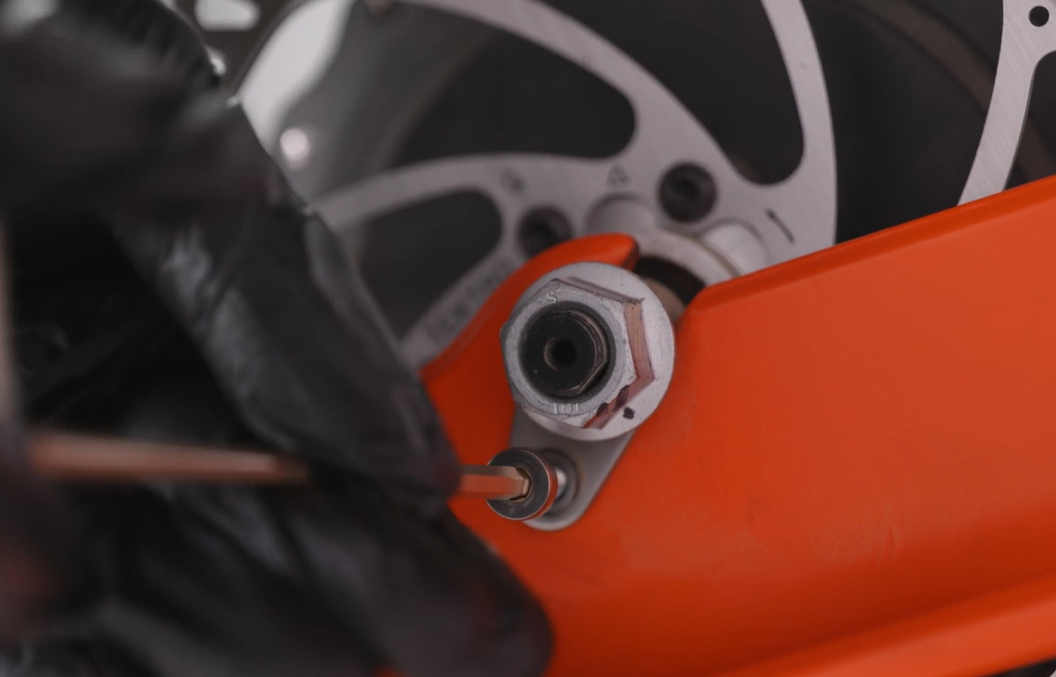
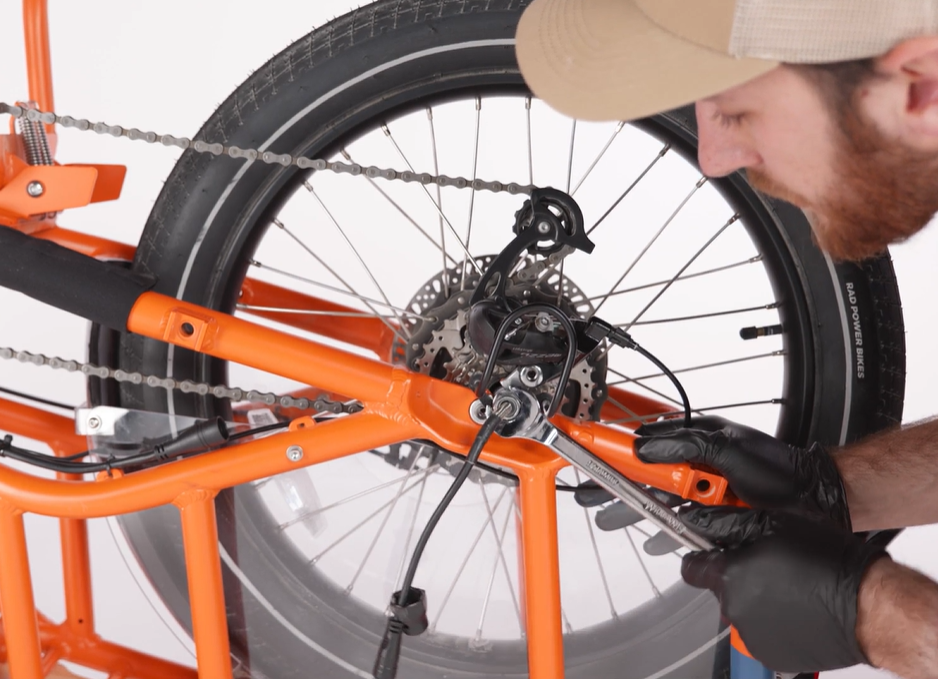
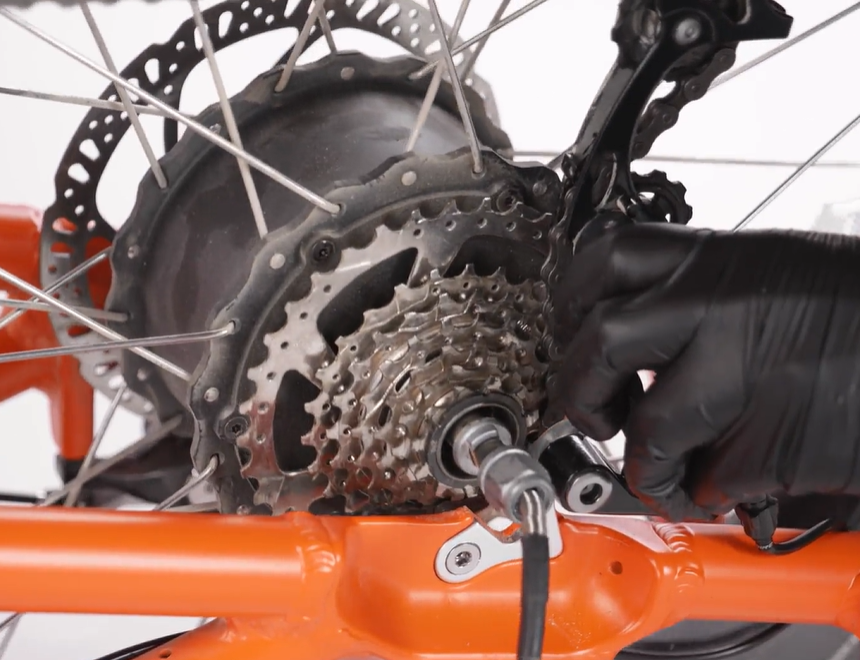
- Remove the axle nut and washers. Use a 18 mm wrench to loosen the axle nut and washer, and then remove the axle nut, washer and torque arm.
Take a picture of the position of the axle nut and washers before removing them, as you will need to reinstall these in the same position when reinstalling the wheel.
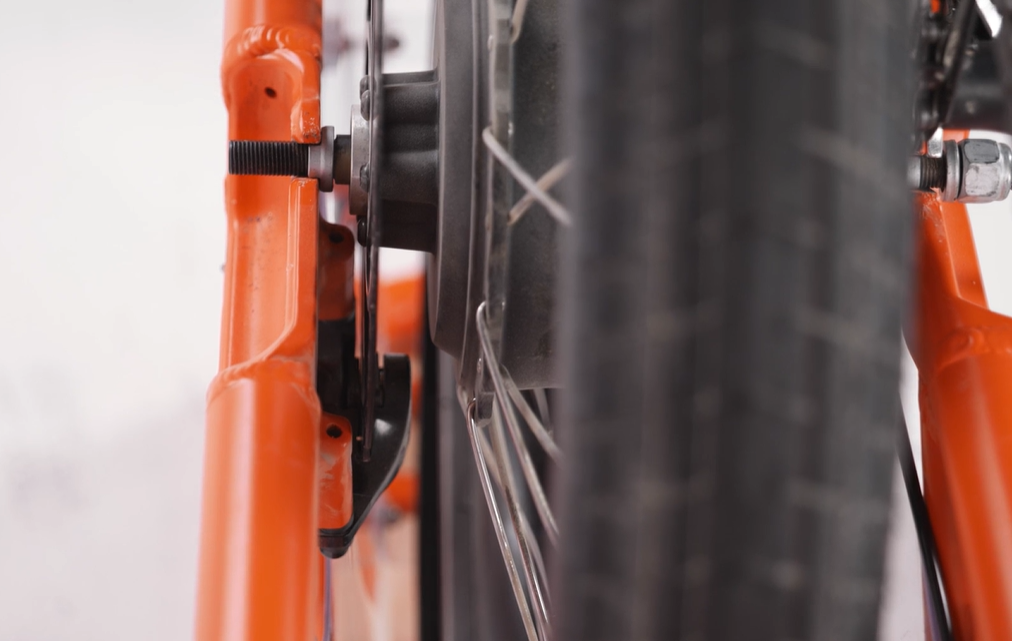
- Loosen the axle nut on drive side. On the drive side of the wheel, use the 18 mm wrench to loosen the axle nut just enough so the wheel can be removed. Do not remove the axle nut or washers completely, because the orientation of the torque arm and torque washer is very important for safety. Remove the bashguard and set aside.
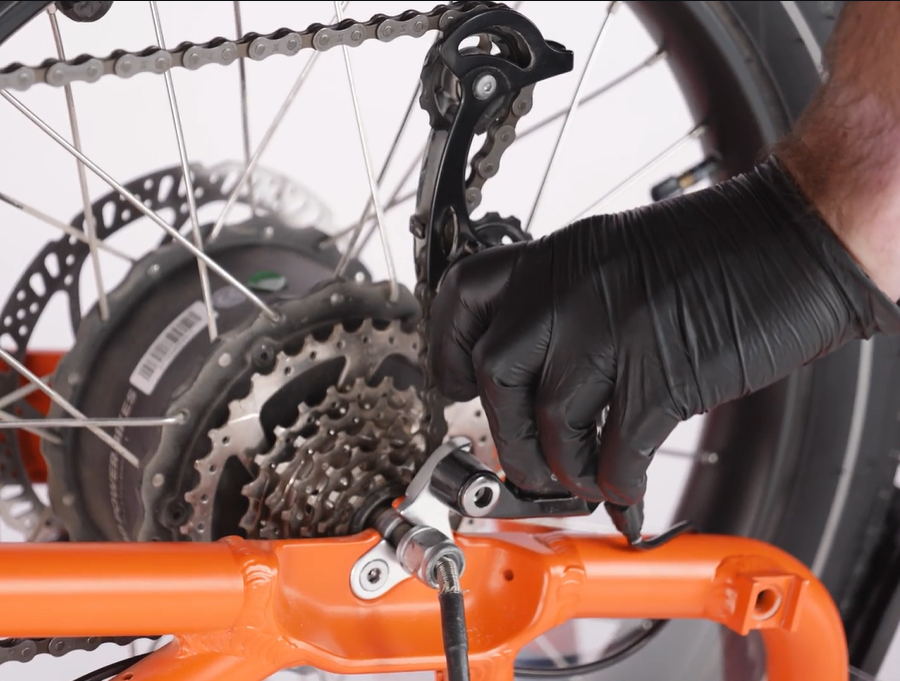
- Pull the derailleur body toward the back of the bike, and remove the wheel. Slowly pull the wheel upward, keeping it straight so you don't bend the brake rotor as it exits the brake pads. Leave the torque washers on the axle for reinstallation later.
- Perform necessary maintenance. Once the rear wheel is removed, change the tube or tire, swap in a new wheel, etc.
Reinstall the Wheel
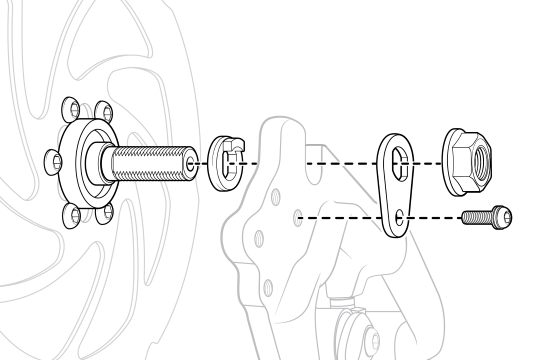
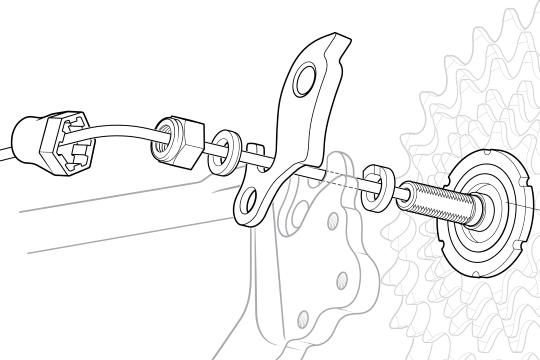
- Ensure all hardware is ready to be installed in the correct order. Refer to the images below, which apply to most models, or the photo taken in a previous step.
Brake rotor side of the wheel:
Drive side of the wheel:
- Reinstall the wheel. Pull back on the derailleur body, lower the wheel and lift the bike chain onto the smallest cog on the freewheel, then place the wheel in the dropouts.
- Check that the torque washers are in the correct position and the brake rotor is in position. The brake rotor will slide between the brake pads in the brake caliper, the axle must be fully seated in the dropouts, and the torque washers must be seated against the freewheel nut with its tabs extending into the dropouts. If there is a gap between the axle and the dropout, use a 10 mm wrench to carefully turn the axle to line up the flat sides with the sides of the dropouts, and adjust the wheel so it is fully seated in the dropouts.
- Reinstall the axle nut and washers in their original position on the brake side. Use a 18 mm wrench to tighten the axle nut, and then use a 4 mm Allen wrench to reinstall the torque arm bolt.
- Reinstall the bashguard on the drive side, and then use the 18 mm wrench to tighten the axle nut.
- Use a torque wrench to torque both axle nuts to 50 Nm.
- Plug in the motor connector. Line up the internal notches and pins (and external arrows), and press each side directly together, without twisting, to reconnect. Replace the zip tie and trim it to be flush and smooth.
- With the bike still upside down, rotate the pedals forward to ensure the chain moves through the drivetrain smoothly and the brake rotor spins straight between the brake pads. If there is any wiggle in the wheel or rubbing against the brake pads, you may need to reinstall the wheel and verify the axle is fully seated before proceeding.
- Reinstall the battery and test the bike fully before riding.
2015-2017 RadWagon Wheel Removal
The original RadWagon model came with a different rear axle that did not mount with a torque arm. The sequence for removing the rear wheel on this model will be largely the same, with the following exceptions:
- Use a 15 mm wrench to loosen the axle nuts on both sides, but do not remove.
- There is no torque arm on the rear wheel axle, but make note of the position of the flat washer and split washer before you remove the wheel, as they will need to be in the same position when you reinstall the wheel.
- When reinstalling the wheel, make sure the brake rotor is centered between the brake pads and the wheel axle is fully installed in the dropouts before tightening the axle nuts.
- Torque the axle nuts to 50 Nm.