Mechanical brake pad replacement guide
The mechanical disc brakes on your bike are a critical safety feature. Ensuring the brake pads have adequate pad material to stop the ebike is very important. Ebike brakes and components may wear out faster than would be the case for non-motorized bicycles, requiring more service. Click HERE to purchase mechanical brake pads for your ebike.
Watch the video and follow the steps below to learn how to replace the mechanical brake pads on your ebike.
Tools Needed:
- Needle nose pliers
- 5 mm Allen wrench
- Replacement brake pads
- Replacement retention/cotter pin
- Nitrile gloves (optional)
Remove the Brake Pads
| Do not touch the brake rotor, which has sharp edges and can cause serious injury. Touching the brake rotor or brake pads with bare skin can also transfer natural oils. Oils or other lubricants can decrease braking performance. We recommend wearing protective gloves when working near the braking system. |  |
- Get the bike ready for maintenance. Turn off the bike, remove the battery, and press the MODE or Power button to discharge any remaining power.
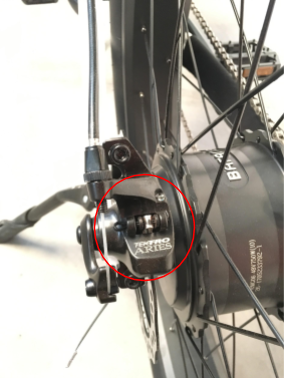
- Locate the brake pads. The brake pads are inside the brake caliper on each wheel. Take a picture of the brake caliper in the installed position for reference later when you need to reinstall it.
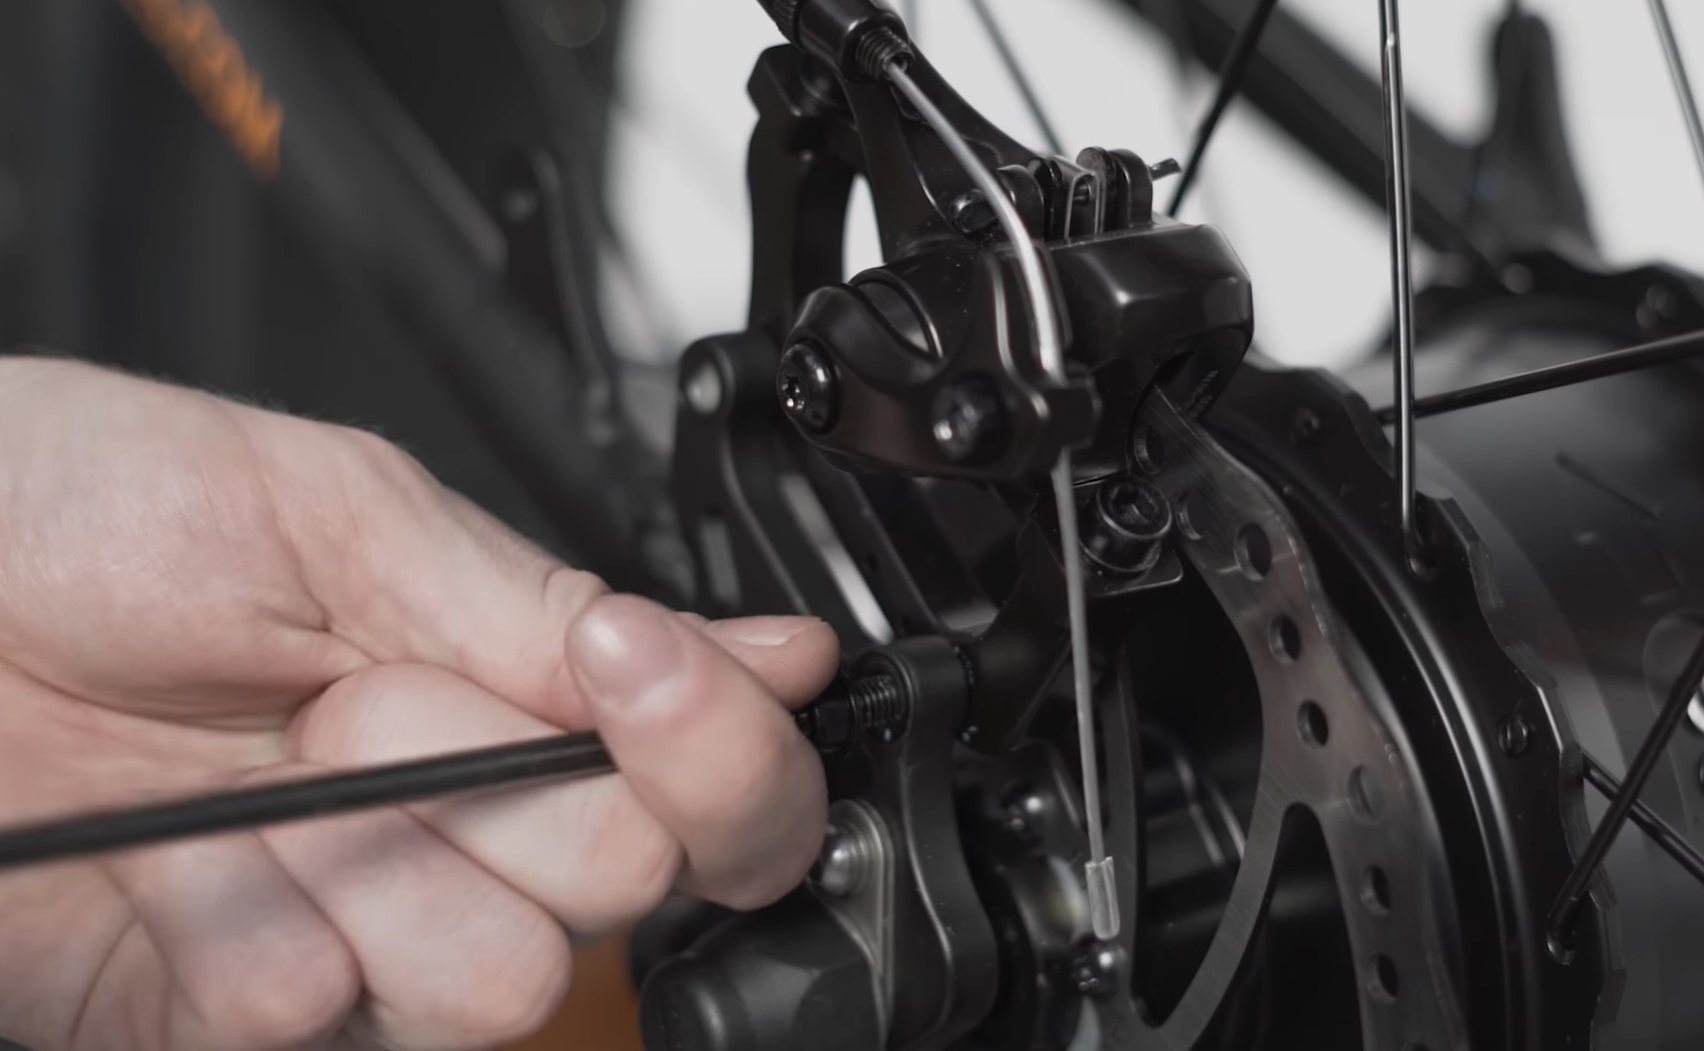
- Straighten the brake pad retention/cotter pin. Use needle nose pliers to carefully unbend the pin until it is straight.
- Remove the brake caliper from the frame. Use a 5 mm Allen wrench to remove the two brake caliper bolts. Be careful to not touch the brake rotor.
- Remove the brake pad retention/cotter pin.
- Remove the old brake pads. Push the pads from the top of the caliper body and out through the bottom of the caliper.
Continue to the next section to install the new brake pads.
Install the New Brake Pads
| Do not touch the brake rotor, which has sharp edges and can cause serious injury. Touching the brake rotor or brake pads with bare skin can also transfer natural oils. Oils or other lubricants can decrease braking performance. We recommend wearing protective gloves when working near the braking system. | 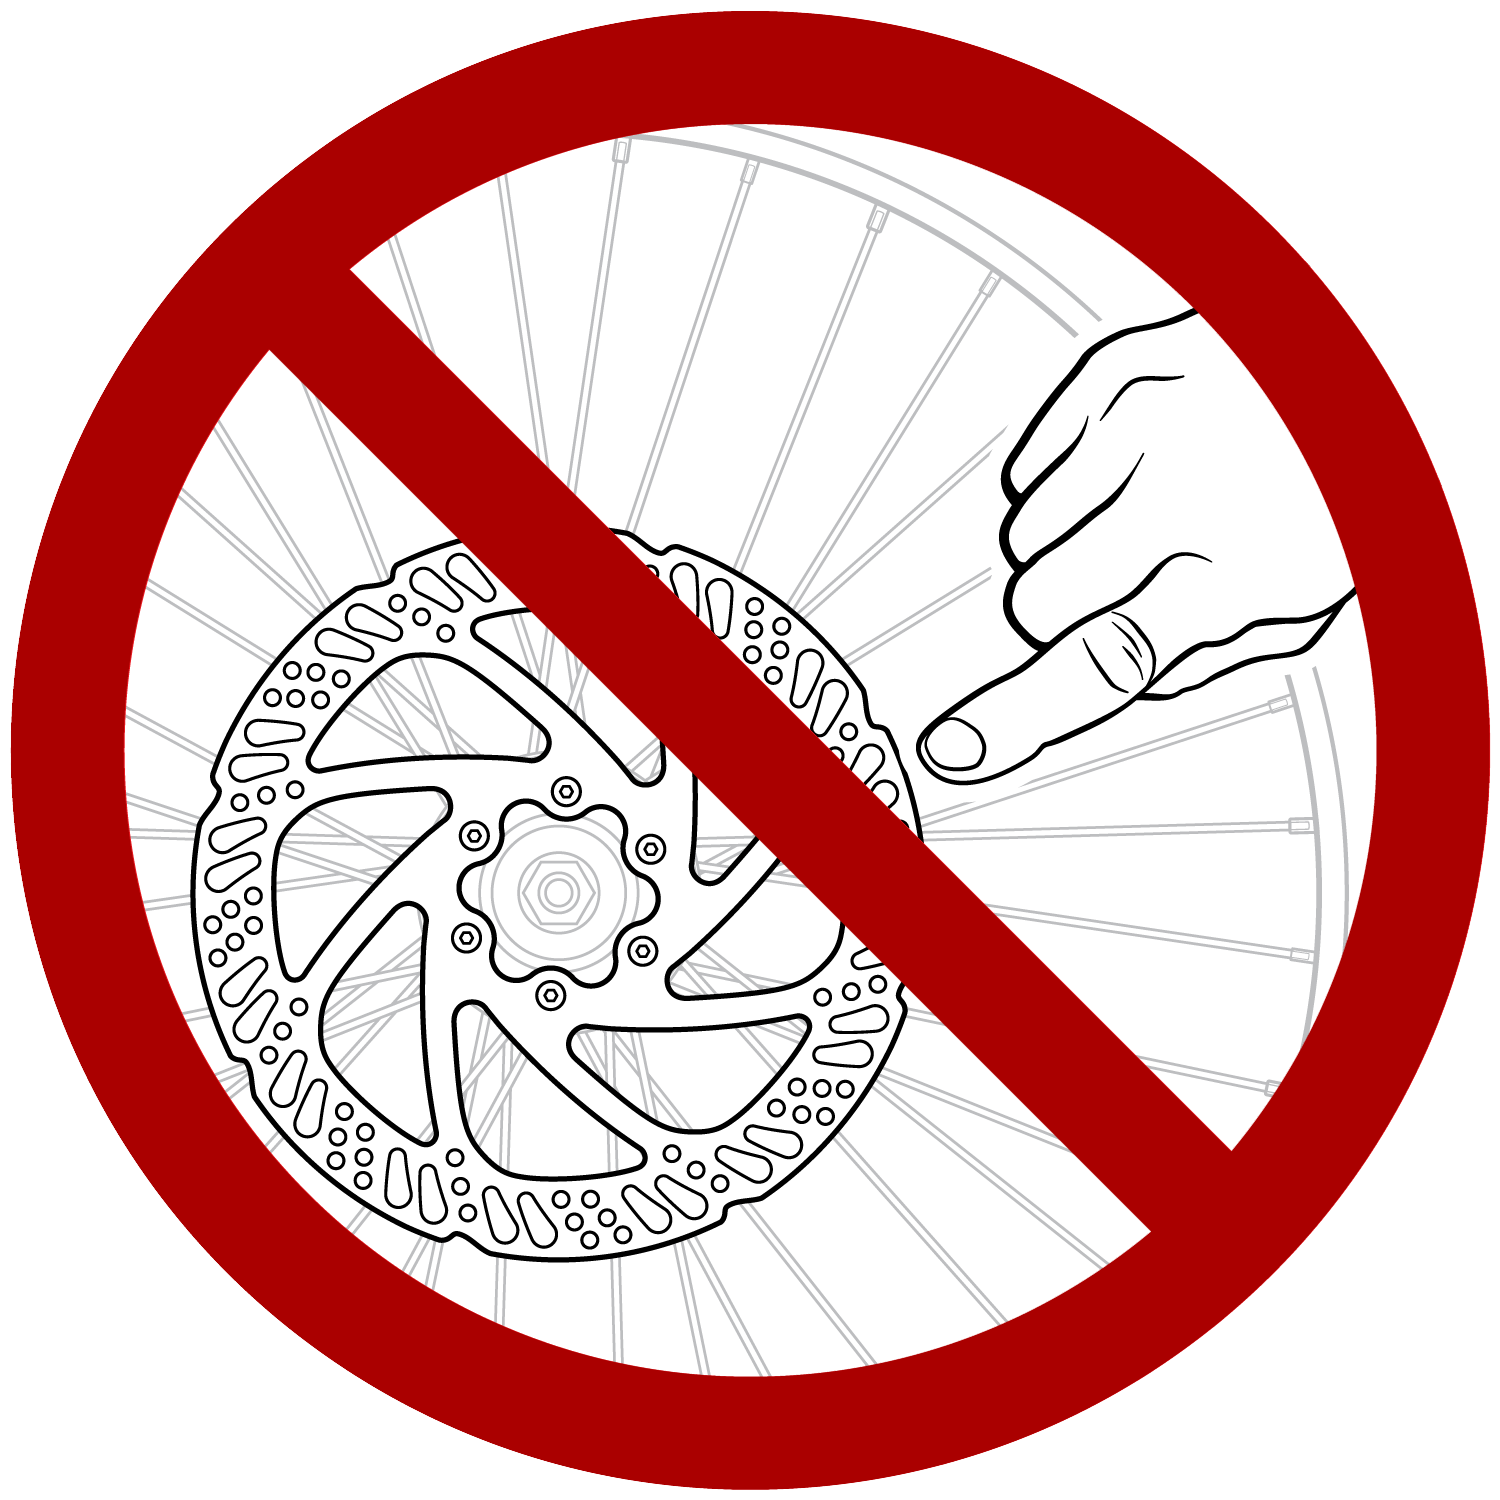 |
- Prepare the new brake pads for installation. While wearing protective gloves, arrange the pads into the configuration that they will be inserted into the caliper. The brake pad material will be facing each other with the metal spacer between them. The hole at the top of each pad (which is where the retention/cotter pin will go) is aligned with the top of the spring. With fingers on the outside of the pads, press them together so the two sides of pad material are touching.

- Install the brake pads into the caliper. While pinching the pads together, slide the pads into the brake caliper, retention/cotter pin hole first.
- Reinstall the caliper.
- Slide the caliper into position so the mounting holes on the frame are aligned with the mounting points on the caliper. Refer to the picture you took before removing the caliper to ensure it is in the correct position.
- Thread in the bolts and use a 5 mm Allen wrench to turn each bolt 1/4 turn, then switch to the other bolt. Alternate between bolts to evenly tighten both of them, and then torque to the values listed in your Owner's Manual.
- If the caliper does not slide onto the disc easily, please refer to the article linked HERE to increase the space between the brake pads.
- Replace the brake retention/cotter pin. Use needle nose pliers to carefully bend the end of the new retention/cotter pin to around a 90° angle so it cannot slide out.

- Center the brake caliper.
- Use a 5 mm Allen wrench to loosen (but not remove) the cable pinch bolt. Let some brake cable slide through the cable pinch bolt to create cable slack, then tighten the bolt.
- Loosen (but don’t remove) the brake caliper mounting bolts about one quarter of a turn, just until you can wiggle the brake caliper slightly.
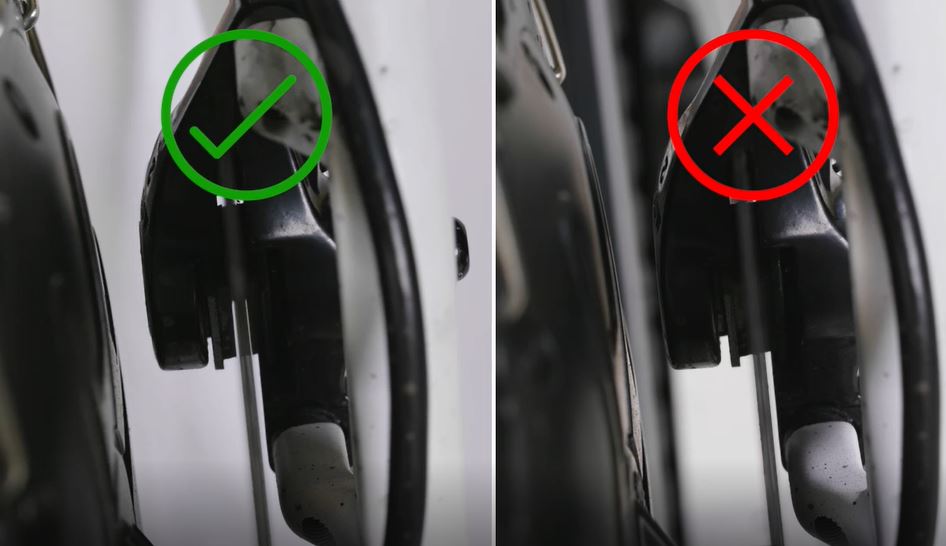
- While looking at the brake caliper from above, check how close the brake pads are to the brake rotor. If it looks like the left side of the image below, the brake rotor is appropriately spaced between the brake pads. If it looks like the right side of the image below, the brake pads are too close to the brake rotor and need to be adjusted by following the next step.
- Adjust the spacing between the brake pads and brake rotor, if needed. Use a 5 mm Allen wrench or the inner pad adjustment tool from Rad Power Bikes, to turn the silver dial on the brake caliper, known as the inner pad adjustment dial, counterclockwise, or “out” to increase the space between the brake pads and brake rotor.
- Wiggle the brake caliper slightly so the inner pad is as close and as parallel to the brake rotor as possible, then tighten each brake caliper mounting bolt just until snug.
- Check that the inner pad is still parallel to the brake rotor. Hold a sheet of paper behind the brake caliper to help make the space between the inner pad and the brake caliper easier to see, if necessary.
- Repeat until the brake caliper is properly centered. This may take several tries as you adjust each end of the brake caliper by tiny increments and then check how close and parallel the inner pad is to the brake rotor. Once the inner pad is in the correct position, continue to the next step.
- Spin the wheel and check if the spacing between the brake pads and brake rotor is adequate when the wheel is moving. Once the brake caliper is adjusted, torque both brake caliper mounting bolts to the values listed in your Owner's Manual.
- Reinstall the battery and test the bike fully before riding. You will also want to bed-in the new brake pads using the process described HERE.