Tire inflation guide
Pneumatic tires on any vehicle are supported by pressurized air in an airtight chamber. Higher PSI (pounds per square inch) makes the tire harder; lower PSI makes it feel softer. Bike tire pressure has a huge impact on how a bike performs.
Checking your tire pressure is the simplest and most important piece of regular maintenance you can perform.
Use this article to learn more about tire pressure and determine the right tire inflation for your riding needs.
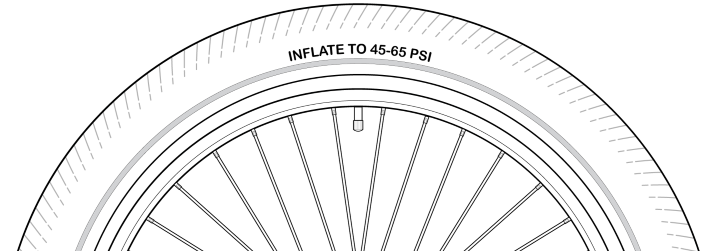
Recommended tire pressure will always be marked on the sidewall of each tire. Suggested pressure can be printed as a given maximum (e.g. MAX 60 PSI) or a range (e.g. 80-100 PSI). Even when a range is given, to optimize performance do some testing within that range, as your bike model, payload and riding surface will dictate the optimum PSI for you.

Having the right PSI in your bike tires can make a world of difference. However, it would be an oversimplification to say that less air offers a more comfortable ride and more air makes you go faster. While this is true in many instances, the fact of the matter is that proper inflation for optimal performance depends on the individual rider and their bike.
Use a flashlight and/or wipe the tire sidewall with a rag to make it easier to see the PSI values. If you’re mounting a tire, align the PSI values on the tire next to the valve stem for easy reference.
The key considerations when determining the right PSI for your bike are tire width, rider weight and terrain. The recommended tire pressure noted above will vary based on tire width, and the rider's weight will impact the tire pressure accordingly--just sit on your bike’s saddle and watch how the tire compresses and deforms as more weight is applied.
Your aim when adjusting tire pressure is to find the sweet spot for the tire by figuring out how much of the maximum pressure optimizes your performance without feeling too hard and unforgiving, but not setting the pressure so low that you damage the tube/rim or allow the tire to come off the rim while riding.
Generally, narrow tires, heavier rider weight, and rougher terrain require a bit more PSI. On the other hand, wider tires, lighter riders and smoother terrain require lower tire pressure. There's no hard and fast rule for this, so experiment with the tire pressure and see what feels best for you. Also keep in mind that rear tires tend to carry more weight than those in front, so adjust accordingly. It is very common for riders to have a lower PSI in their front tire as this wheel does most of the steering, while the rear tire is in charge of propelling the bike and takes most of the rider's weight.
General Guidelines
- Dry, smooth and grippy riding surfaces - Maximum PSI = Most efficient
- Wet, rough and slippery riding surface - Minimum PSI = Most forgiving
- If you have a mix of these conditions (e.g. dry, rough but grippy surfaces), you will need to strike a balance.
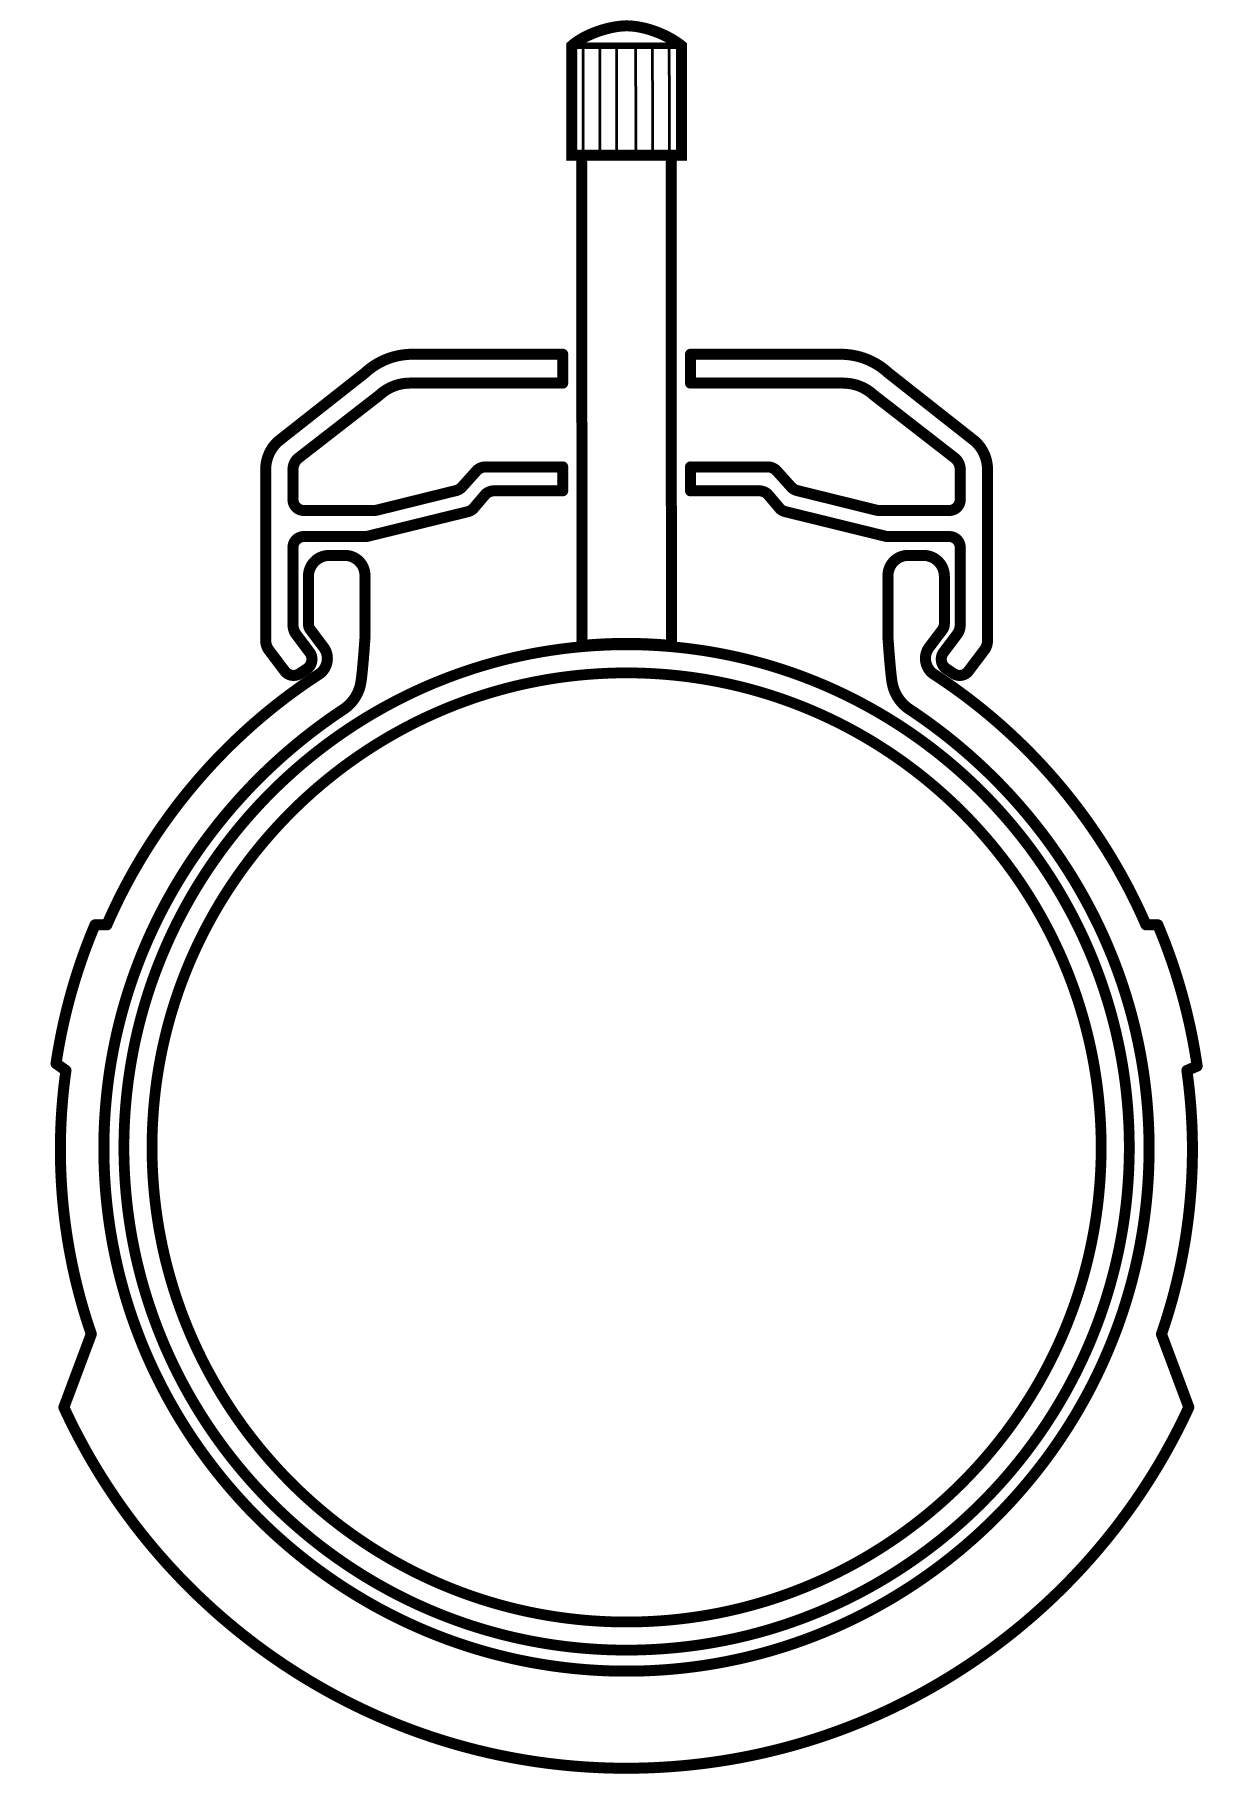
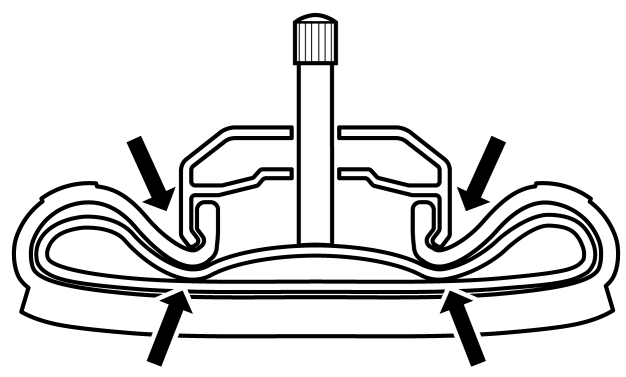
In short, don't do either. If you overinflate above the recommended PSI, you run the risk of blowing the tube either while pumping or while riding due to sudden or constant impacts. If underinflated below the recommended PSI, the low pressure could cause pinch flats (Figure 3). Pinch flats occur when the tube becomes squeezed between the rim and tire casing by hitting a bump with an underinflated wheel. Not only does this damage the tire, it can also hurt the rim. Underinflating can also lead to the tire coming off the rim during hard cornering, as there is not enough air pressure internally to keep it mounted on the rim.
|
Figure 1: Maximum PSI |
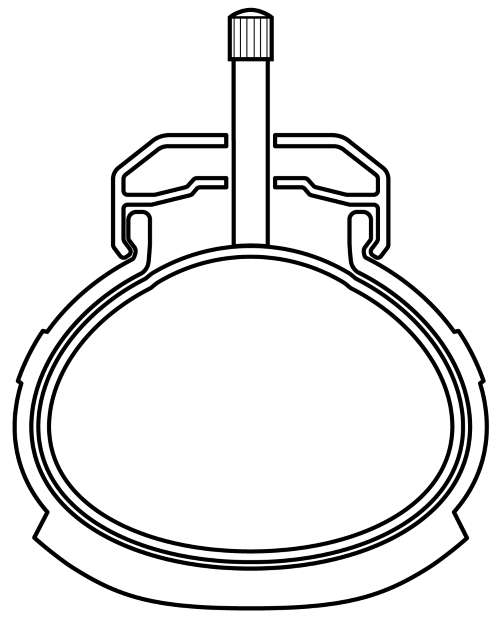
Figure 2: Minimum PSI |
|
Figure 3: Pinch flat |
When you’re out riding, try to monitor the way your bike feels on bumpy terrain. Do you feel a harsh clunk when your wheel strikes a sharp rock? Your pressure might be too low. Does your bike seem skittish in loose corners and bouncy on rough stretches? Perhaps try dropping your PSI a bit.
If your tires only state a maximum riding pressure, always start by inflating the tire to its maximum rated pressure, as this is a known safe PSI. Then mount the bike and ride around a little looking at the tire's shape and profile during use while feeling for the physical performing characteristics as discussed above. Then reduce the tire pressure in increments of 5% and repeat the testing until you feel comfortable. When you first mount the bike if you notice the tire squats (Figure 2) this is an indicator that you are close to the minimum acceptable tire pressure, any lower may increase your chances of a pinch flat or rim damage.
Note that the lower your tire pressure is within the given range, the more often you will need to inflate your tires, as the PSI will reduce over time even when not in use.
Overinflating your tires can cause them to burst, potentially causing serious injury or death. Underinflating your tires puts unnecessary wear and tear on your tires and increases your risk of a pinch flat, potentially leading to serious injury or death. Never inflate your tires beyond the maximum pressure listed on the tire sidewalls, and never inflate your tires so little that they don't remain mostly round when you're sitting on your bike.


