Handlebar twist & push test guide
This article will show you how to perform a handlebar twist test and a handlebar push test. The handlebar twist test checks whether your handlebar stem is securely tightened to the steering mechanism (the steerer tube) of the bike via the stem clamp bolts. The push test ensures your handlebar is securely tightened to the stem via the stem faceplate bolts.
On any bike, bolts and other hardware can vibrate loose over time with normal use. To prevent component failure, serious injury, or death, check your bike components and hardware before each ride and have your bike regularly serviced by a professional, reputable bike mechanic.
Improperly securing your handlebar, stem, or stem riser can result in loss of control of your ebike, serious injury, or death. If you are not sure you have the experience, skills, and tools to correctly perform all steps to secure and verify the security of the handlebar, front wheel, and handlebar stem, we strongly recommend you consult a professional, reputable bike mechanic to assist in the assembly, repair, and maintenance of your ebike, or inspect your work if you choose to do it yourself..
First, perform a handlebar twist test to check that the stem clamp is securely tightened.
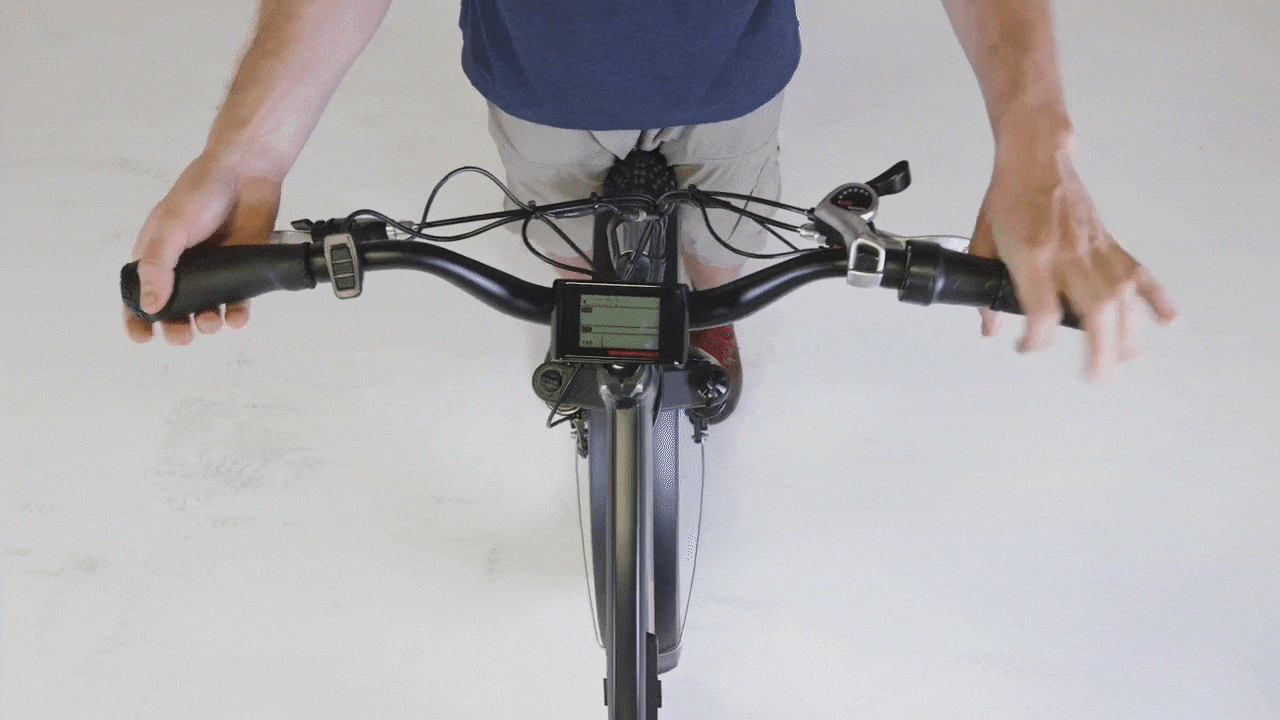
- Get the bike ready for testing (and maintenance). Turn off the bike, remove the battery, and press and hold MODE (or the power button) to discharge remaining power.
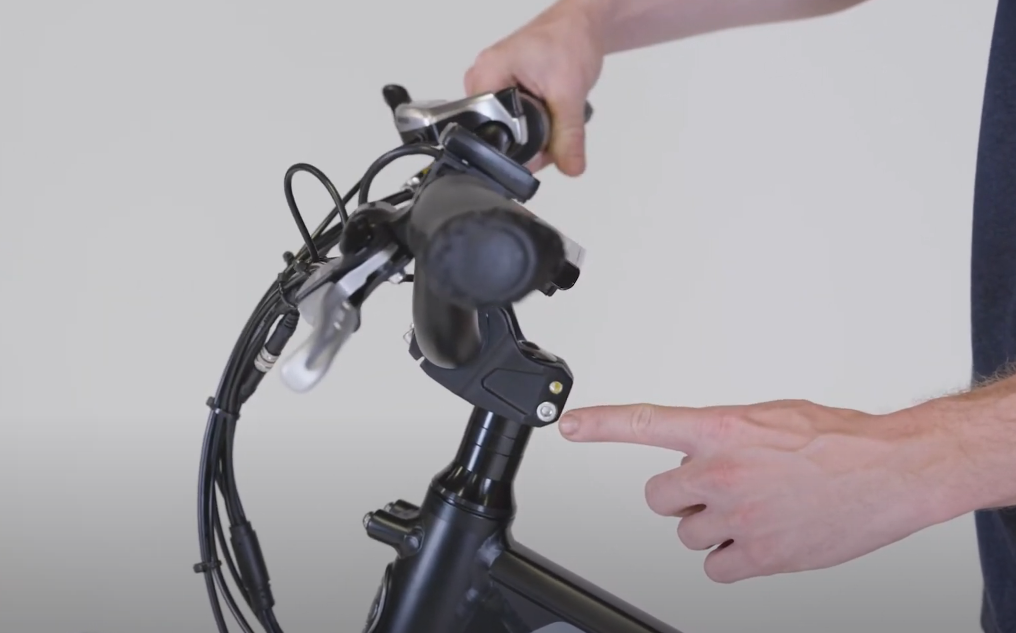
- Locate the handlebar stem. The stem is the portion of your bike that connects the handlebar to the steering mechanism, or steerer tube, which is the part of the front fork and runs through the headtube of the frame. It is important for the stem clamp bolts to be secured to the required torque value listed in your owner's manual (available HERE) to ensure the stem is securely attached to the steerer tube. This will ensure the steering works properly so the bike is safe to ride.
- To perform a handlebar twist test:
- Brace the front wheel. Stand at the front of the bike and brace the front wheel between your feet and lower legs.
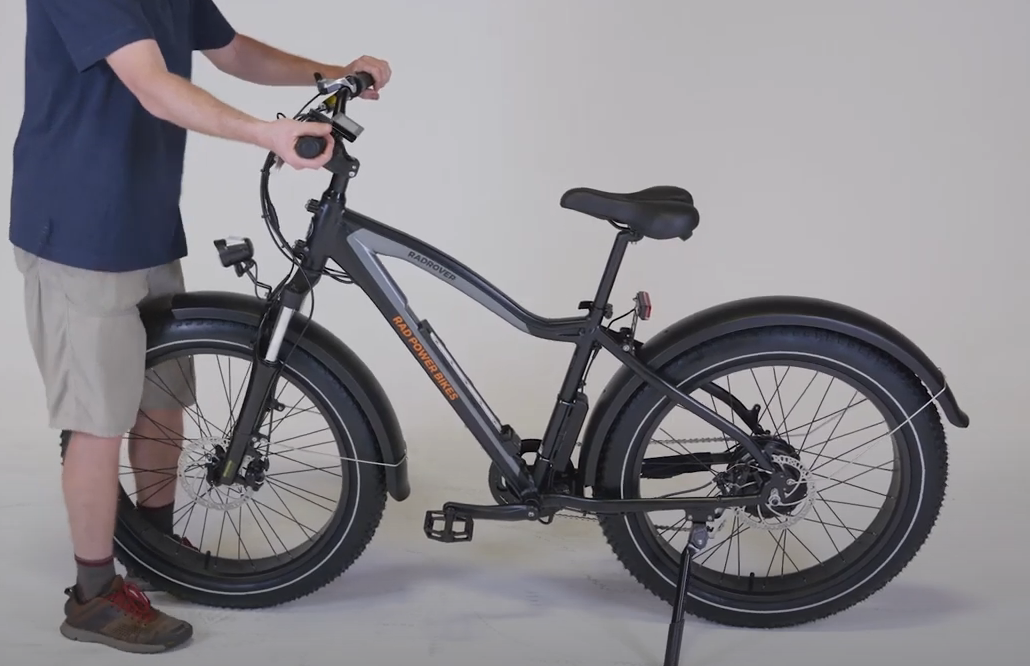
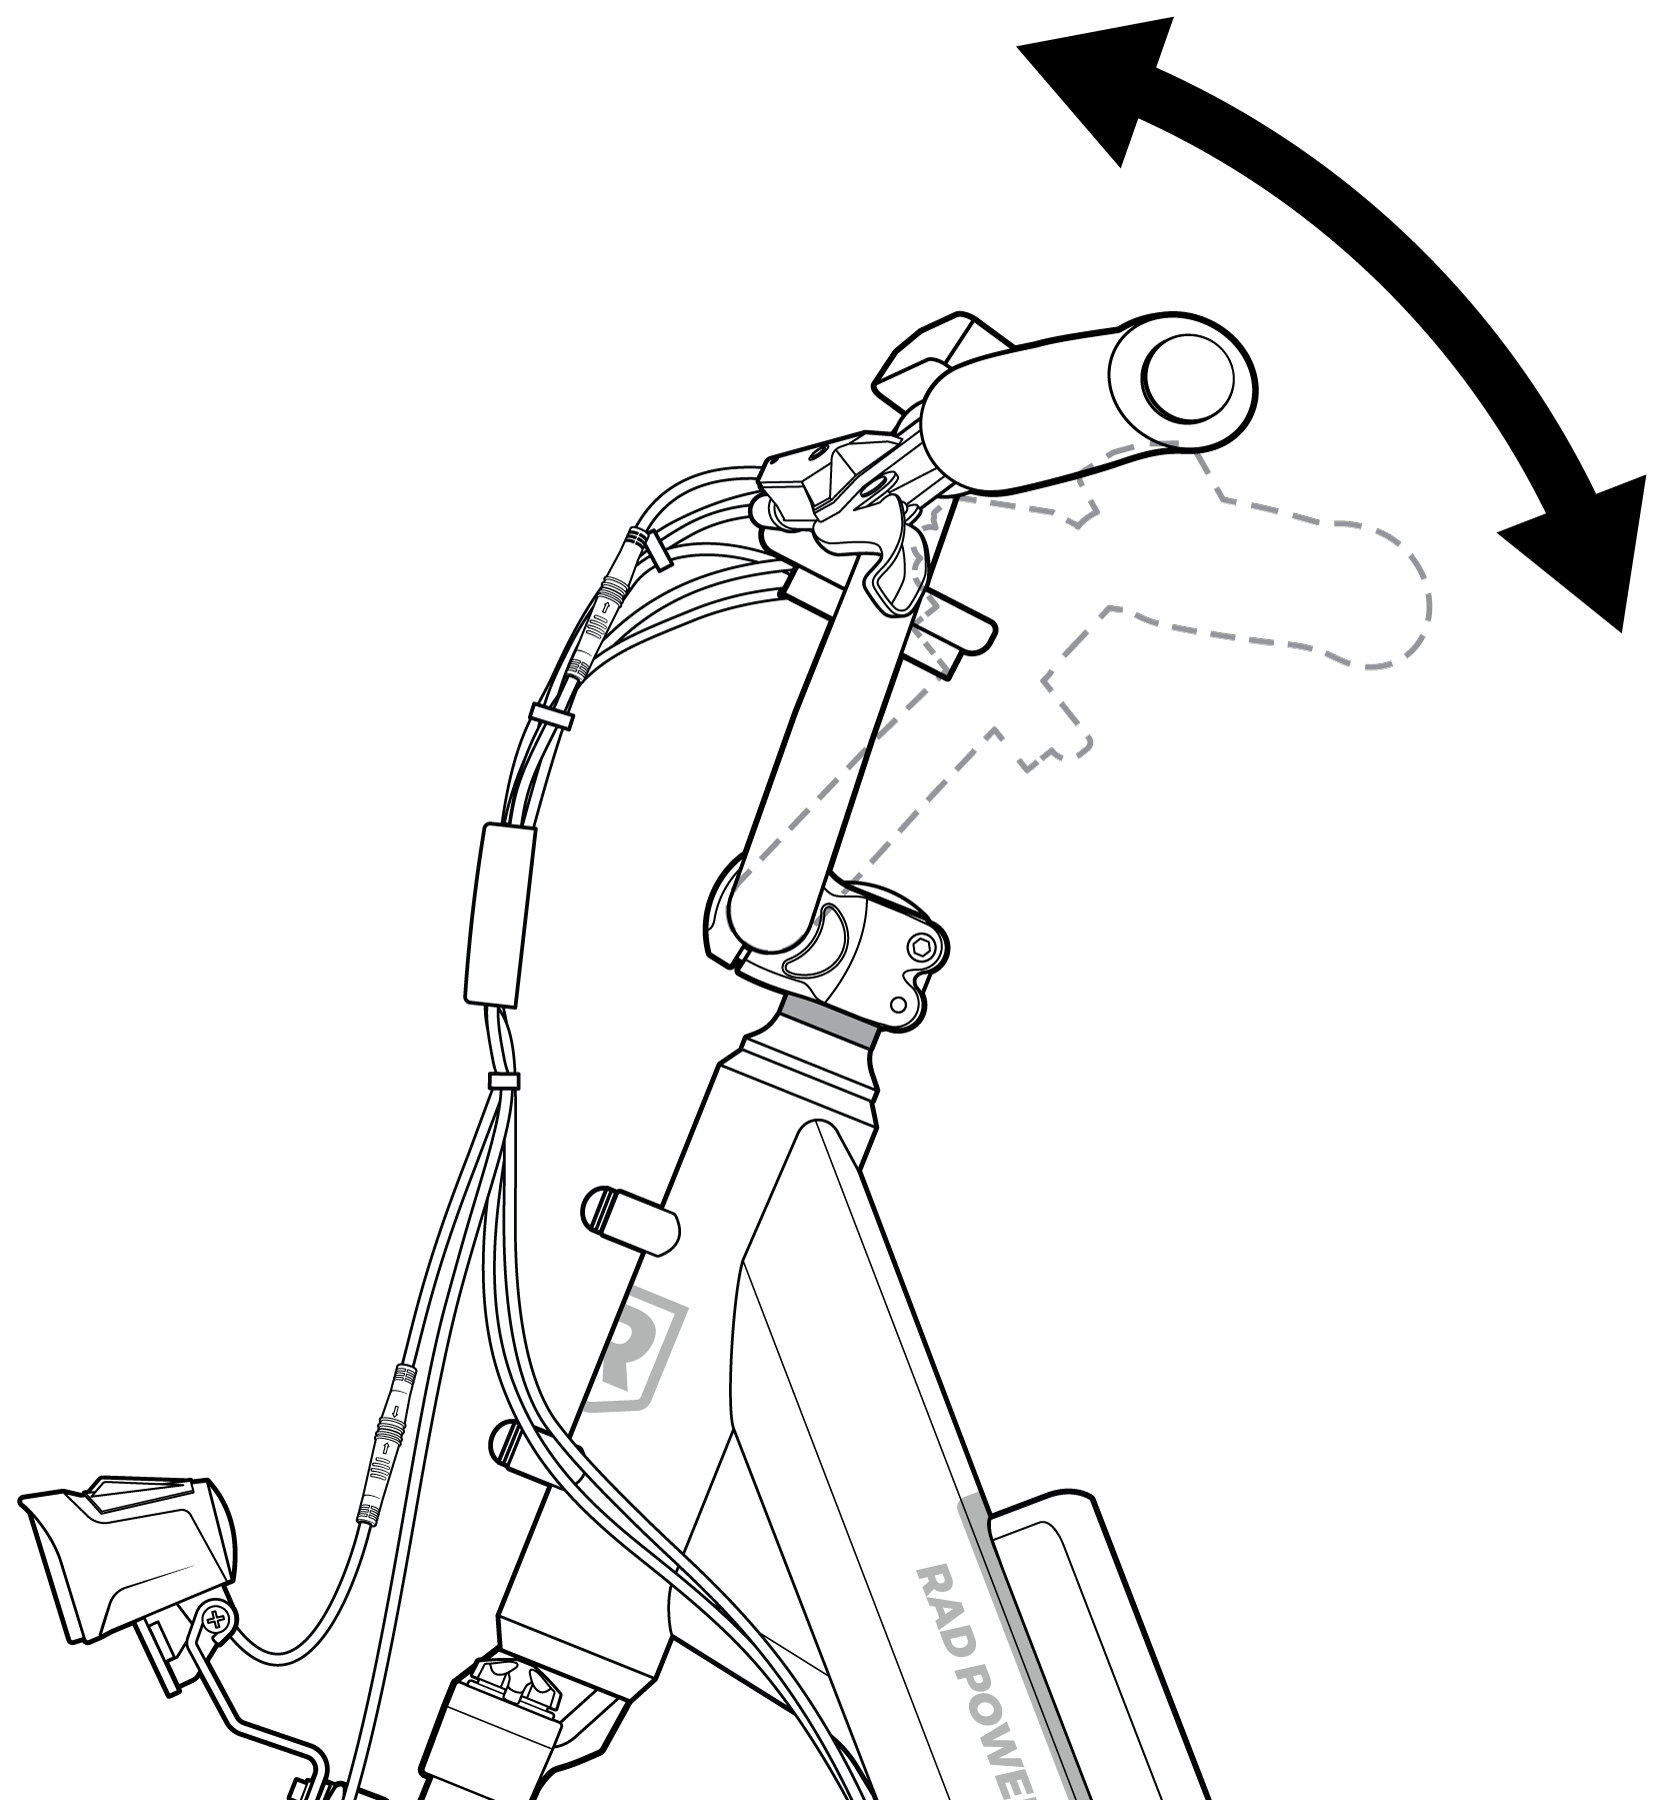
- Try to twist the handlebar. Hold both handlebar grips and push forward with one hand while pulling back with the other hand. Push and pull with about 20 pounds of force with each hand.

- Repeat the twist test with the opposite hand pushing and pulling with about 20 pounds of force applied. Ensure the handlebar and front wheel are still properly aligned.
- Check for any movement or changes in the alignment of the stem relative to the front wheel. If the stem twists out of alignment, follow the instructions in the next section to properly torque both bolts.

Note: For the RadMini and RadMini Step-Thru, check for movement just above the headtube of the frame at the stem riser. A small amount of movement near the RadMini handlebar quick release lever is normal and can be expected.
- Brace the front wheel. Stand at the front of the bike and brace the front wheel between your feet and lower legs.
Follow these instructions to properly secure your stem clamp bolts if handlebar failed the twist test in the previous section. If you handlebar passed the twist test, you can move onto the handlebar push test section.
You will need:- A set of Allen wrenches
- A torque wrench with a set of Allen bits
- Grease
Note: Most bike models will use a 5 mm Allen wrench, but tool size may vary depend on your model. Always use the right tool for the bolts on your bike. Press the tool into the bolt head completely and turn slowly to prevent damage.
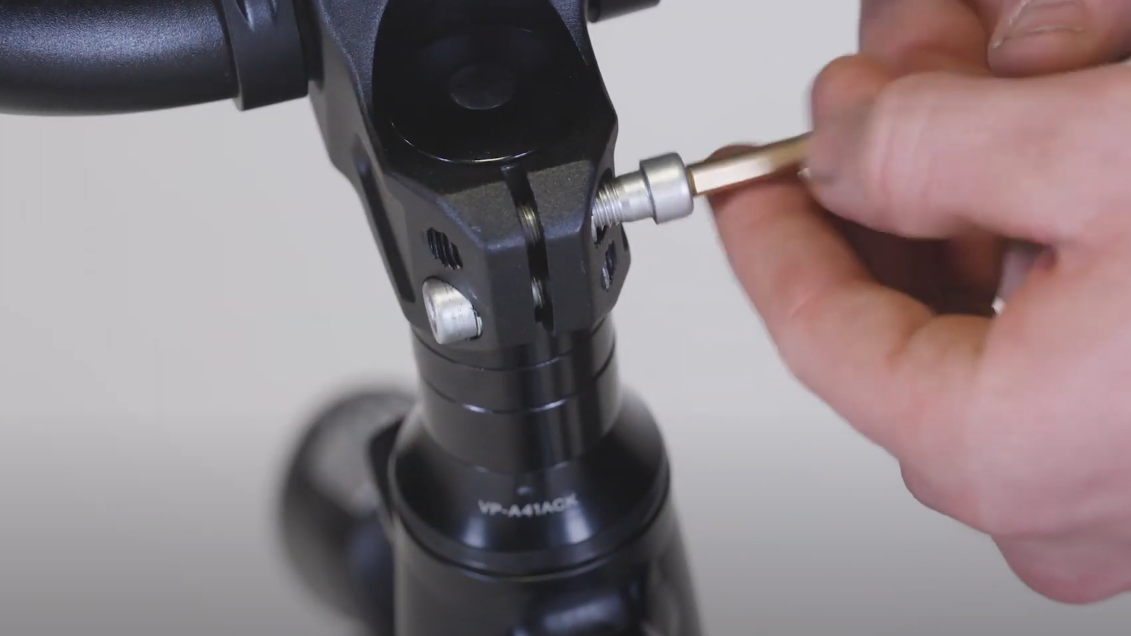
- Loosen and remove the stem clamp bolts.
- Locate the Allen wrench that fits your model's stem clamp bolts.
- Loosen the bolts a half turn at a time, starting with the top bolt and alternating between bolts, until you can remove each of them. Keep the bolts nearby for reinstallation.
- Align the stem and reinstall the stem clamp bolts.
- Align the stem so the handlebar is perpendicular to the front wheel.
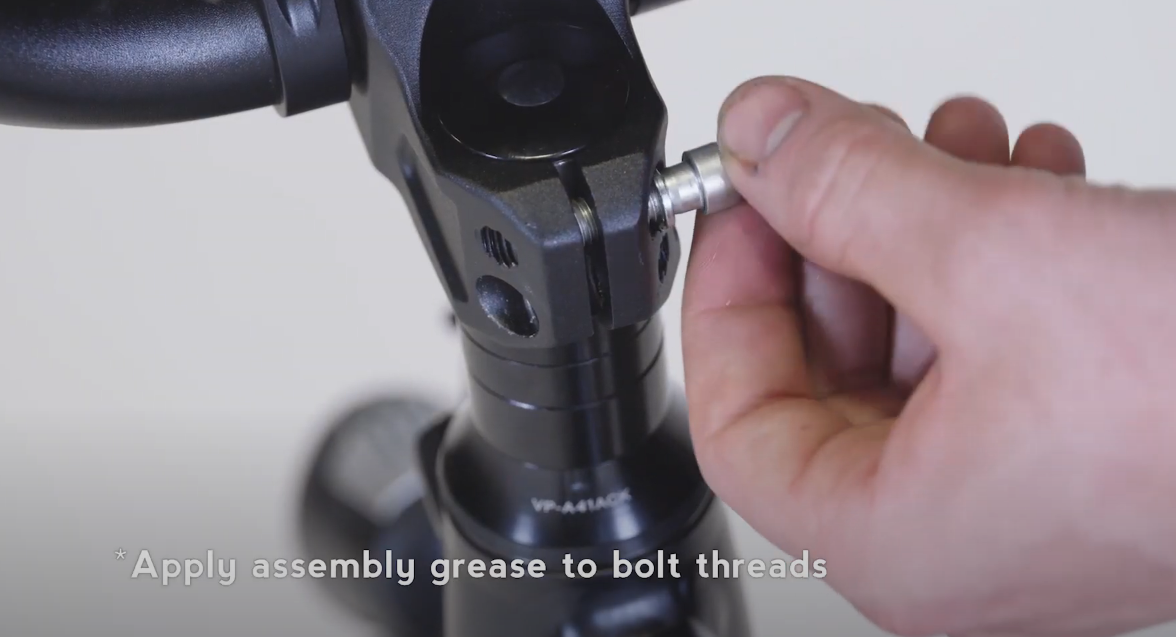
- Prepare the bolts. Ensure there is a split washer on each bolt and apply a small amount of grease to the bolt threads.
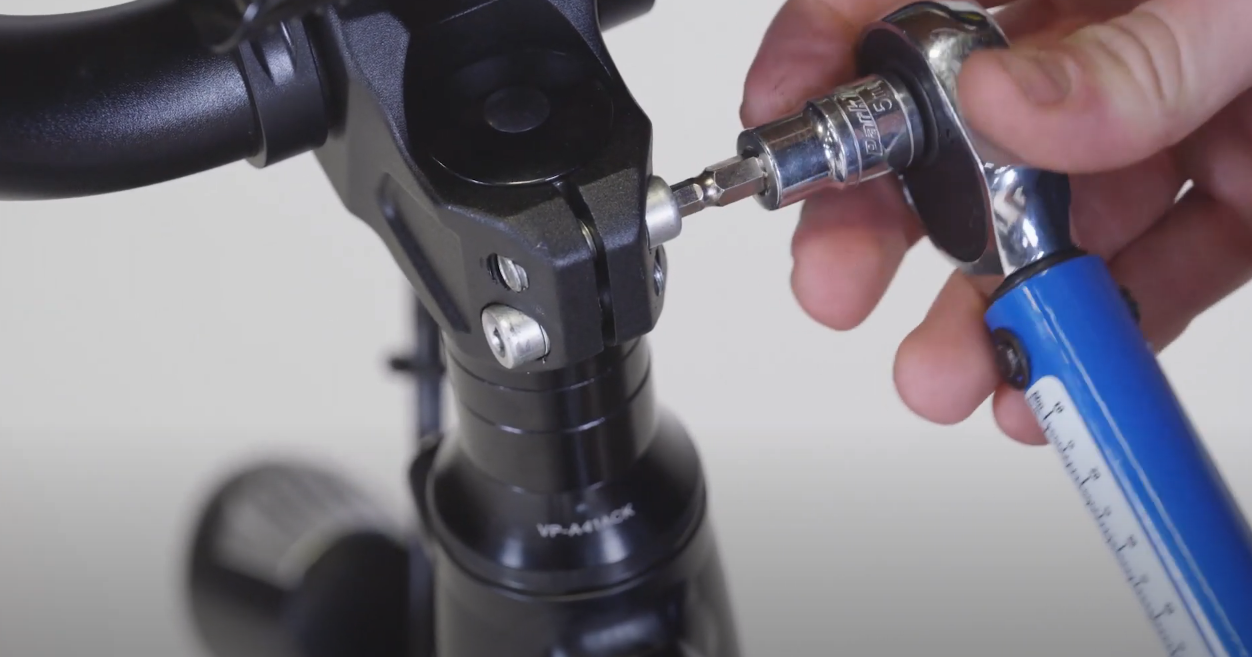
- Install the stem clamp bolts and tighten partway until the bolts touch the other side of the clamp and you feel some resistance. Then use a torque wrench to tighten the bolts evenly by turning one quarter turn and then switching bolts. Repeat, tightening one bolt one quarter turn then alternating to the other bolt, until both bolts are torqued evenly to the required torque value in your owner's manual, available for download HERE.
- Check two more times that the bolts are properly torqued. Once the torque wrench indicates that both bolts are properly secured, recheck that each bolt is properly secured two more times. Start at the top bolt, torque to the required torque value in your owner's manual, then switch to the bottom bolt, and torque to the required torque value in your owner's manual. Repeat once more to verify the torque of each bolt.
- Perform a twist test again. If the handlebar and stem can rotate out of alignment with the front wheel, discontinue use of the bike and contact Rad Power Bikes Product Support for more assistance.
- If you pass the twist test, meaning there was no movement in the stem, the bolts have been properly torqued.
- Align the stem so the handlebar is perpendicular to the front wheel.
- Reinstall the battery, test the bike fully, and have your work inspected by a certified, reputable bike mechanic.
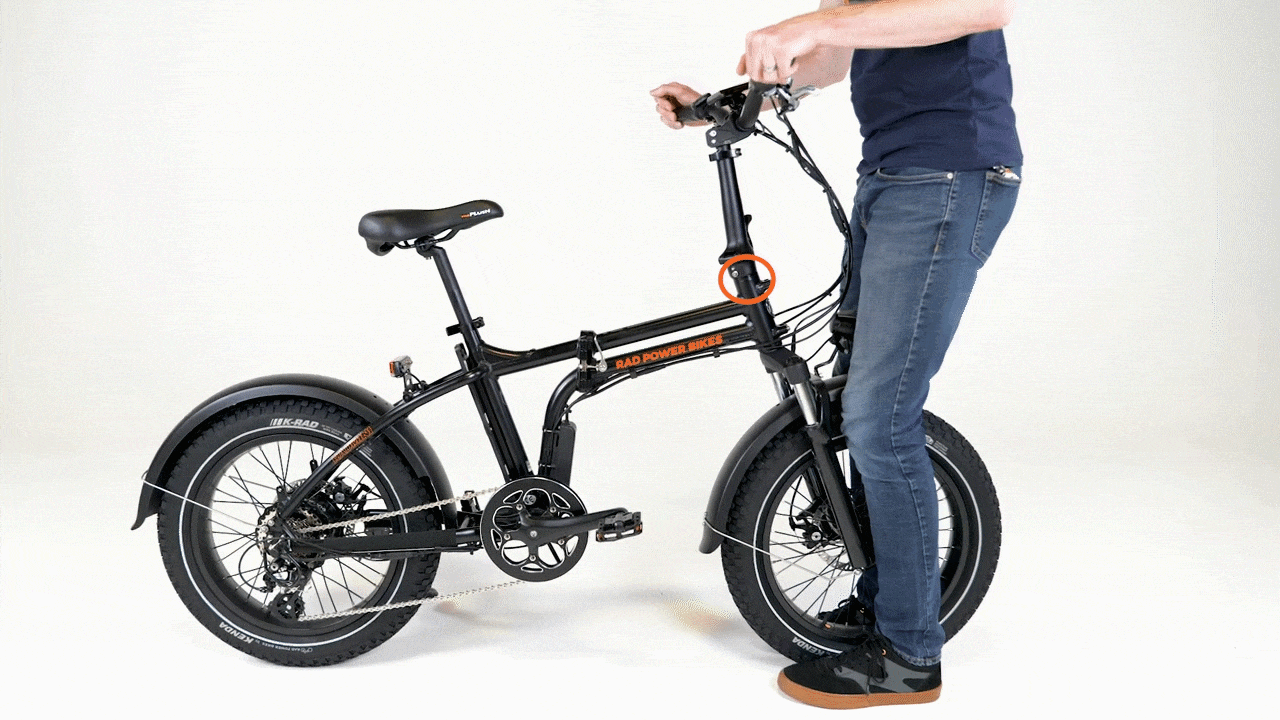
This test will involve applying force directly to your handlebar to see whether it could pivot unexpectedly during operation. The illustration below shows the type of motion this procedure tests for (your handlebar might look different depending on what model you ride).
- Get the ebike ready for testing (and maintenance). Turn off the bike, remove the battery, and press and hold MODE (or the power button) to discharge remaining power.
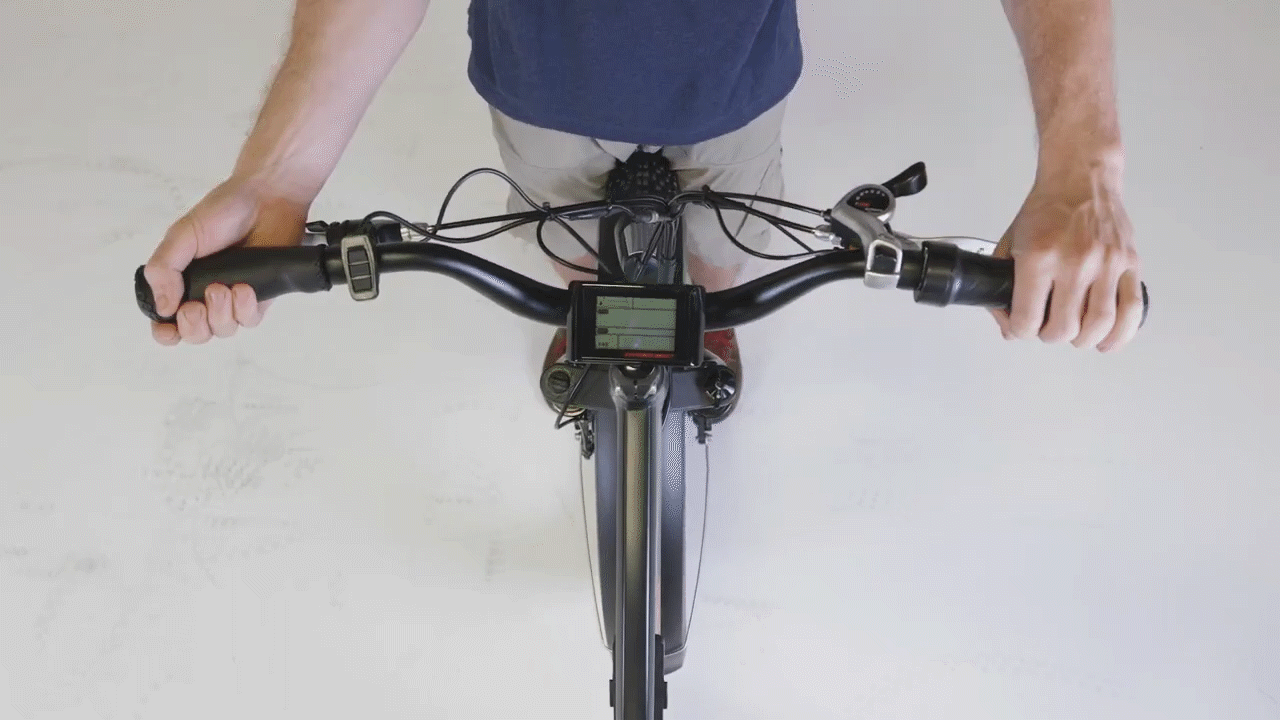
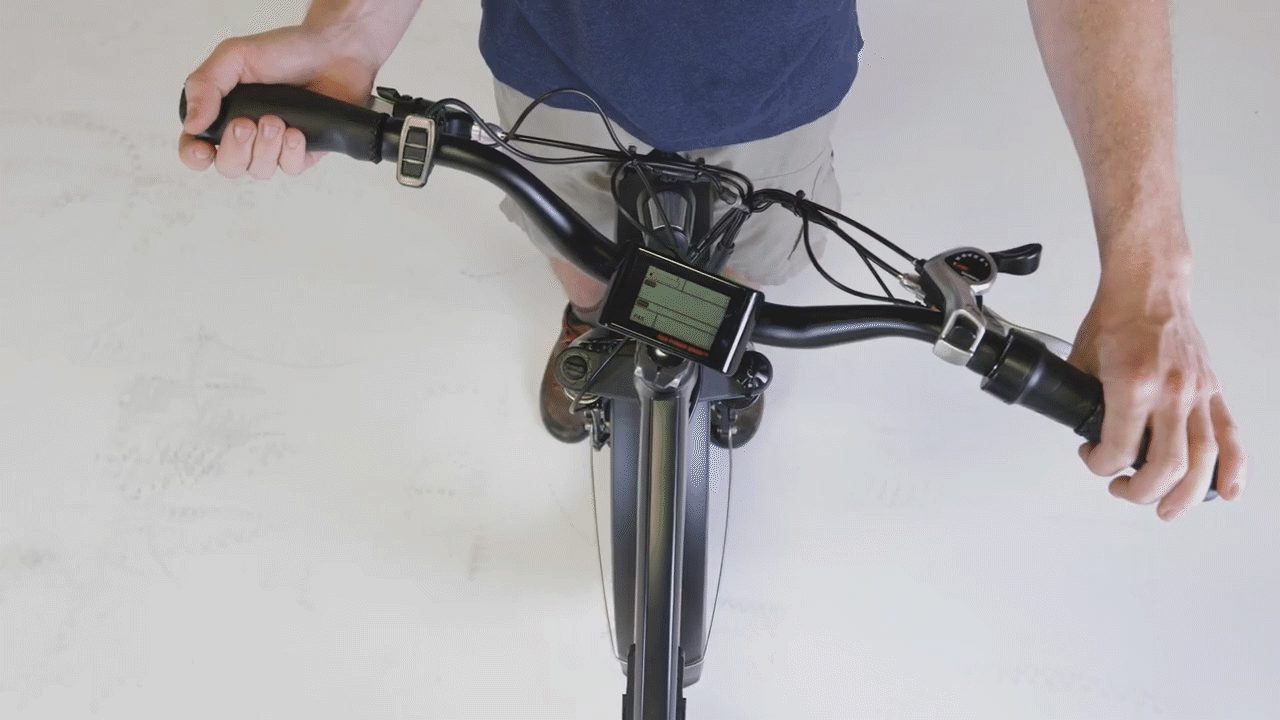
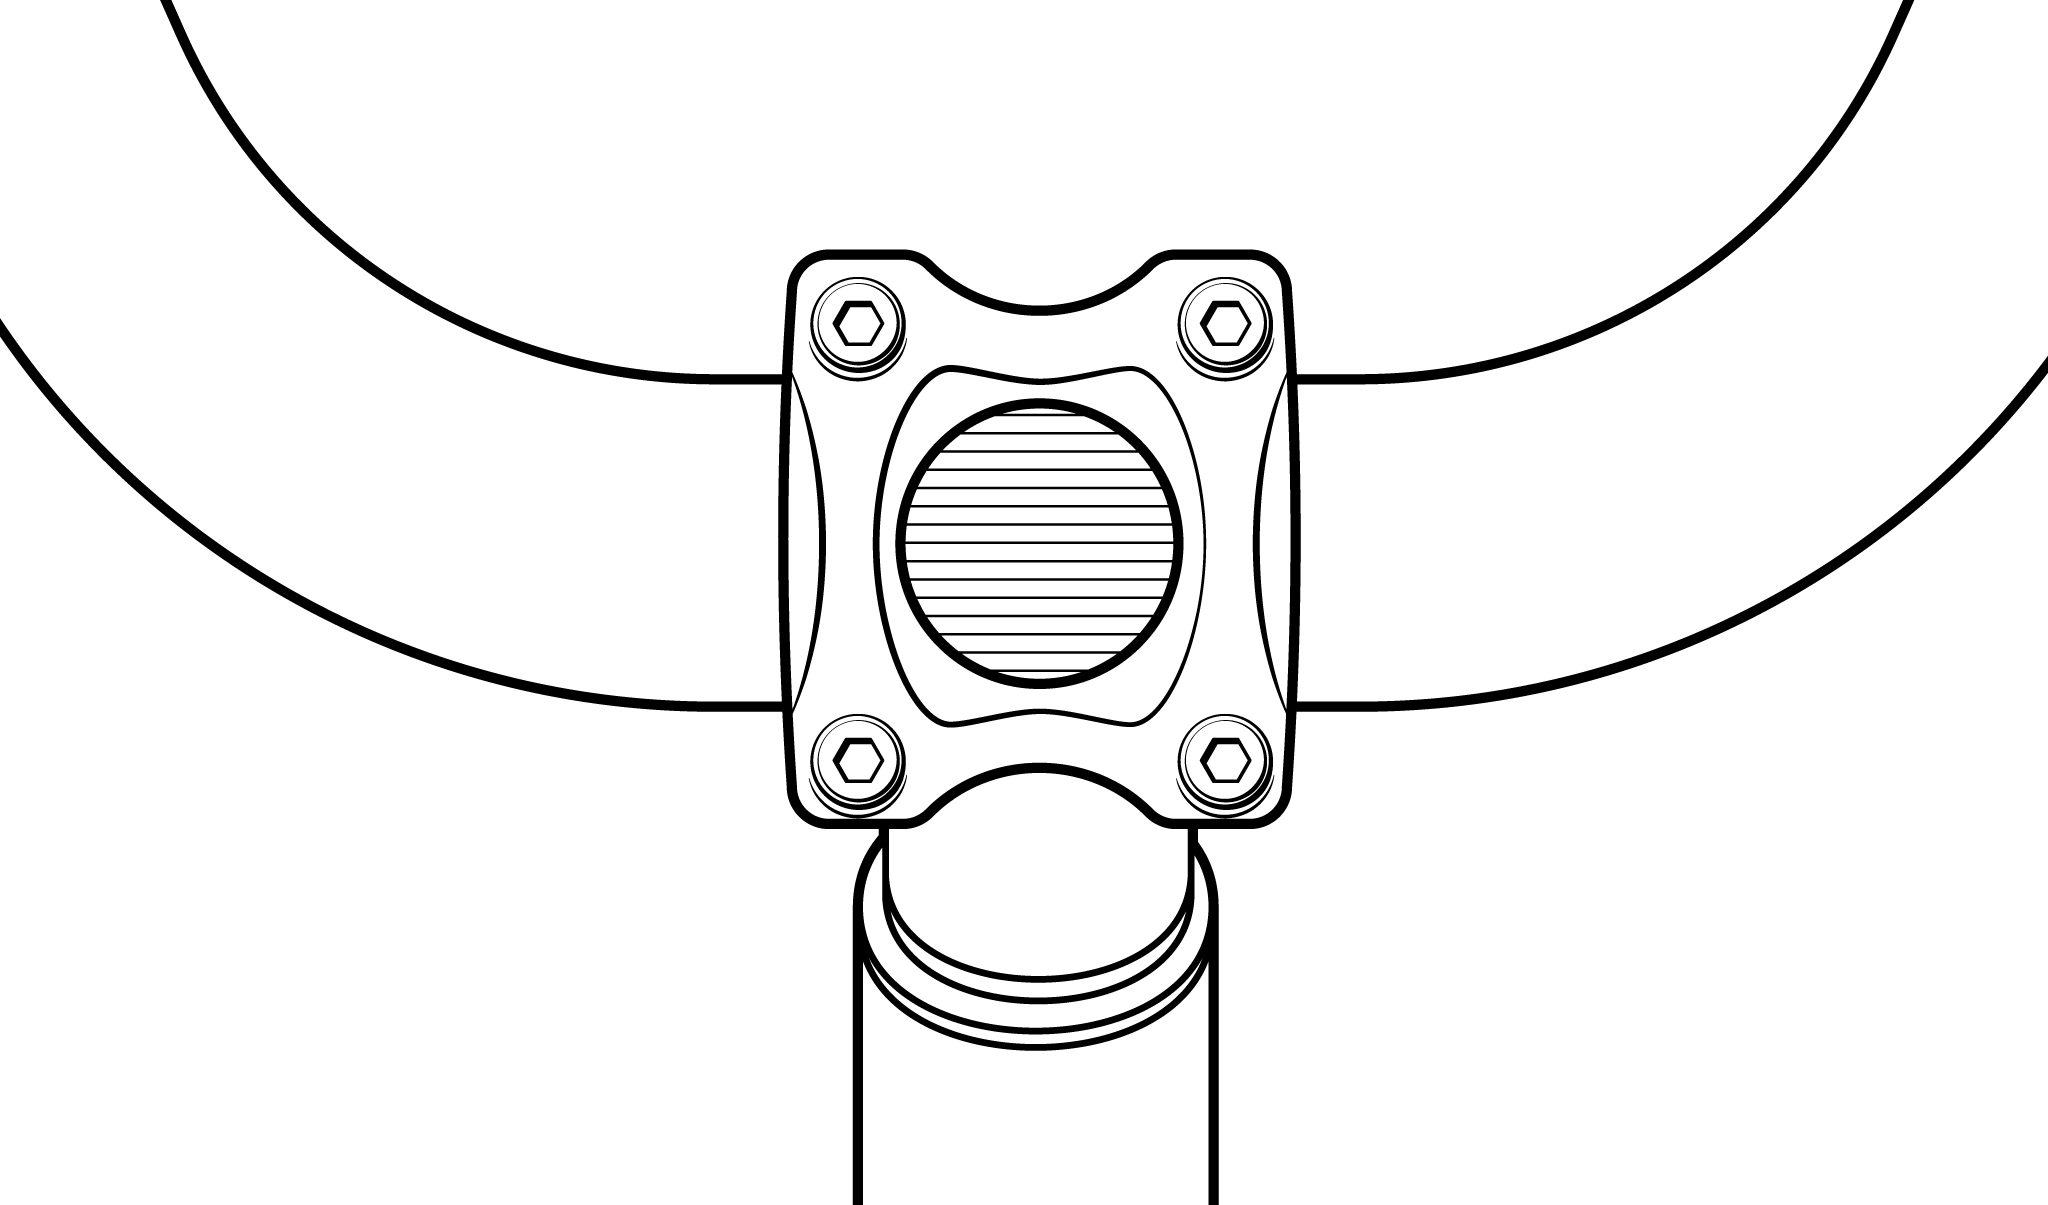
- Make sure your handlebar is centered on the stem. Your handlebar has the widest diameter at its center. If it isn’t centered, it could come loose. Center your handlebar, loosening and retightening the stem faceplate bolts if necessary. Torque the faceplate bolts to the value listed in your Owner's Manual. Below is an illustration of a properly centered handlebar.
- Brace the front wheel. Roll your ebike up to a wall so that your front wheel is touching the wall and is perpendicular to the wall. Stand over your frame as though you’re about to ride it, and then sit down. If necessary, lower the seat so that you can sit on it while your feet are on the ground. Place both hands on the handlebar and squeeze the brake levers.
- Push your handlebar. Begin by pushing with medium force, watching for any pivot in the handlebar. Increase the force until you are pushing as hard as you can, ideally with 100 lb (45 kg) of total force.
- If your handlebar did not pivot, it’s tight enough. If your handlebar did pivot, you will need to loosen and re-tighten the stem faceplate bolts as described in the assembly instructions and torque values listed in your Owner's Manual.