RadRunner Controller Replacement Guide
The controller, known as the “brain” of the ebike, connects and controls all of the other electrical components. It can be replaced in the unlikely event it is damaged or determined to be non-functional by Rad Power Bikes Support.
This procedure applies to the Runner 1, Runner 2 and Runner 1 Plus models. For instructions on how to replace the controller on the Runner 3 Plus model, refer to THIS article instead.
Tools needed:
- 3 mm and 4 mm Allen wrenches,
- 8 mm wrench,
- Flat side cutters,
- A few replacement zip ties, and
- The replacement controller from Rad Power Bikes.
Follow the steps within each heading below to replace the controller on a RadRunner.
- Power off the bike, remove the battery, and discharge residual power. Press and release the power button and use the battery key to turn the battery key barrel to the off-and-unlocked position. Remove the key, rotate the quick release lever out of the way, and then remove the battery. Press and release the power button to discharge residual power. The display may flash on briefly.
- Remove the cable cover and set it aside.
- Remove the skid plate mounting bolts and hardware and set aside for re-installation.
Ensure the wrench is fully inserted into the bolt head, apply consistent pressure, and turn the wrench slowly to prevent damaging or stripping the bolt head.
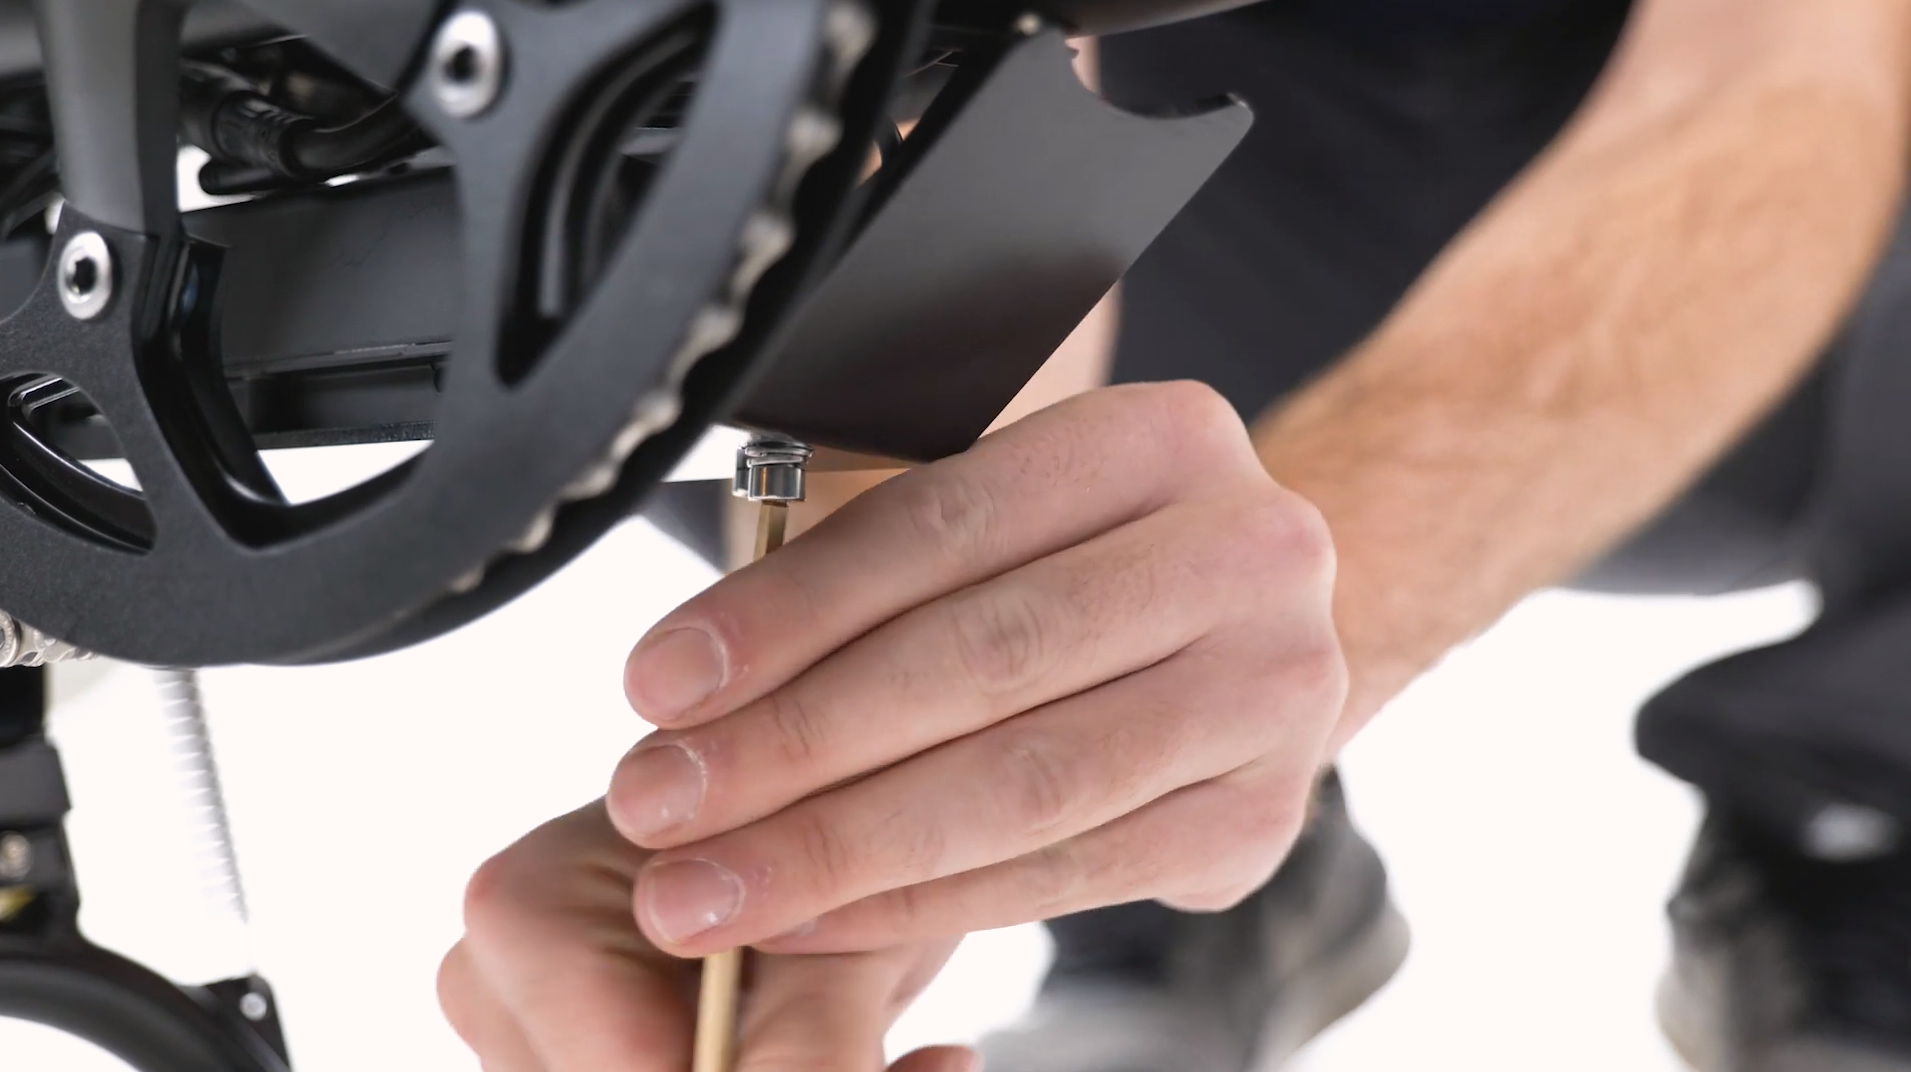
- Remove the rear skid plate mounting bolt, locknut, washer, and spacer. Use a 4 mm Allen wrench from the top and an 8 mm wrench on the locknut under the skid plate (near the kickstand).
- Remove the front skid plate mounting bolt, spacer, flat washer, and split washer. Use a 4 mm Allen wrench inserted into the bolt head fully from below the skid plate (near the bent end).
- Remove the rear skid plate mounting bolt, locknut, washer, and spacer. Use a 4 mm Allen wrench from the top and an 8 mm wrench on the locknut under the skid plate (near the kickstand).
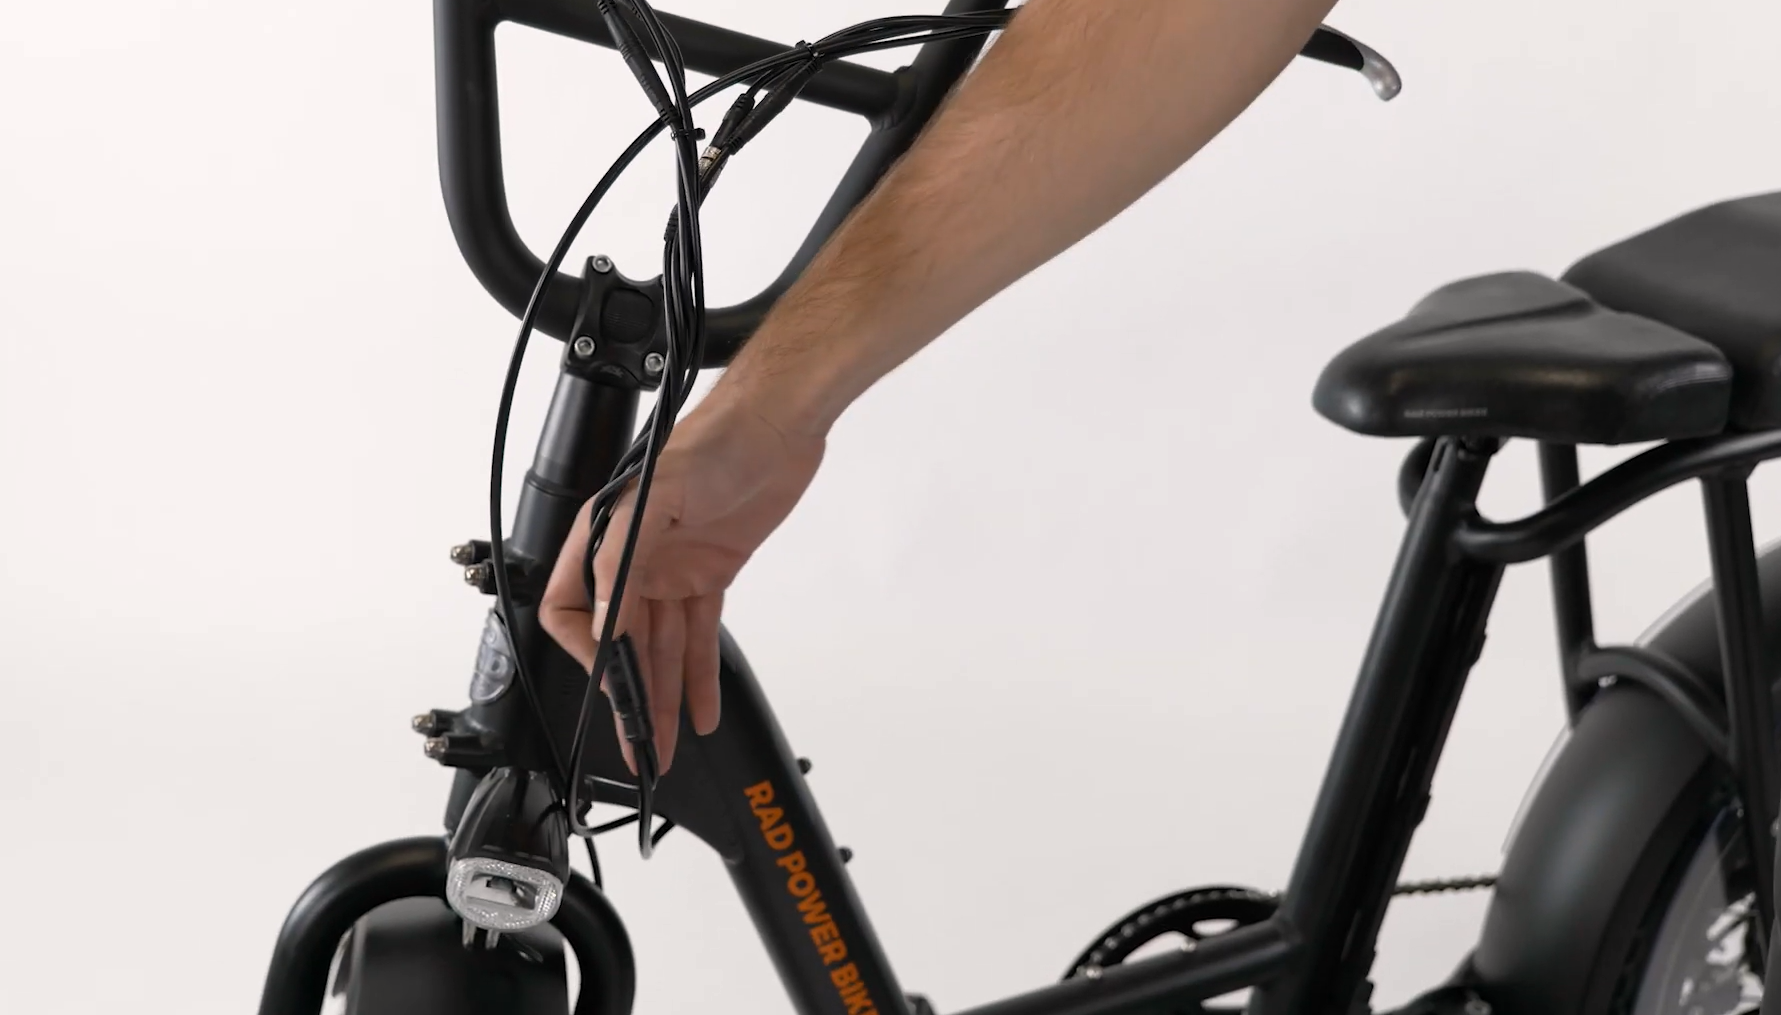
- Turn the handlebar to the side and locate the wiring harness cable at the front of the bike. Gently feed the wiring harness cable into the upper cable opening at the front of the downtube to provide cable slack.
- Unseat the rubber grommet at the lower cable opening, in front of the bottom bracket.
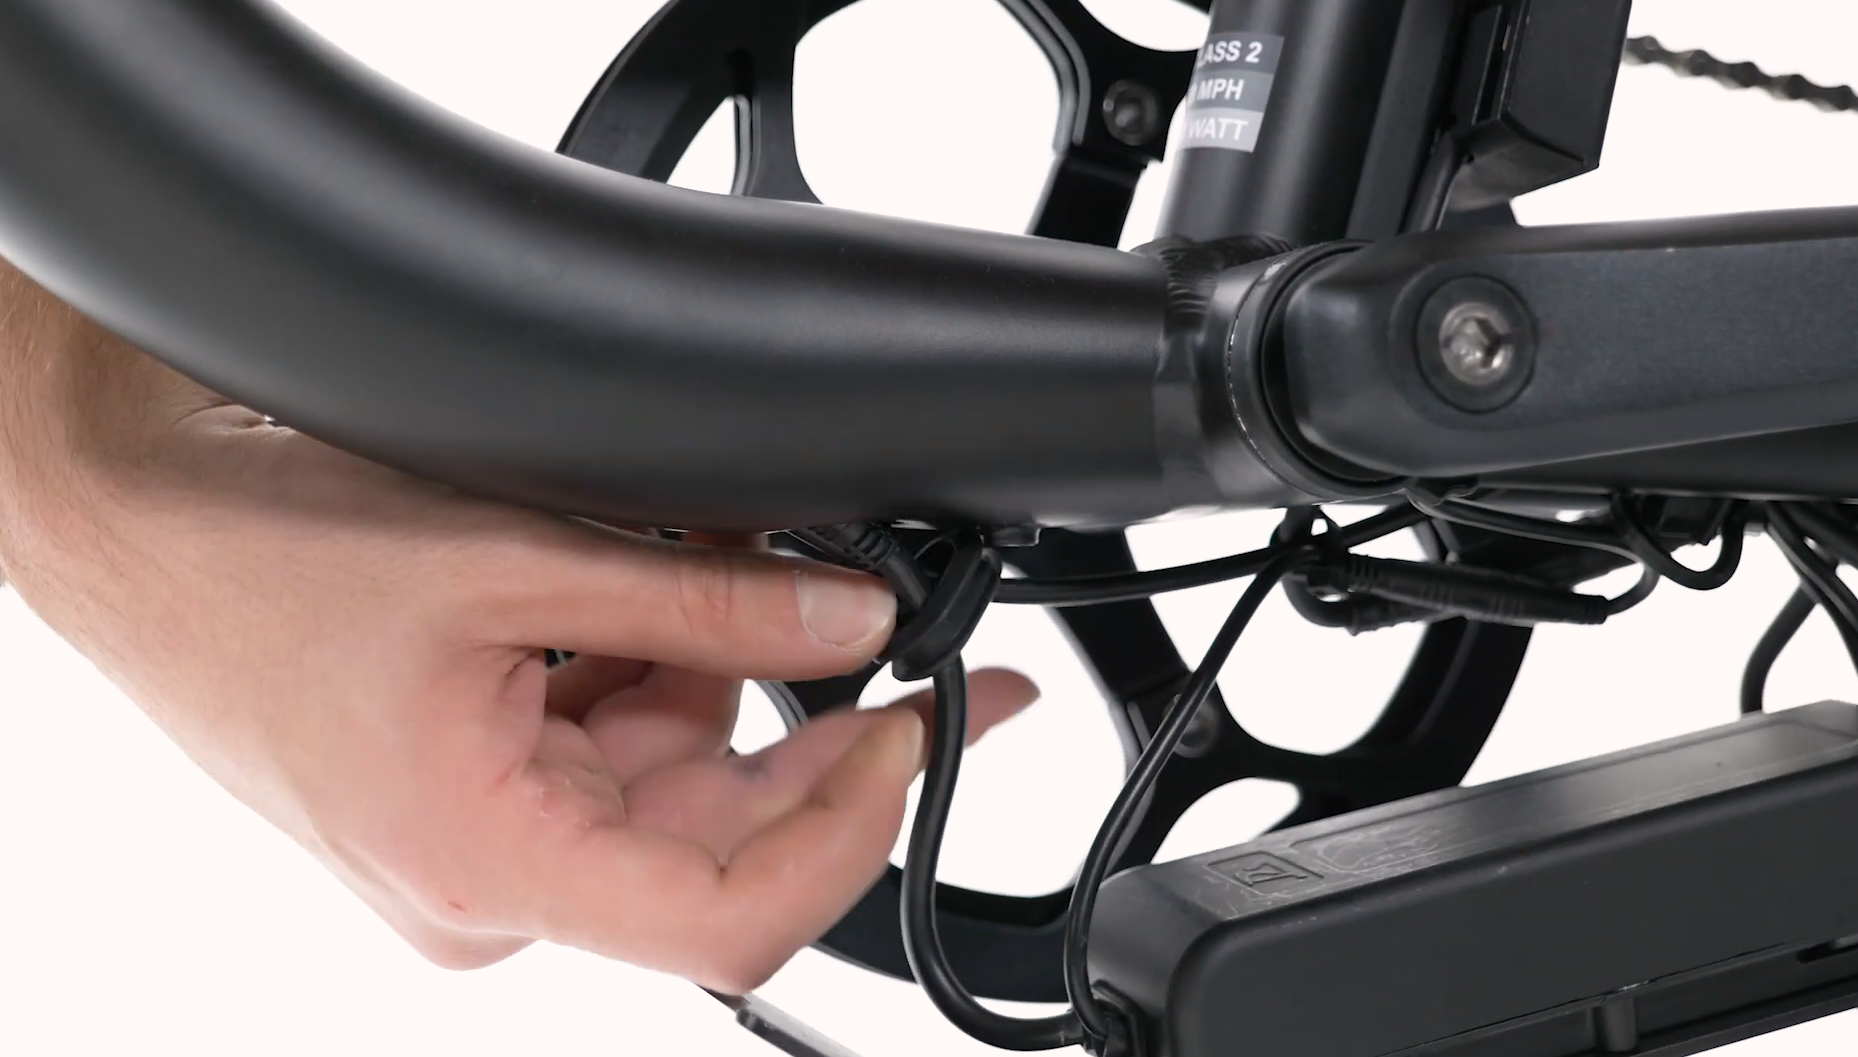
- Use caution to avoid unplugging the connector while it is still in the frame. Gently pull the wiring harness cable out of the lower cable opening until the connector is out of the downtube.
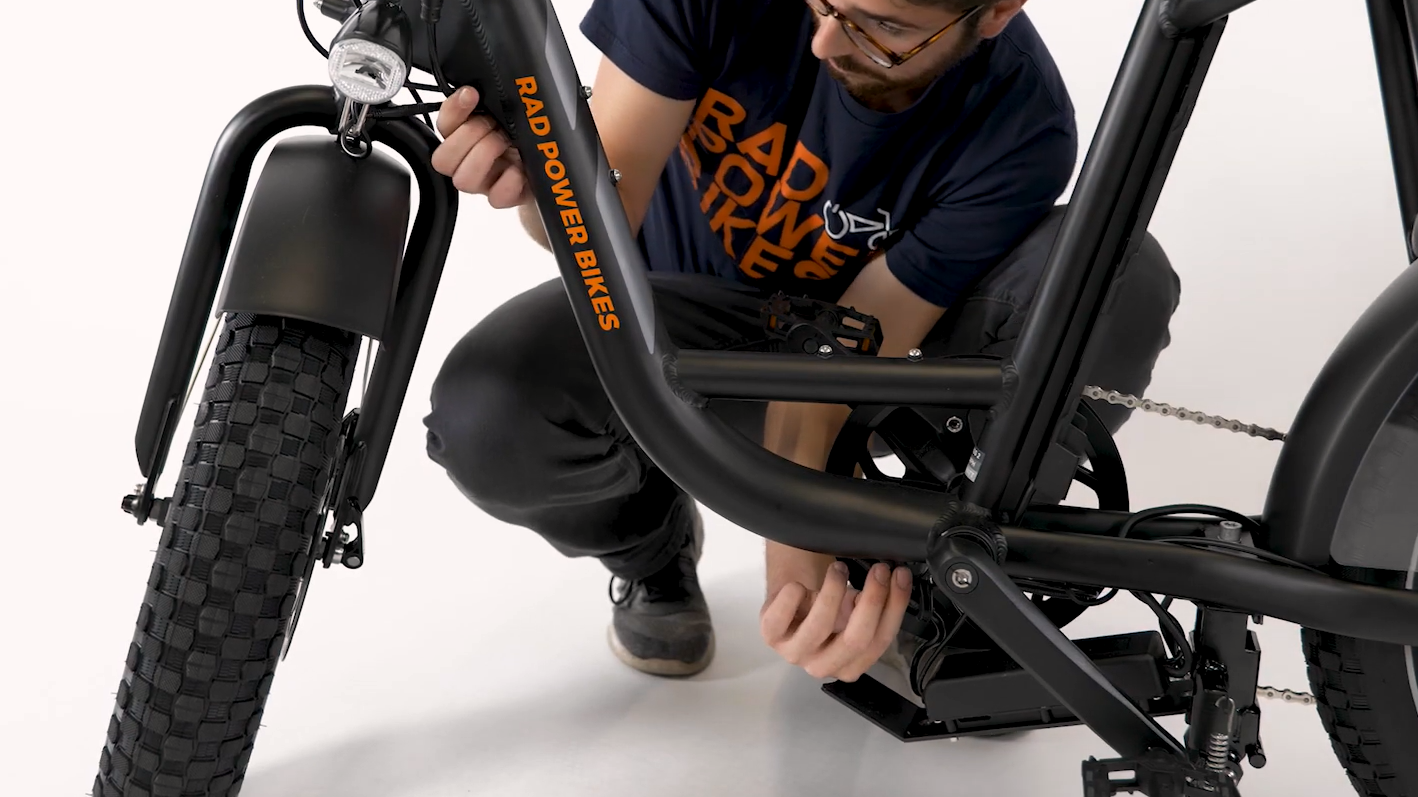
- Prop the bike in a stand or flip the bike over while squeezing the right brake lever to control the rear wheel. Use caution to prevent the skid plate from scratching the frame. Prop the handlebar grips on blocks to protect the display.

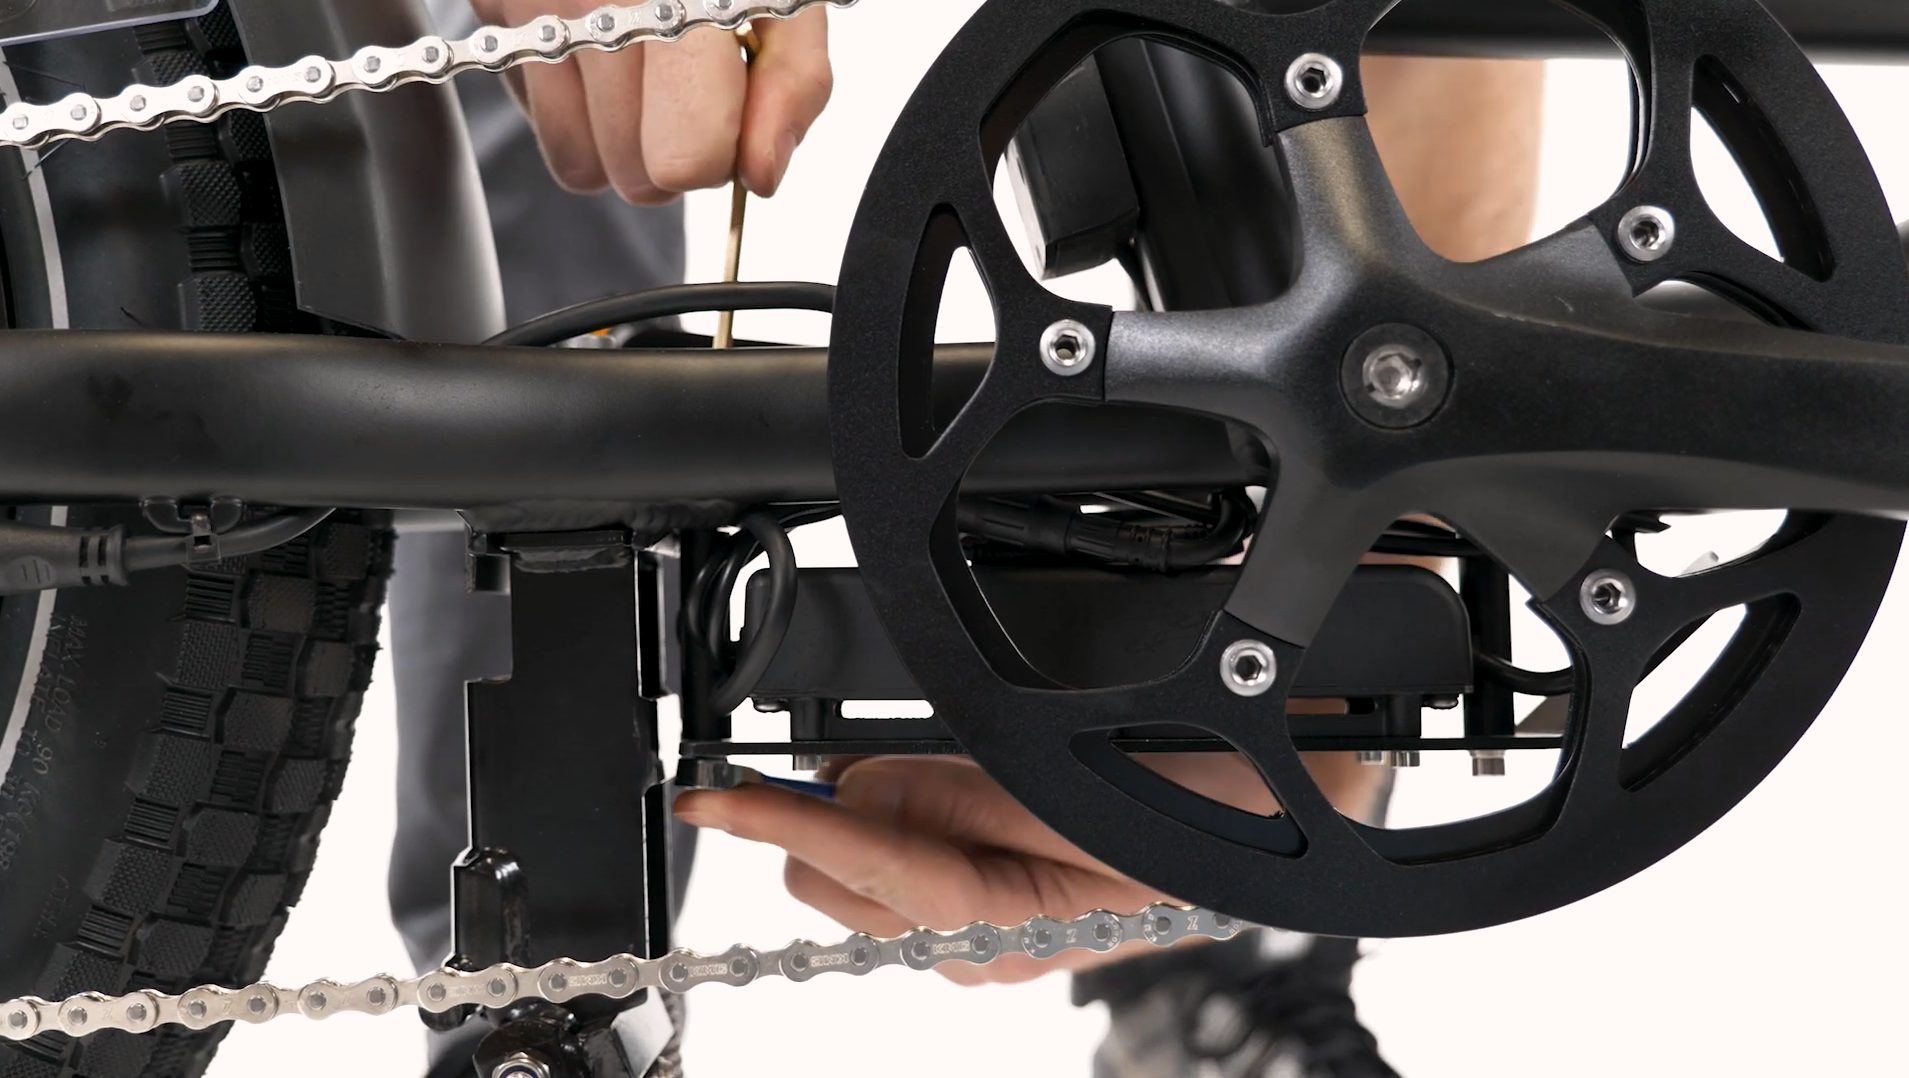
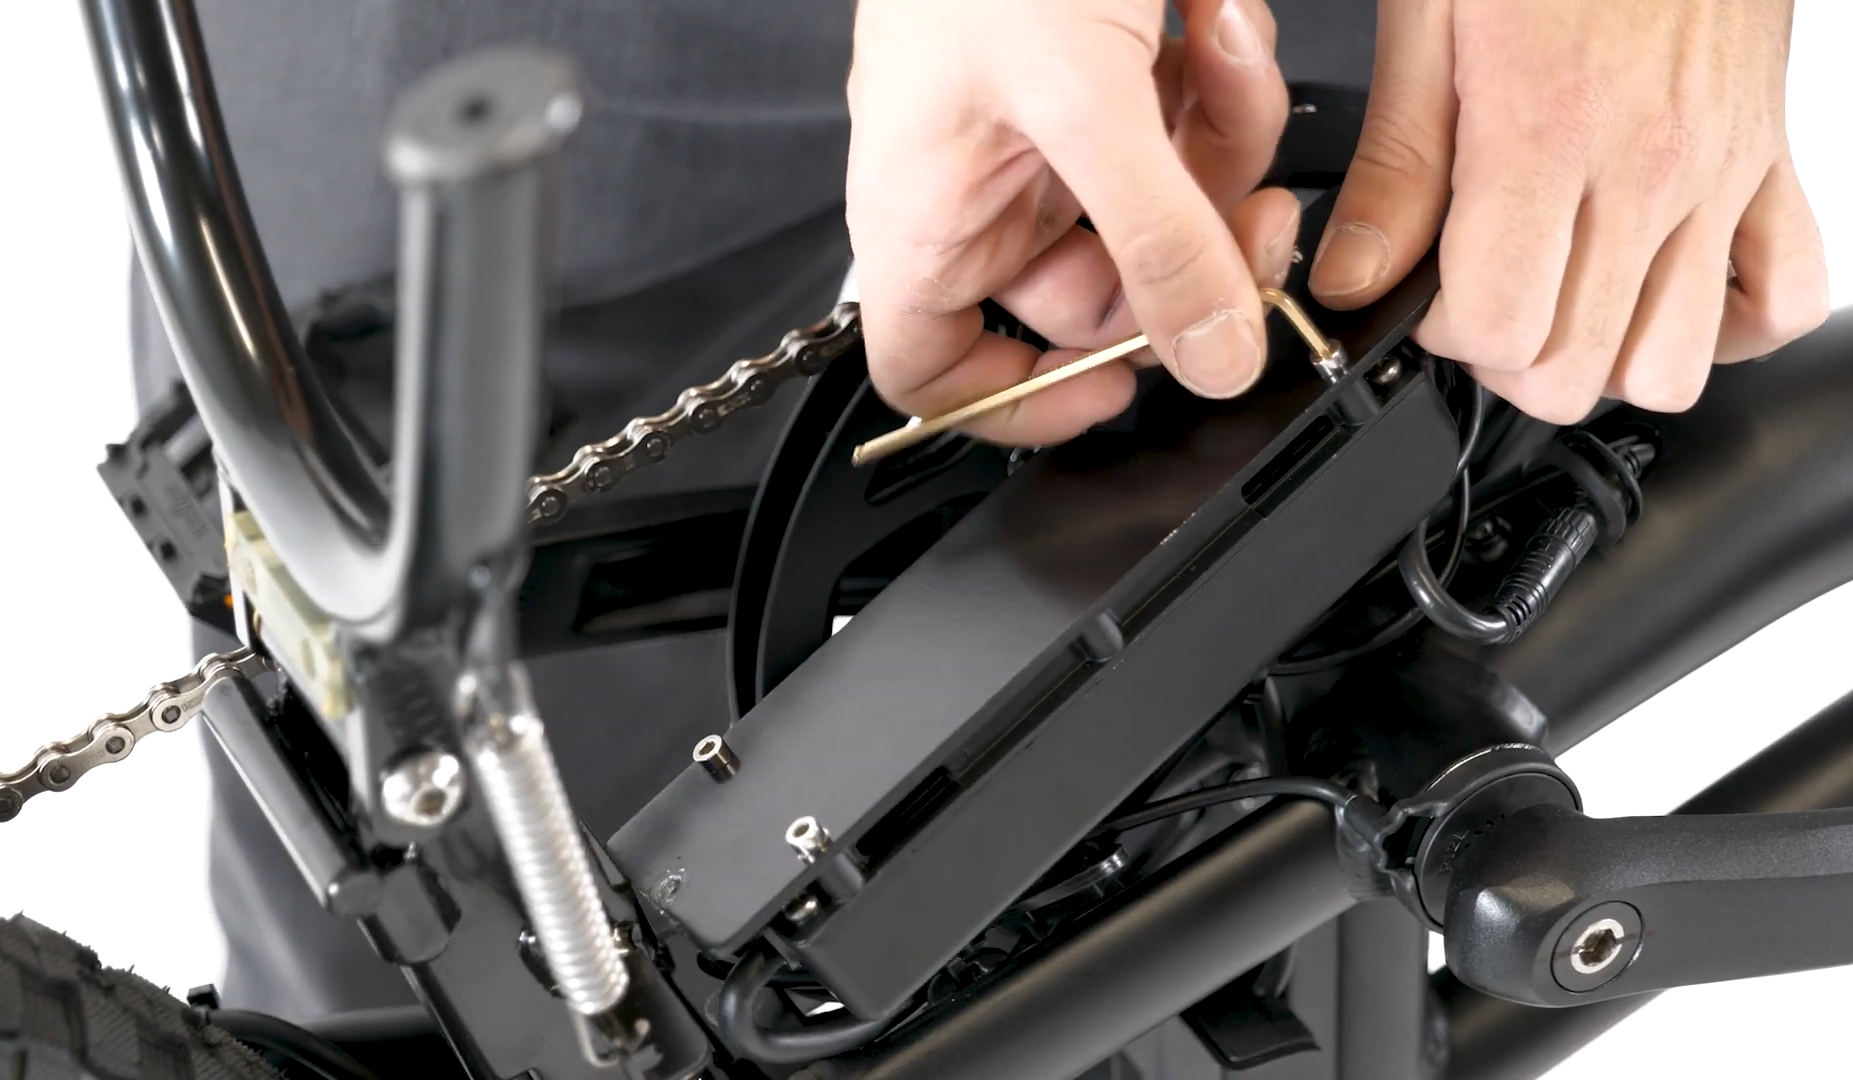
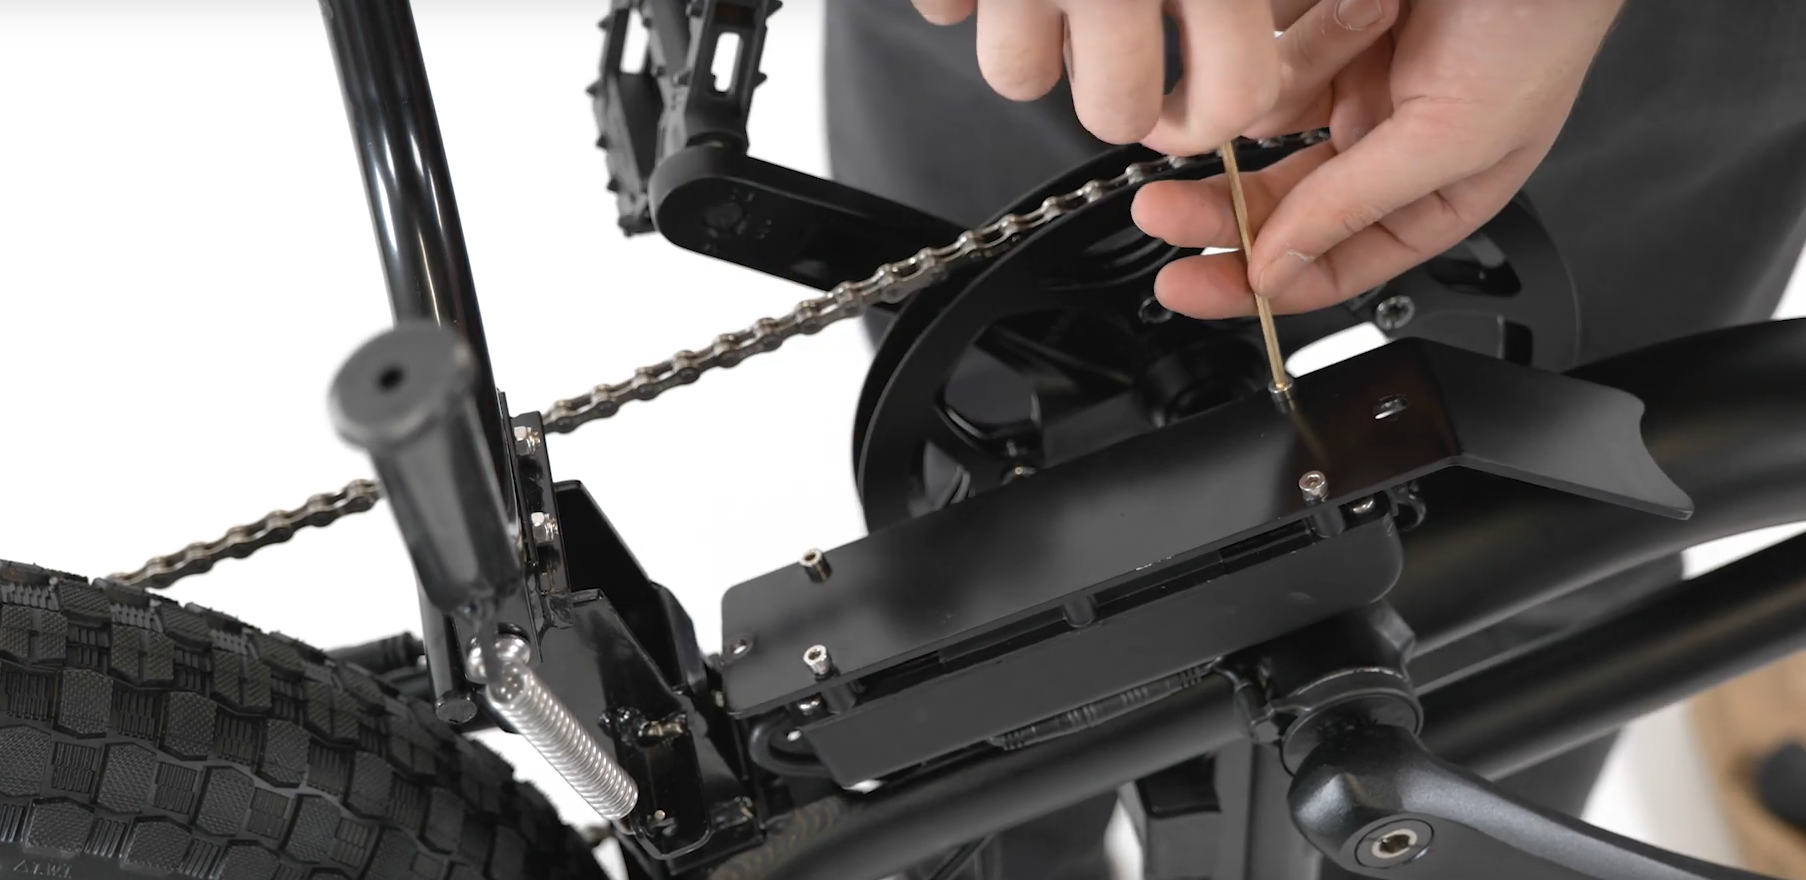
- Remove the four bolts on the skid plate using a 3 mm Allen wrench.
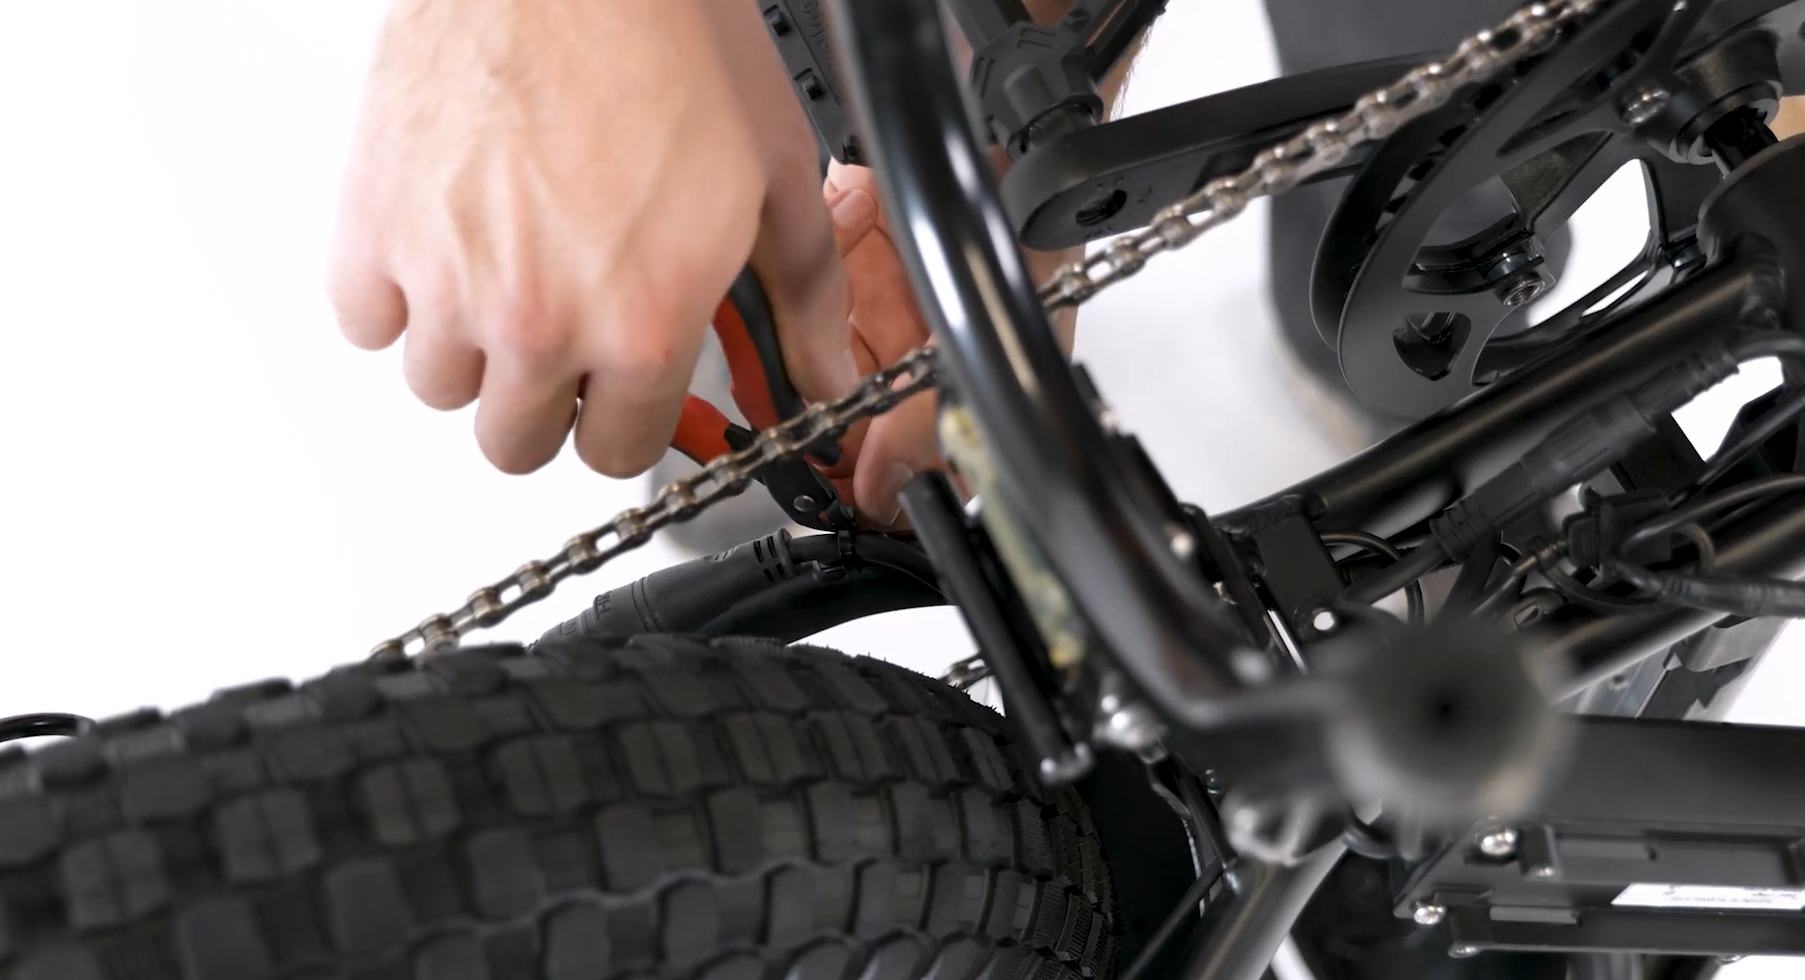
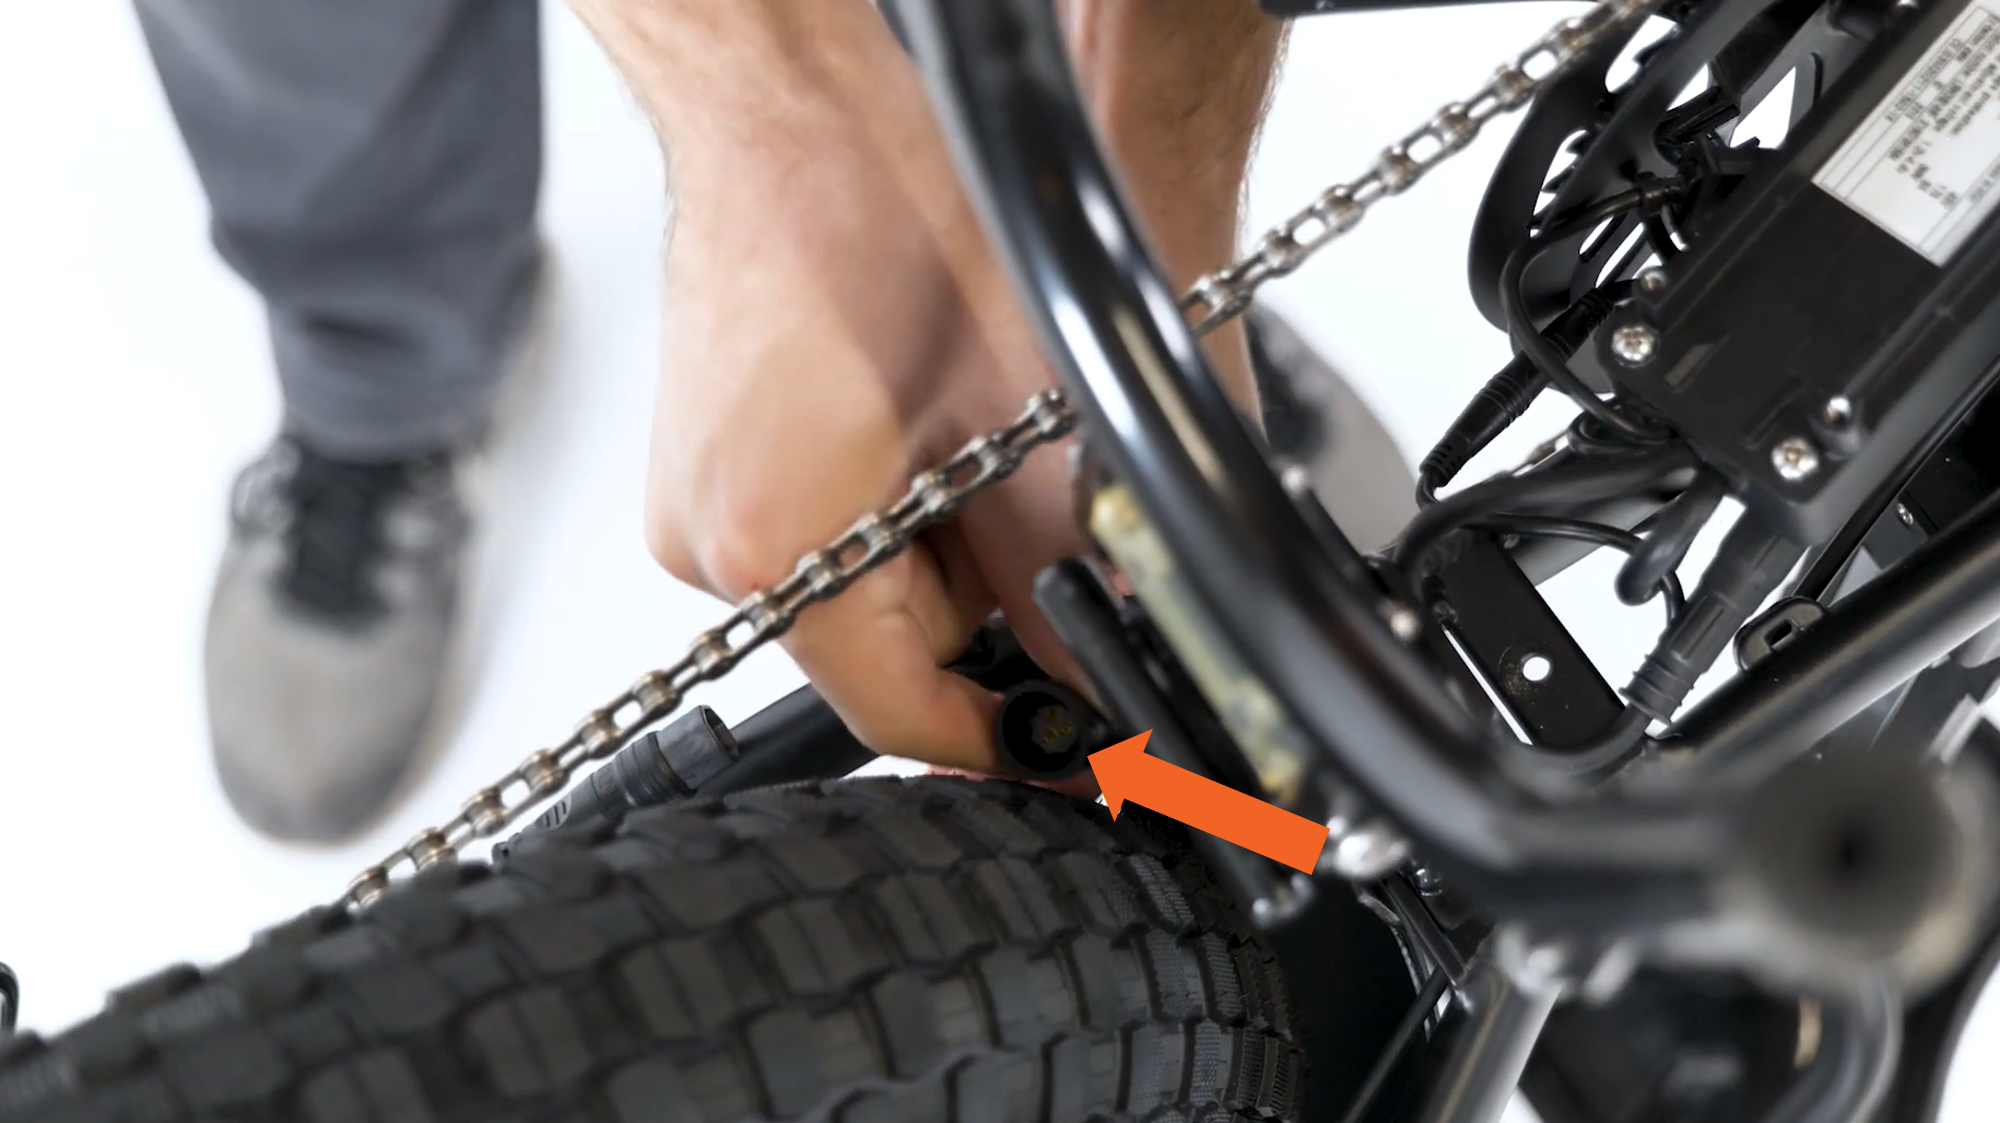
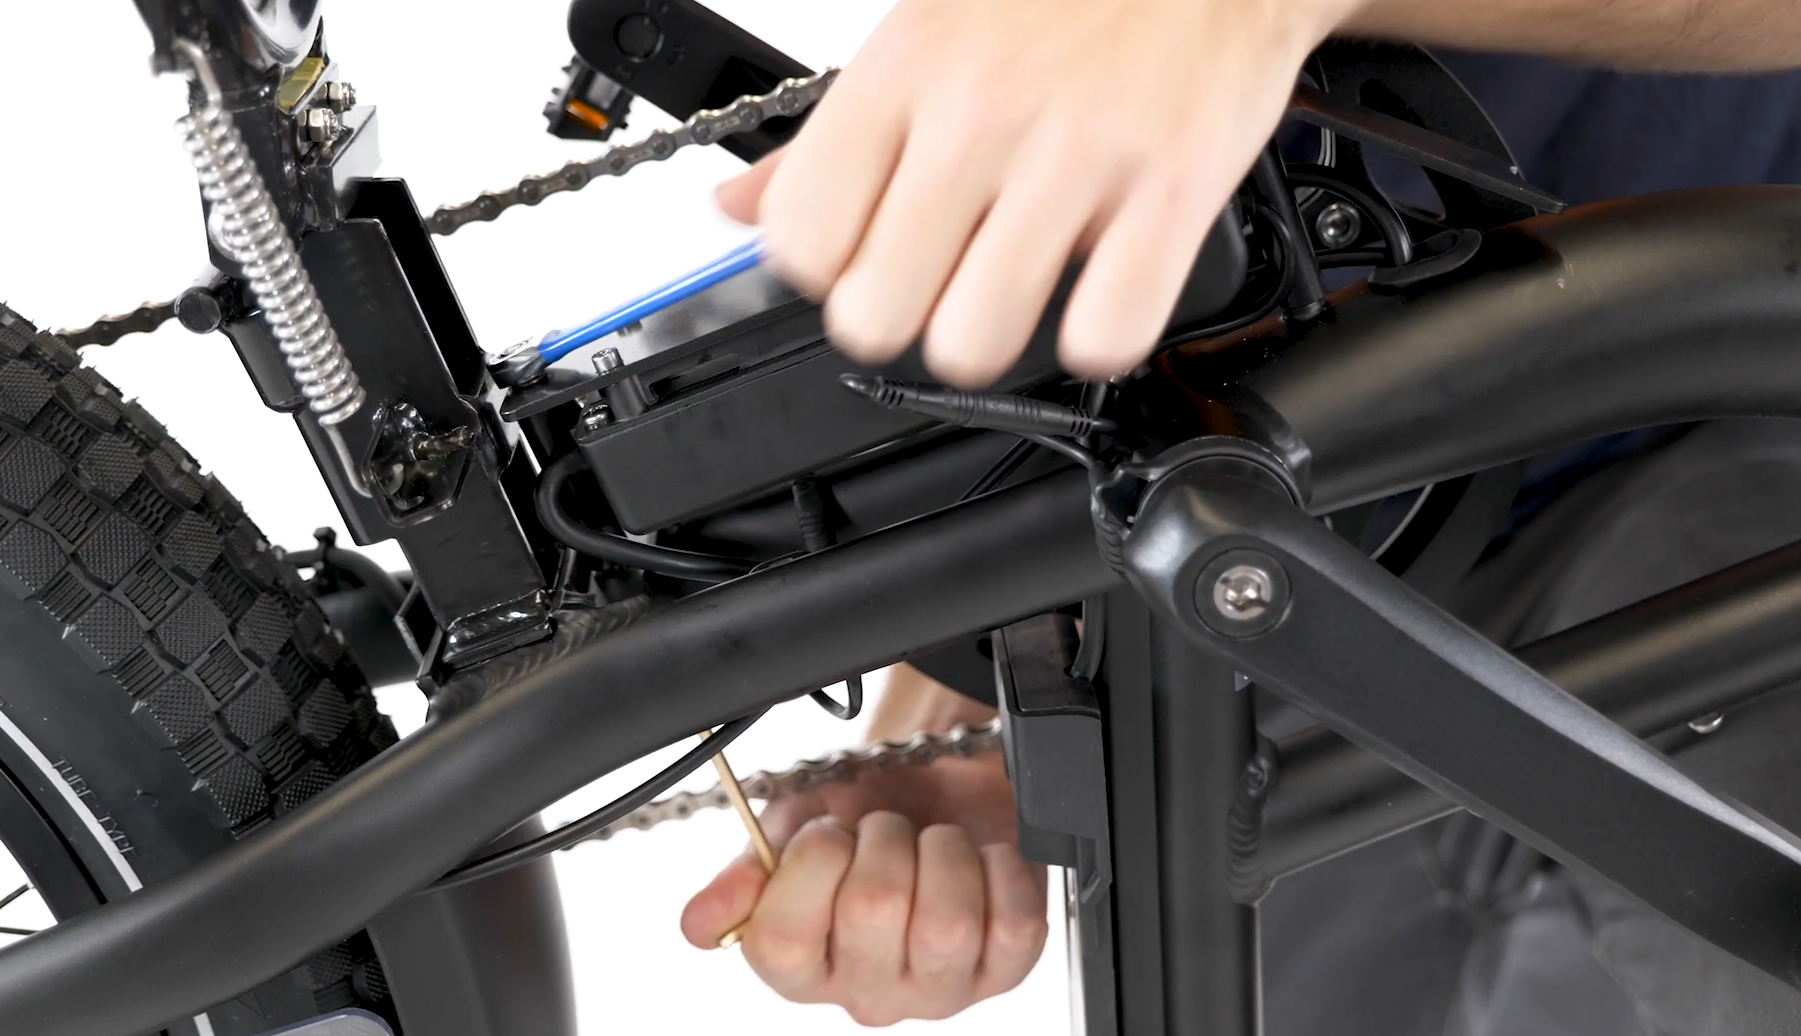
- Snip any zip ties with flat side cutters. Trace the motor cable to the connector on the chainstay and snip the additional zip tie.
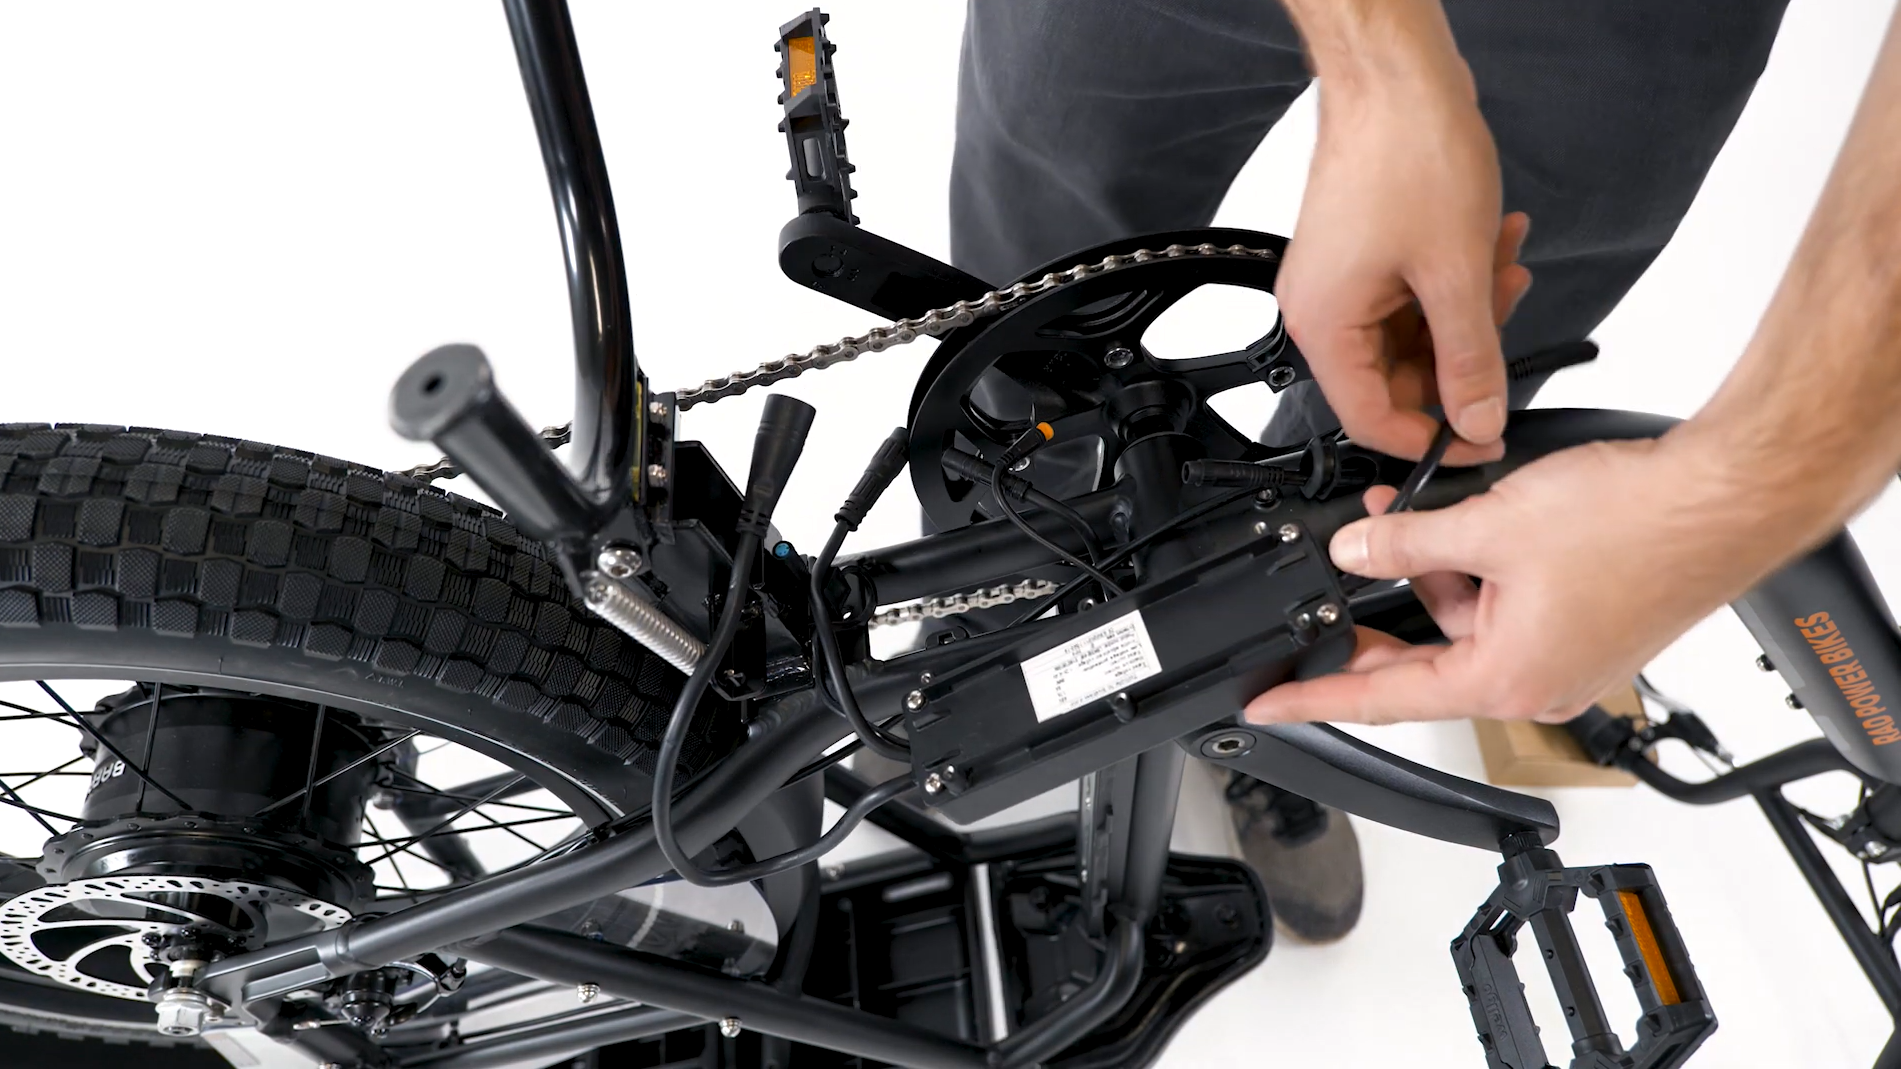
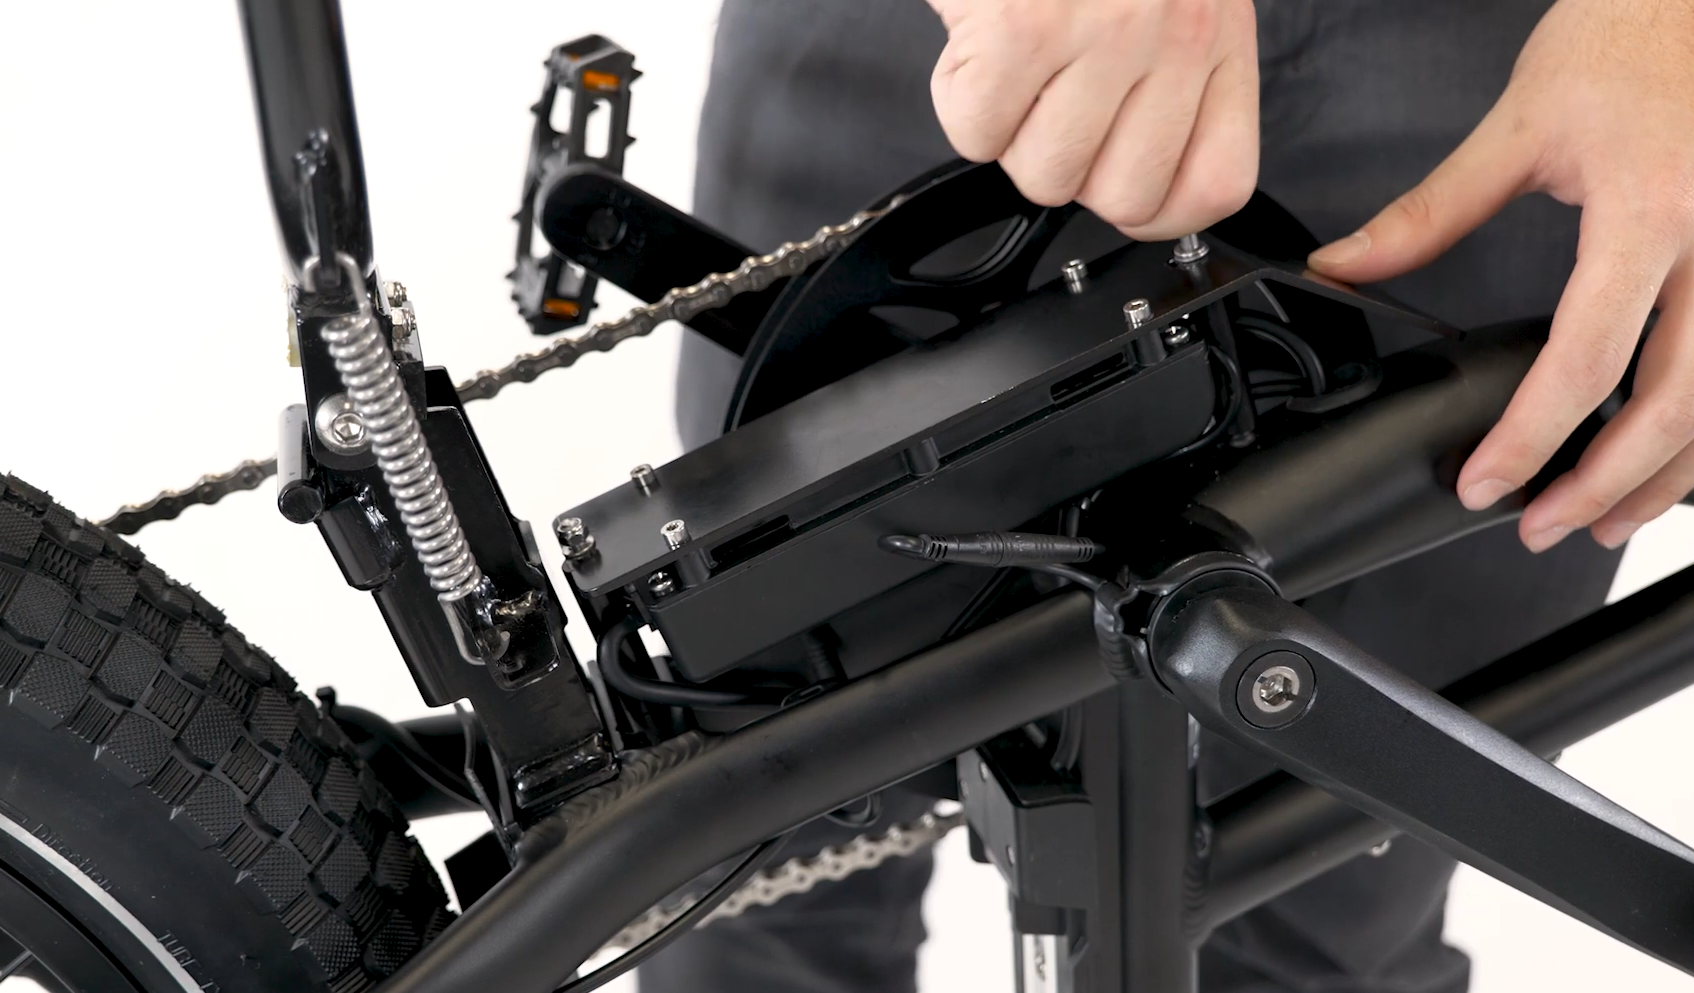
- Unplug each connector from the controller by pulling directly apart without twisting. Use caution to prevent the wiring harness connector end from falling into the frame opening.
Discard the old controller in accordance with local electronics recycling regulations.
- Position the new controller so the mounting holes face away from the bottom of the bike and the motor connector end is pointed toward the back of the bike.
- Plug in the wiring harness cable near the lower cable opening of the downtube. Align the internal notch and pins (and external arrows) and press directly together without twisting to fully seat the connection.
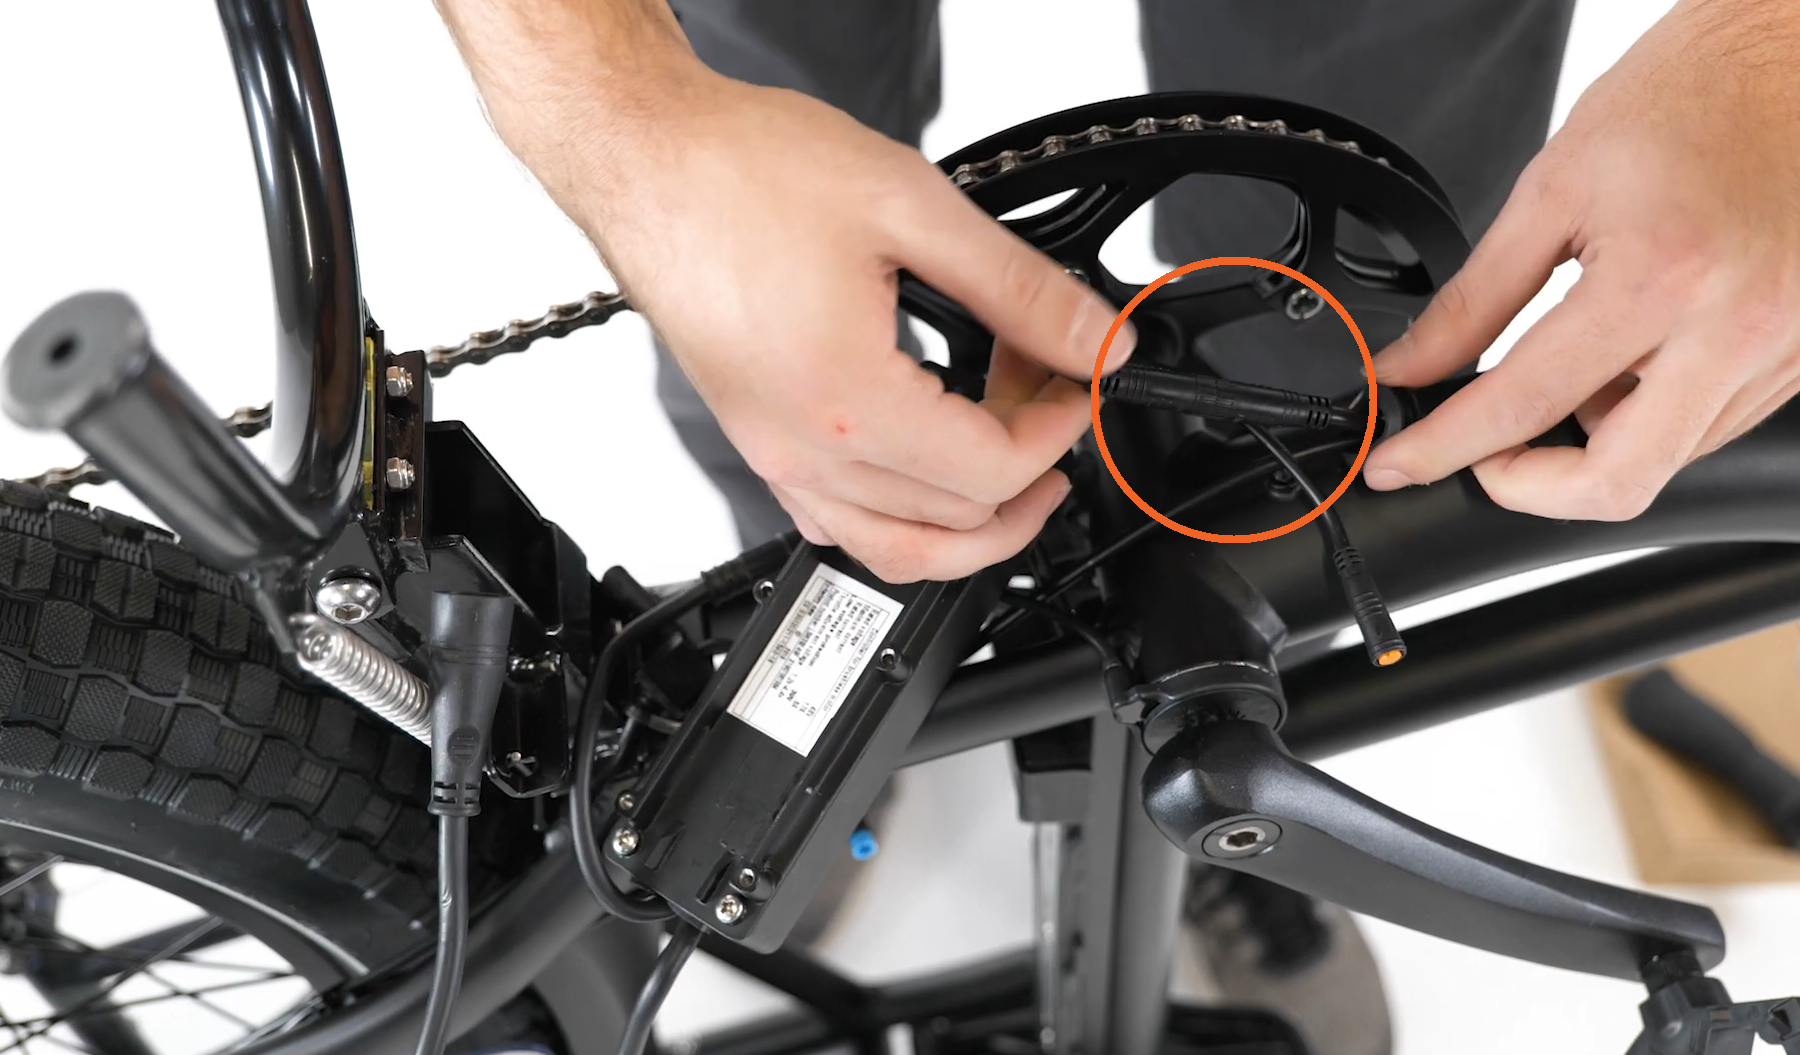
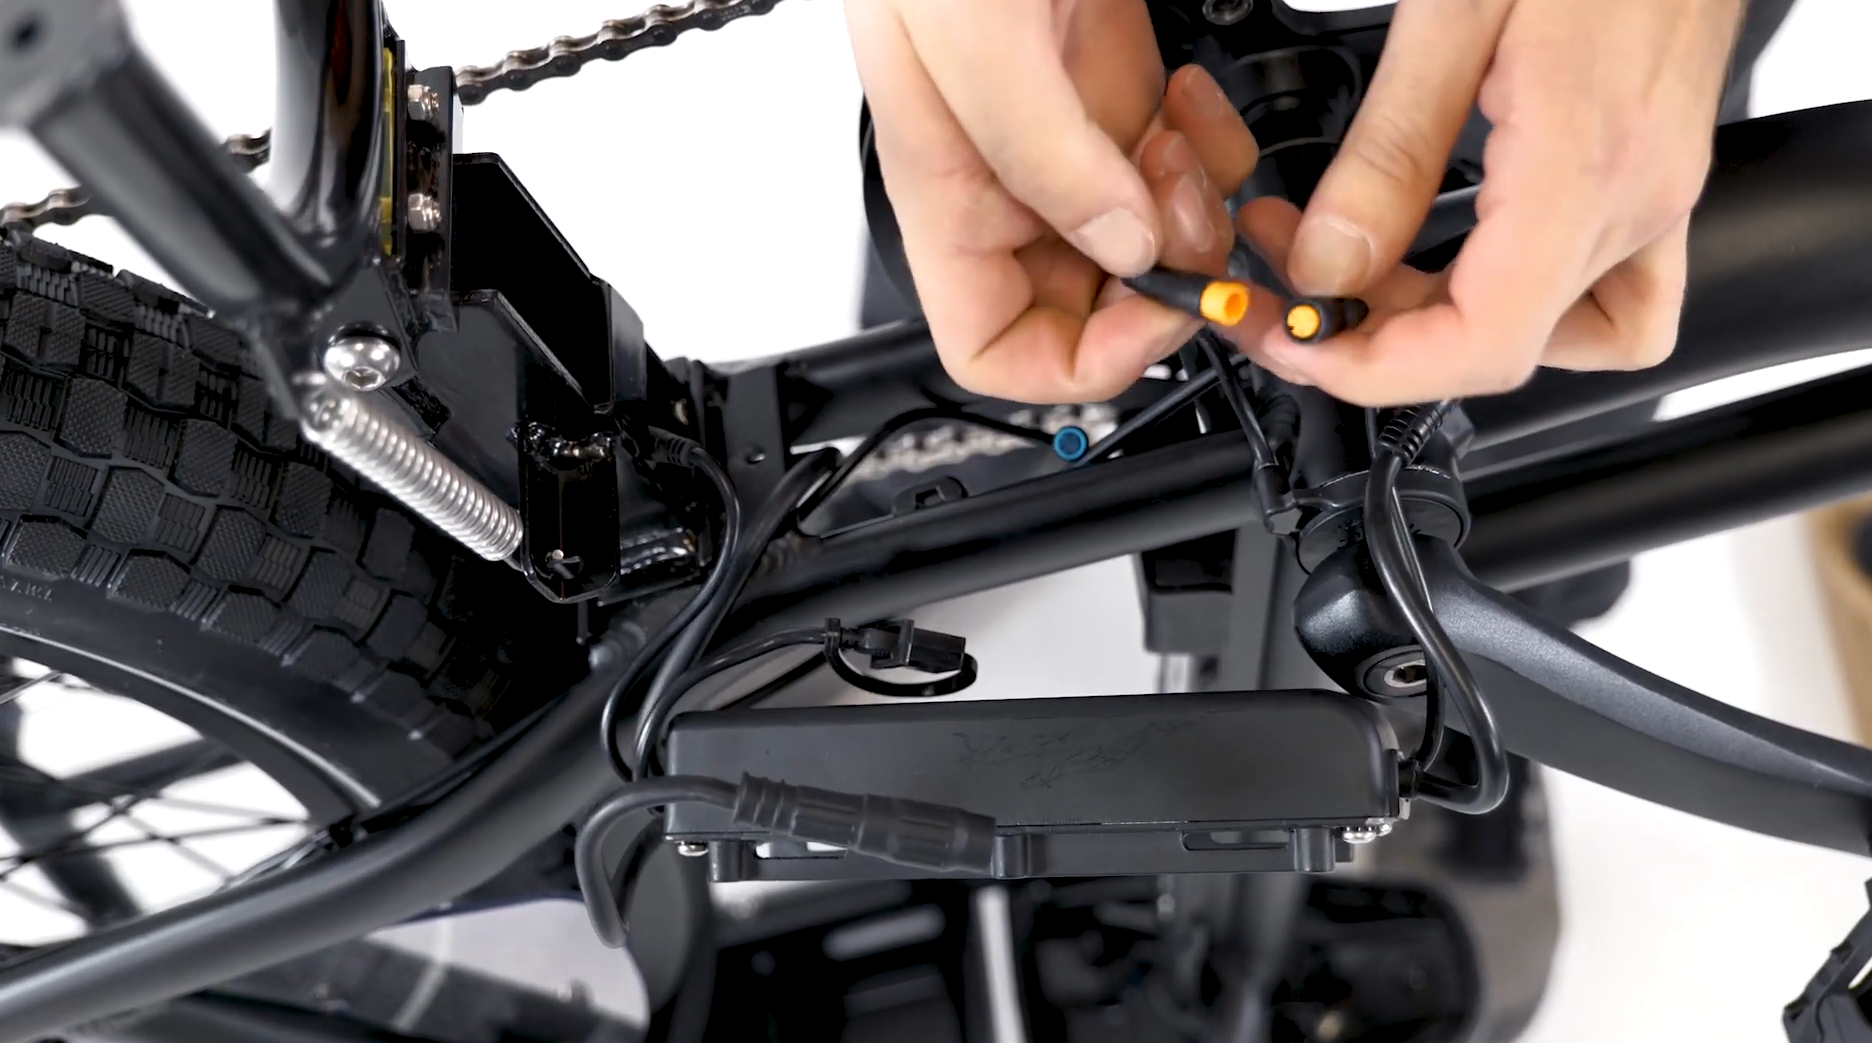
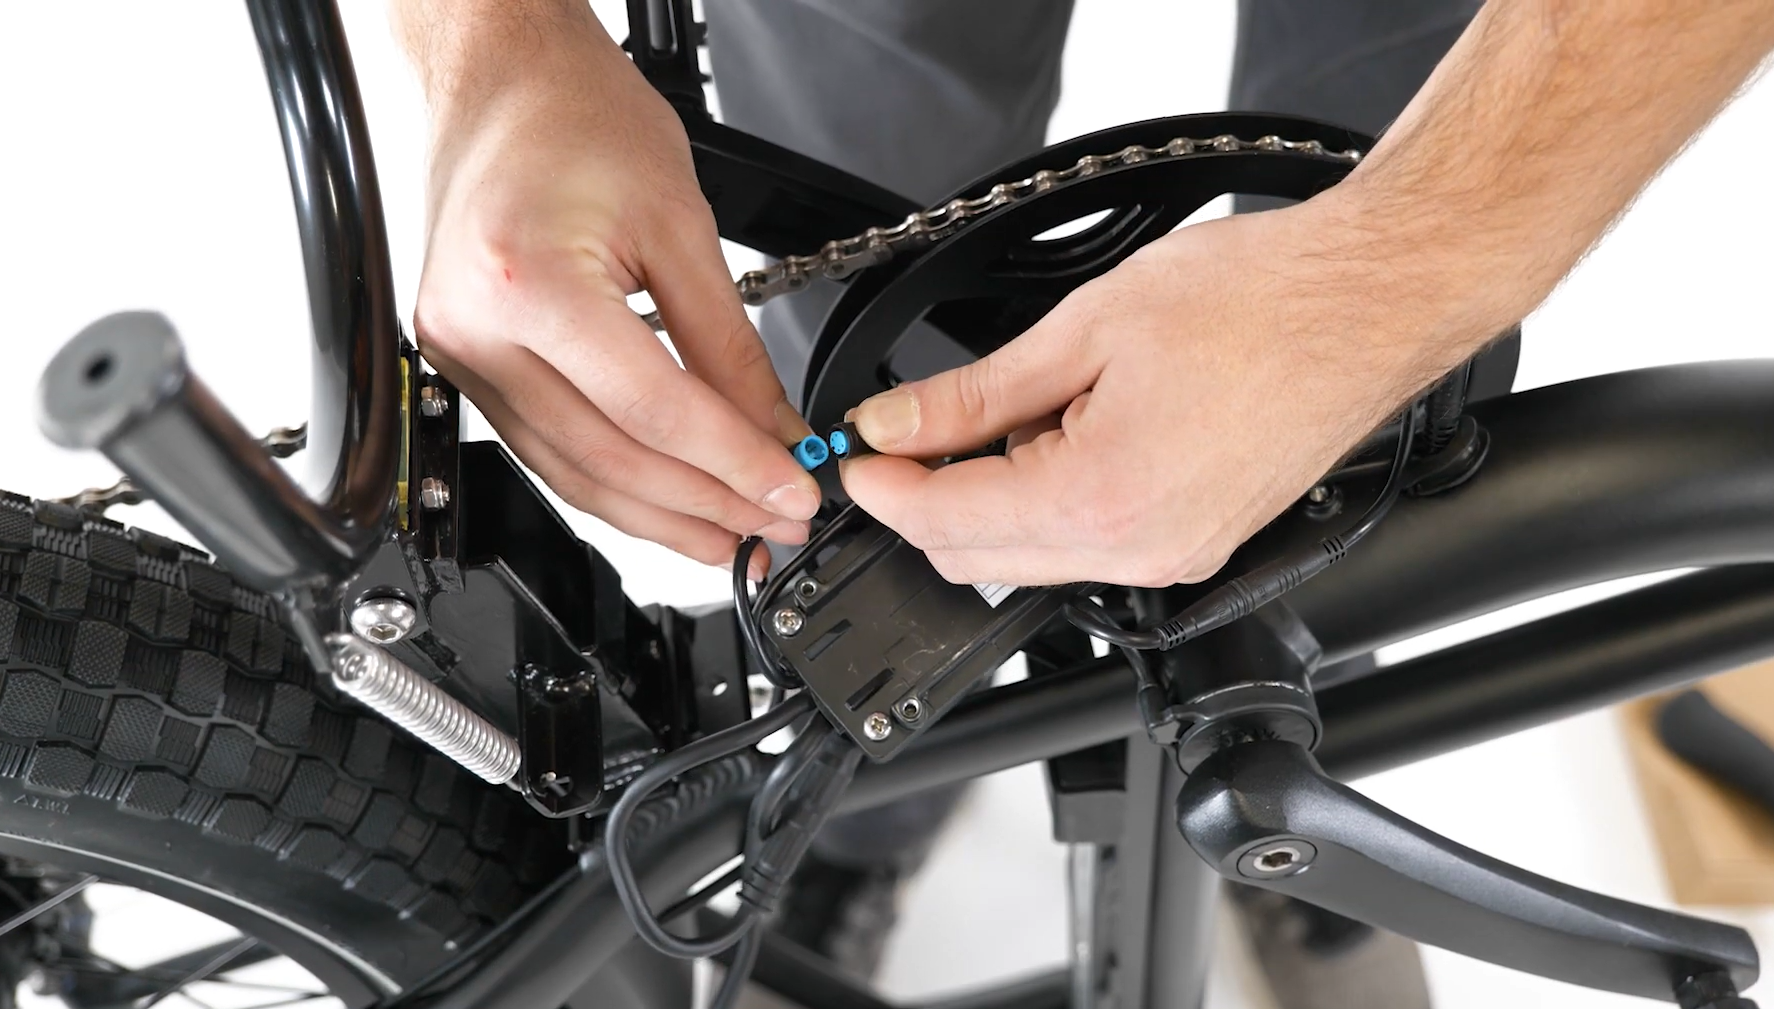
- Plug in the PAS sensor cable (yellow inside) and position the cable so it routes toward the non-drive side of the bike. Align the internal notch and pins (and external arrows) and press directly together without twisting to fully seat the connection.
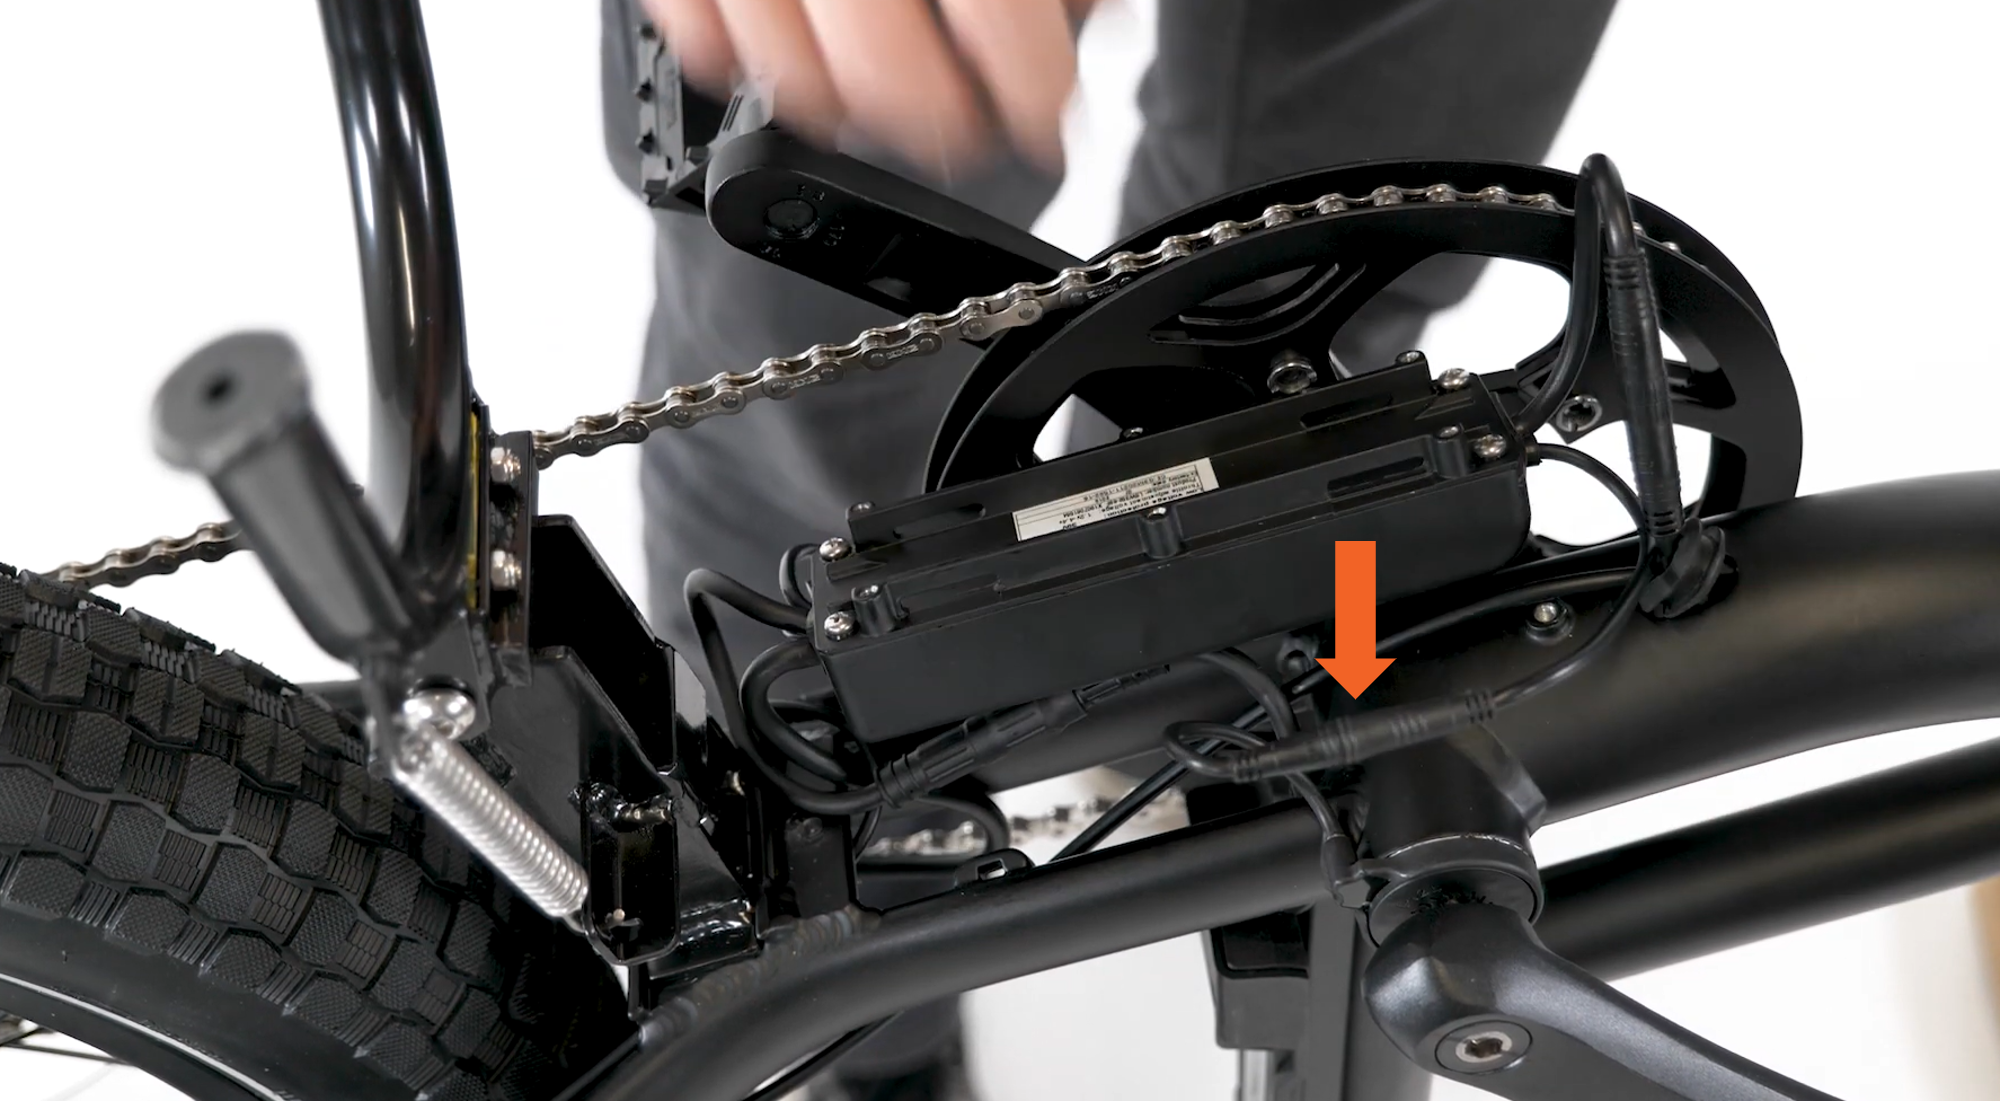
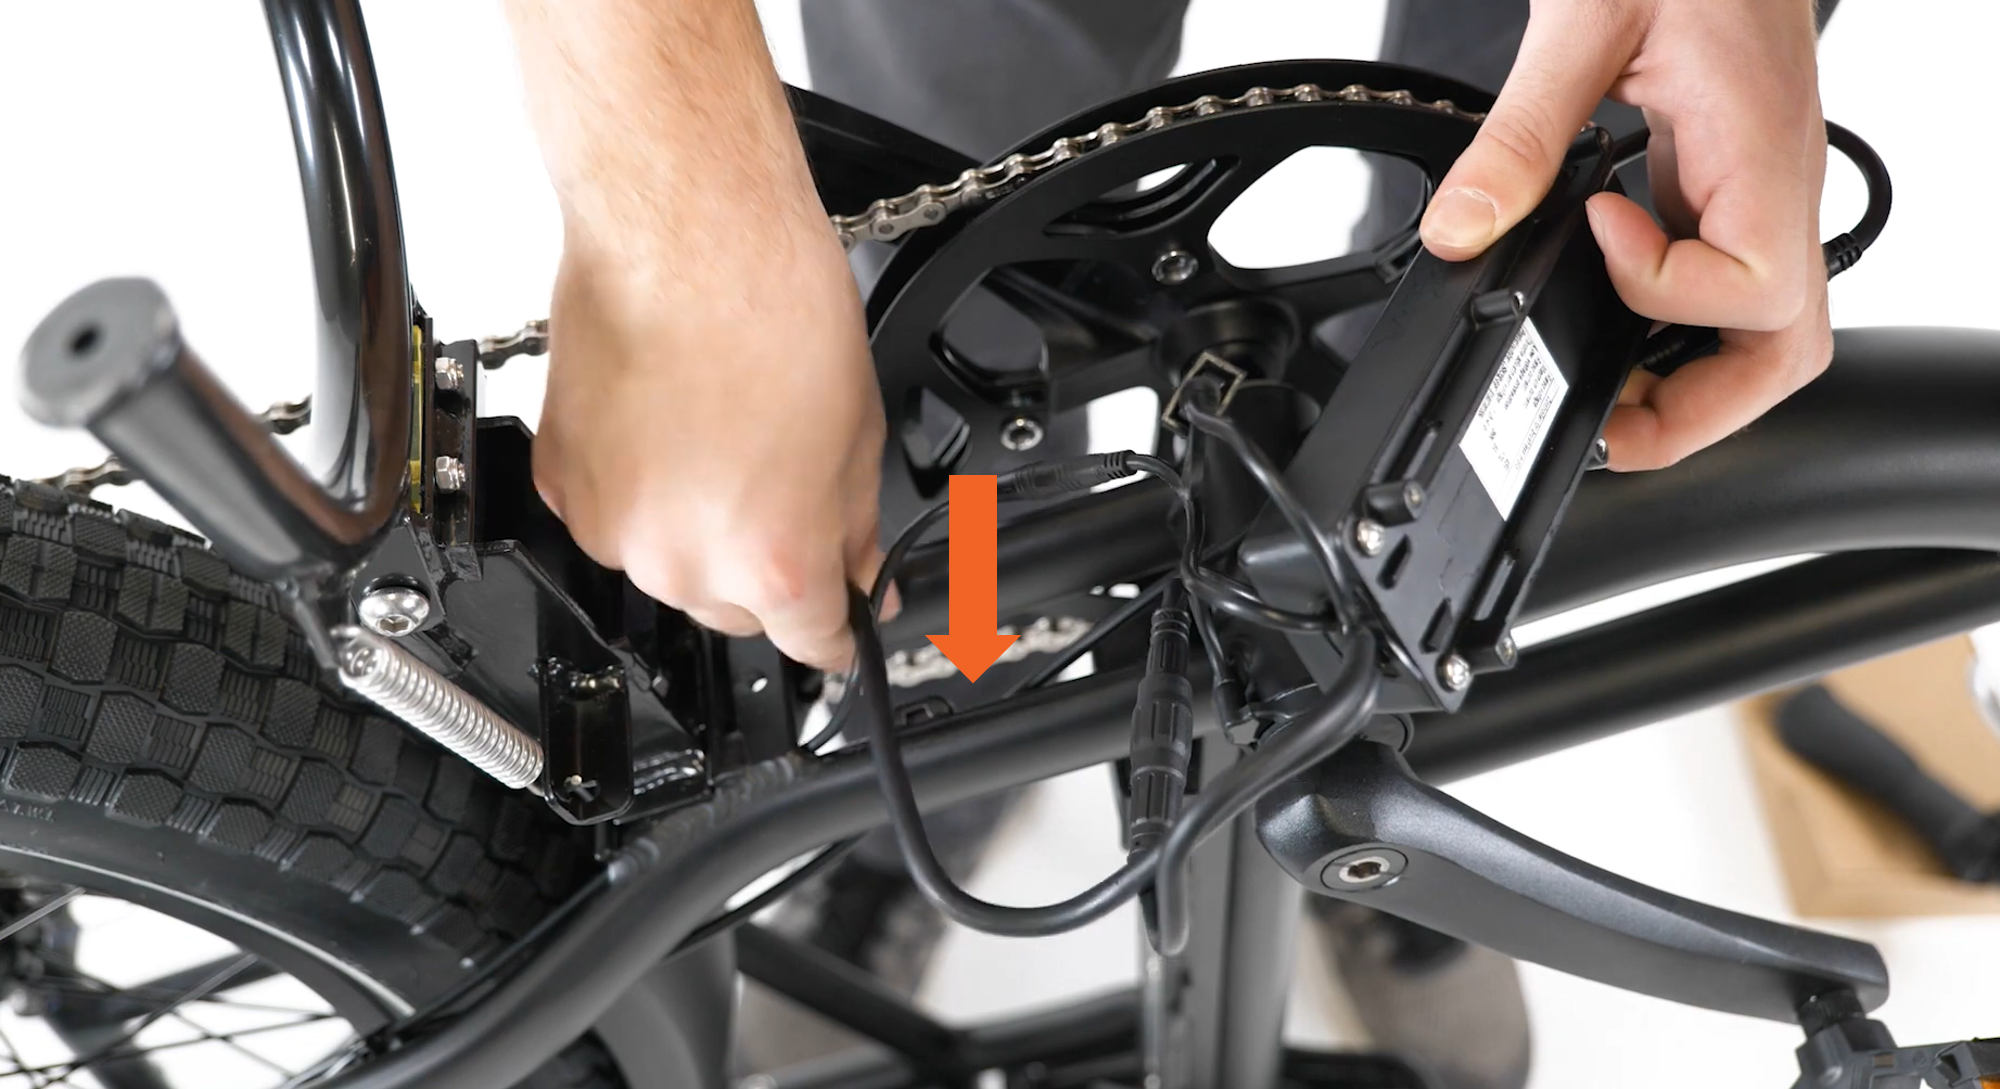
- Plug in the motor connector. Pass the motor connector end down through the middle of the bike frame and through the frame by the rear wheel. Align the internal notch and pins (and external arrows) and press directly together without twisting to fully seat the connection.
- Plug in all other connectors. Locate the corresponding connector end. Align the internal notch and pins (and external arrows) and press directly together without twisting to fully seat each connection.
- Pass the wiring harness connector through the rubber grommet. Double check it is fully connected.
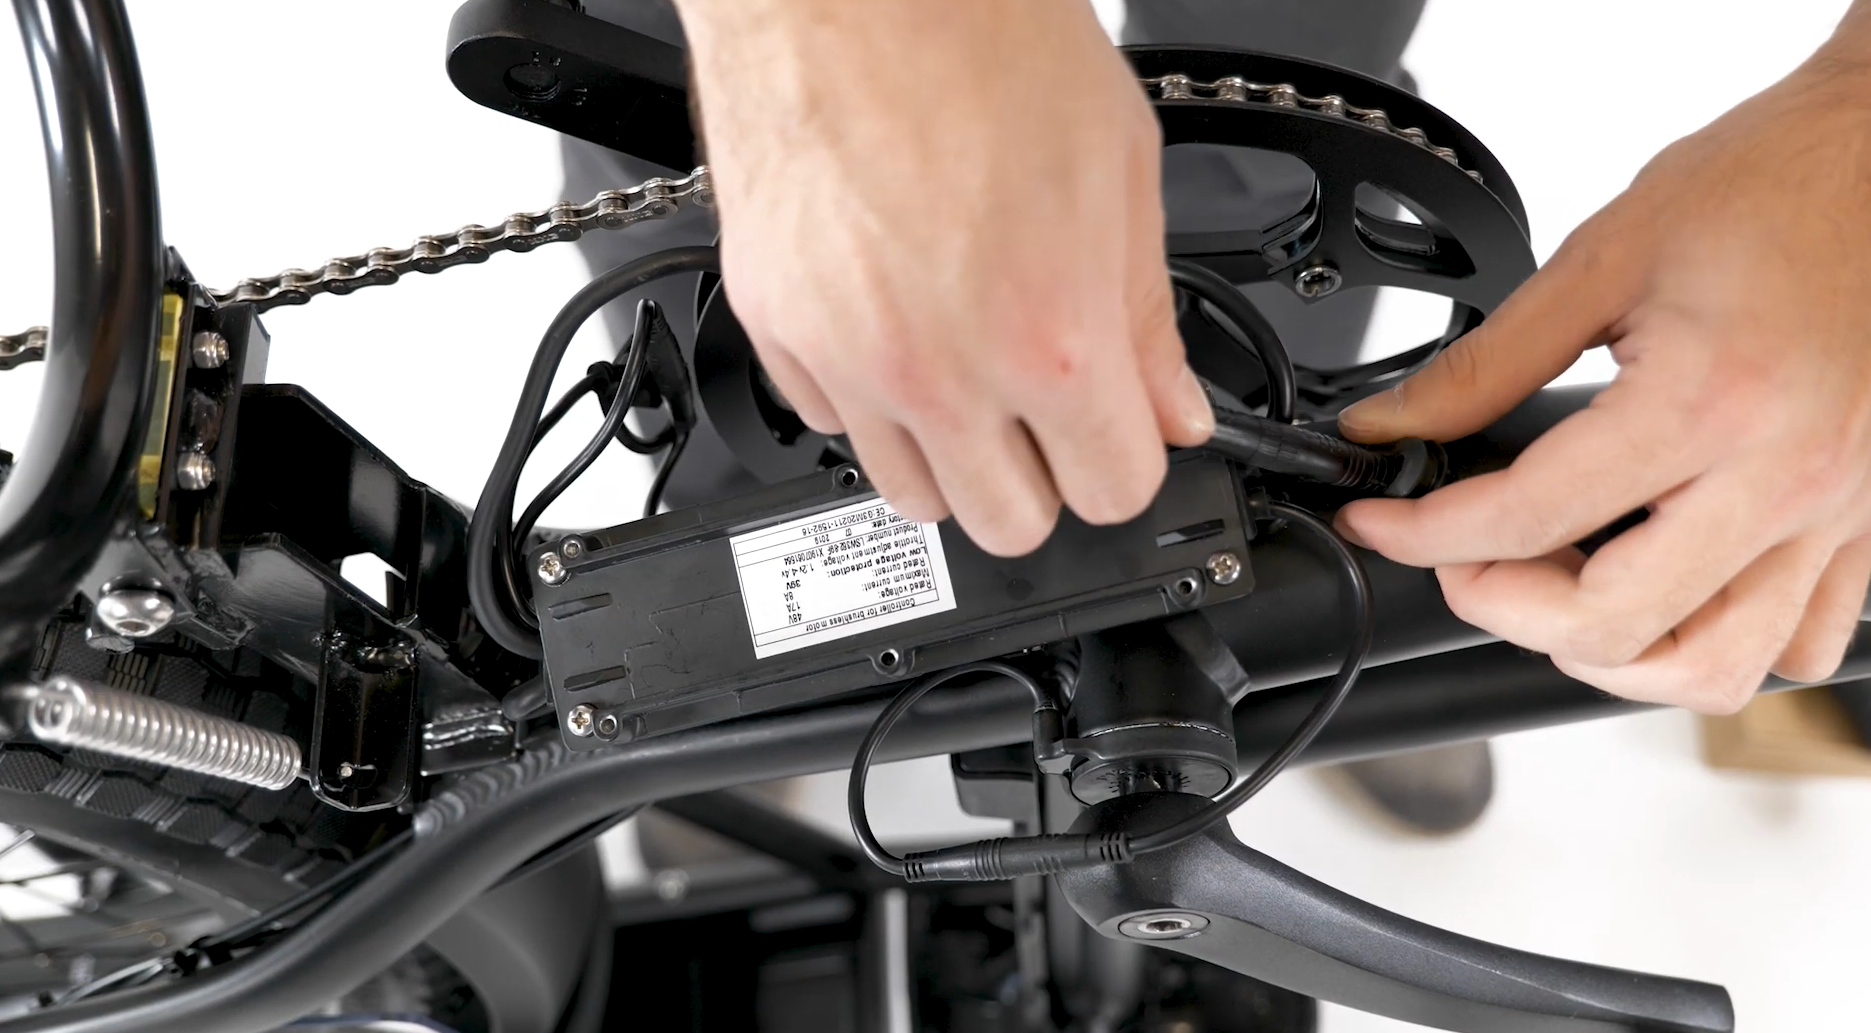
- Insert the wiring harness connector into the lower cable opening of the downtube and carefully press the grommet into place on the cable opening.
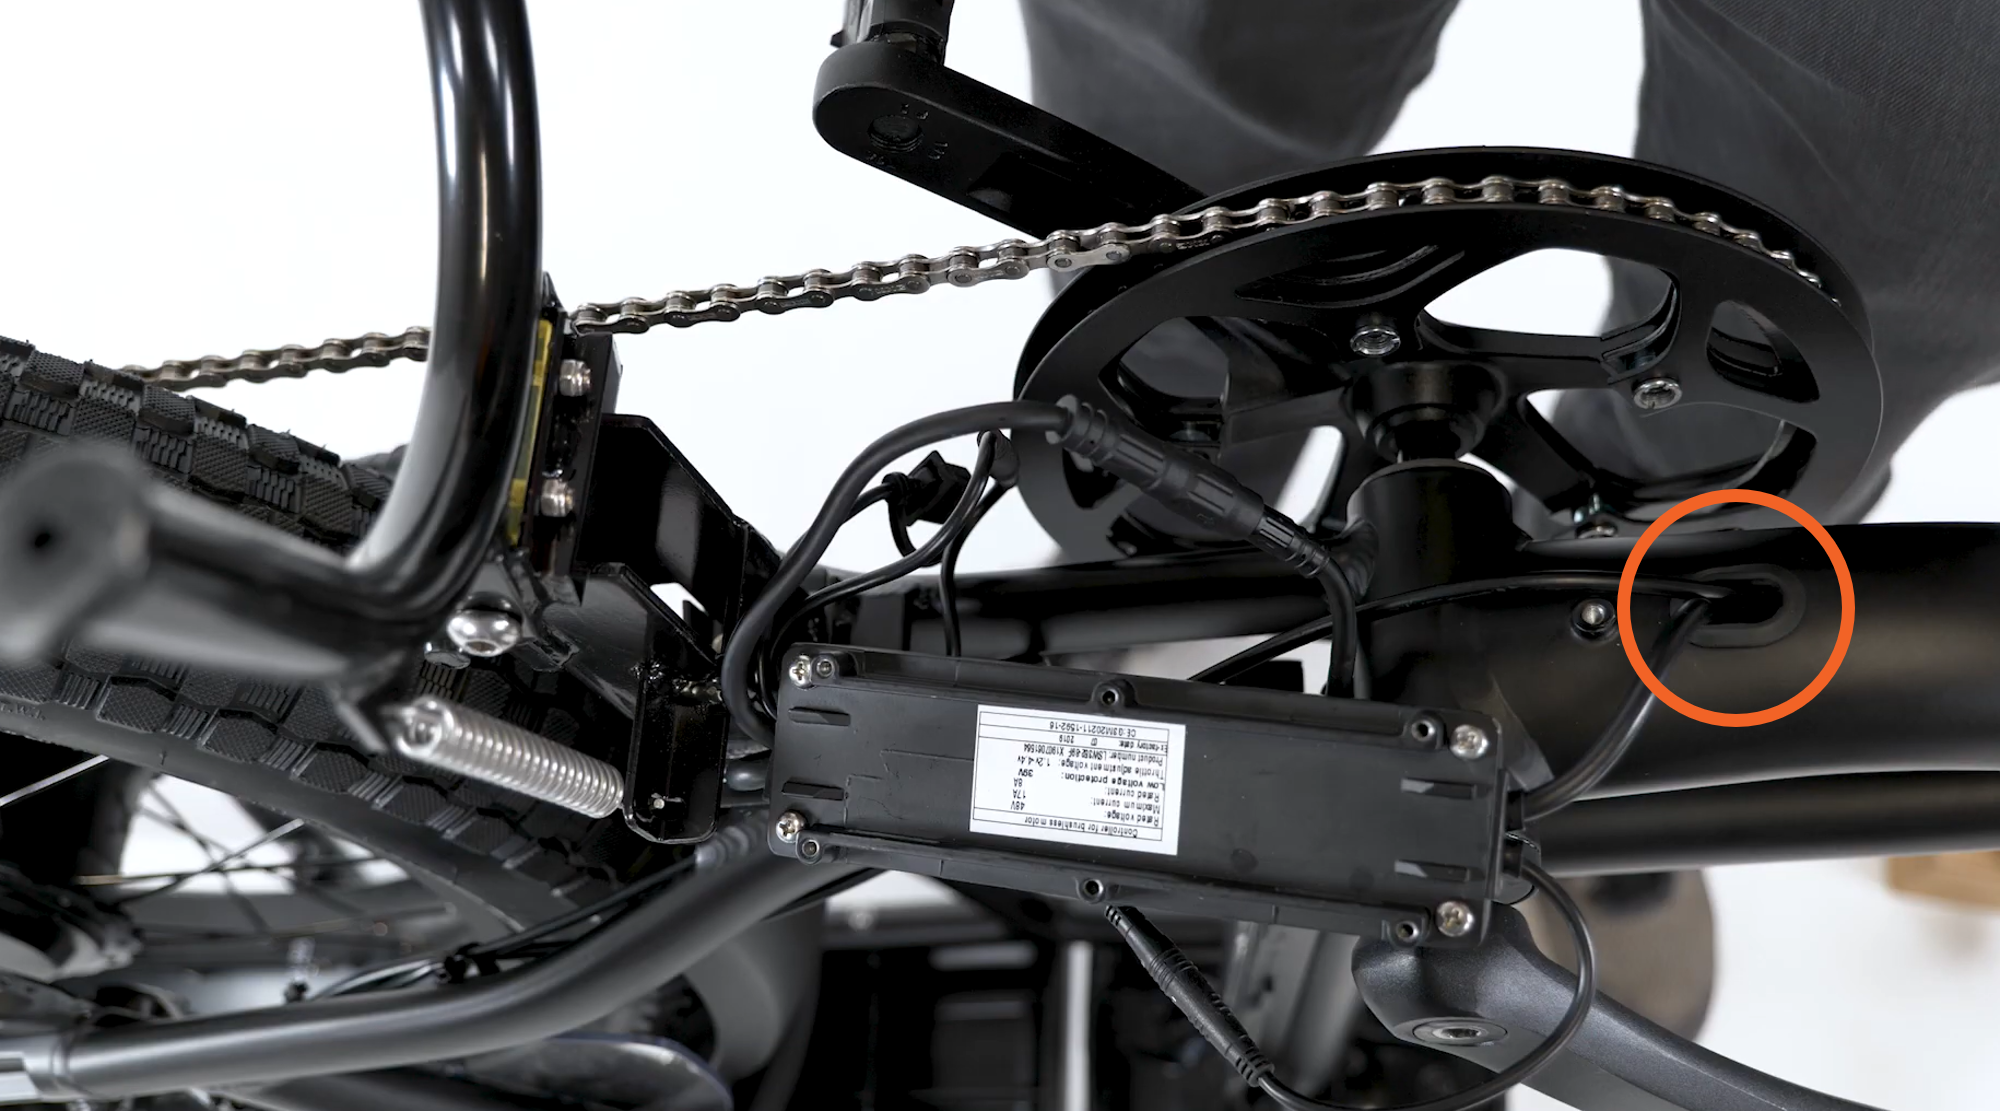
- Secure the cables plugged into the controller with zip ties and secure the motor connector cable to the chainstay with a zip tie so it is out of the way of the rear wheel. Use flat side cutters to snip off zip tie excess. Ensure the cut is flush and there are no points that could damage cable housing.

- Reinstall the skid plate, starting with the back bolt near the kickstand. Ensure the cables are oriented to afford clearance.
Use caution to protect the paint on the downtube from being scratched by the plate during installation.
- Align the skid plate over the controller so the flat end is near the kickstand. Thread the four bolts through the plate and into the mounting points. Use a 3 mm Allen wrench to tighten the four bolts evenly, alternating between bolts and moving in a cross pattern, until secure.
- Pass the rear skid plate mounting bolt up through the kickstand mounting plate and spacer. Pass the bolt end through the skid plate mounting point. Hold the bolt in place with a 4 mm Allen wrench, then pass a flat washer onto the bolt end and thread on the locknut by hand.

- Pass a split washer and flat washer onto the front bolt. Pass the bolt down through the plate and spacer. Carefully thread the bolt into the mounting point on the frame, tightening partway (about 3-4 turns).
- Tighten both bolts evenly by alternating between them every few turns. Use a 4 mm Allen wrench to hold the back bolt in place and an 8 mm wrench to tighten down the locknut. Use a 4 mm Allen wrench at the front of the bolt. Torque both bolts to 5 Nm.
- Align the skid plate over the controller so the flat end is near the kickstand. Thread the four bolts through the plate and into the mounting points. Use a 3 mm Allen wrench to tighten the four bolts evenly, alternating between bolts and moving in a cross pattern, until secure.
- Flip the bike right side up and ensure there is enough cable slack for the wheel to turn freely.

- Check that all cables are free from any moving parts and reinstall the cable cover at the front of the bike.
- Reinstall the battery and test the bike fully before riding.