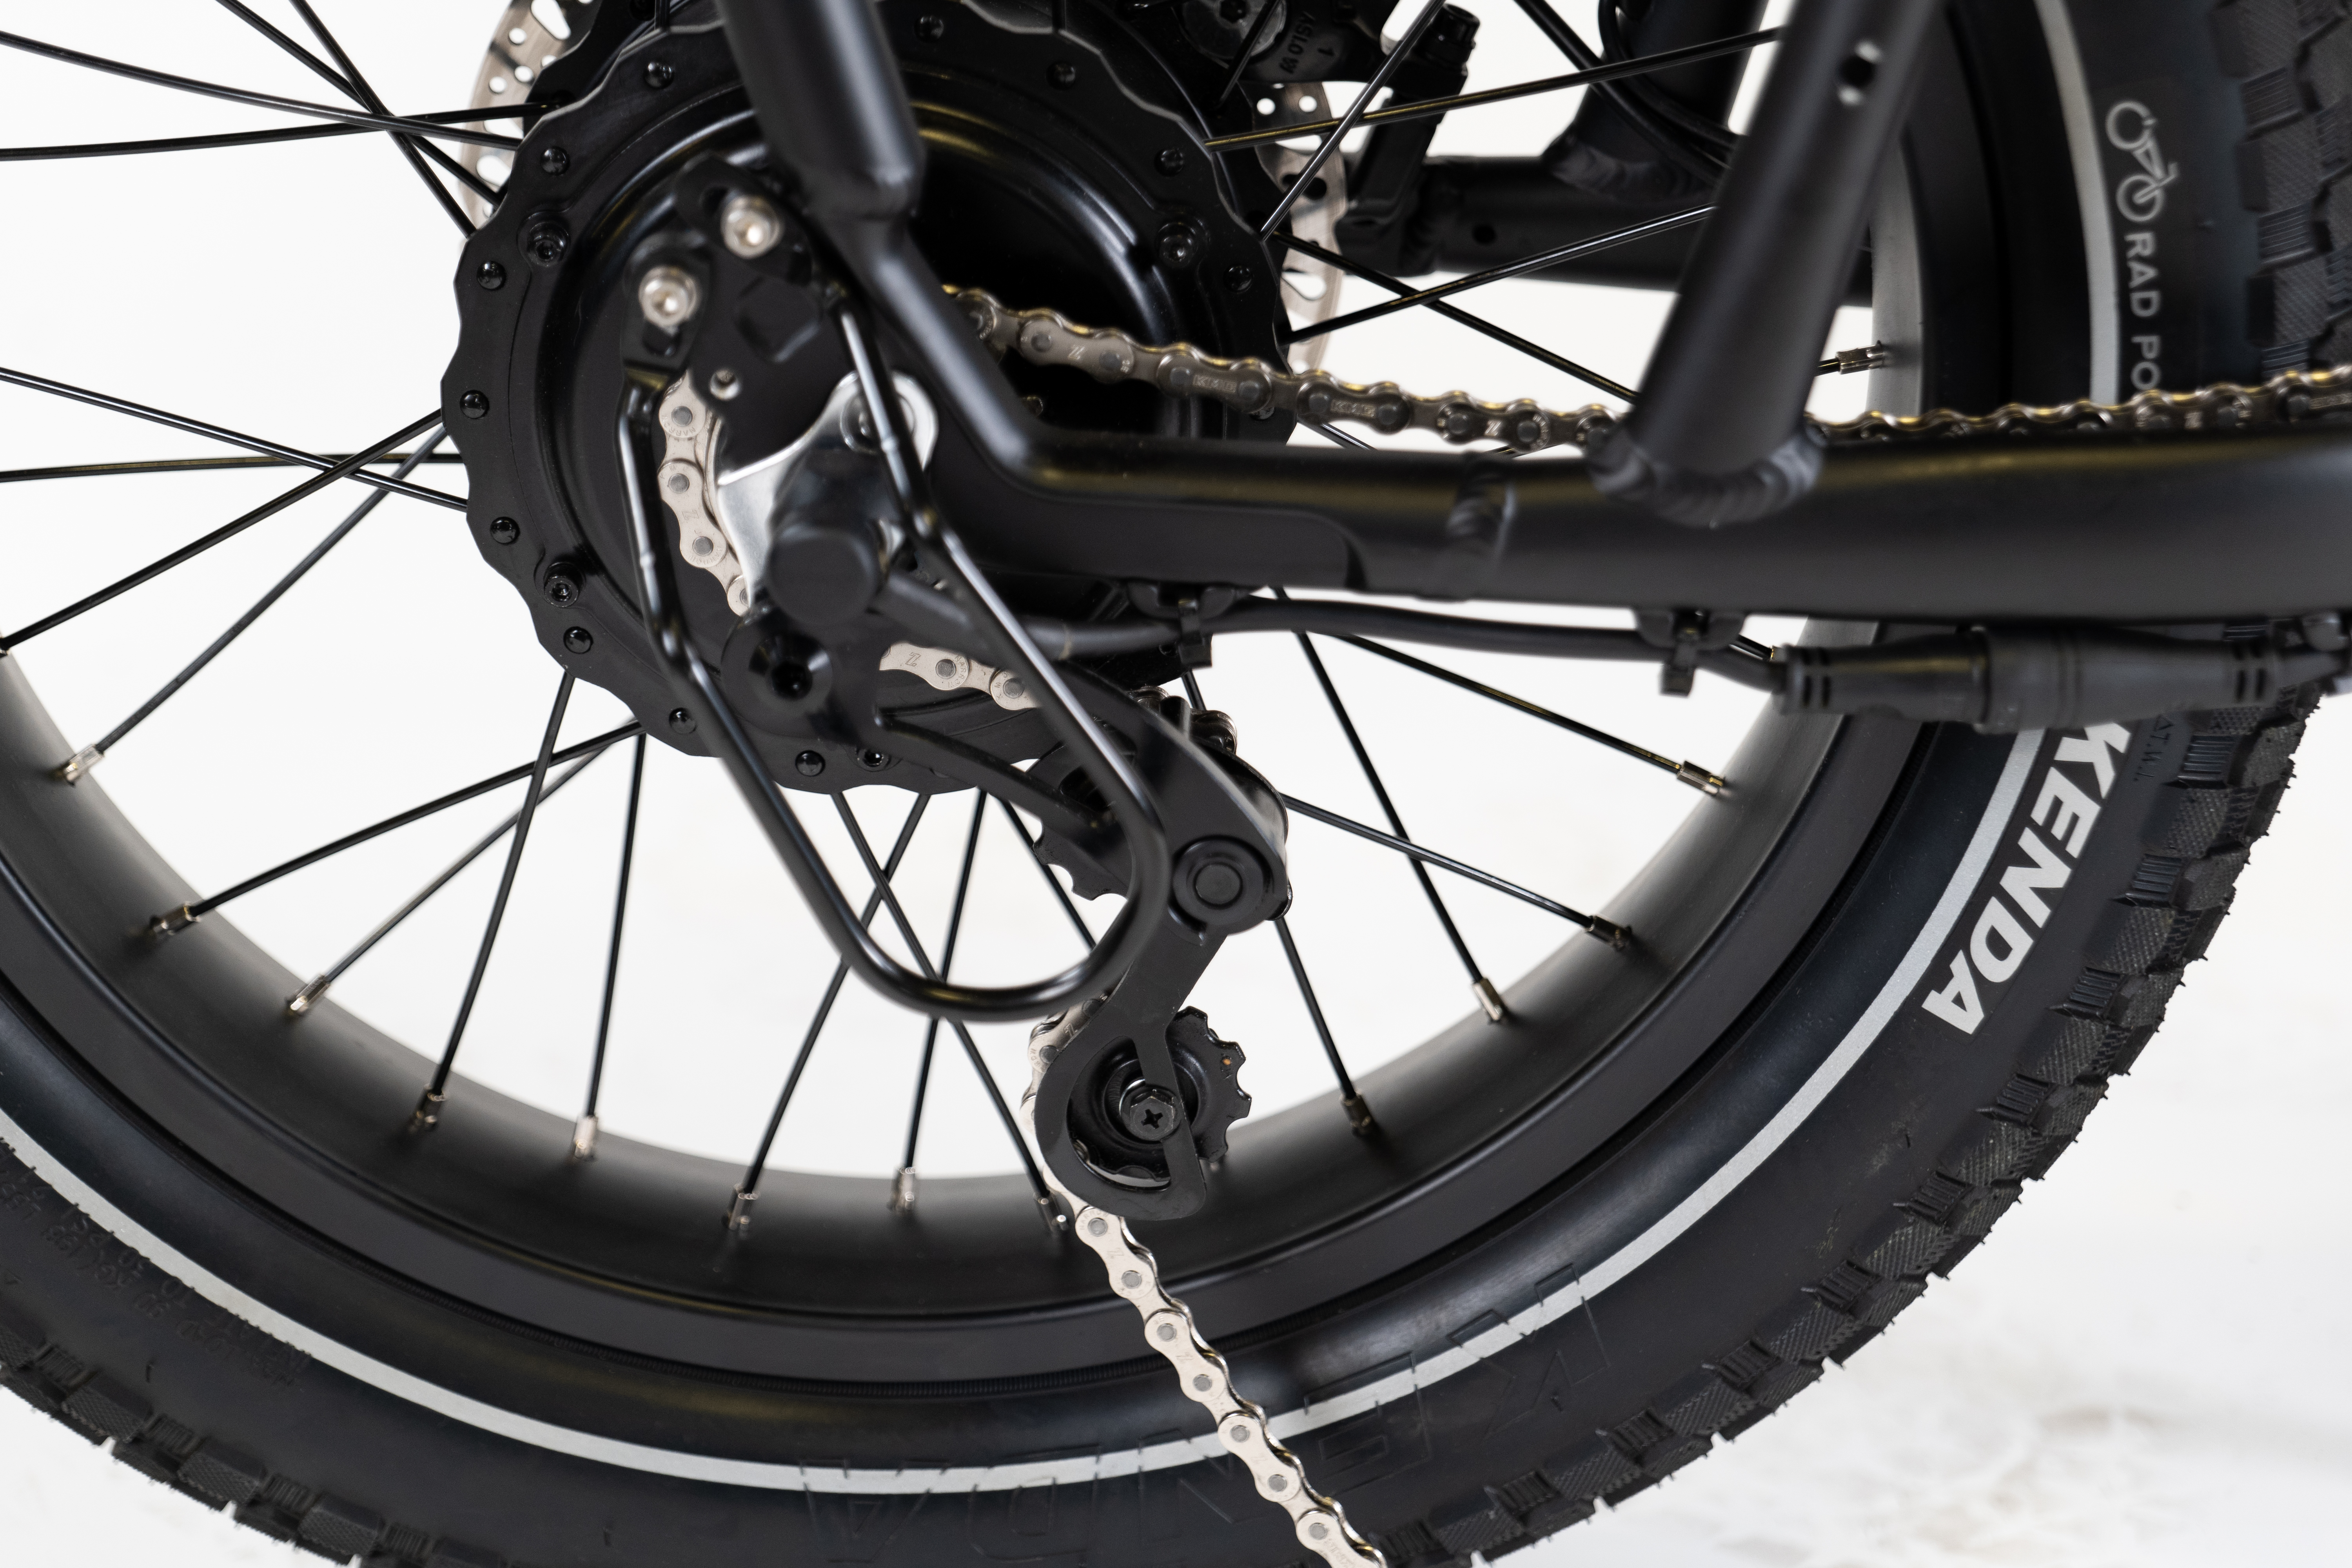
RadRunner chain tensioner pulley wheel replacement guide
In the unlikely event that the chain tensioner pulley wheels on your RadRunner are damaged or when they have been worn from many miles of riding Rad, those parts can be replaced using the steps below.
Tools Needed:
- Phillips head screwdriver
- A camera
- Paper towel or shop towel
- Nitrile gloves (optional)
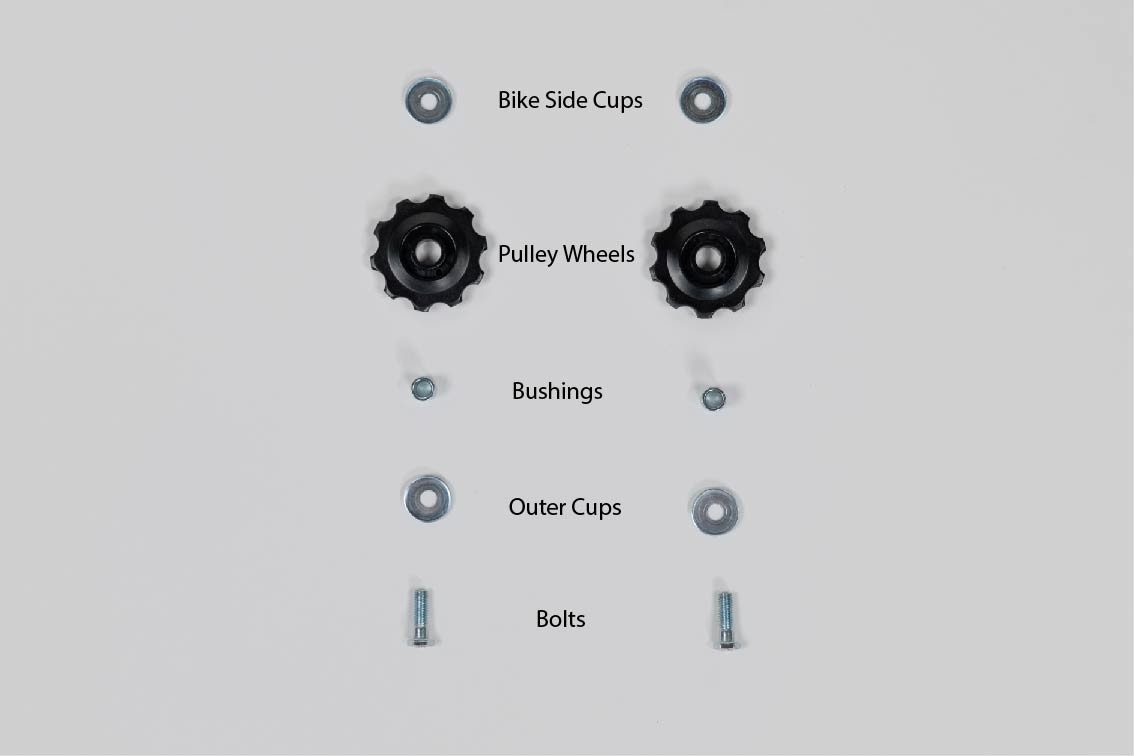
- The replacement chain tensioner pulley wheel kit, which includes:
- (2x) Pulley wheels
- (4x) Cups (for both sides of each pulley wheel)
- (2x) Bushings
- (2x) Bolts
- Get the bike ready for maintenance. Turn off the bike and remove the battery. Press the power button to discharge remaining power.
- Take a photo of the chain tensioner and pulley wheels to help with reinstallation.
- Roll the chain off the chainring. Push the chain tensioner toward the front of the bike to provide slack. Use a paper or shop towel to grab the chain and carefully roll the chain off of the front chainring.
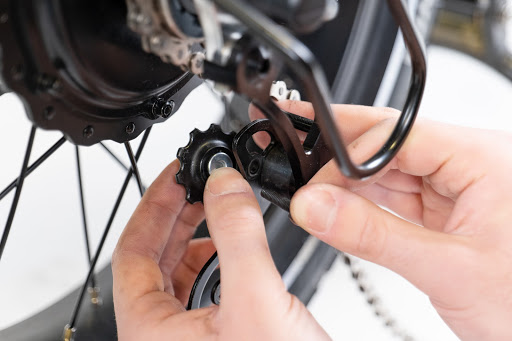
- Remove the pulley wheel bolts and pulley wheels. Use a Phillips head screwdriver to remove the two pulley wheel bolts (and the two pulley wheel stacks) and discard.
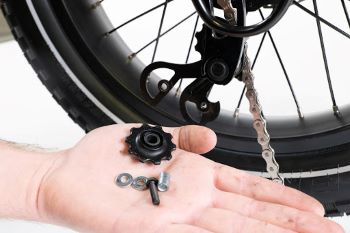
- Remove the backing plate, making note of the orientation for reinstallation, and set aside.
- Prepare the new pulley wheel kit contents. Set up the two pulley wheel stacks by placing a cup on one side of the wheel, the bushing at the center, and a cup on the other side. Set them aside within reach of the chain tensioner.
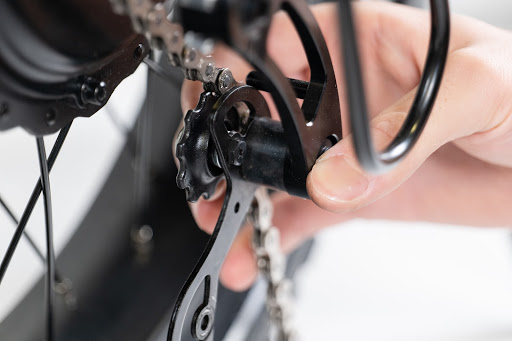
- Install a pulley wheel stack at the upper location first.
- Pass the stack from the back of the bike onto the bike side of the tensioner frame so the chain routes over the top and down the front of the pulley wheel.
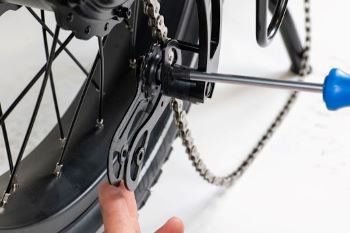
- Hold the stack against the chain tensioner frame at the upper mounting point and pass a bolt through the mounting point in the chain tensioner frame and the pulley wheel stack to help hold it in place.
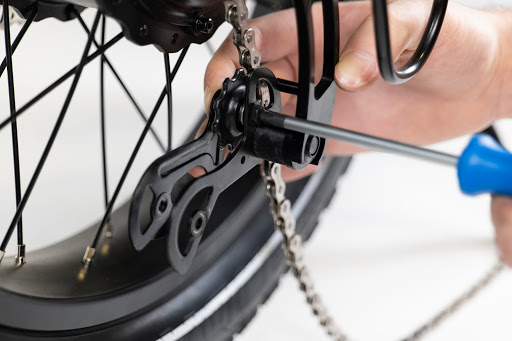
- Orient the backing plate properly, so the curved end and mounting holes align with those of the tensioner frame and thread the bolt into the backing plate. Use a Phillips head screwdriver to tighten the bolt securely.
- Pass the stack from the back of the bike onto the bike side of the tensioner frame so the chain routes over the top and down the front of the pulley wheel.
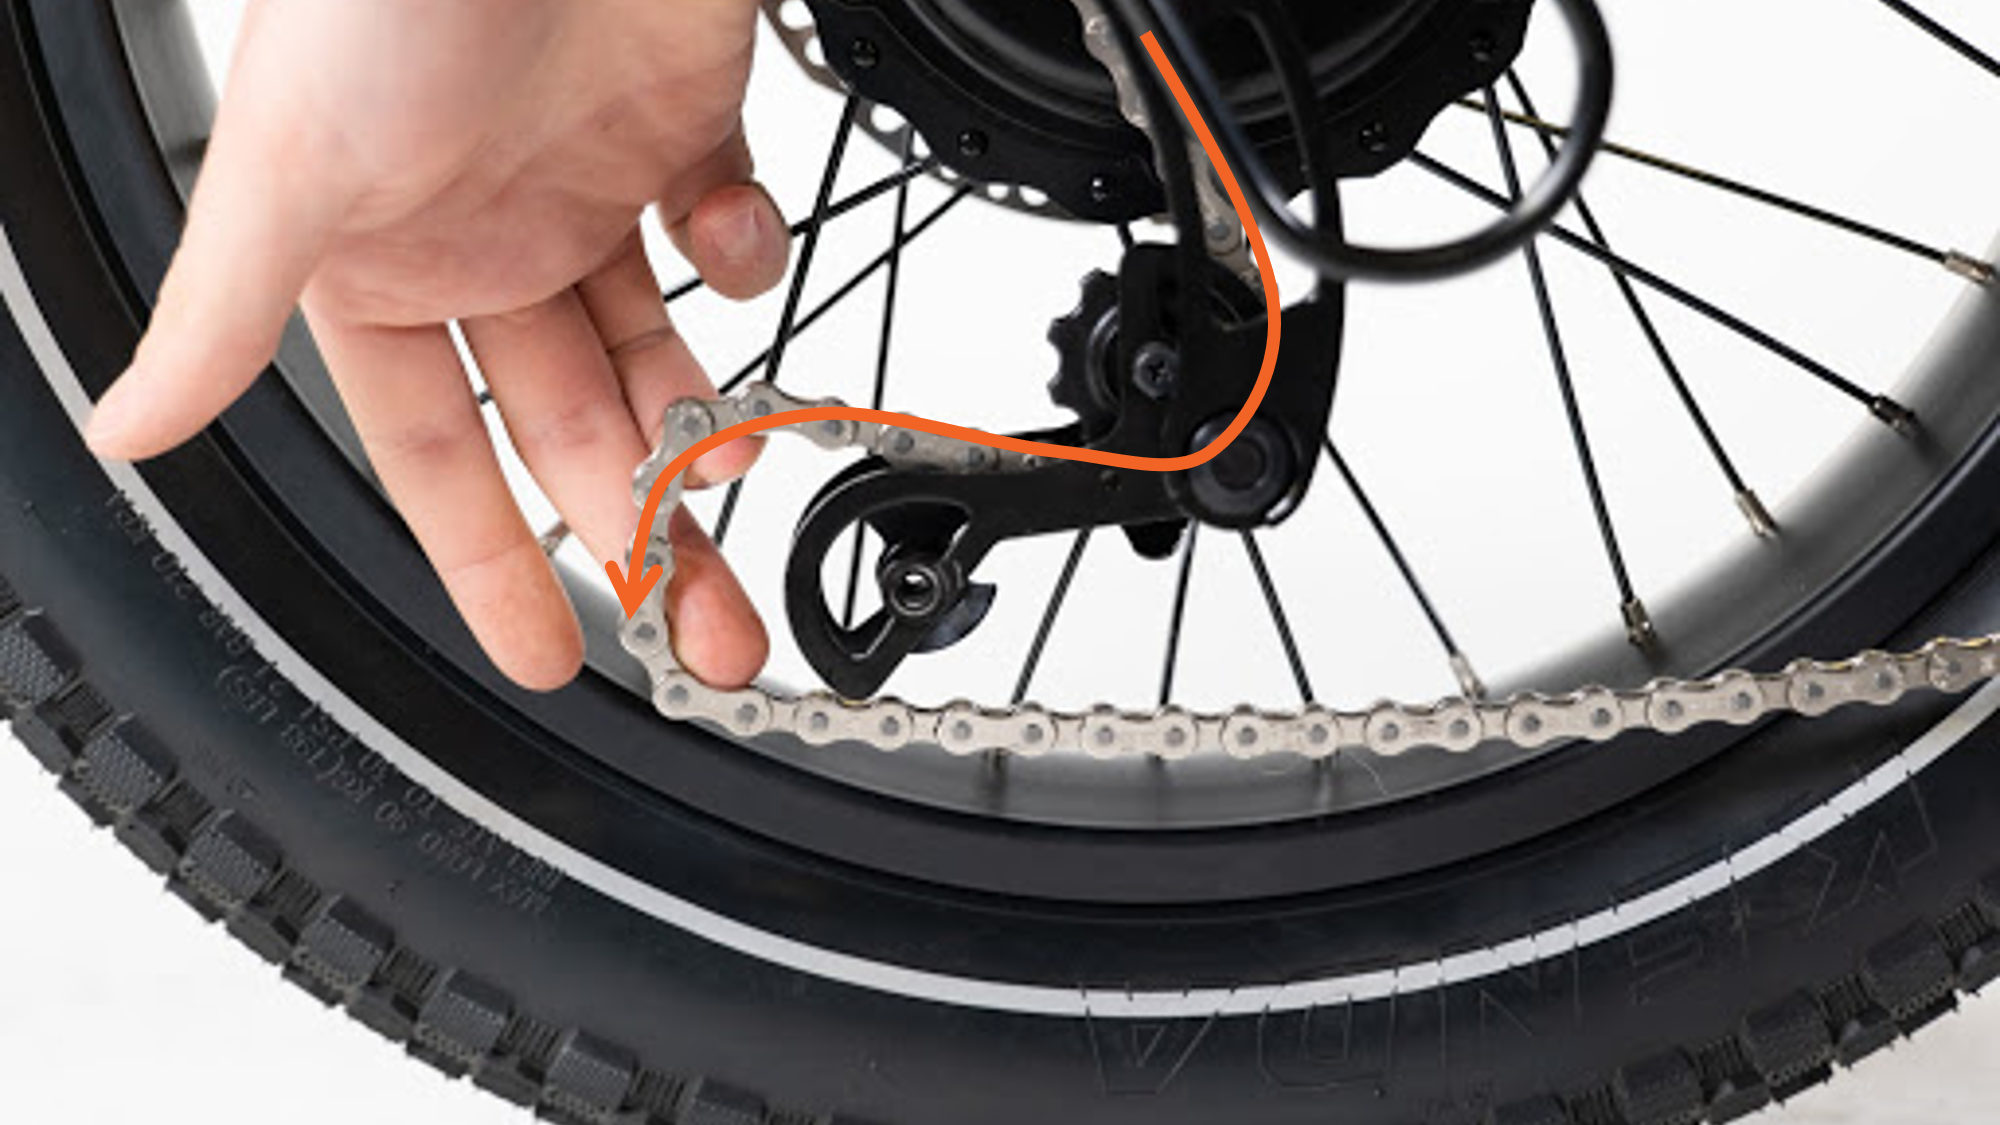
- Install the lower pulley wheel ensuring the chain is routed properly.
- Pass the second stack from the front, between the tensioner frame and backing plate, so the chain routes over the top and down the back of the pulley wheel. Refer to the picture you took of the proper chain orientation, if needed.
- Pass the second bolt through the chain tensioner frame, the pulley wheel stack, and thread into the backing plate. Use a Phillips head screwdriver to tighten the bolt securely.
- Pass the second stack from the front, between the tensioner frame and backing plate, so the chain routes over the top and down the back of the pulley wheel. Refer to the picture you took of the proper chain orientation, if needed.
- Reinstall the chain on the front chainring and ensure there is adequate chain tension. Press the chain tensioner forward, and use a paper towel to grab the chain and carefully place or roll it on the front chainring. Move the chain tensioner toward the back of the bike to add tension if needed.

- Test the bike fully and ride Rad!