RadMission kickstand installation guide
Follow the steps below to install the RadMission kickstand accessory on your bike.
Tools needed:
- 5 mm Allen wrench
- A table, wall, or friend to help stabilize the bike
- A torque wrench with a 5 mm bit
- The RadMission kickstand from Rad Power Bikes
- Get the bike ready for maintenance. Turn off the bike, remove the battery, and press and hold the power button to discharge remaining power.
- Prop the bike against a sturdy object like a table, or have a friend help stabilize it.

- Locate the kickstand and kickstand mounting hardware.
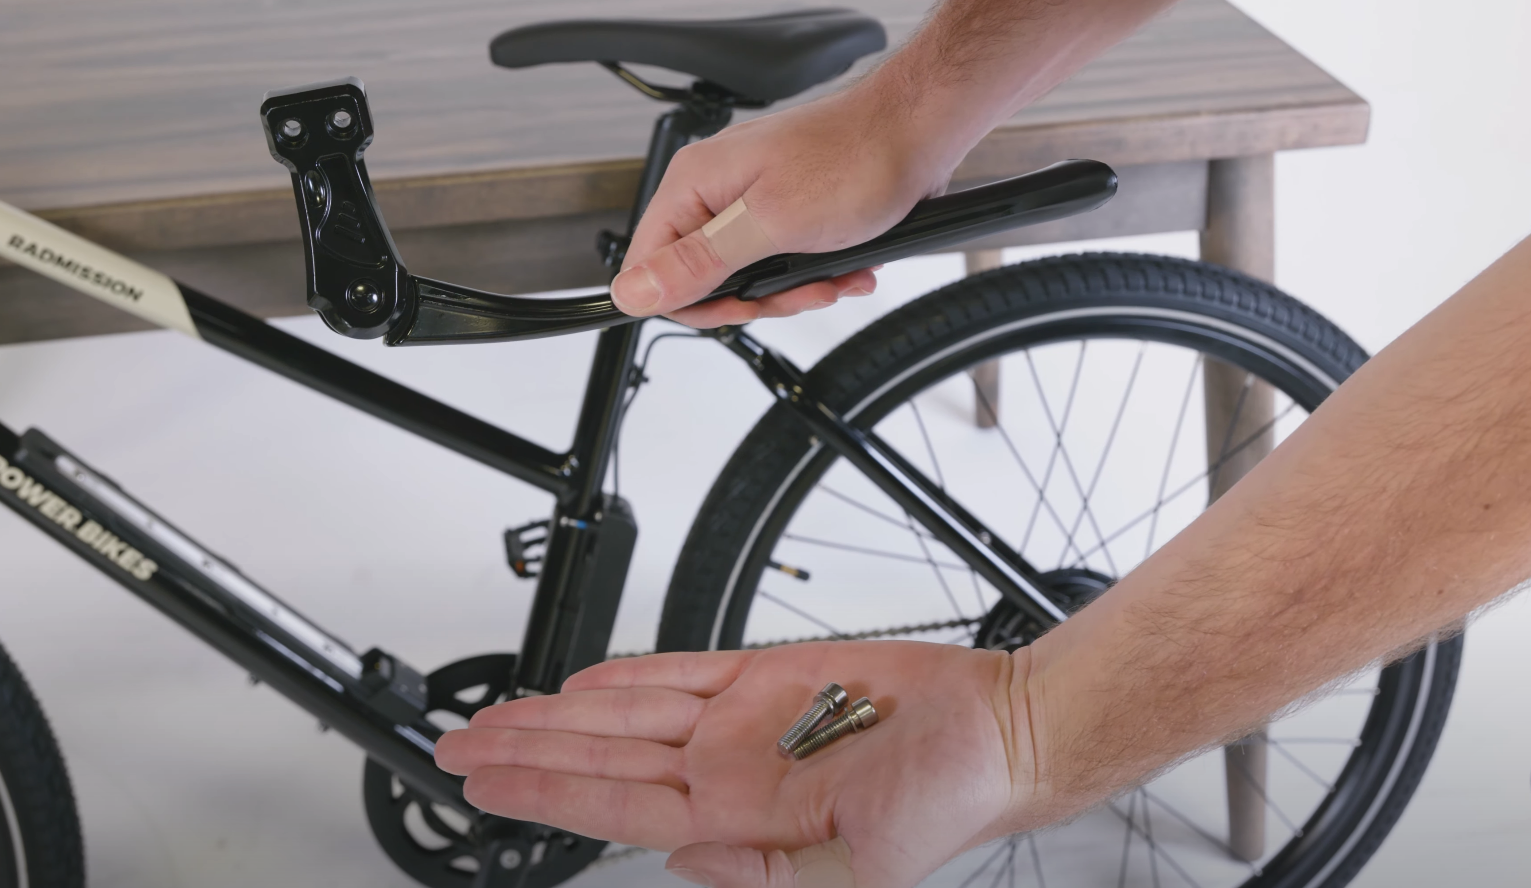
- Hold the kickstand parallel to the floor and place the kickstand mounting holes into position over the mounting holes on the chainstay.
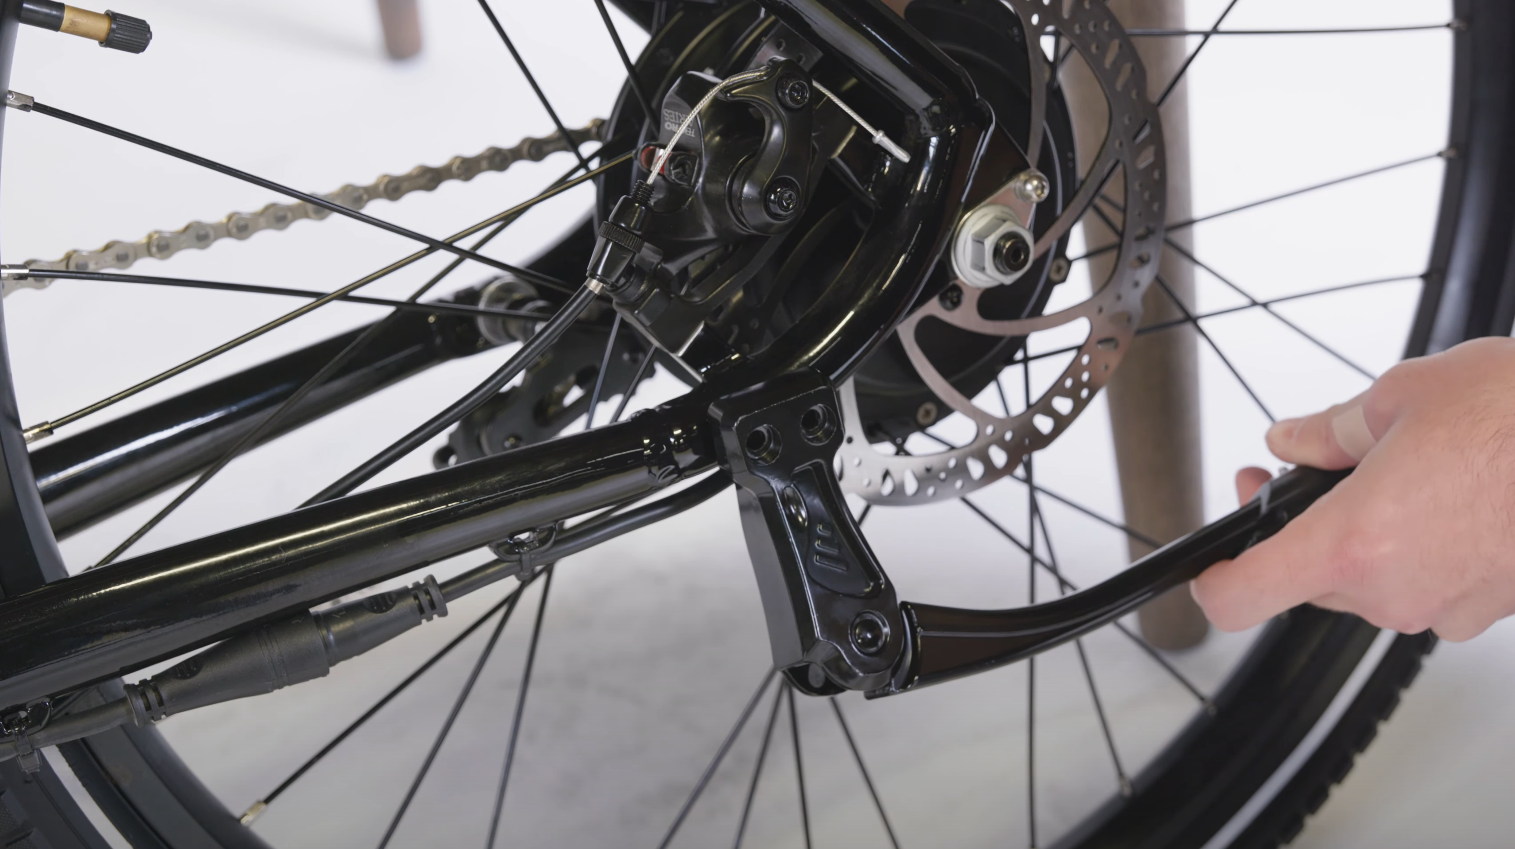
- Thread in the bolts by hand
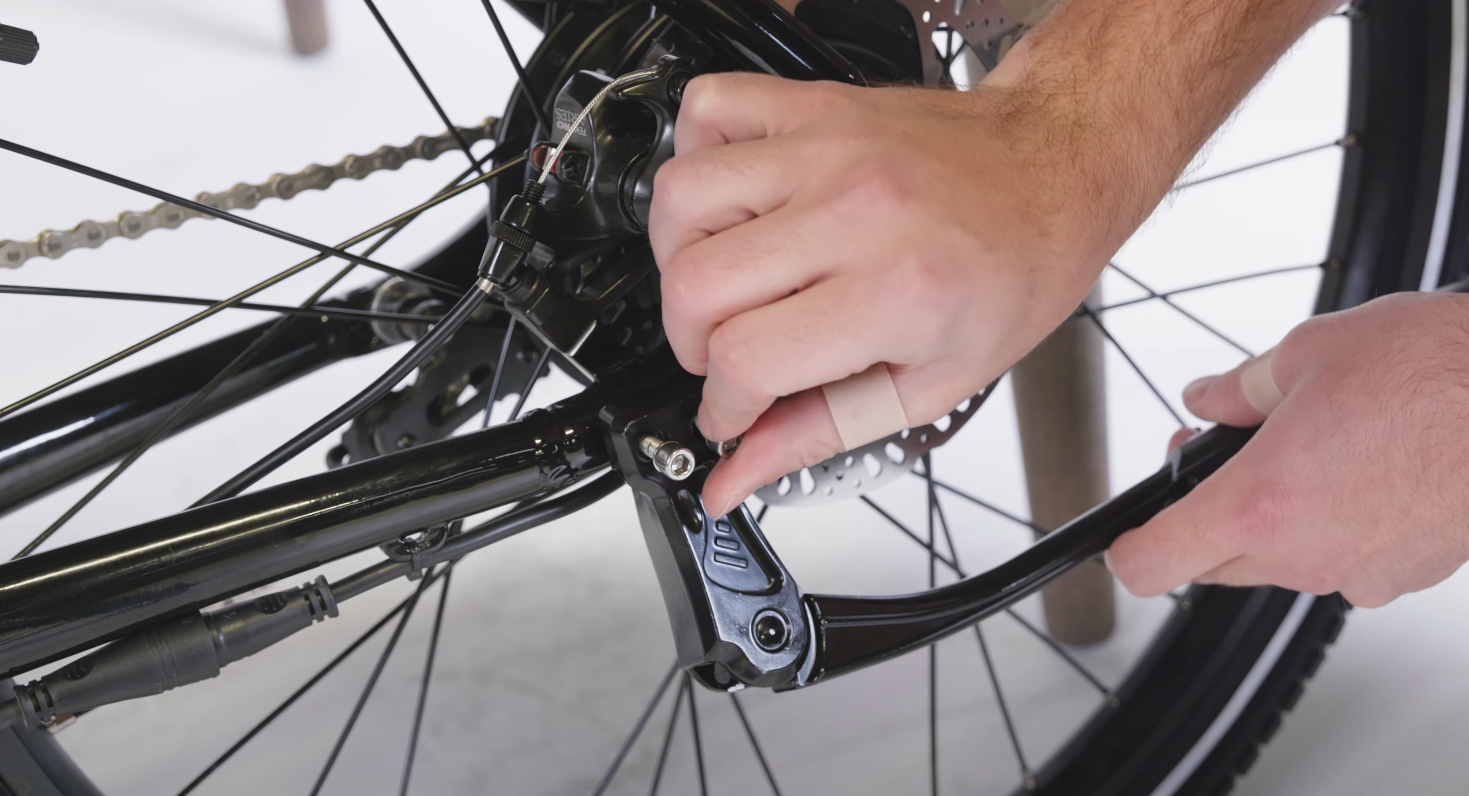
- Tighten the bolts evenly until tightened securely. Torque the bolts to 8 Nm.

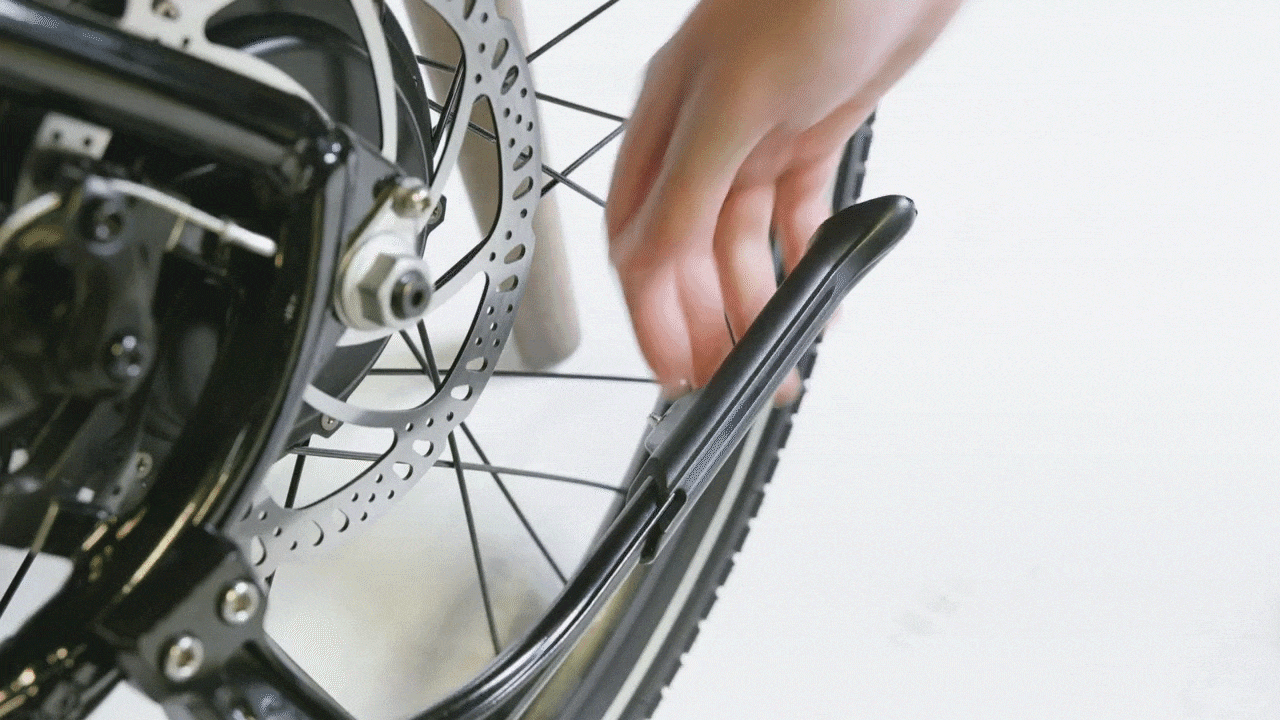
- Adjust the kickstand. Open the lever on the kickstand, adjust the kickstand to the desired length, then close the lever. Unfold the kickstand to check the angle of the bike, then adjust the kickstand again if needed.
- Reinstall the battery, test the bike fully before riding, and ride Rad!