Brake rotor replacement guide
The brake rotor is a metal disc affixed to each wheel hub that runs in between the brake pads in the brake calipers on the bike frame. When a brake lever is squeezed, the mechanical brake cable pulls on the caliper arm, which squeezes the brake pads against the brake rotor. The friction of the brake pads pressing against the brake rotor slows the wheel and the bike.
With normal use, the brake pads wear down and need to be replaced to maintain the ability to safely stop the bike. Less frequently, or in the unlikely event of damage to a brake rotor, it may need to be replaced. Ebike brakes and components may wear out faster than would be the case for non-motorized bicycles, requiring more service. This guide will help you remove and install a new brake rotor.
Tools Needed:
- Two blocks or props
- T25 Torx wrench or a driver with a bit
- Torque wrench with T25 Torx bit
- Nitrile gloves (optional)
If you are not confident in your ability to successfully and safely perform all steps, we recommend having the work performed by a local, certified, and reputable bike mechanic.
- Get the bike ready for maintenance. Turn off the bike, remove the battery, and press and hold the MODE or Power button to discharge any remaining power.
- Flip the bike upside down. Carefully flip the bike upside down and rest the handlebar grips on props to protect the display.
- Remove the wheel. If removing a front wheel, follow the steps HERE to remove the quick release skewer. Set the skewer and hardware aside. For help removing the rear wheel, see the article linked HERE.
- Remove the rotor. Use a T25 Torx wrench or driver to carefully remove each of the six bolts. Ensure the bit is fully seated in the bolt head, press firmly, and turn slowly to avoid stripping the hardware. Recycle the old brake rotor according to local rules.
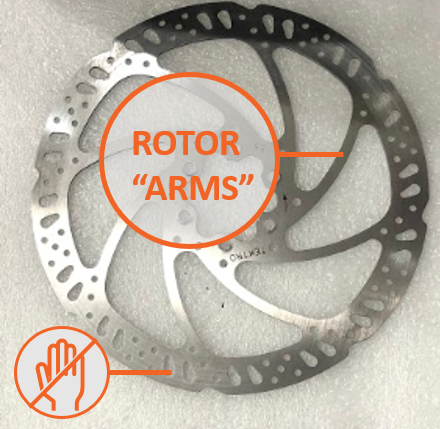
Do not touch the brake rotor, which has sharp edges and can cause serious injury. Touching the brake rotor or brake pads with bare skin can also transfer natural oils. Oils or other lubricants can decrease braking performance. We recommend wearing protective gloves when working near the braking system. 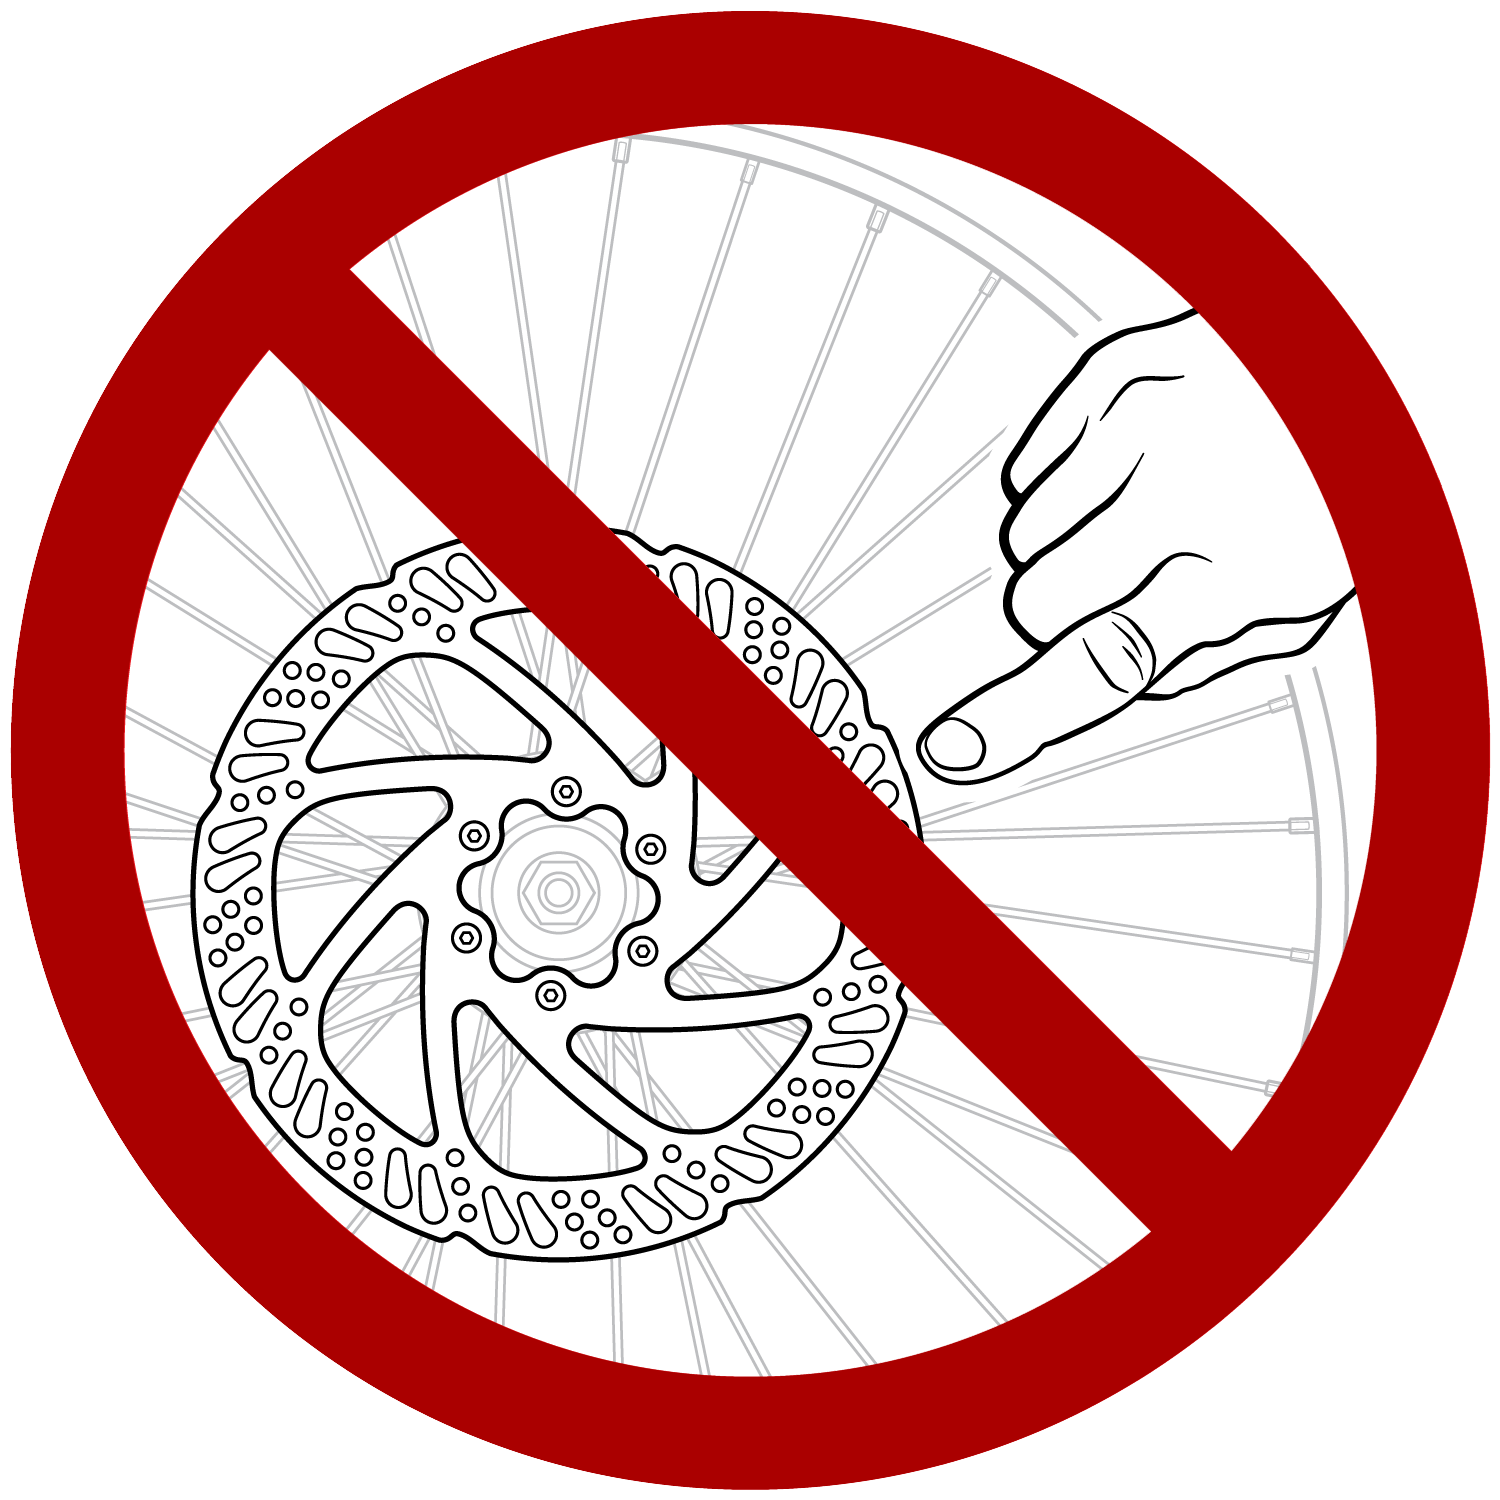
- Position the new rotor on the wheel hub. Make sure new rotor is positioned with the directional arrow toward the front of the bike.
- Thread the new rotor bolts into the hub carefully by hand. Avoid cross-threading or damaging the threads. Use the T25 Torx wrench or driver to tighten each bolt, stopping just before the bolt head contacts the rotor.
- Twist the rotor clockwise so it makes firm contact with the bolts. This will negate any potential shearing force exerted on the bolts in an extreme braking situation.
Ensuring the rotor is turned so it is firmly in contact with the bolts is critical for the safety of the bike and the longevity of the breaking components.
- Tighten the bolts evenly, moving from bolt to bolt in a star pattern. Torque each bolt to the value listed in your Owner's Manual.
- Reinstall the wheel. Carefully align the rotor in between the brake pads and fully seat the axle in the dropouts of the frame. Use caution to avoid damage to the brake pads. Ensure the wheel mounting hardware is properly and securely tightened. For more information on reinstalling a front wheel quick release lever, see the article linked HERE.
- Adjust the brake caliper in relation to the position of the new rotor. For more information on adjusting brakes, check out the article on adjusting brakes linked HERE.
- Complete the bedding-in brakes procedure linked HERE before your first ride. This process will evenly distribute brake pad material across the new braking surface of the rotor, will increase braking performance, and will help reduce brake noise.
- Reinstall the battery and test the bike fully before riding.