RadTrike controller replacement
If Rad Power Bikes Product Support determines your RadTrike has a defective controller, use the following procedure to remove and replace the controller.
Tools needed:
- 4 mm Allen wrench
- Torque wrench with Allen bits
- Flat side cutters
- Zip ties
- Nitrile gloves (optional)
- Get ready for maintenance. Turn off the trike by pressing the Power button on the remote, remove the battery, and then press the Power button one more time to discharge any remaining power.
- Disconnect the power, motor and wiring harness cables.
Take pictures of cable connections, cable routing and controller placement before you start removing these items, as once you replace the controller you will reinstall everything in its original position.
- Locate the three cables on the underside of the trike.
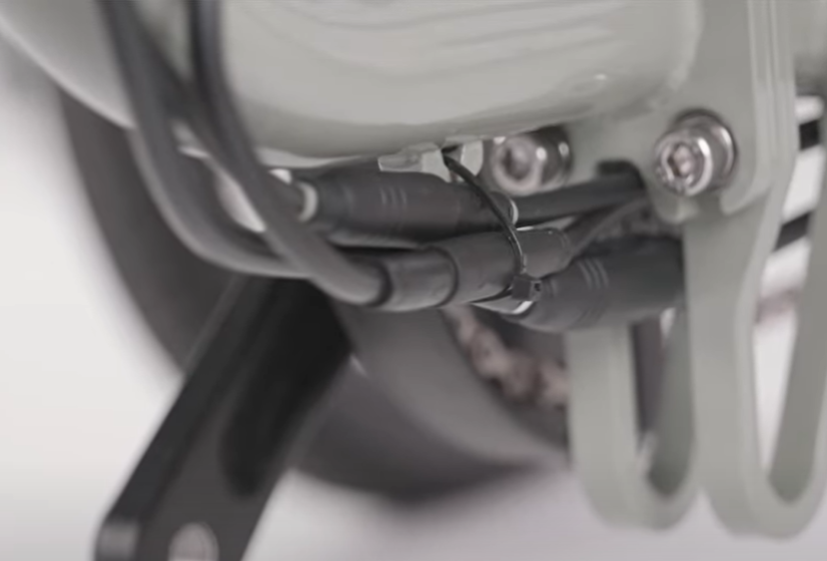
- Use flat side cutters to cut the two zip ties holding these cables in place.
- Disconnect these cables by pulling the cable ends directly apart without twisting.
- Locate the three cables on the underside of the trike.
- Remove the old controller.
- Locate the controller mounted directly behind the seat tube.
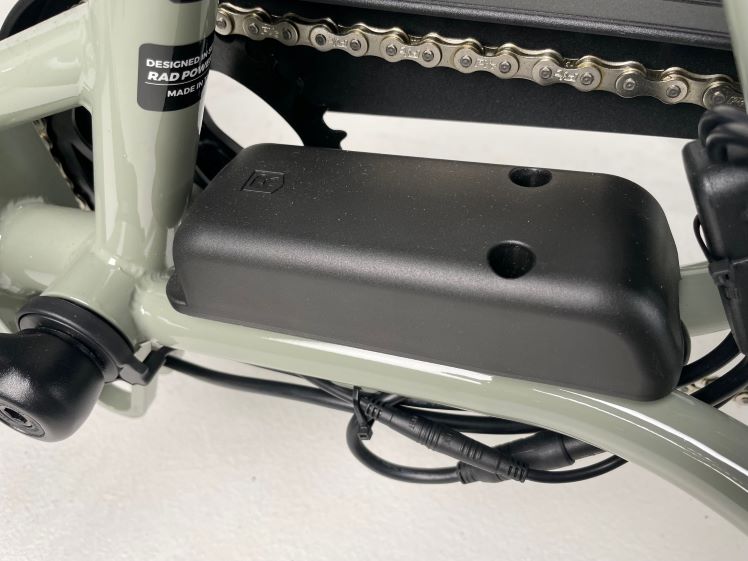
- Use a 4 mm Allen wrench to remove the four cover bolts.
- Turn over the controller and remove the two bolts holding the controller to the mounting plate.
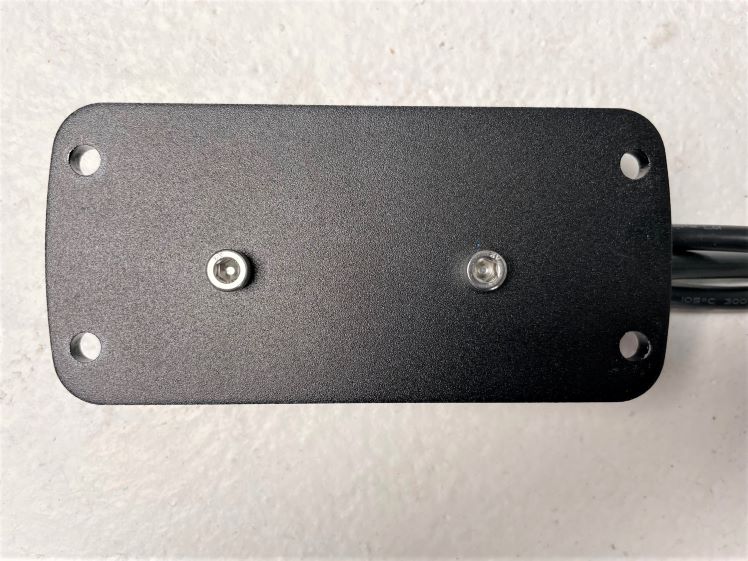
- Disconnect the short cable that connects the controller to the wiring harness junction box by pulling the cable ends directly apart without twisting.
- Remove the old controller, and recycle according to local rules.
- Locate the controller mounted directly behind the seat tube.
- Install the new controller. Identify which model of controller you received and use the corresponding steps to mount it in the correct position on the RadTrike.
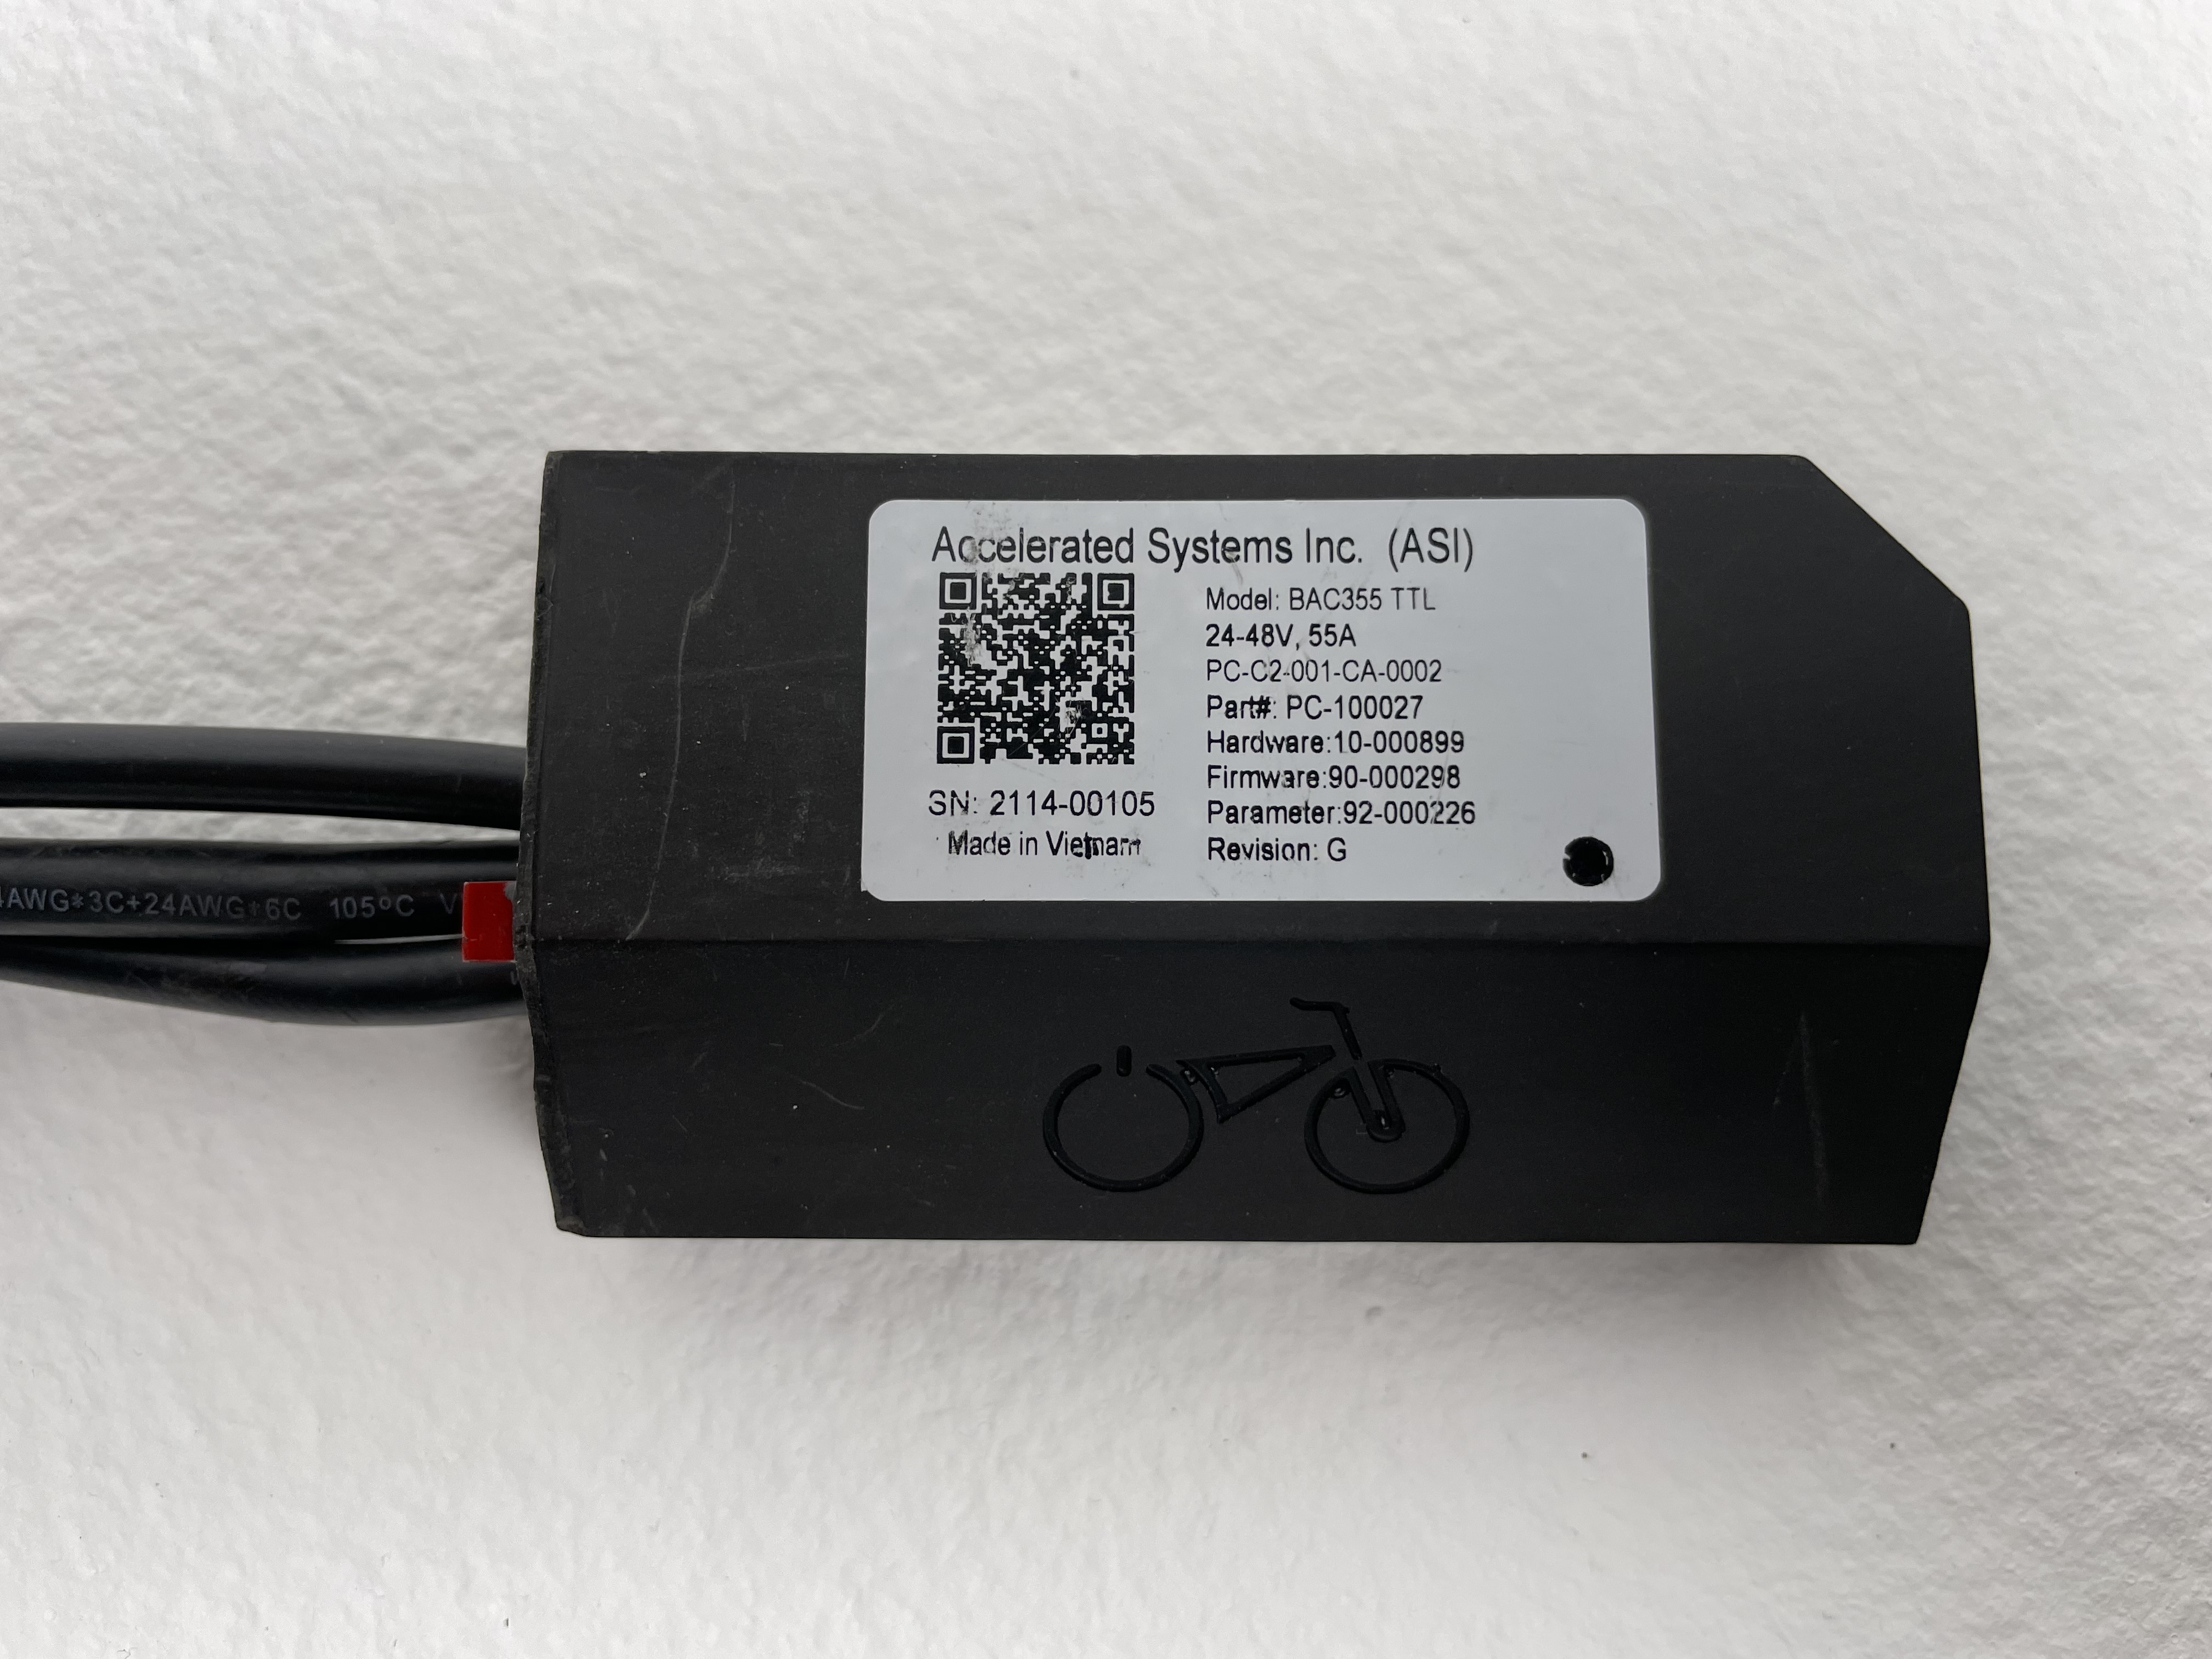
Model BAC355
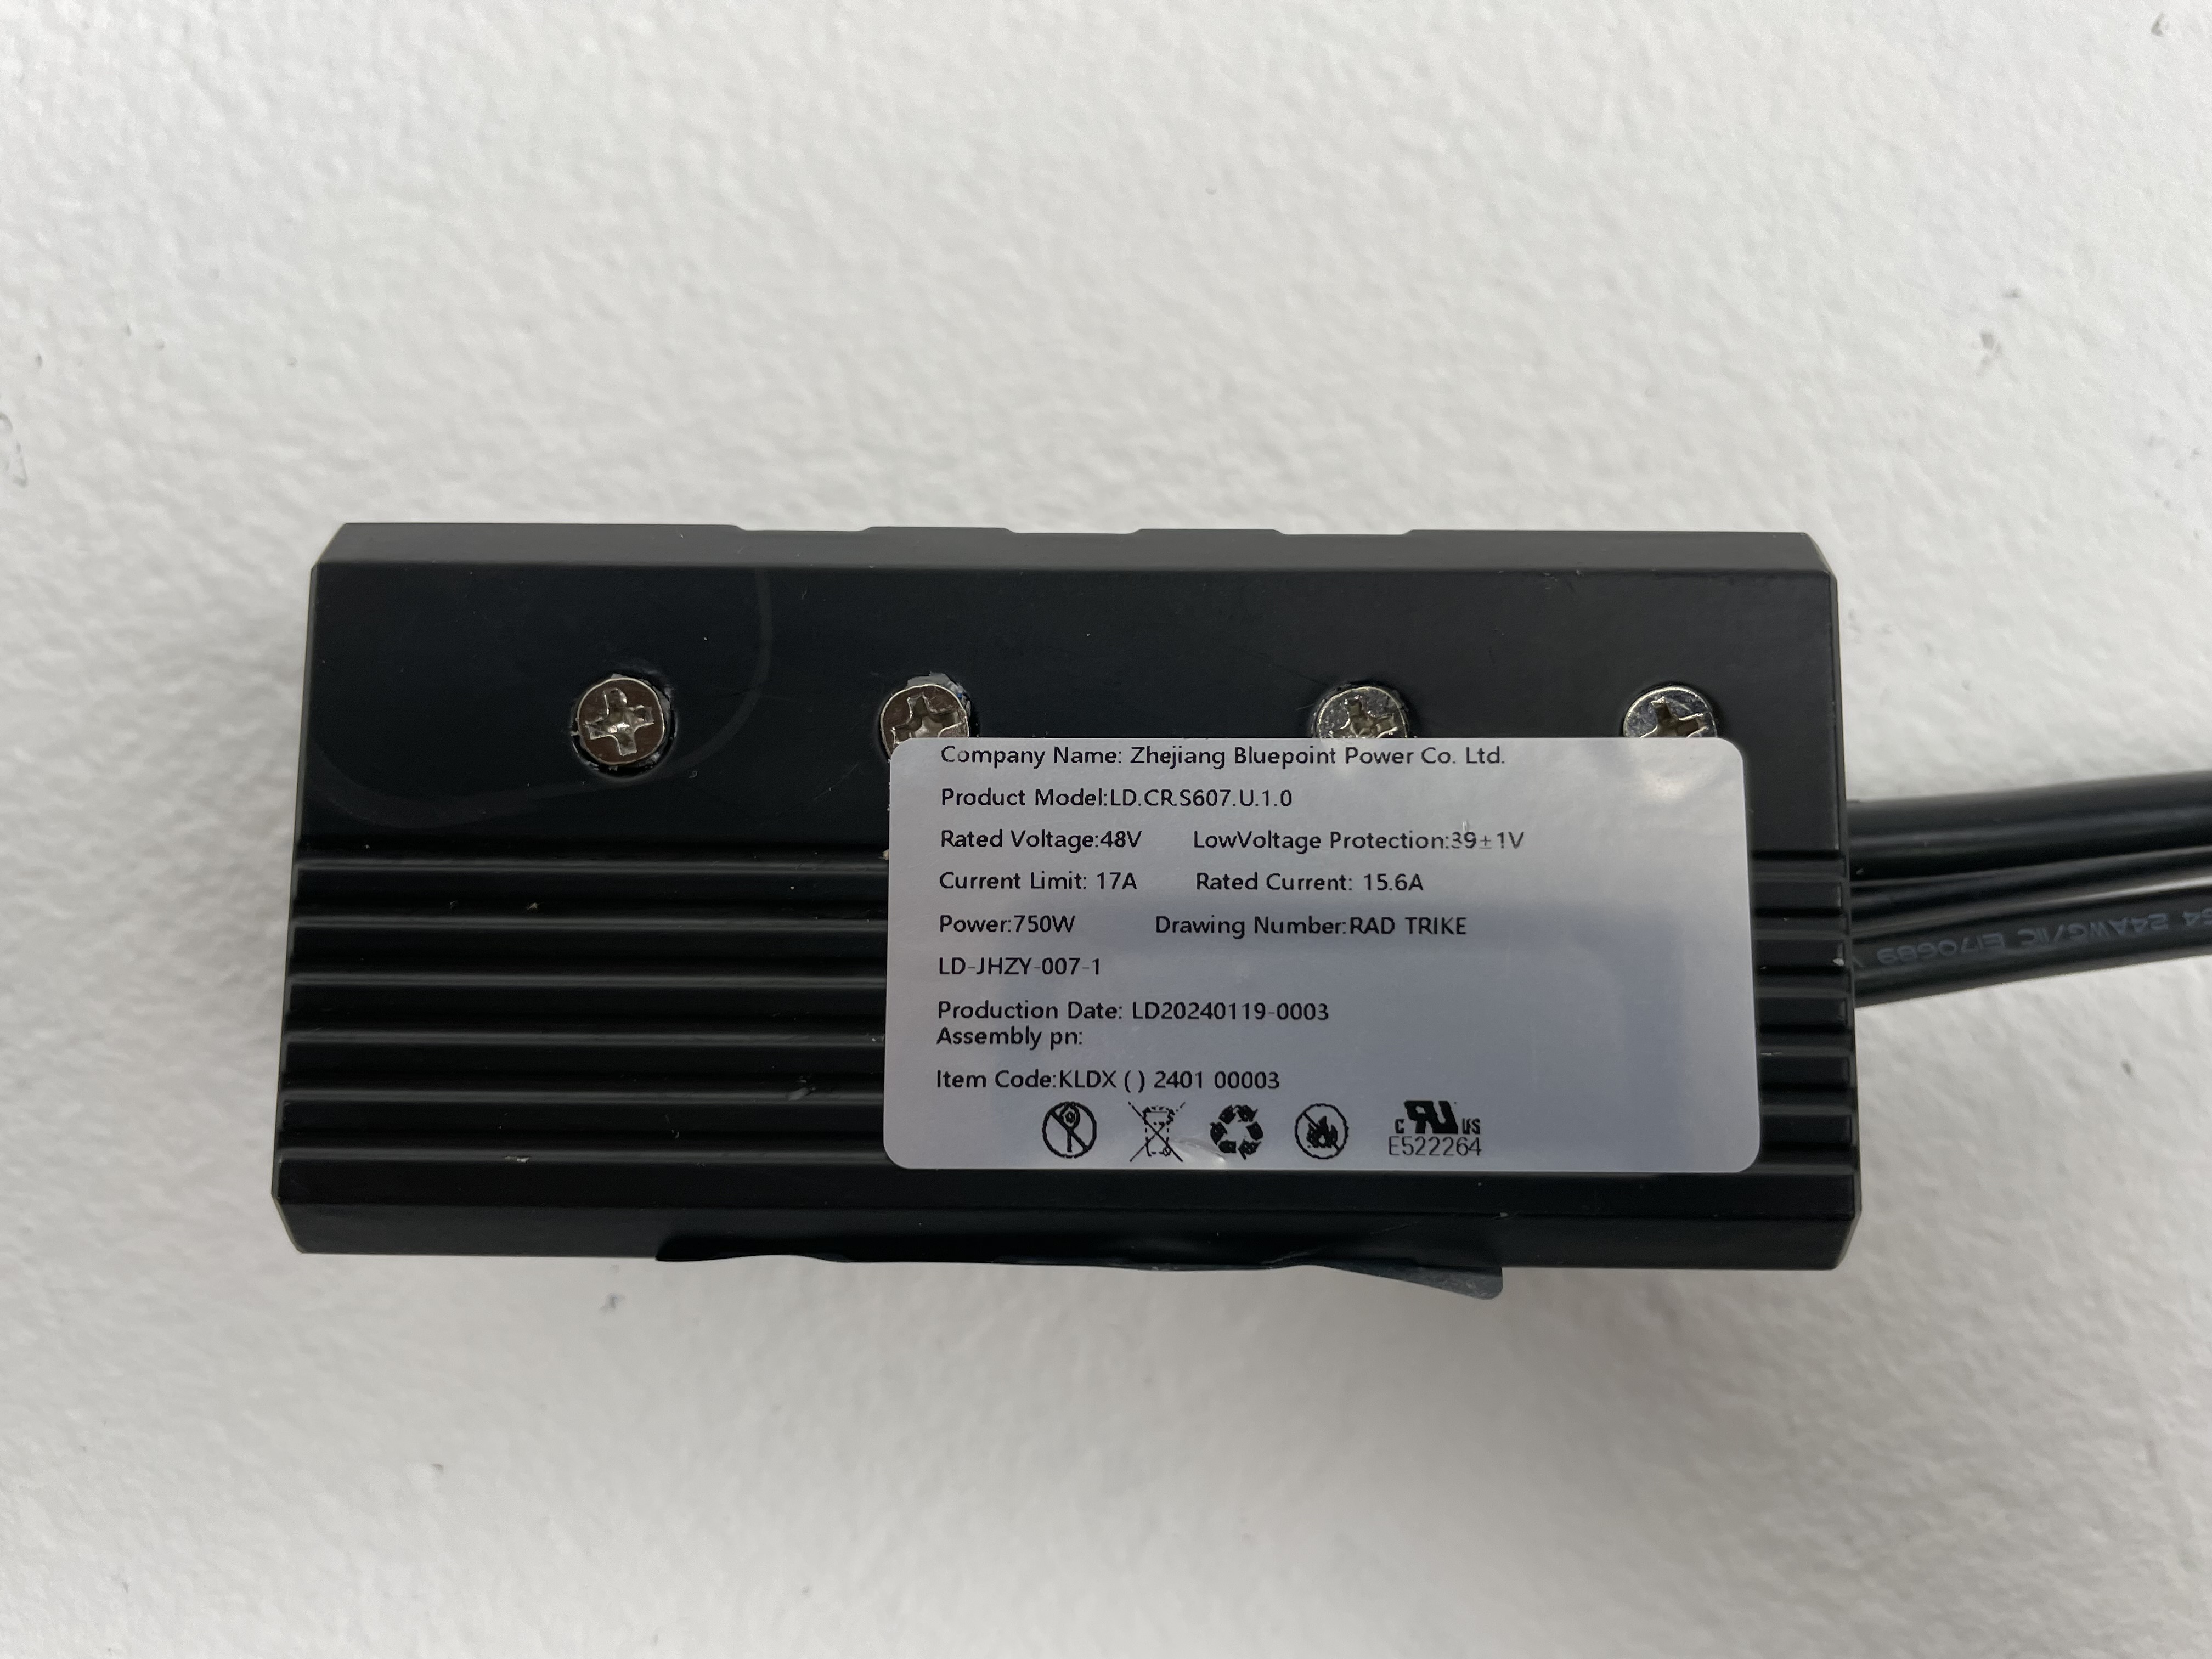
Model LD.CR.S607
- If you received Model BAC355 (left) use the following steps to mount it in the original position:
- Use the 4 mm Allen wrench to mount the new controller on the mounting plate, and torque the bolts to 2-3 Nm.
- Orient the controller so the cables are routed toward the rear, and mount in its original position behind the seat tube.
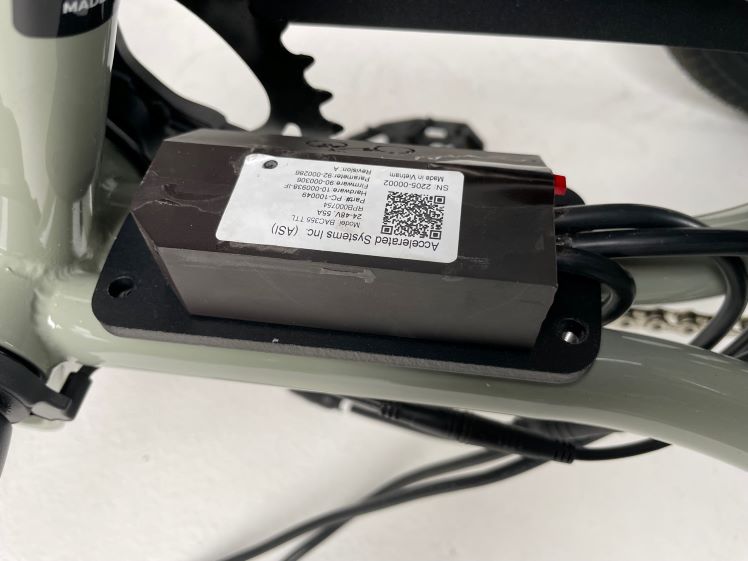
- Reconnect the wiring harness cable to the junction box by pressing the cables ends together without twisting.
- Use the 4 mm Allen wrench to reinstall the controller cover until secure, and use a torque wrench to torque the bolts to 2-3 Nm.
- If you received Model LD.CR.S607 (right), use the following steps to mount it on the seat tube.
- Use the 4 mm Allen wrench to remove the mounting clamps on the bottom of the new controller.
- Position the new controller on the seat tube, facing the rear of the RadTrike, with the cables routed down through the frame opening.
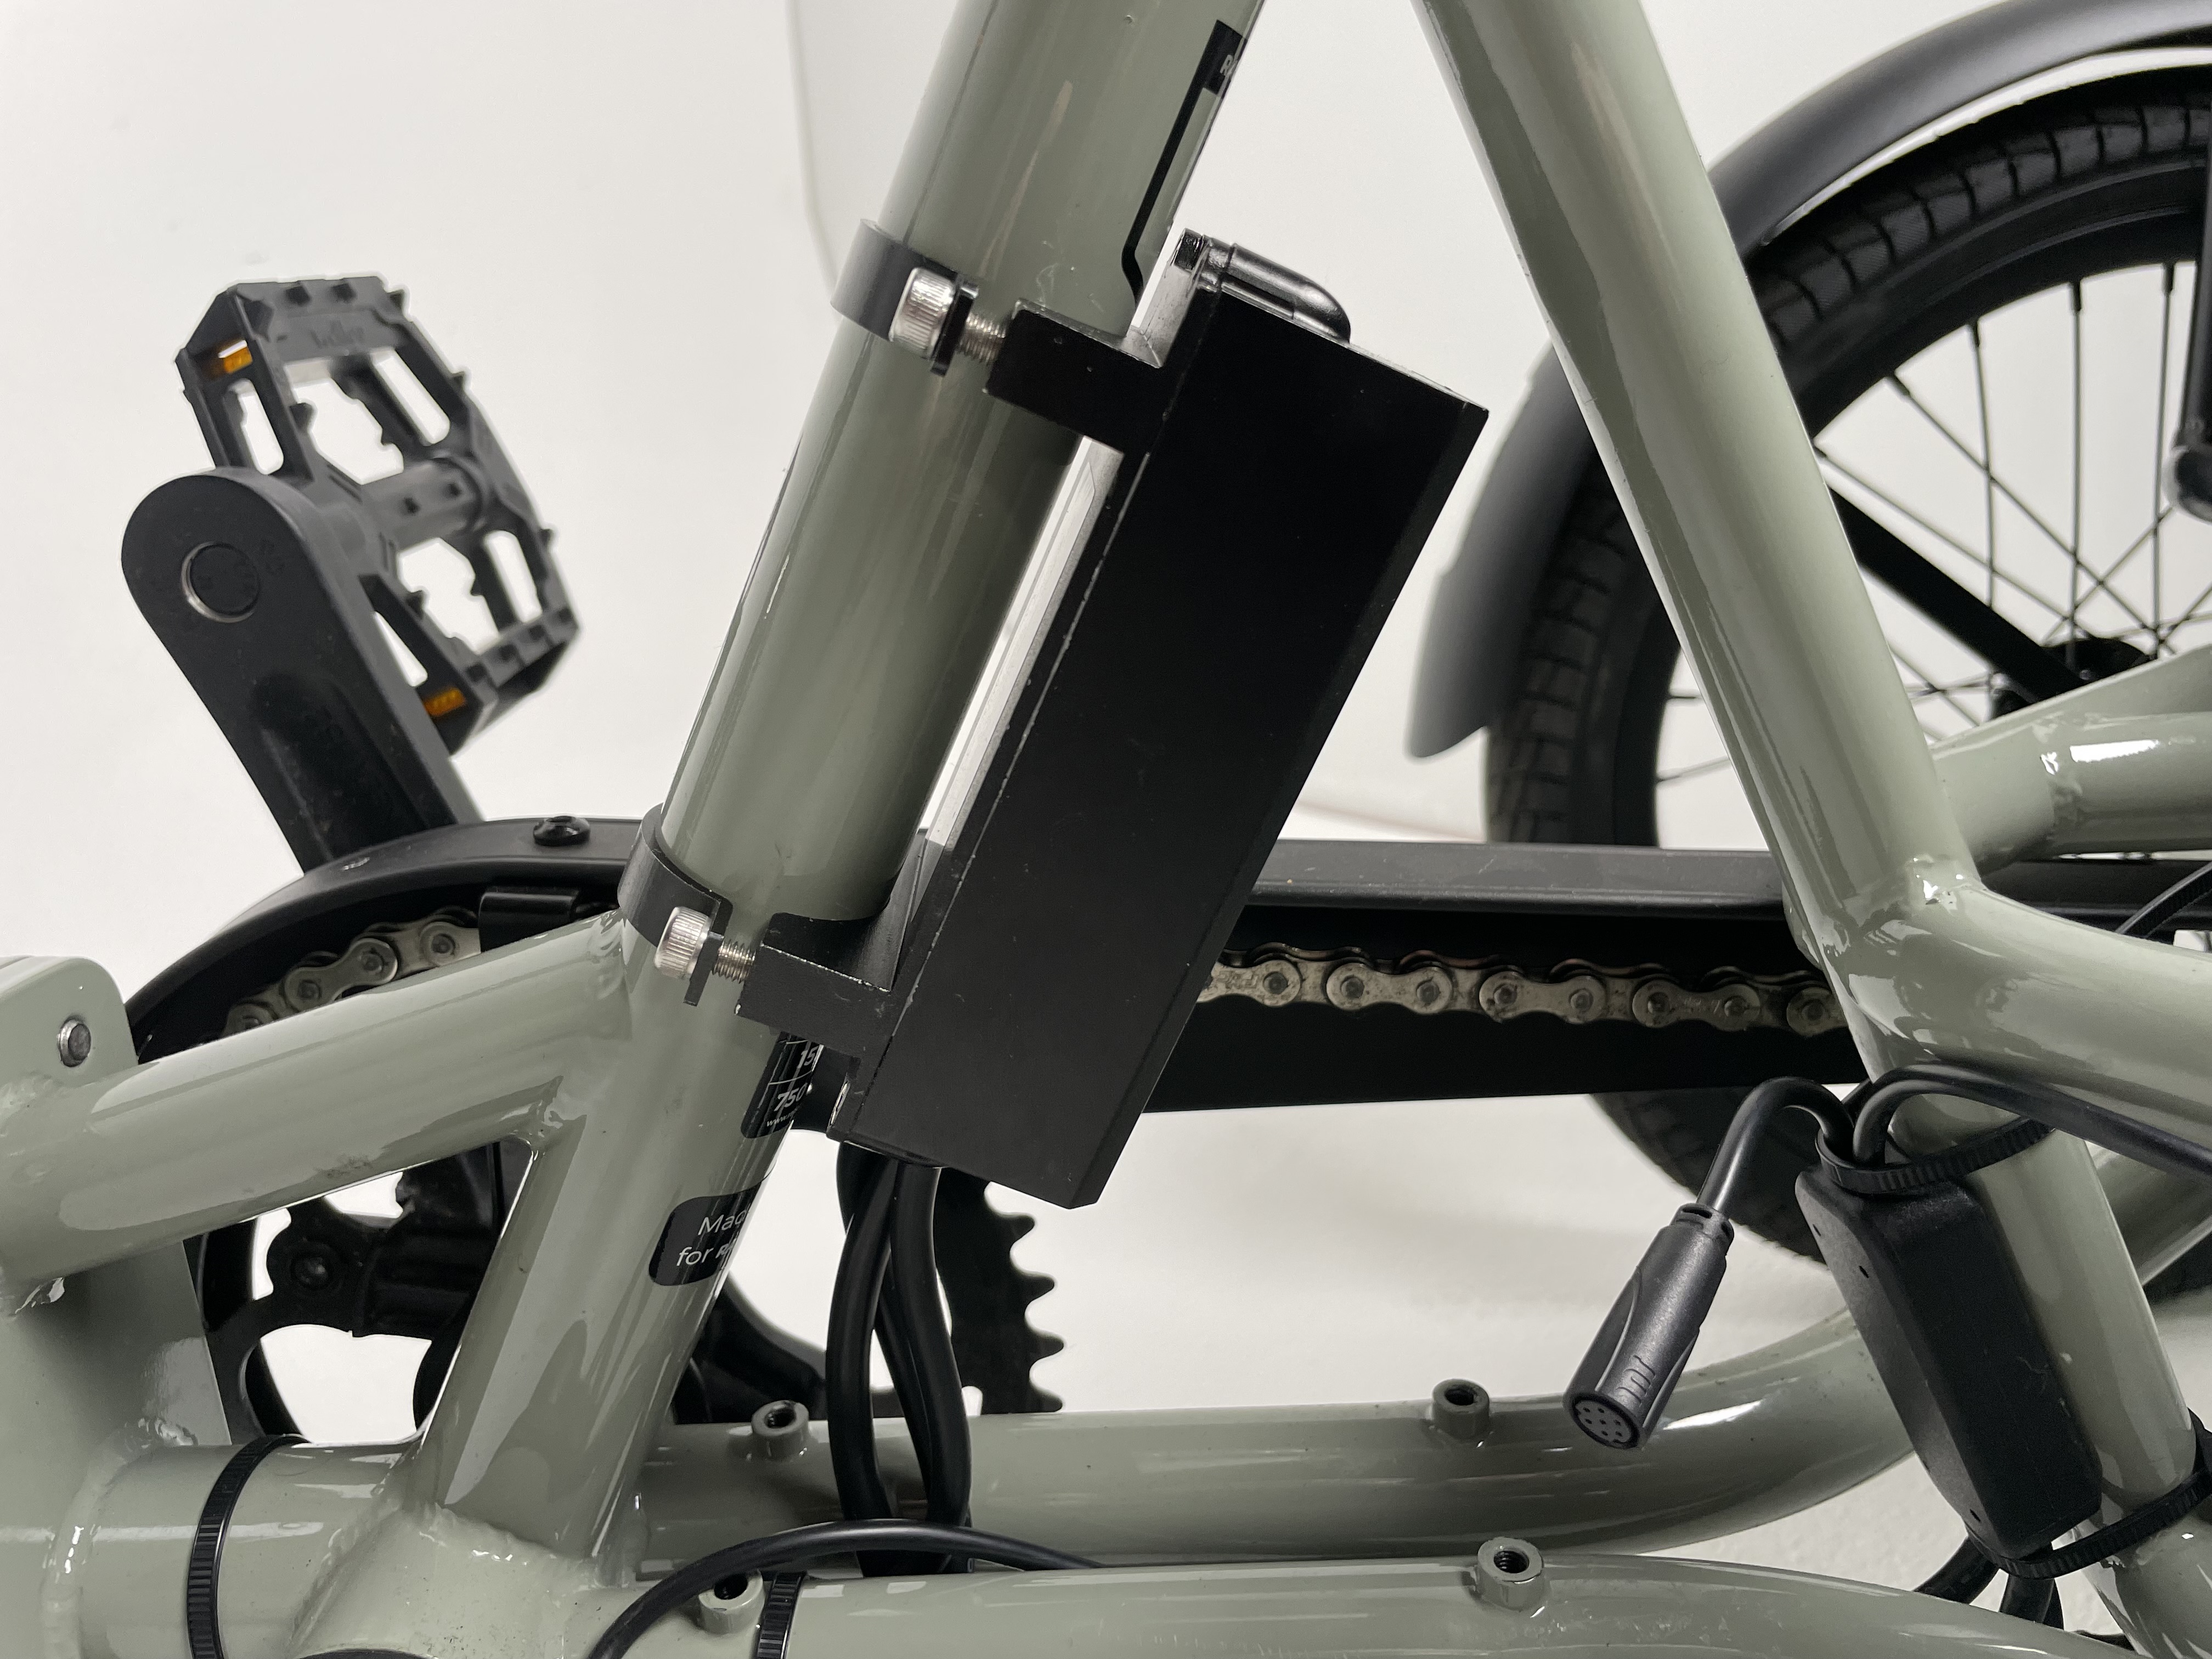
- Use the 4 mm Allen wrench to reinstall the mounting clamps on the controller and tighten until secure.
- If you received Model BAC355 (left) use the following steps to mount it in the original position:
- Reconnect the wiring harness, power and motor cables.
- Route the cables from the controller under the trike and toward their original position through the frame connection point.
- Reconnect the wiring harness cable (top) by lining up the internal notch and pins and the external arrows of each cable, and pressing together without twisting.
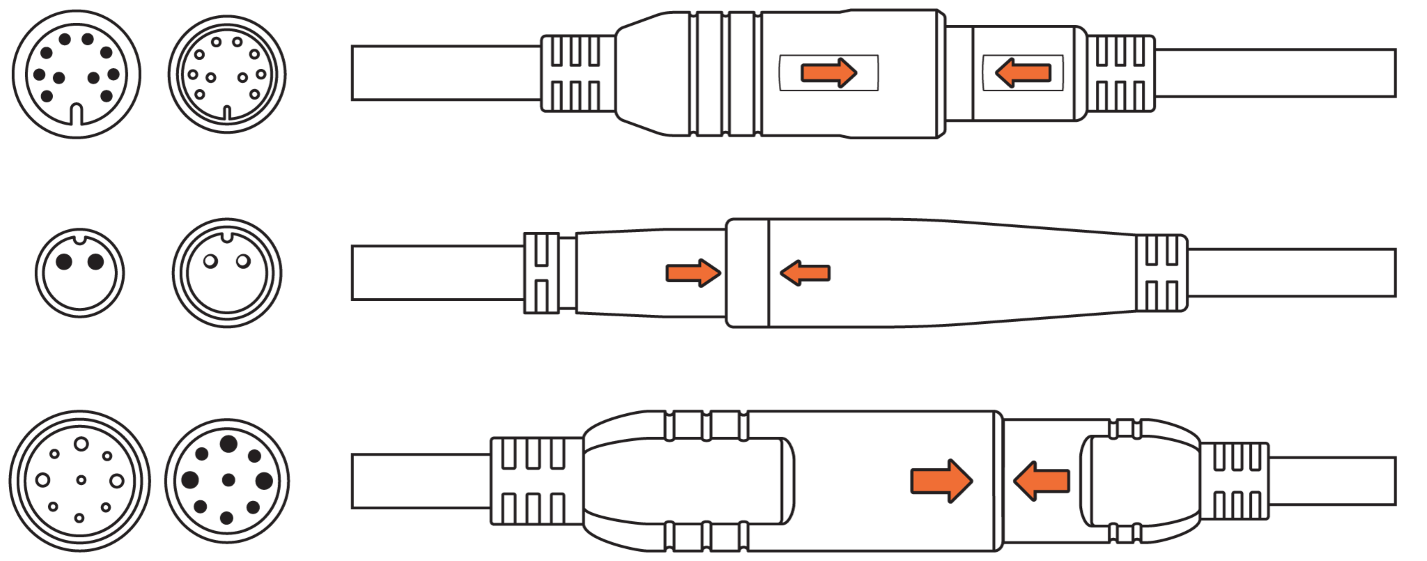
- Reconnect the power cable (middle) by lining up the internal notch and pins and the external arrows of each cable, and pressing together without twisting.
- Reconnect the motor cable (bottom) by lining up the internal notch and pins and the external arrows of each cable, and pressing together without twisting.
- Take up any slack in the cables and secure together to the mounting bosses with new zip ties.
- Use flat side cutters to snip off any excess from the zip ties, and ensure the ends are flush and smooth with no sharp points.
- Reinstall the battery, test the bike fully before riding, and ride Rad!
