RadWagon 4 headset adjustment guide
The headset of your bike is located inside the headtube and allows the fork steering column and front wheel to rotate and turn.
The headset can loosen over time with normal use, so it is important to periodically check the headset tightness and to tighten it properly when necessary. With periodic checks and tightening when needed, you can keep your bike safe and fun to ride.
Follow the steps below to check headset tightness and perform an adjustment on your RadWagon 4 if needed.
Tools Needed:
- 5 mm Allen wrench
- Extra-long 5 mm Allen wrench
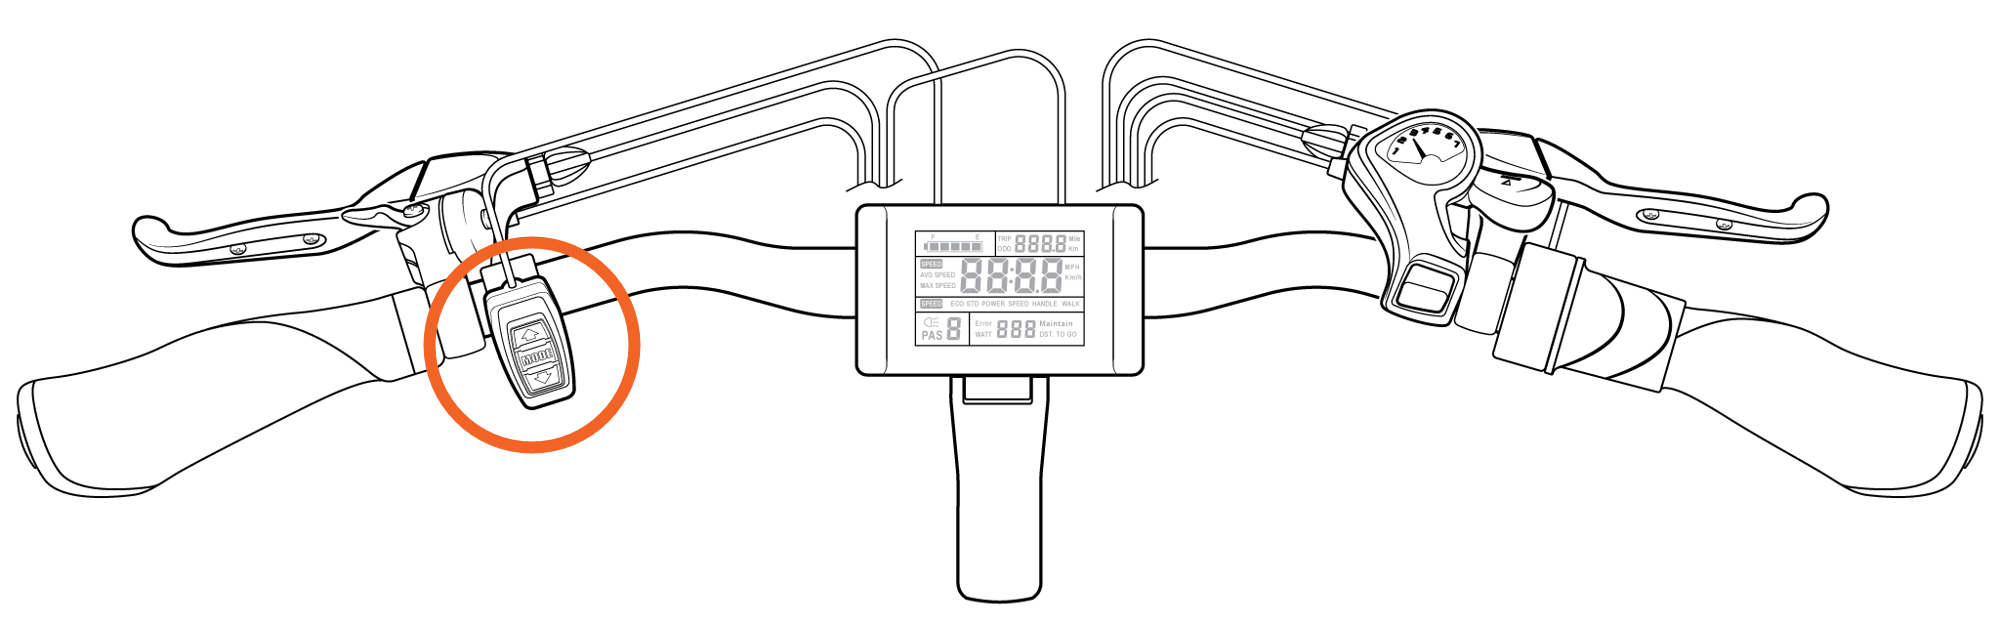
- Get the bike ready for maintenance. Turn off the bike, remove the battery, and press and hold the MODE button on the LCD display remote to discharge remaining power.
- Check if the headset needs to be adjusted.
- Check if the headset is too loose. Place one hand over the spot where the top of the front fork meets the bike's headtube (indicated by the arrow in the image below). At the same time, use your other hand to squeeze the left brake lever, and gently rock the bike front to back.
If you feel a knocking sensation under your hand or hear a "clunking" or rattling sound, the headset is likely too loose.
- Check if the headset is too tight. Hold onto the top tube (indicated by the arrow in the illustration below) and lift the front wheel off the ground slightly. Without holding the handlebar, carefully tilt the bike slightly to one side and check if the front wheel "flops," or easily and quickly turns to the side. Note: the wheel flop will be somewhat limited due to the deflopilator (the front steering spring).
If the front wheel will not flop to the side, the headset is likely too tight.
- Check if the headset is too loose. Place one hand over the spot where the top of the front fork meets the bike's headtube (indicated by the arrow in the image below). At the same time, use your other hand to squeeze the left brake lever, and gently rock the bike front to back.
- Adjust the headset.
- Loosen the stem clamp bolts. Use a 5 mm Allen wrench to loosen (but not remove) the two stem clamp bolts, until the handlebar stem can turn independently of the front wheel.
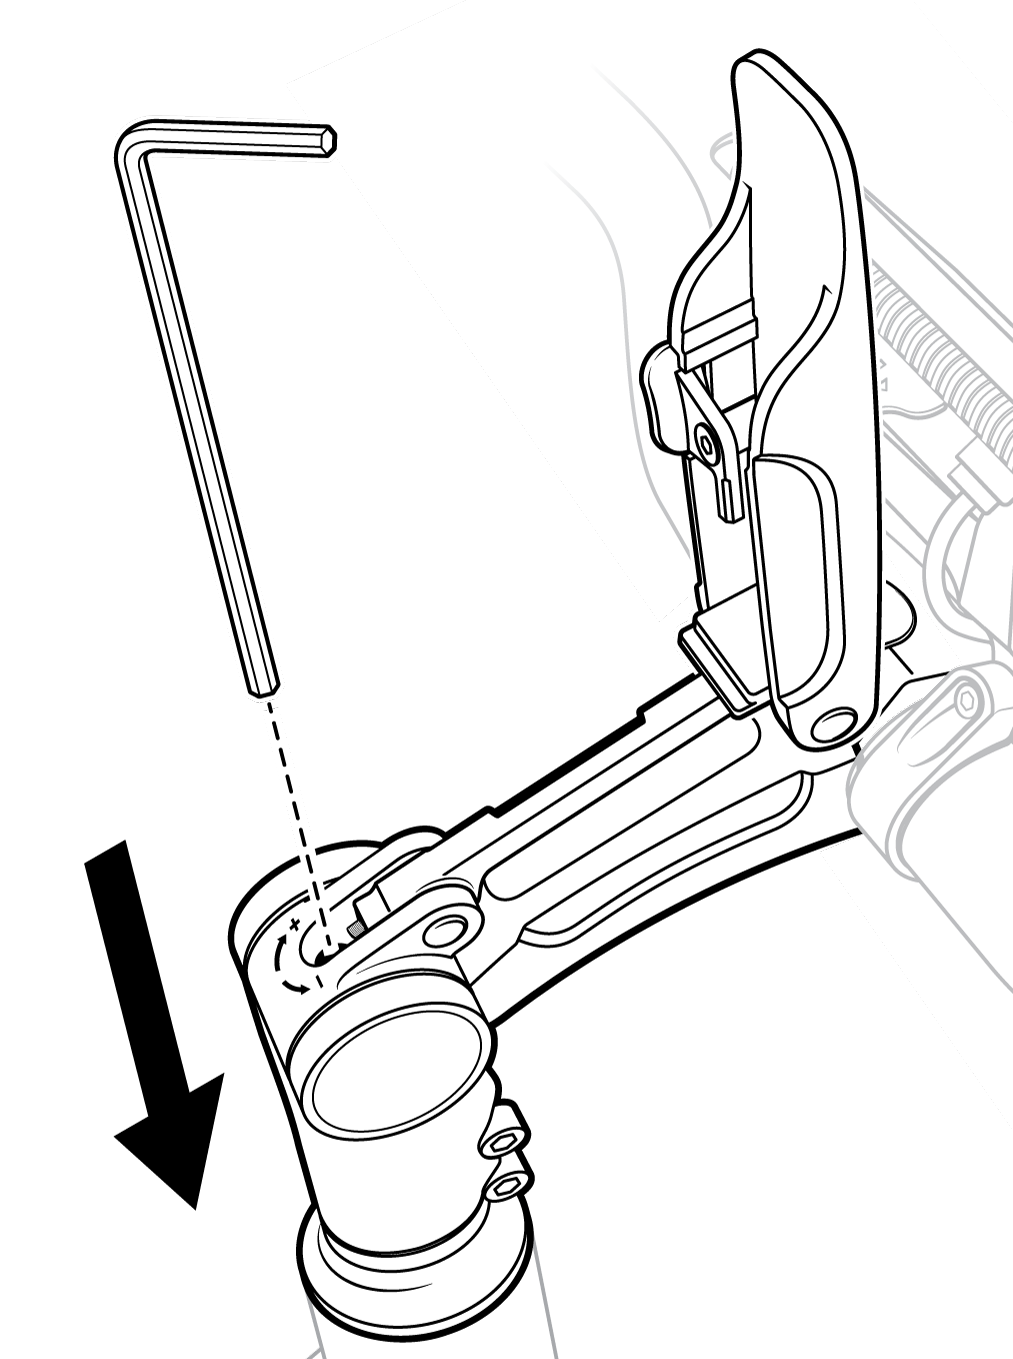
- Open the stem adjustment lever by pressing the stem release button while pulling upward on the lever.
- Loosen or tighten the headset. Use the extra-long 5 mm Allen wrench to turn the bolt 1/4 turn, clockwise to tighten or counterclockwise to loosen the headset. Do not overtighten.
Do not overtighten the headset. Overtightening the headset can damage the headset bearings.
- Close and secure the stem adjustment lever until the stem release button clicks into the locked position. One hand needs to press the stem release button while the other hand is open, palm down, closing the stem adjustment lever. Be sure to keep fingers, hair, clothing and other items away the lever’s underside to avoid pinches. Ensure the stem adjustment lever is centered. Test that the stem release button is secure by pulling up on the stem adjustment lever, which must not open unless you press the stem release button.
- Check the headset tension. Repeat step 2 to check if the headset is still too tight or too loose.
- Repeat step 3 if further adjustment is needed. Open the stem adjustment lever, adjust in a 1/4 turn increment, close the lever, and check if the headset is still to tight or too loose.
- Once you have achieved ideal headset tightness, follow the steps below to secure the stem.
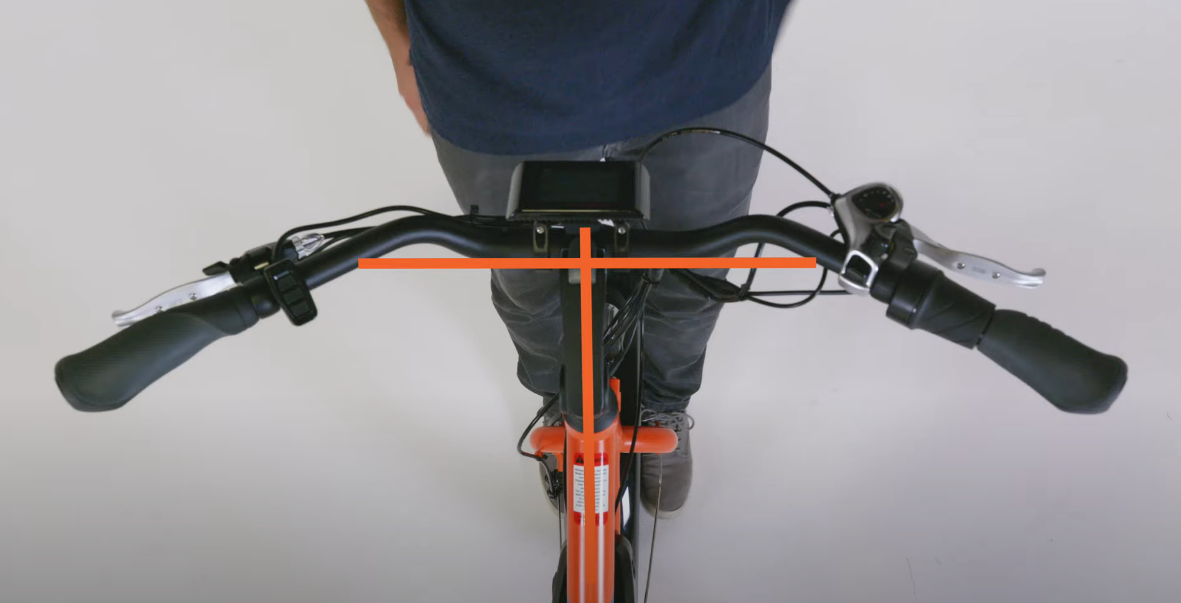
- Adjust the front wheel so it points directly forward and is in line with the frame. Rotate the handlebar stem independently of the wheel so the handlebar is centered and perpendicular to the wheel direction. To ensure proper alignment, do not use the fender as a reference point for the handlebar alignment.
- Evenly tighten the stem clamp bolts. Once the handlebar is aligned, use a 5 mm Allen wrench to tighten the bolts 1/2 turn starting with the top bolt, and alternating between each bolt to ensure they are tightened evenly. Torque the bolts to 9 Nm.
- Check that the stem is secure. Stand over the front wheel and hold it in place between your legs. Place one hand on each handlebar grip, and try to turn the handlebar from side to side. Push forward with one hand with approximately 20 lb of force, while pulling backwards with the other hand with approximately 20 lb of force. The stem must be tight enough that it does not turn independently of the wheel.
- If the stem turns independently of the wheel (as shown below), loosen the stem clamp bolts and repeat step 4 to make sure the headset is properly adjusted and secure.
- Adjust the front wheel so it points directly forward and is in line with the frame. Rotate the handlebar stem independently of the wheel so the handlebar is centered and perpendicular to the wheel direction. To ensure proper alignment, do not use the fender as a reference point for the handlebar alignment.
Loose or improperly torqued stem hardware can cause loss of control, serious injury, or death. Check that all hardware is tightened securely to the required torque values before each ride.
- Once properly secured, reinstall the battery and test the bike fully before riding.