2017/2018 RadMini Wiring Harness Replacement Guide
The 2017/2018 RadMini wiring harness can be replaced if you have been instructed to do so by Rad Power Bikes Product Support. Follow the steps below to replace the wiring harness.
Tools Needed:
- Phillips head screwdriver
- Flat head screwdriver
- Flat side cutters
- A few zip ties
- The replacement wiring harness from Rad Power Bikes
Remove the Old Wiring Harness
- Get the bike ready for maintenance. Turn off the bike, remove the battery, and press and hold the MODE button to discharge remaining power.
- Unplug the connectors at the front of the bike.
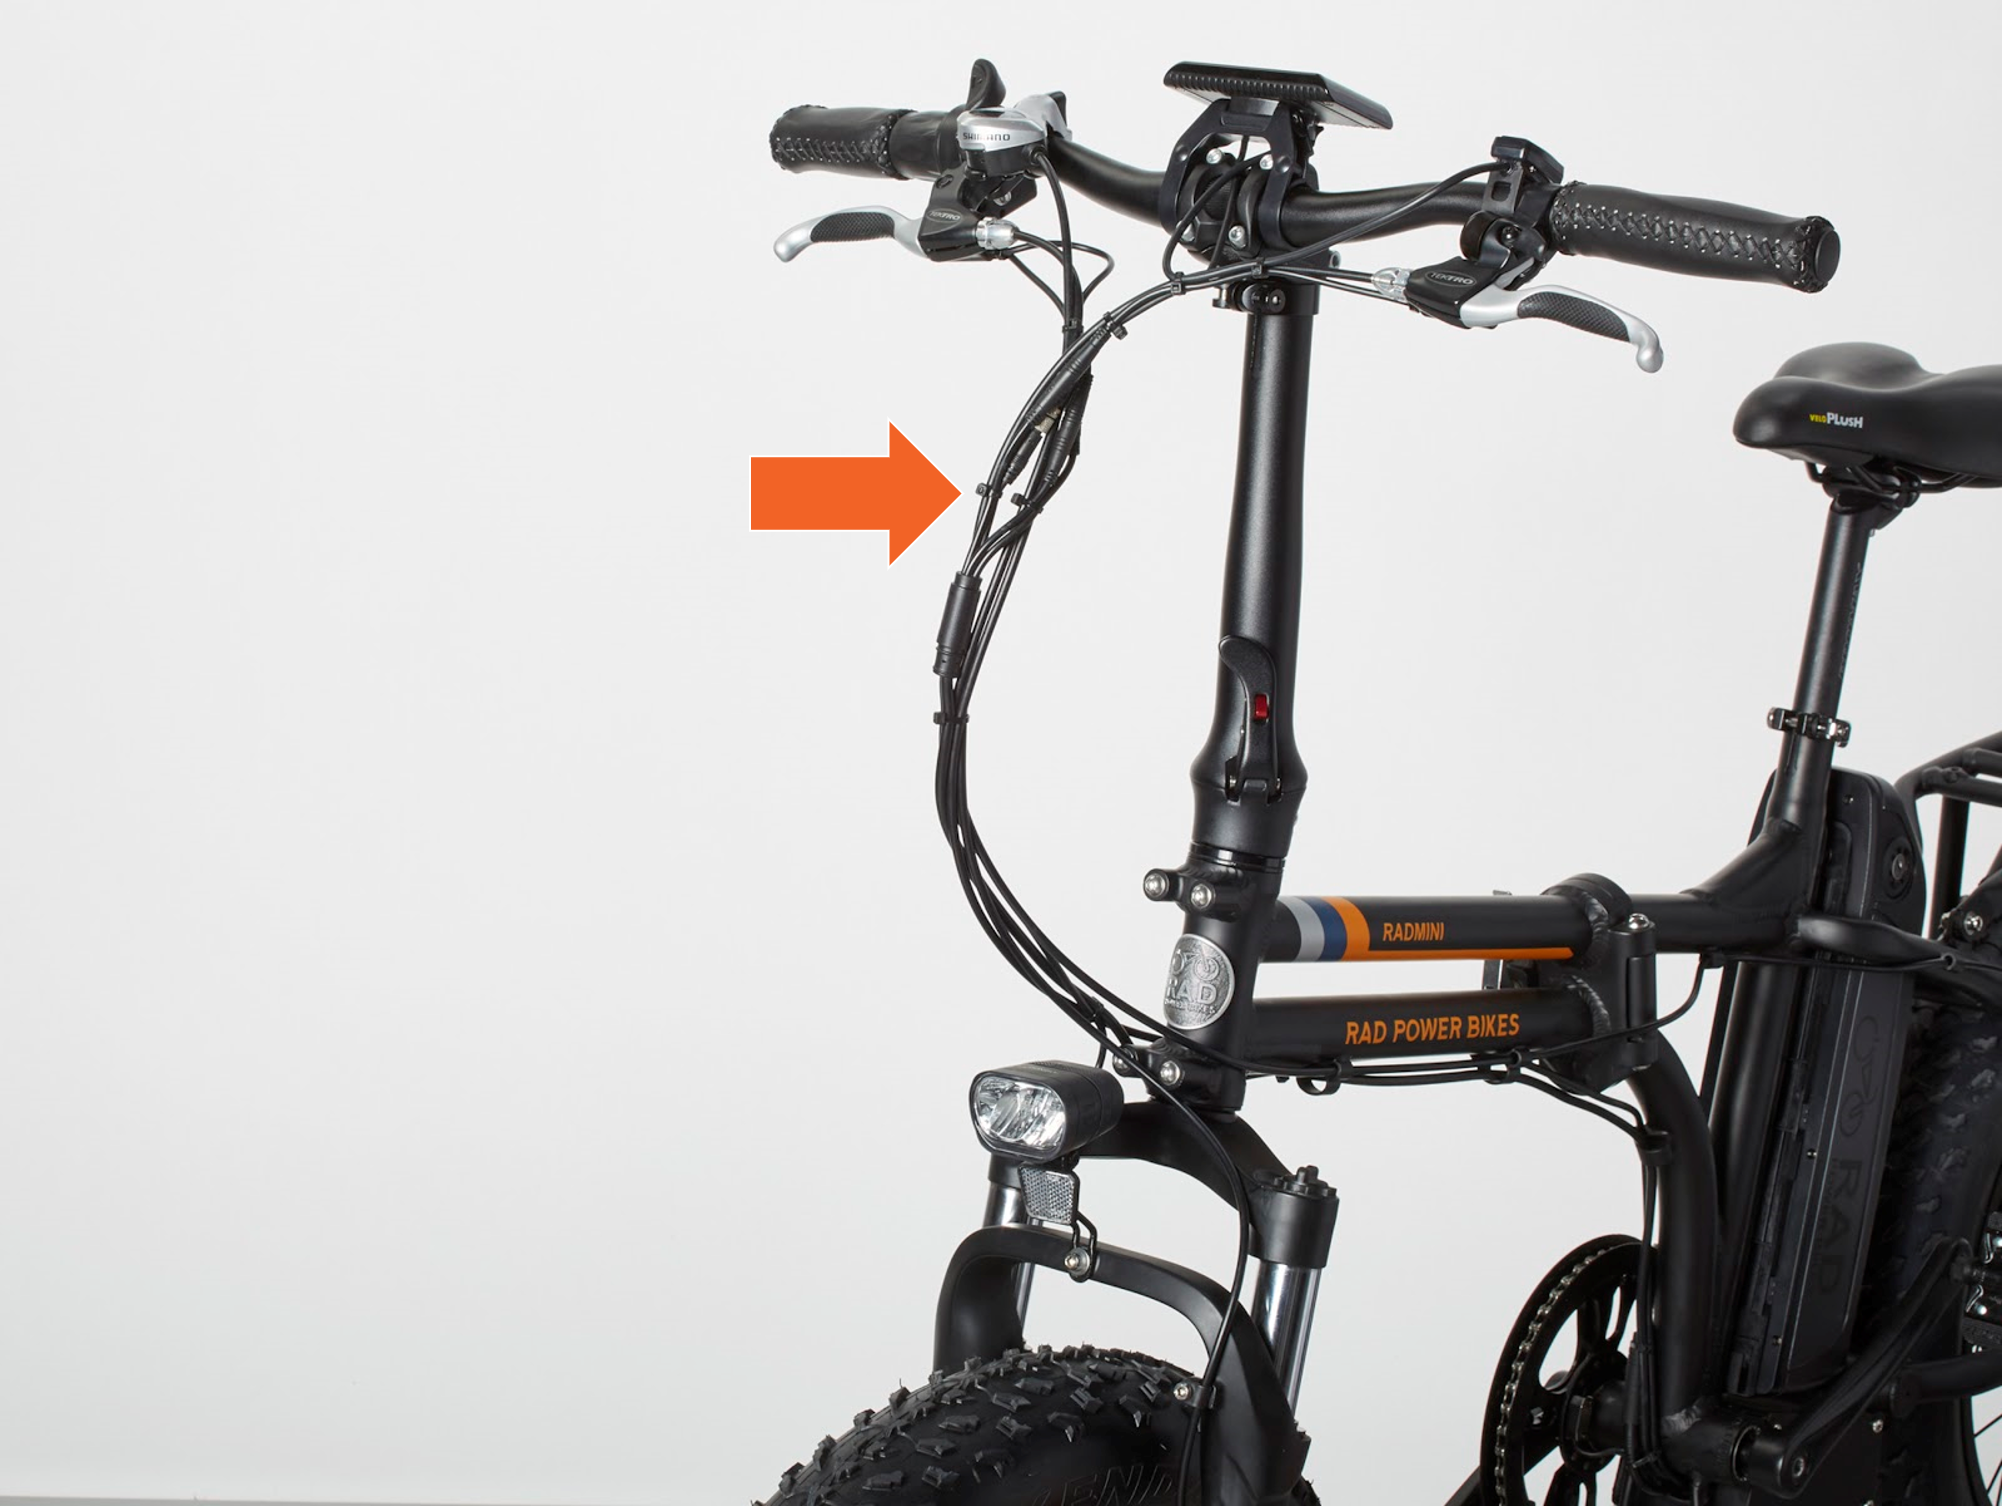
- Locate the wiring harness junction.
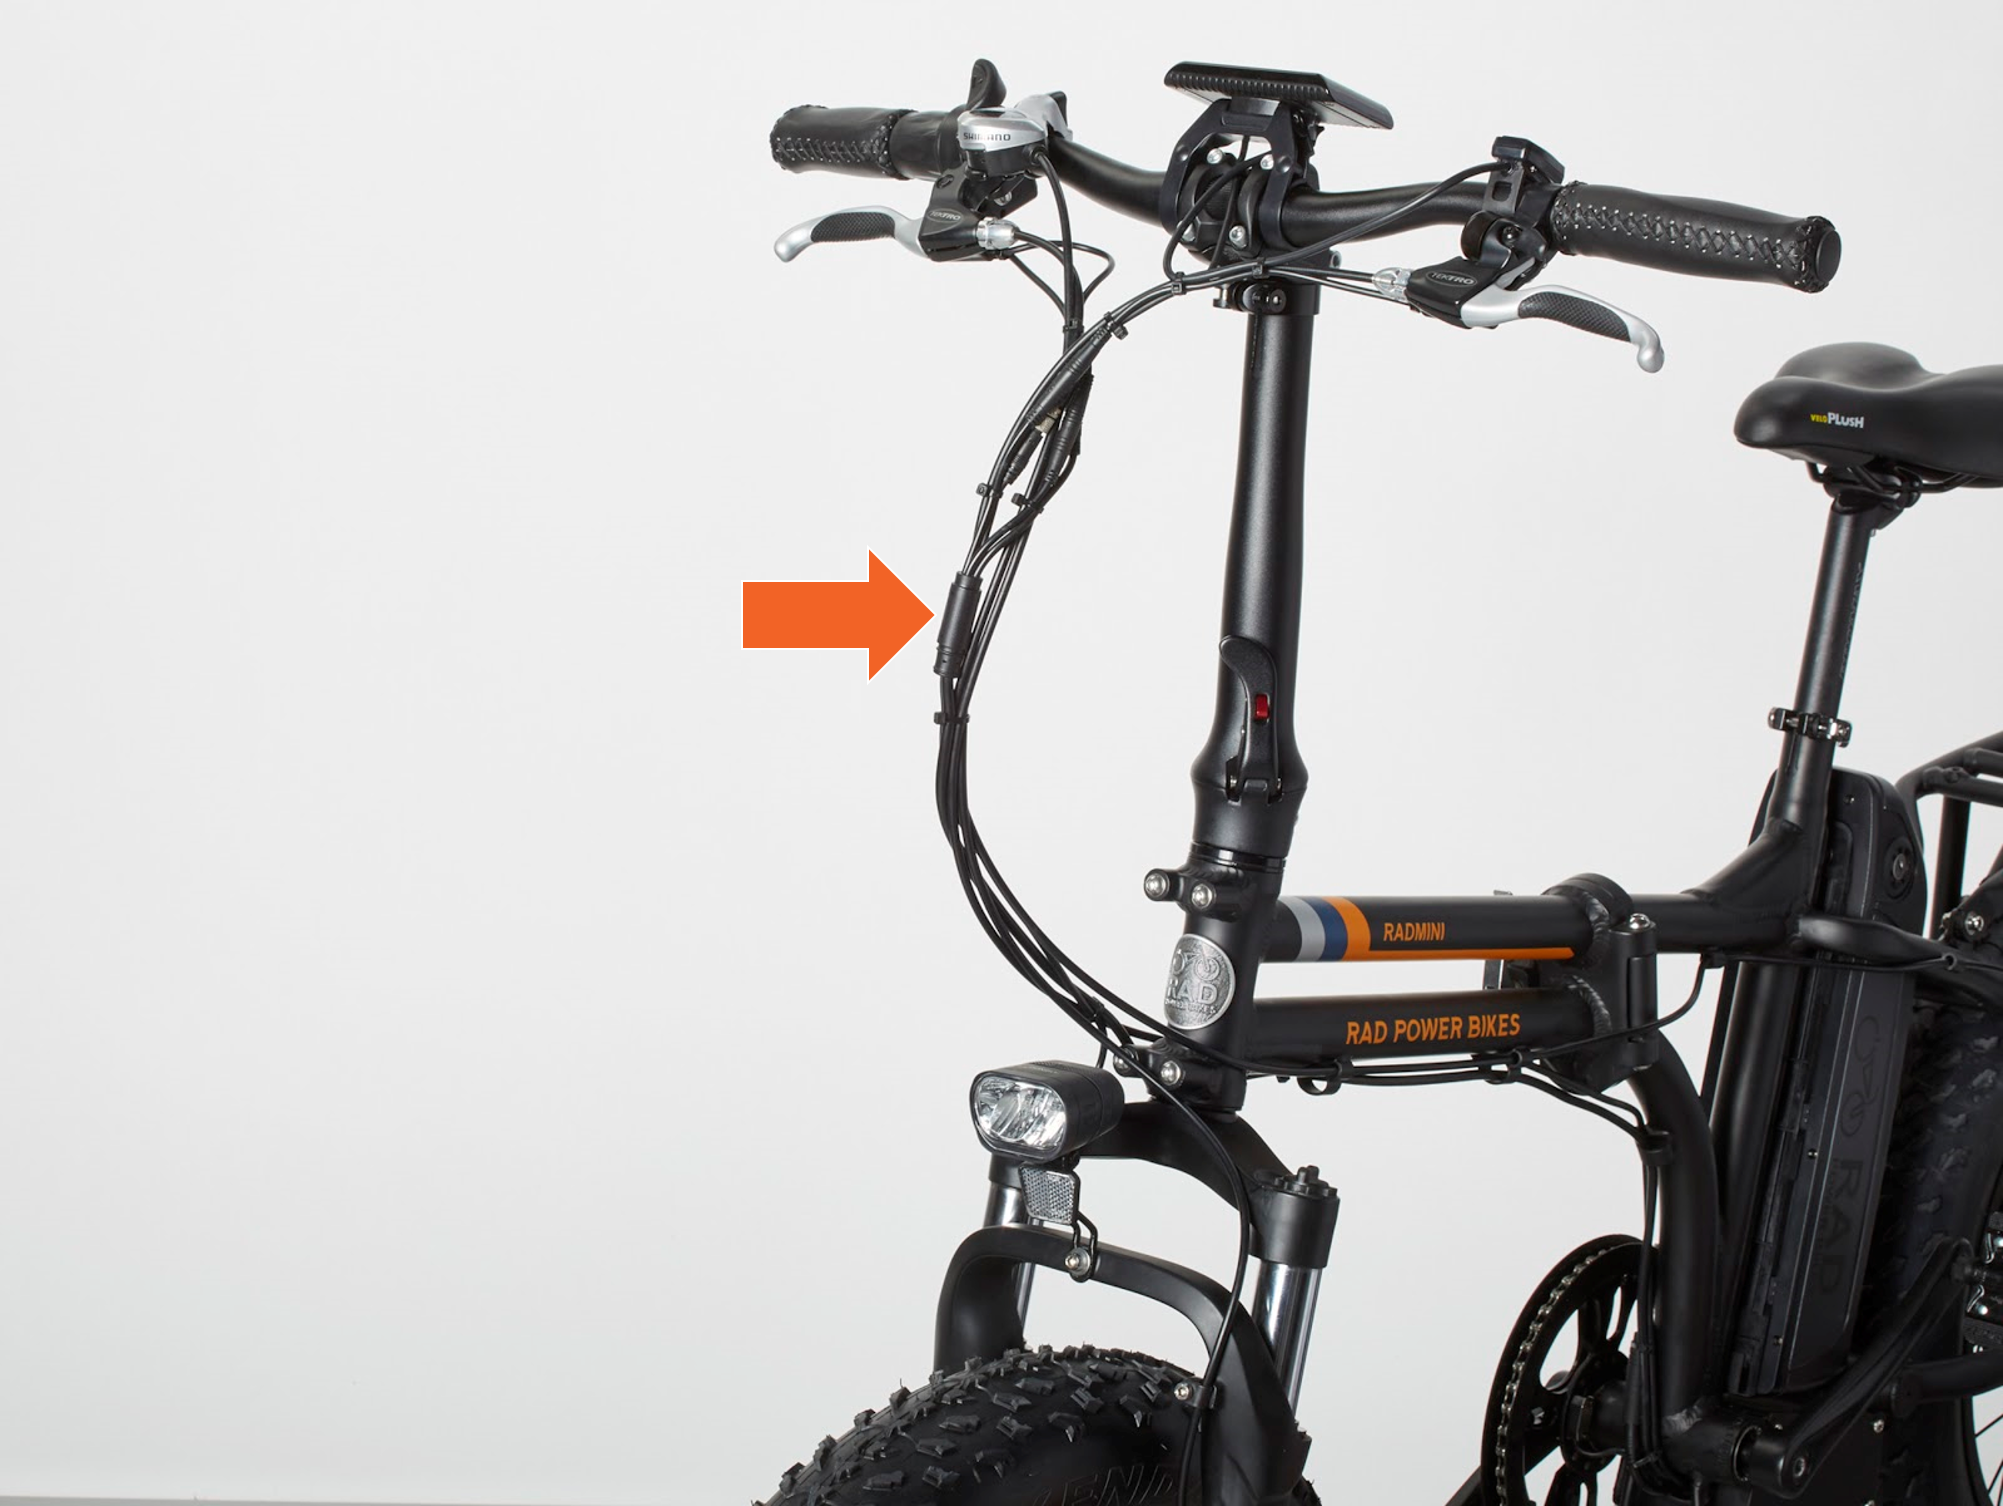
- Unplug the display connector from the wiring harness. Trace the cable from the display to the connector. Snip zip ties as needed to create cable slack. Untwist the metal portion, then pull each side of the connector directly apart, without twisting, to unplug.
- Unplug the rest of the connectors from the wiring harness. Locate each connector plugged into the wiring harness. Pull each side of the connector directly apart, without twisting, to unplug.
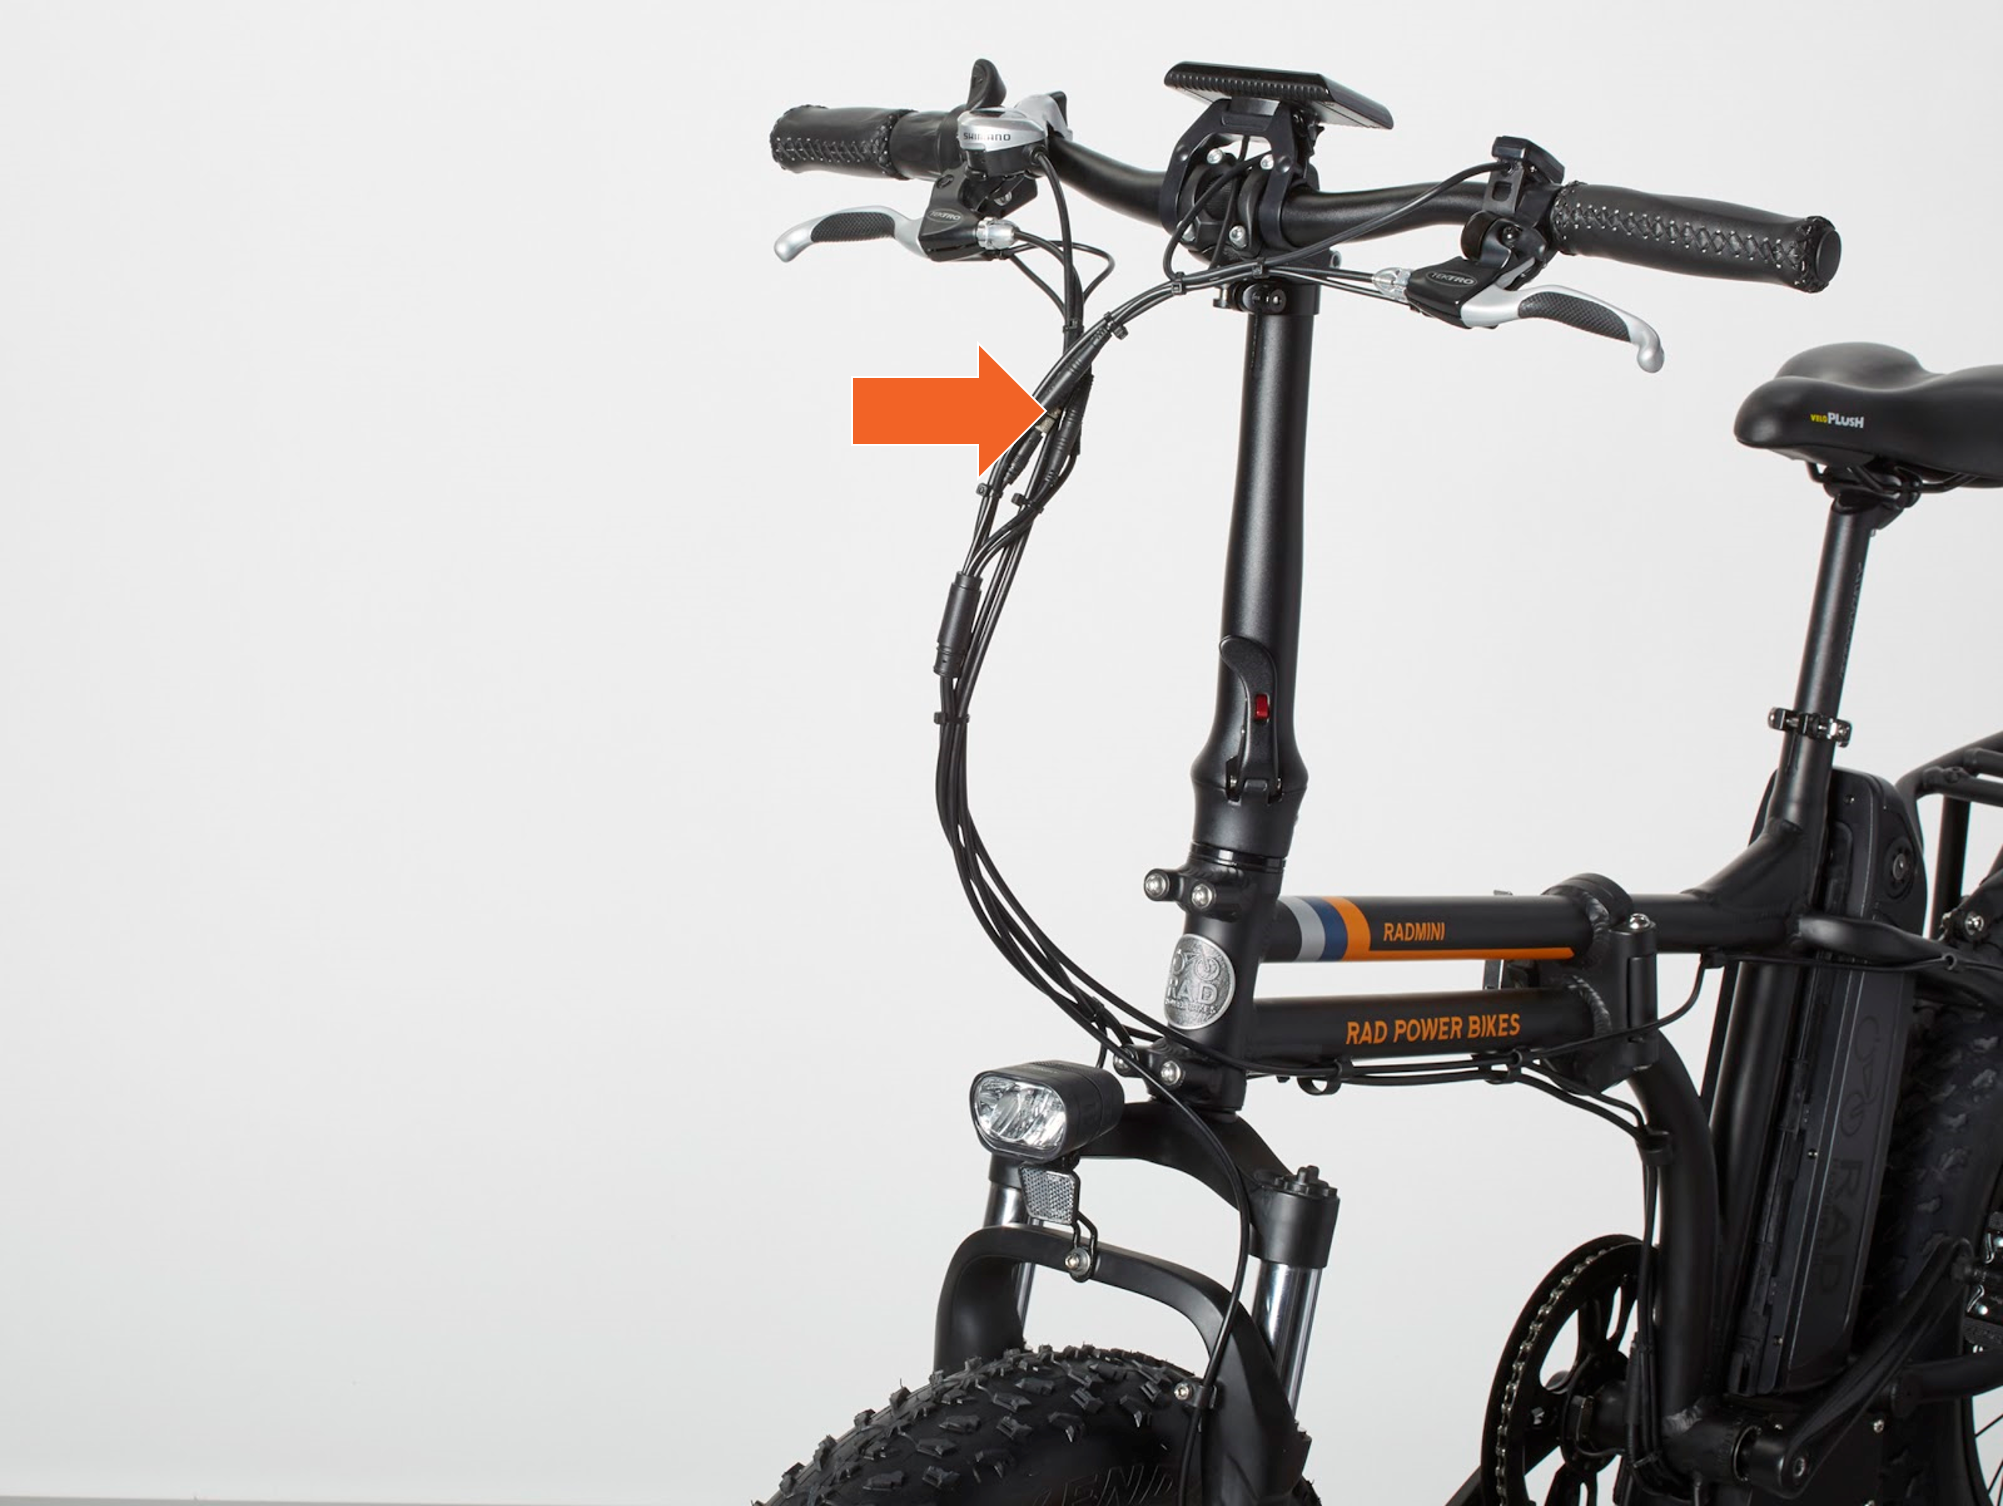
- Locate the wiring harness junction.
- Unplug the wiring harness from the controller.
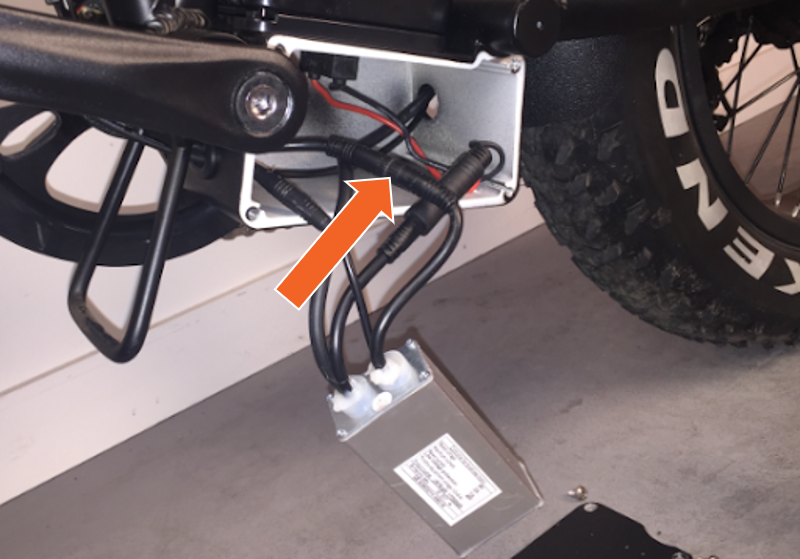
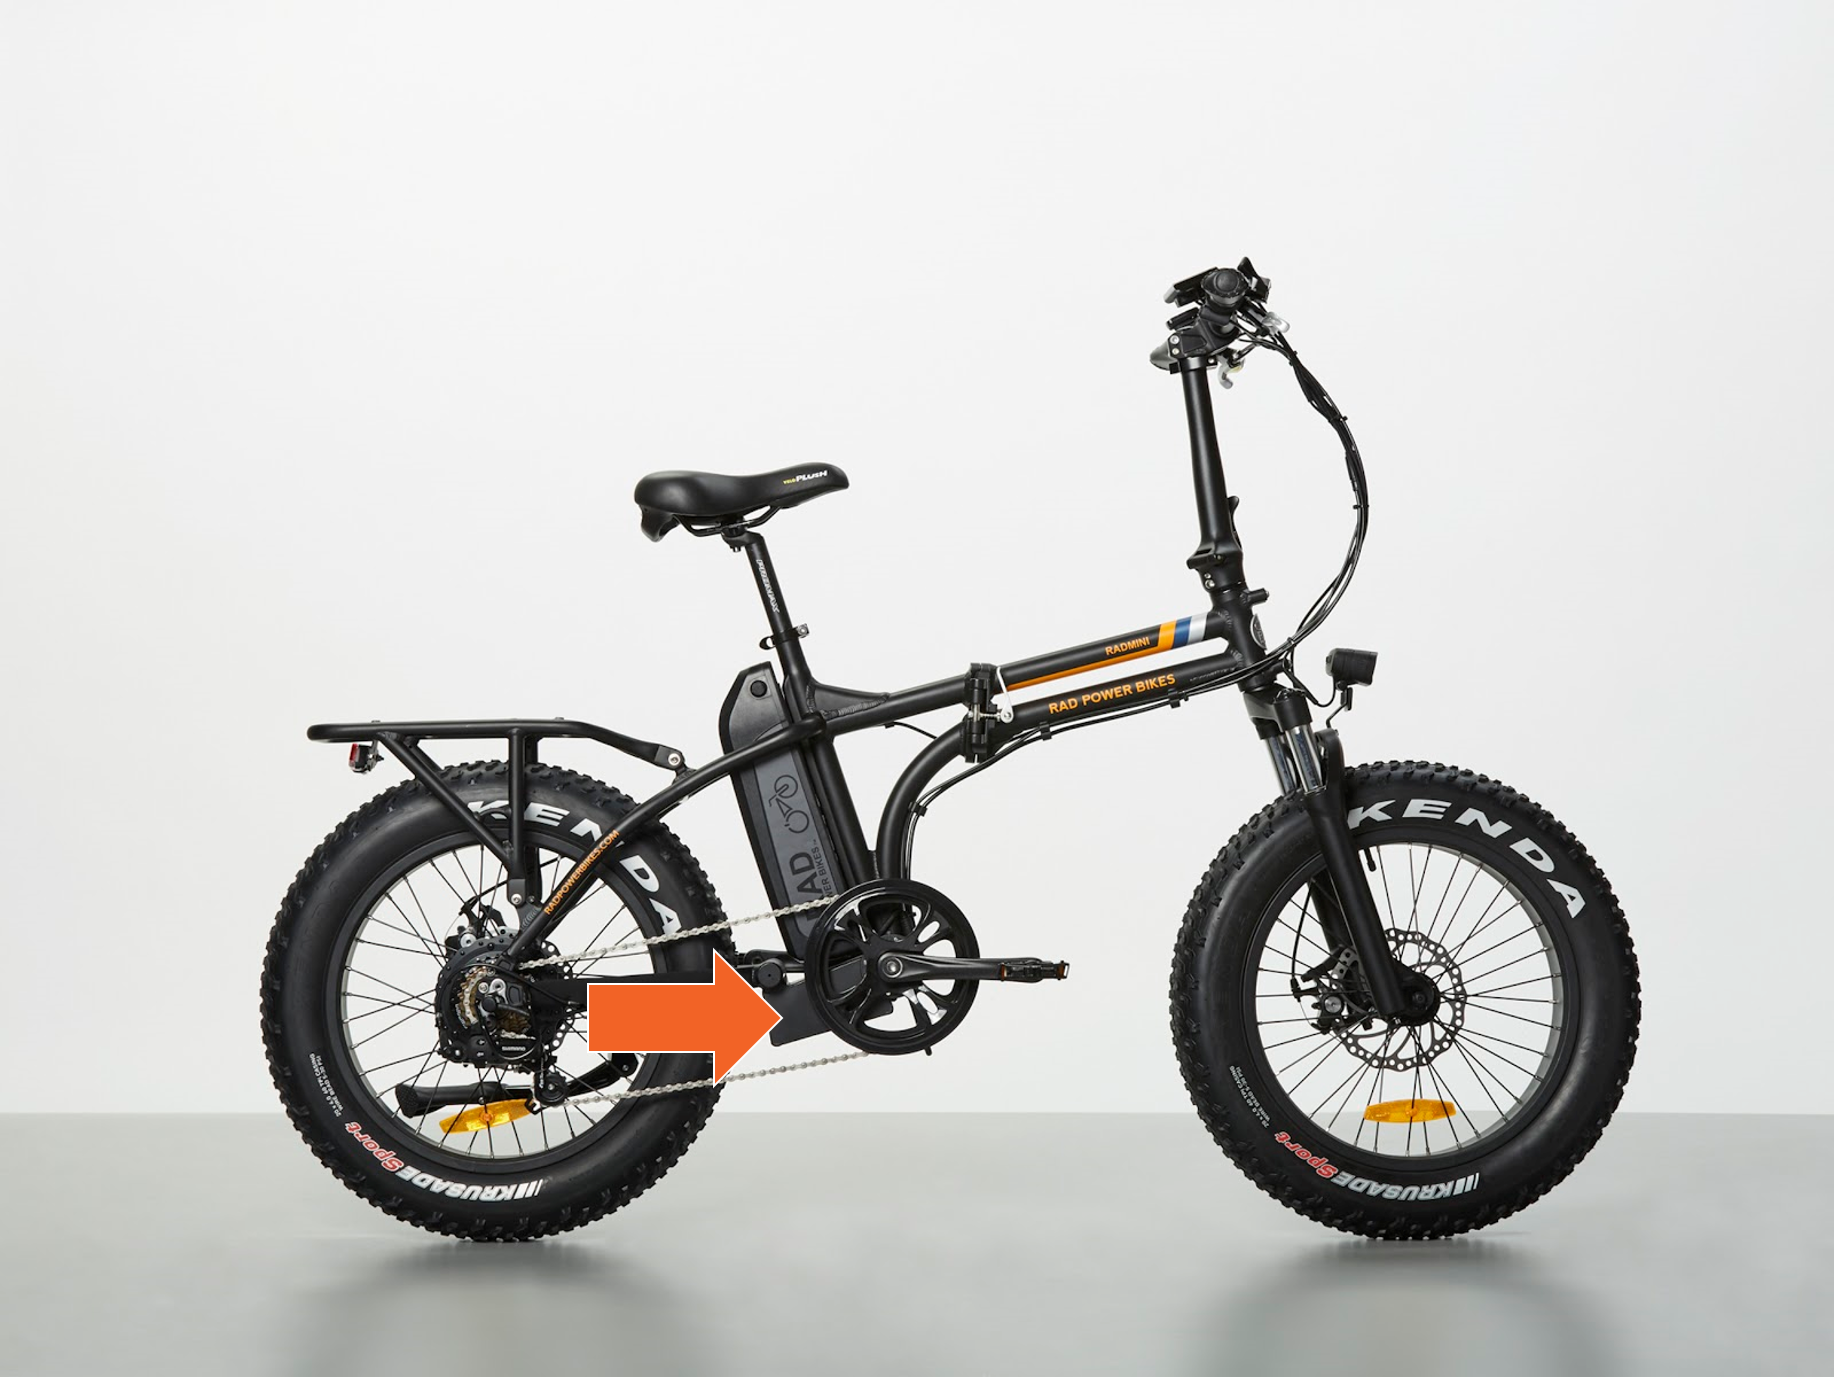
- Access the controller. Locate the controller compartment behind the left crank arm. Use a Phillips head screwdriver to remove the four mounting bolts. Set the compartment cover and bolts aside.

- Unseat the rubber grommet at the front of the controller compartment. Snip the zip tie securing the bundle of cables. Use a flat head screwdriver and gentle pinching movements to carefully unseat the rubber grommet. Be careful not to damage the grommet or nearby cables.
- Unplug the wiring harness from the controller. Trace the cable from the wiring harness junction at the front of the bike to the black connector with ridges plugged into the controller. Pull each side of the connector directly apart without twisting.

- Access the controller. Locate the controller compartment behind the left crank arm. Use a Phillips head screwdriver to remove the four mounting bolts. Set the compartment cover and bolts aside.
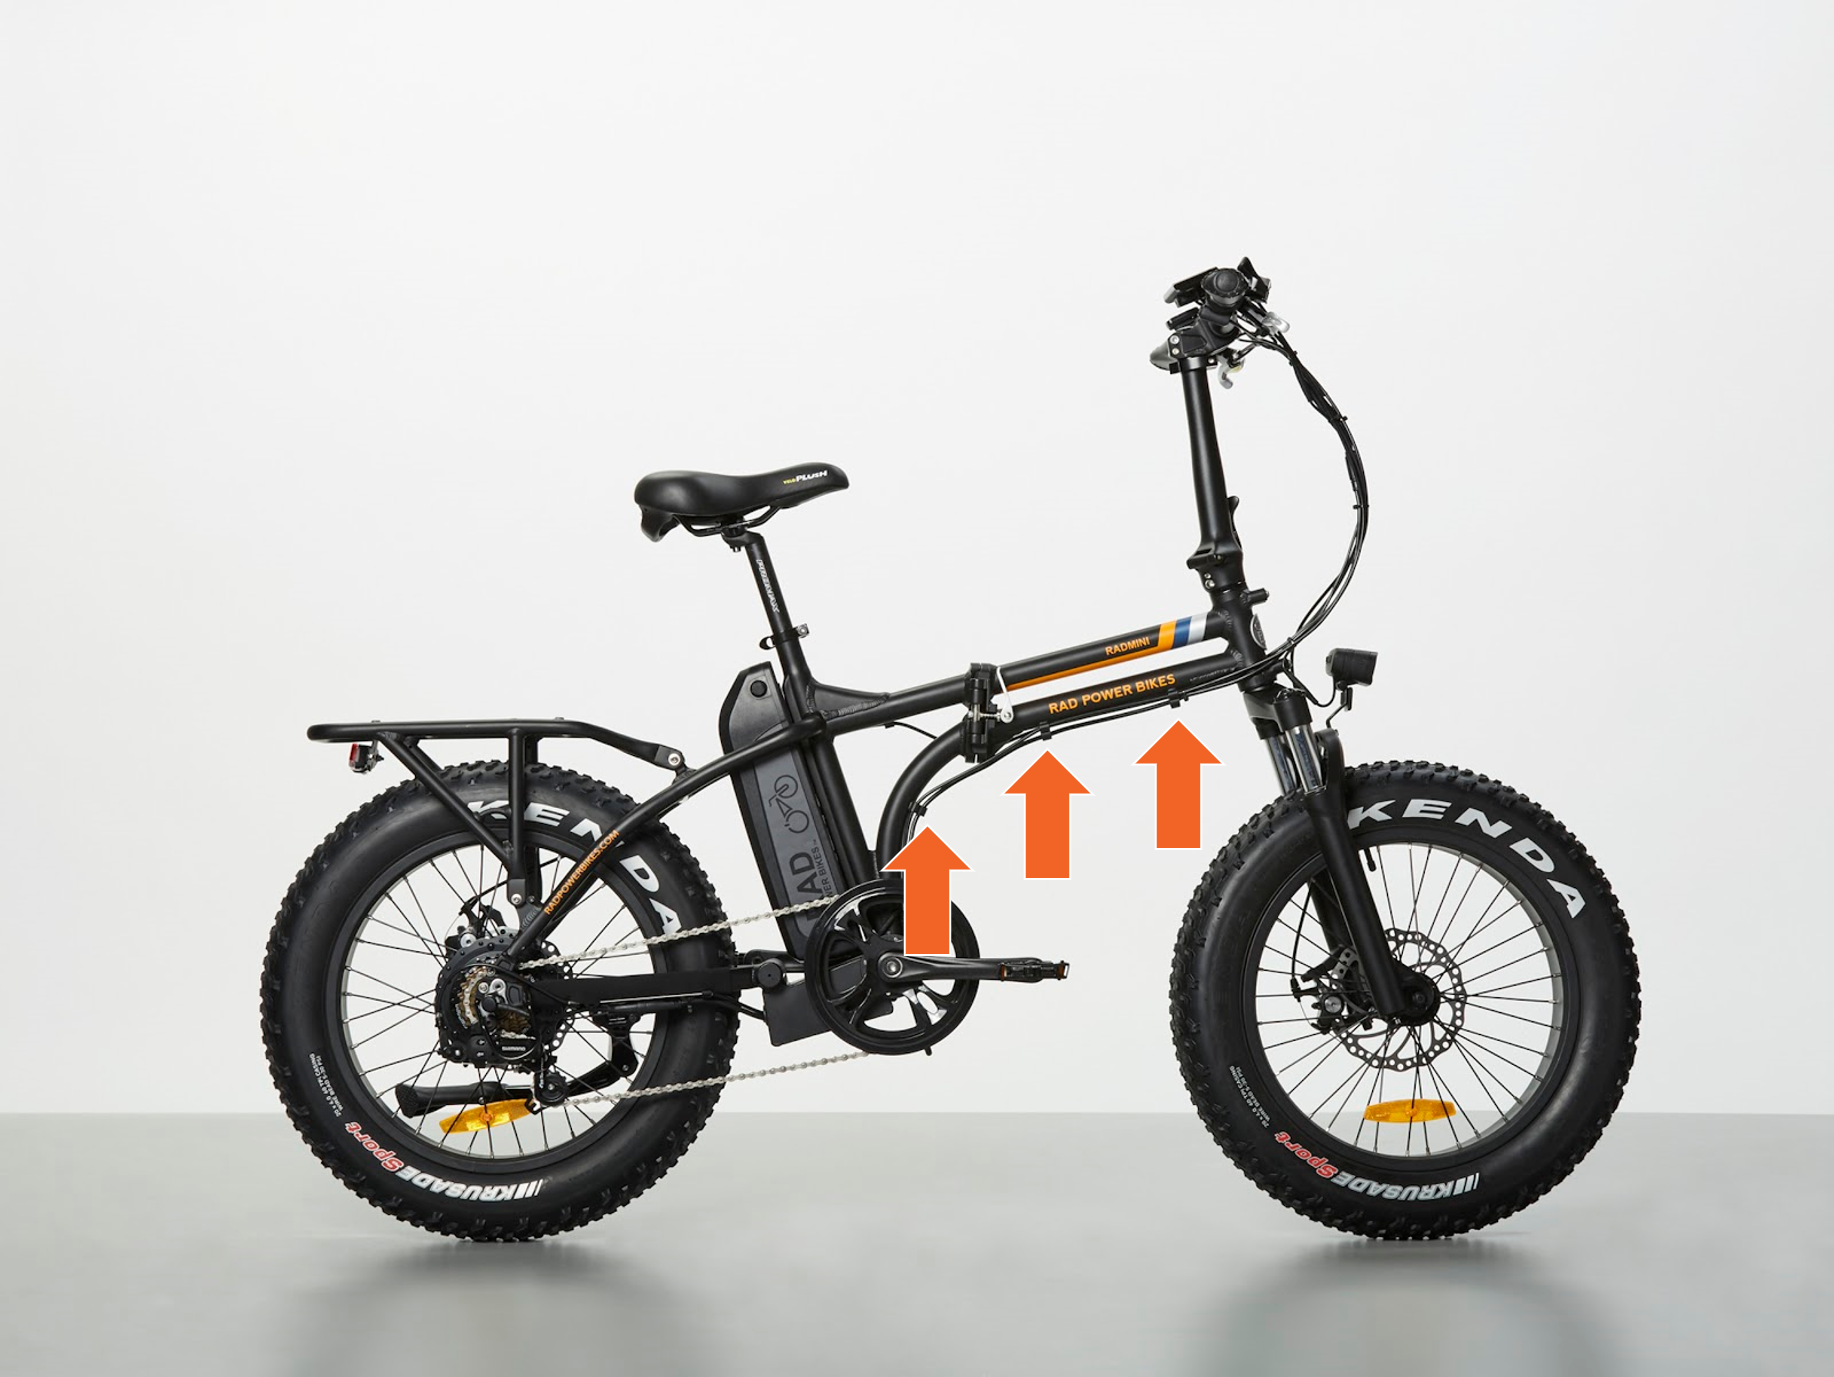
- Remove the wiring harness. Pull the wiring harness out of the hole at the front of the controller compartment and remove the wiring harness from the cable guides on the bike frame. Recycle the wiring harness according to local rules.

Continue to the next section to install the new wiring harness.
Install the New Wiring Harness
- Locate the new wiring harness and orient it so the side with fewer connectors points toward the back of the bike.
- Route the wiring harness along the bike frame. Carefully pass the wiring harness connector end through the cable guides on the bike frame and into the hole at the front of the controller compartment. Make sure the wiring harness passes through the rubber grommet.
- Plug in the wiring harness connector to the controller. Align the internal notch and pins (and external arrows) and press directly together, without twisting, to connect.
- Reinstall the grommet. Place the long side of the grommet at the top or bottom of the opening, then gently work the grommet around the opening until fully seated.
- Plug in all connectors at the handlebar.
Do not plug in a connector to the wiring harness if it does not match in color and shape. Doing so could cause irreparable damage to the connector, the part, or the wiring harness.
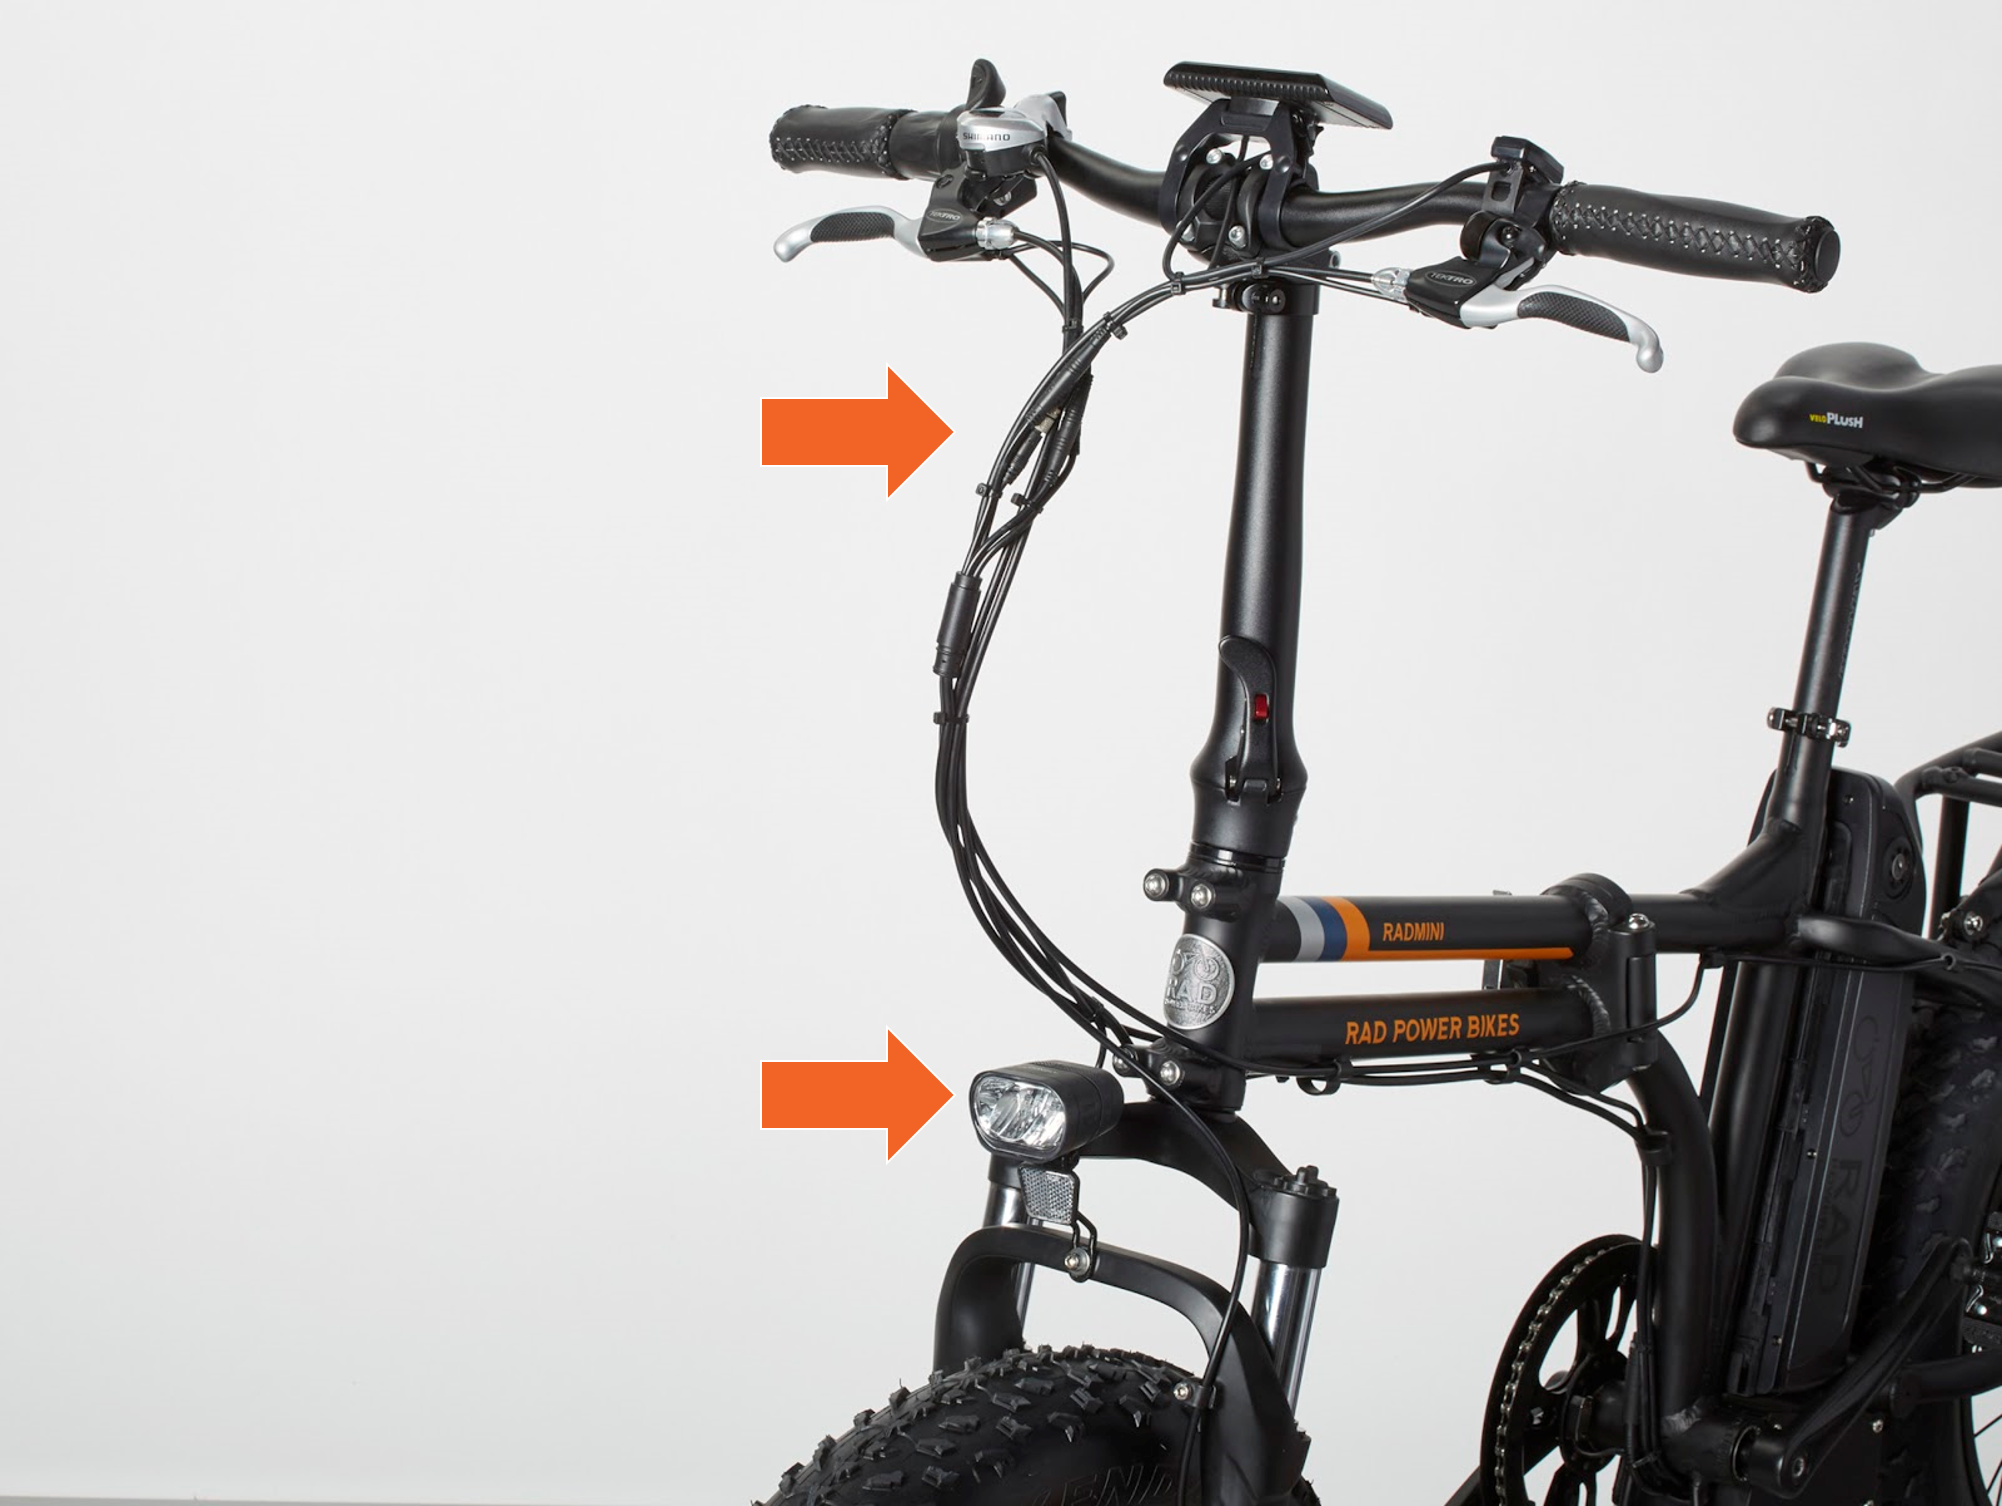
- Start with the display connector. Align the internal notch and pins (and external arrows) and press each side directly together, without twisting, to connect. Then, twist each metal portion together to fully seat the connection.

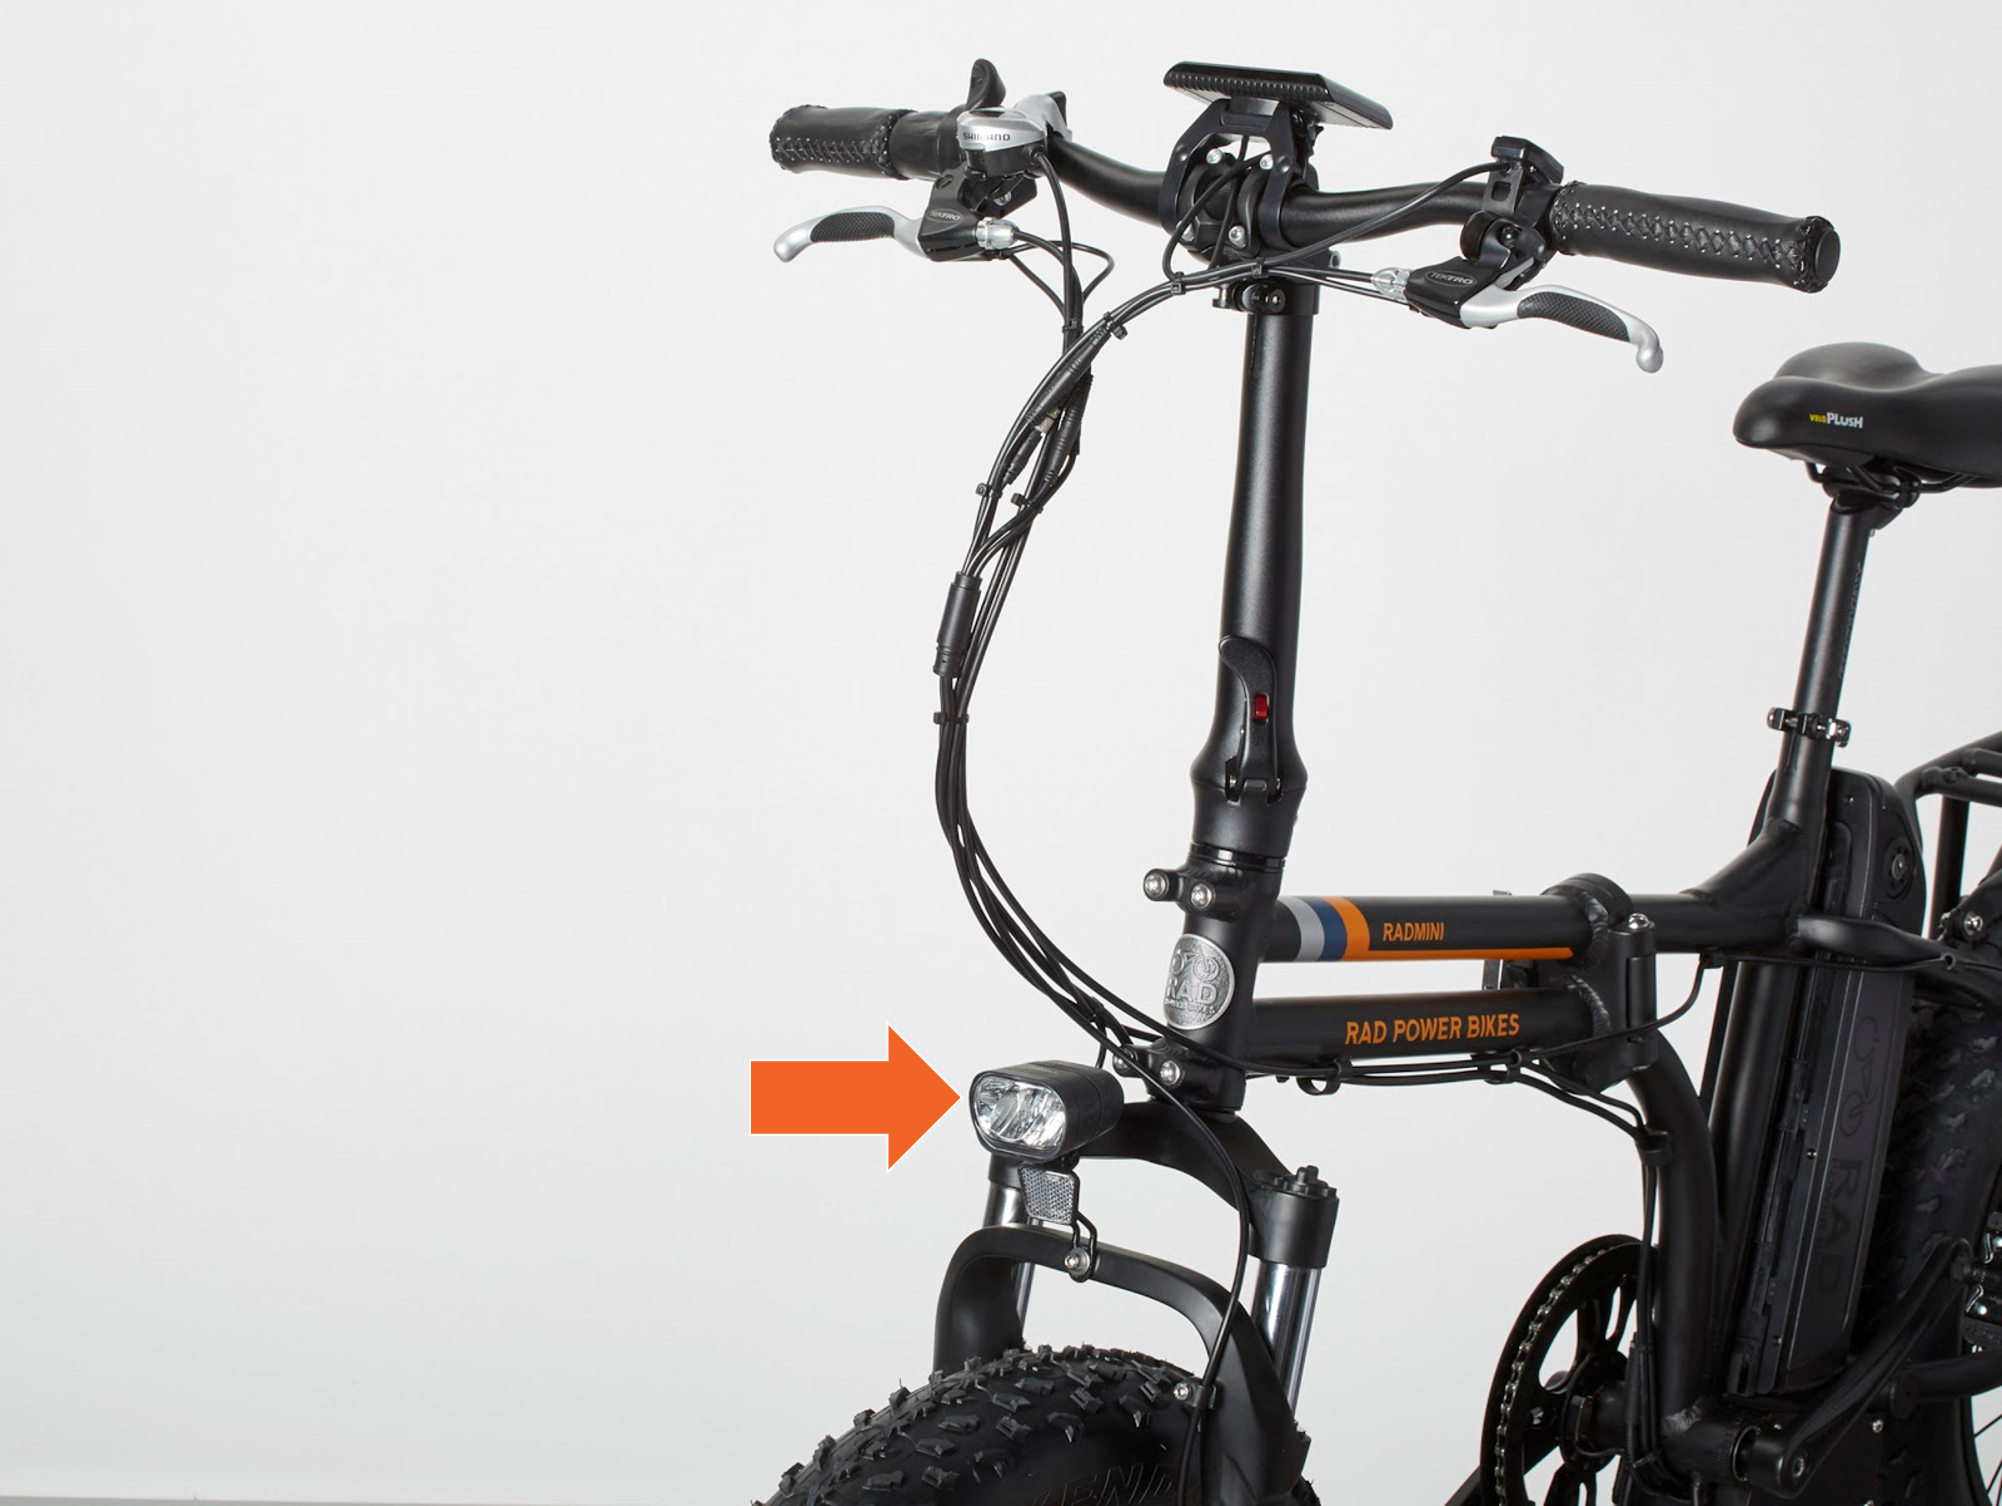
- Plug in the headlight connector. The cable coming out of the bottom of the wiring harness junction is the headlight connector and must be plugged into the connector end coming out of headlight. Align the internal notch and pins (and external arrows) and press each side directly together, without twisting, to connect.
- Plug in the remaining connectors. Align the internal notch and pins (and external arrows) and press each side directly together, without twisting, to connect.
- Start with the display connector. Align the internal notch and pins (and external arrows) and press each side directly together, without twisting, to connect. Then, twist each metal portion together to fully seat the connection.
- Replace any snipped zip ties and trim them to be flush and smooth.
- Check that all cables are free from any moving parts. Rotate the handlebar to ensure it can move freely and that there is enough cable slack.
- Reinstall the controller compartment cover. Place the cover in position and install the four mounting bolts. Tighten the bolts with a Phillips head screwdriver. Do not overtighten.
- Reinstall the battery, test the bike fully before riding, and ride Rad!