2018 RadRover Controller Replacement Guide
The controller, known as the “brain” of the ebike, connects and controls all of the other electrical components. It can be replaced in the unlikely event it is damaged or determined to be non-functional by Rad Power Bikes Product Support.
Watch the video and follow the steps below to replace the controller on your bike, if needed. This guide uses a 2018 RadRover, but the steps will be the same for most RadRover and RadRover Step-Thru models.
Tools needed:
- Flat side cutters
- Phillips head screwdriver
- A few replacement zip ties
- A new controller from Rad Power Bikes
The hardware or tools needed for your model may be slightly different. Make sure you use the correct tool and size for your bolts. Always make sure the tool is pressed firmly into the bolt head and turned slowly to prevent damaging the bolt.
Remove the old controller
- Get the bike ready for maintenance. Turn off the bike, remove the battery, and press and hold MODE to discharge remaining power.
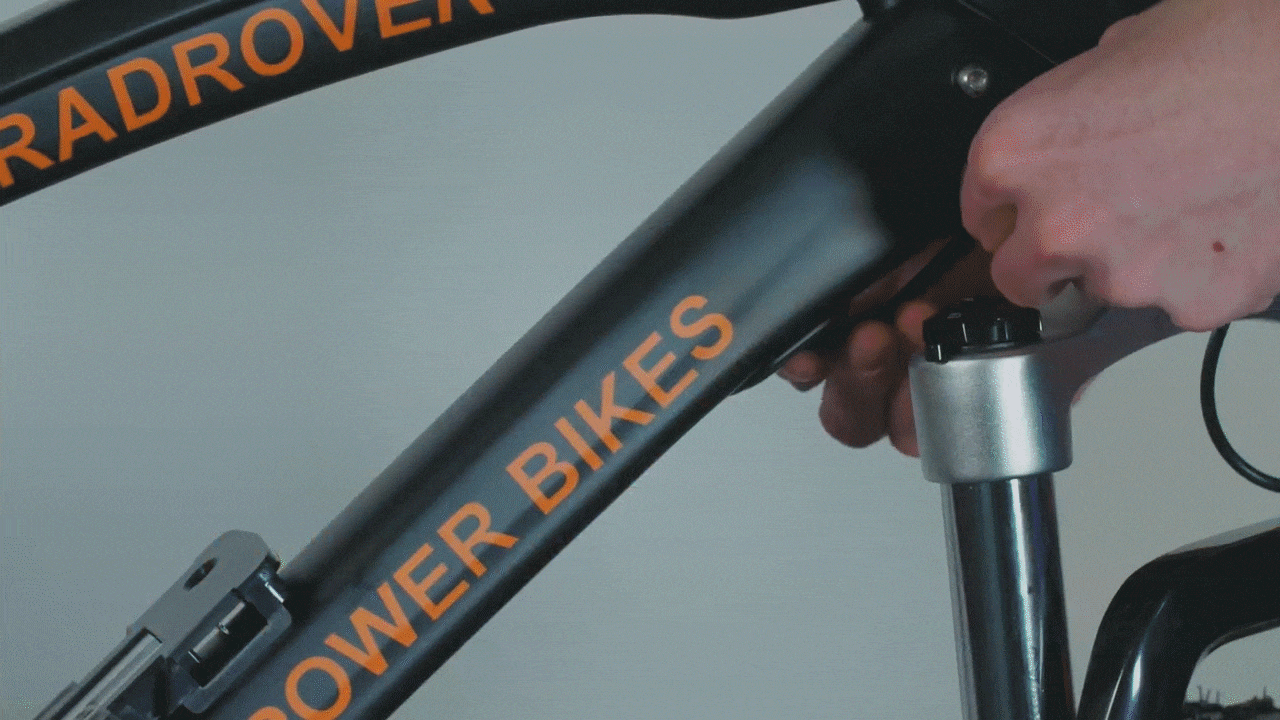
- Locate the controller on the frame. The controller is the black rectangular component mounted near the seat tube.
- Unplug all connectors from the controller. Snip zip ties as needed to access connectors. Use caution to not snip the cable housing.
- Access and unplug the wiring harness connector, using caution to not unplug the connector while inside the downtube. Turn the handlebar to the side and gently push the wiring harness cable into the upper cable opening of the downtube. At the bottom of the downtube, gently pull the wiring harness cable until the connector is out of the downtube. Pull each side of the connector directly apart, without twisting, to unplug.
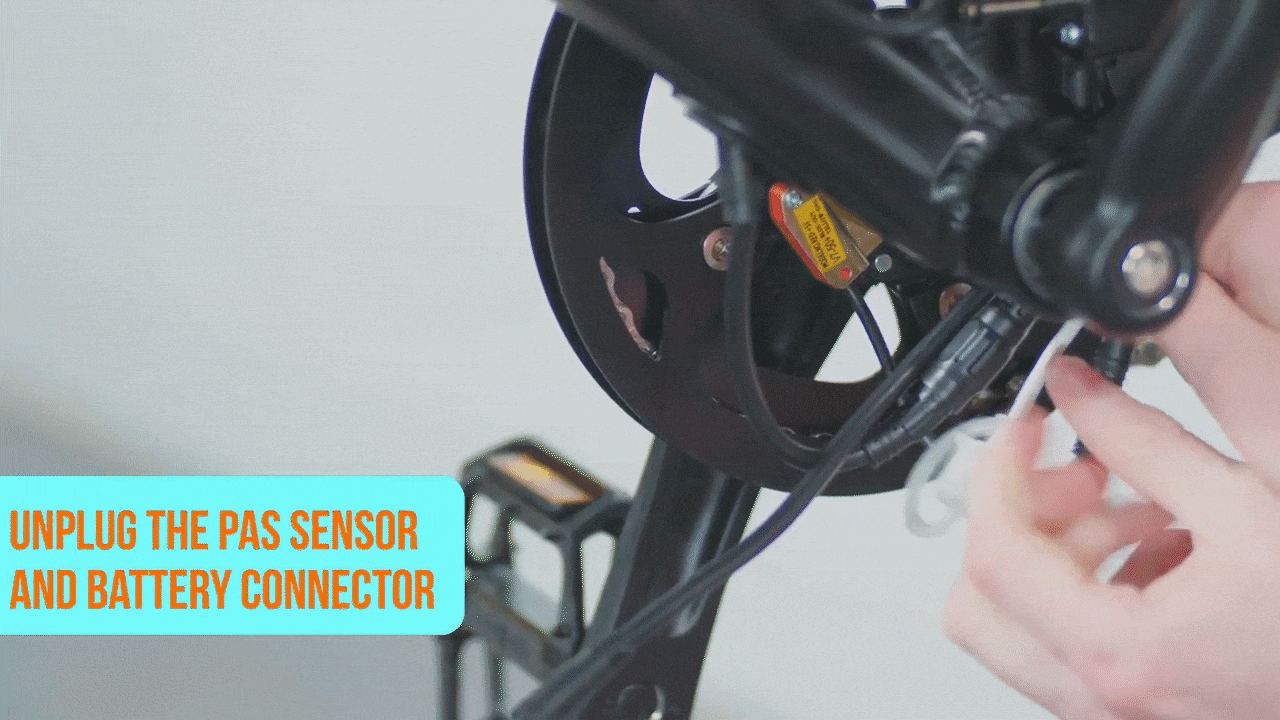
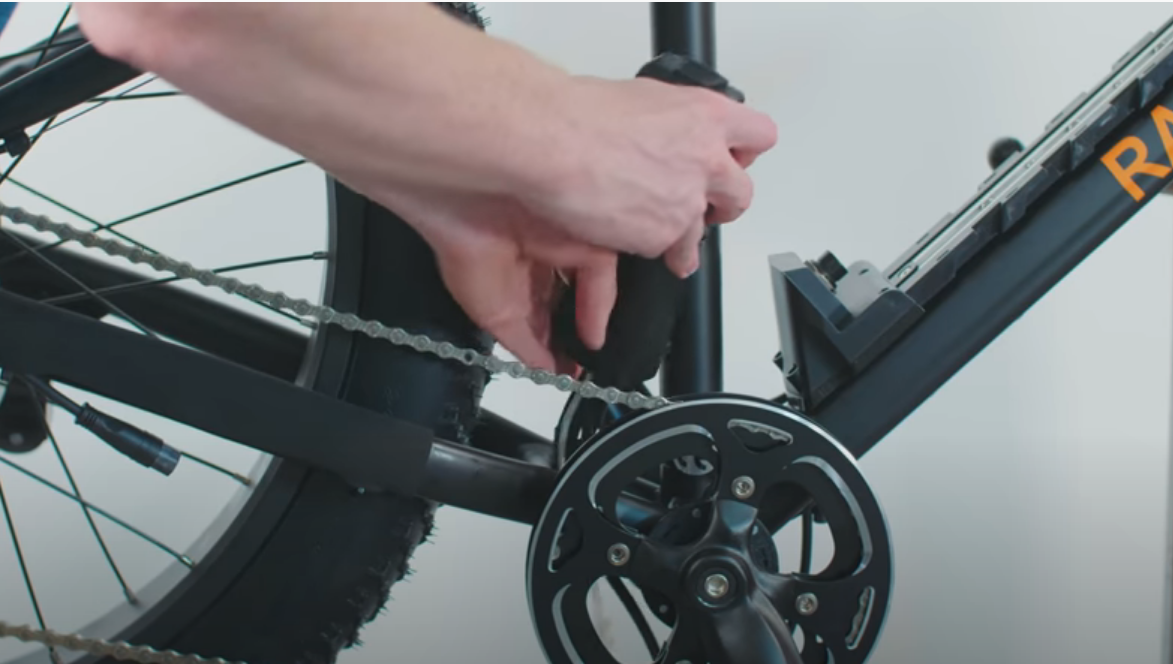
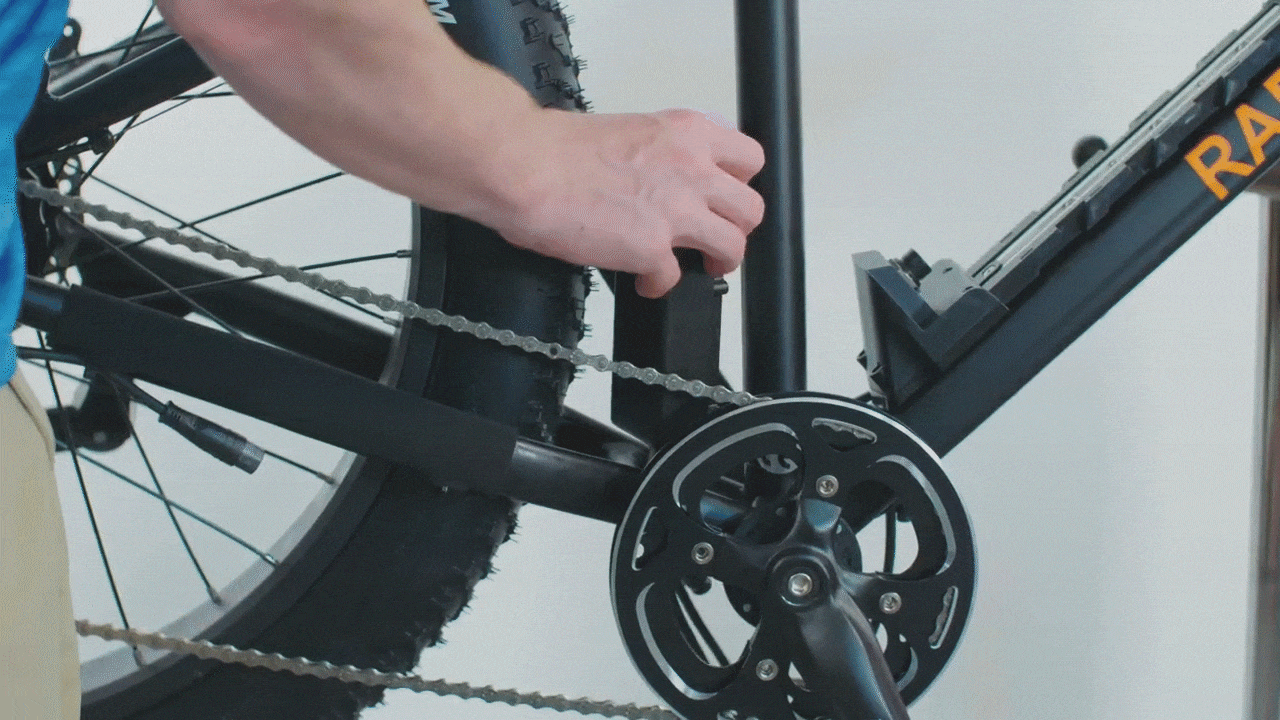
- Unplug the PAS sensor connector and battery connector. Locate the connectors near the bottom bracket. Pull each side of each connector directly apart, without twisting, to unplug.
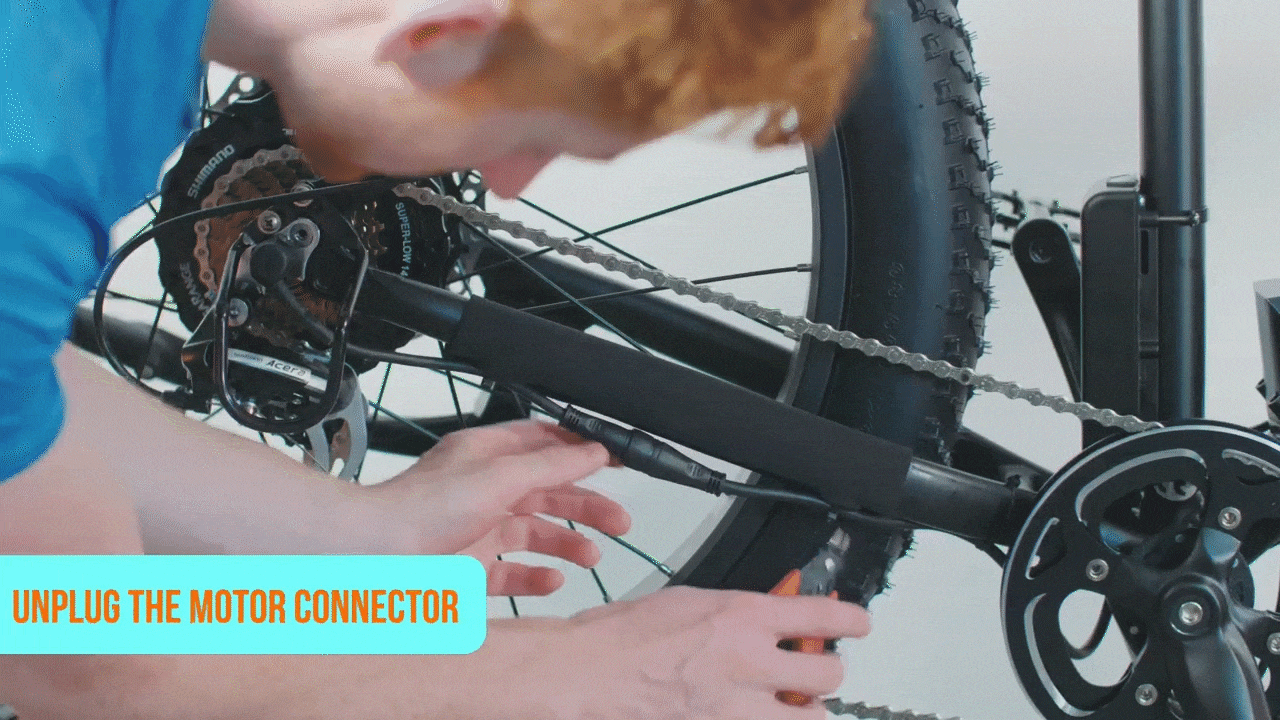
- Unplug the motor connector. Trace the cable from the motor on the rear wheel to the connector. Snip zip ties as needed, and pull each side of the connector directly apart, without twisting, to unplug.
- Unplug the taillight connector (for 2019 and newer RadRover models only). Trace the cable coming from the taillight connector to the controller. Pull each side of the connector directly apart, without twisting, to unplug.
- Access and unplug the wiring harness connector, using caution to not unplug the connector while inside the downtube. Turn the handlebar to the side and gently push the wiring harness cable into the upper cable opening of the downtube. At the bottom of the downtube, gently pull the wiring harness cable until the connector is out of the downtube. Pull each side of the connector directly apart, without twisting, to unplug.
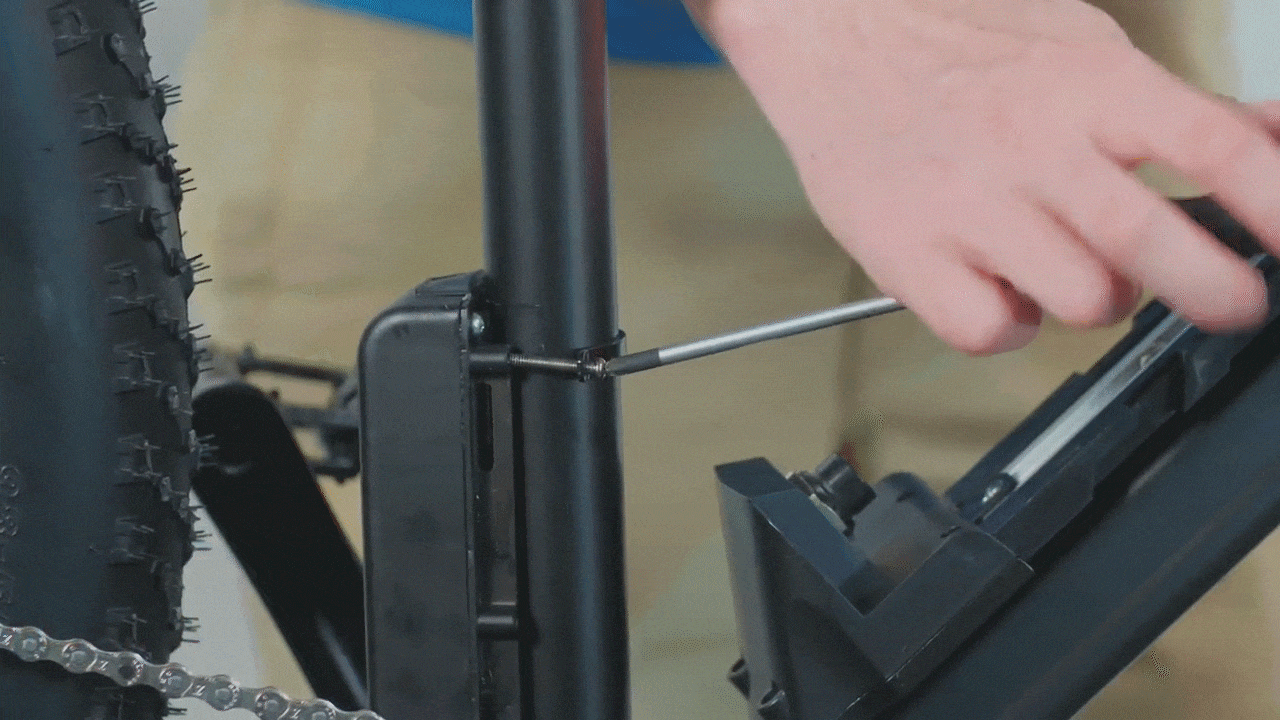
- Remove the old controller. Use a Phillips head screwdriver to remove the controller mounting bolts and both brackets. Set the bolts and brackets aside.
 Continue to the next section to install the new controller.
Install the new controller
- Locate the new controller and orient it so the side with multiple connector ends is pointed downward. Pass the connector ends through the open part of the frame so they are in place for installation.
- Secure the controller to the frame. Place the controller in position on the seat tube and reinstall the brackets and four bolts. Use a Phillips head screwdriver to tighten the four bolts evenly and securely.
- Reconnect the wiring harness connector, PAS sensor connector, battery connector, motor connector, and taillight connector (for 2019 and newer RadRover models only). Locate the matching connector ends and line up the internal notches and pins, and external arrows. Press each side directly together, without twisting, to reconnect.
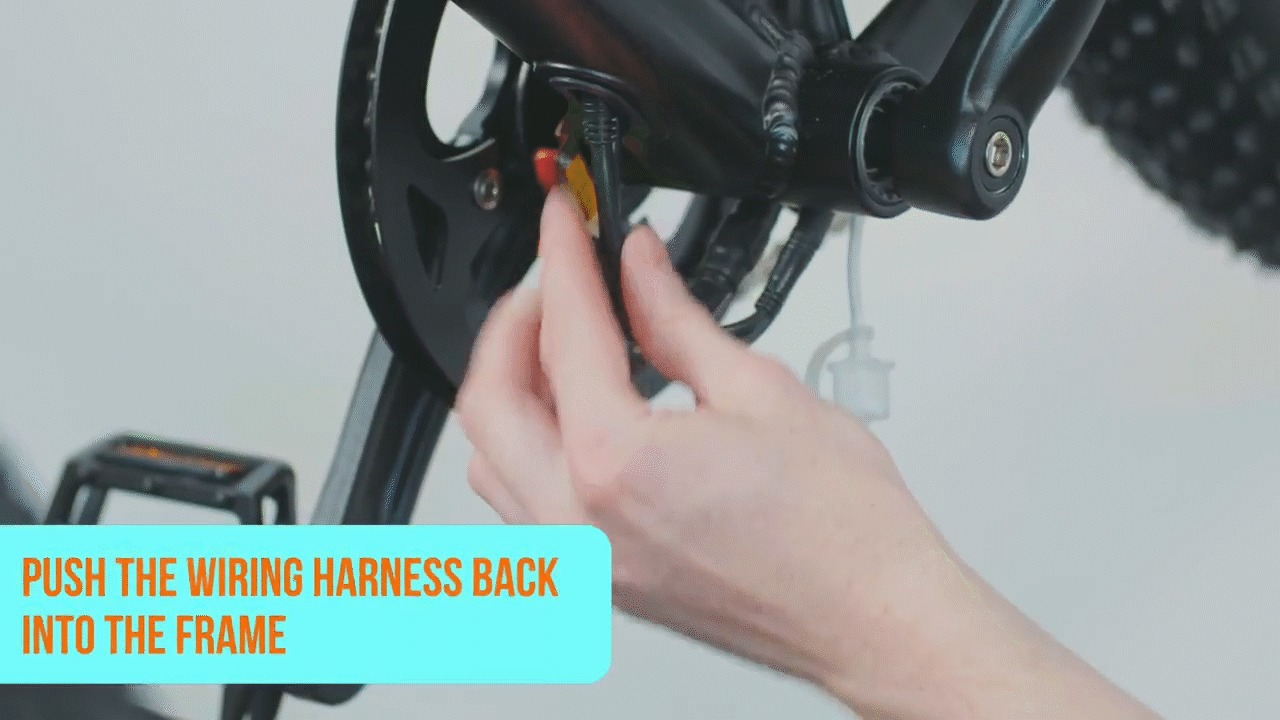
- Place the wiring harness connector into the downtube. Double-check that the wiring harness connector is secure, and gently insert it into the lower cable opening of the downtube. Turn the handlebar to the center of the bike to help move the wiring harness cable up through the downtube.
- Replace zip ties. Secure all cables with zip ties so the cables are out of the way of moving parts. Trim the zip ties to be flush and smooth.
- Reinstall the battery and test the bike fully before riding.