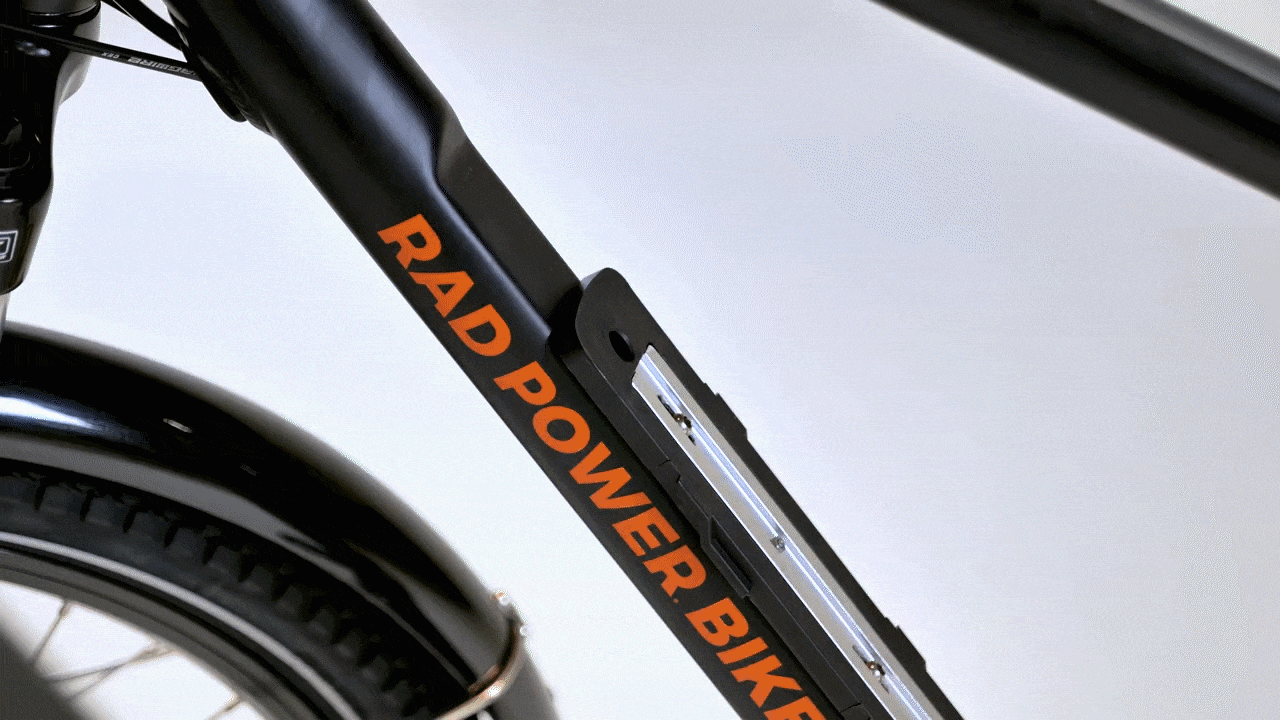
Premium headlight installation guide
The premium headlight accessory upgrade is a sleek way to personalize your bike and make sure you're seen while riding Rad.
Watch the video and follow the steps below to install the premium headlight on your bike. This guide uses a RadCity 4 but the steps will be the same for most models.
Tools needed:
- 3 mm Allen wrench
- 5 mm Allen wrench
- 8 mm wrench
- 10 mm wrench
- Torque wrench with a 5 mm Allen bit
- Phillips head screwdriver (optional; to remove the rock guard)
Hardware may vary (bolt head style) and/or require different tools. Use the appropriate head size and type of tool for your bolts. Ensure the tool is pressed firmly into the bolt head and turn slowly to prevent stripping.
Remove the Stock Headlight
- Get the bike ready for installation. Turn off the bike, remove the battery, and press and hold MODE (or the power button) to discharge remaining power.
- Locate and unplug the headlight connector. Trace the cable from the headlight to the connector. Pull each side of the connector directly apart, without twisting, to unplug.

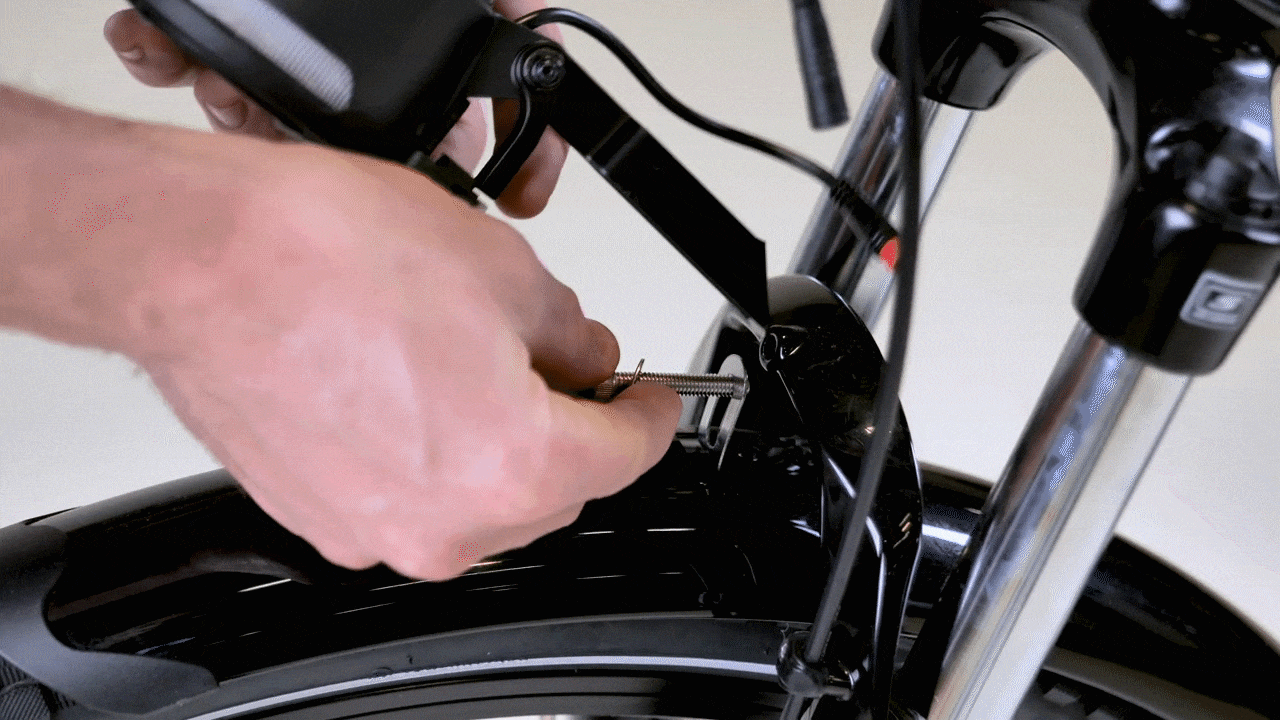
- Remove the stock headlight and headlight mounting hardware from the front fork.
- Use a 5 mm Allen wrench and a 10 mm wrench to remove the headlight mounting hardware. Set the hardware aside; it will be used to install the premium headlight.
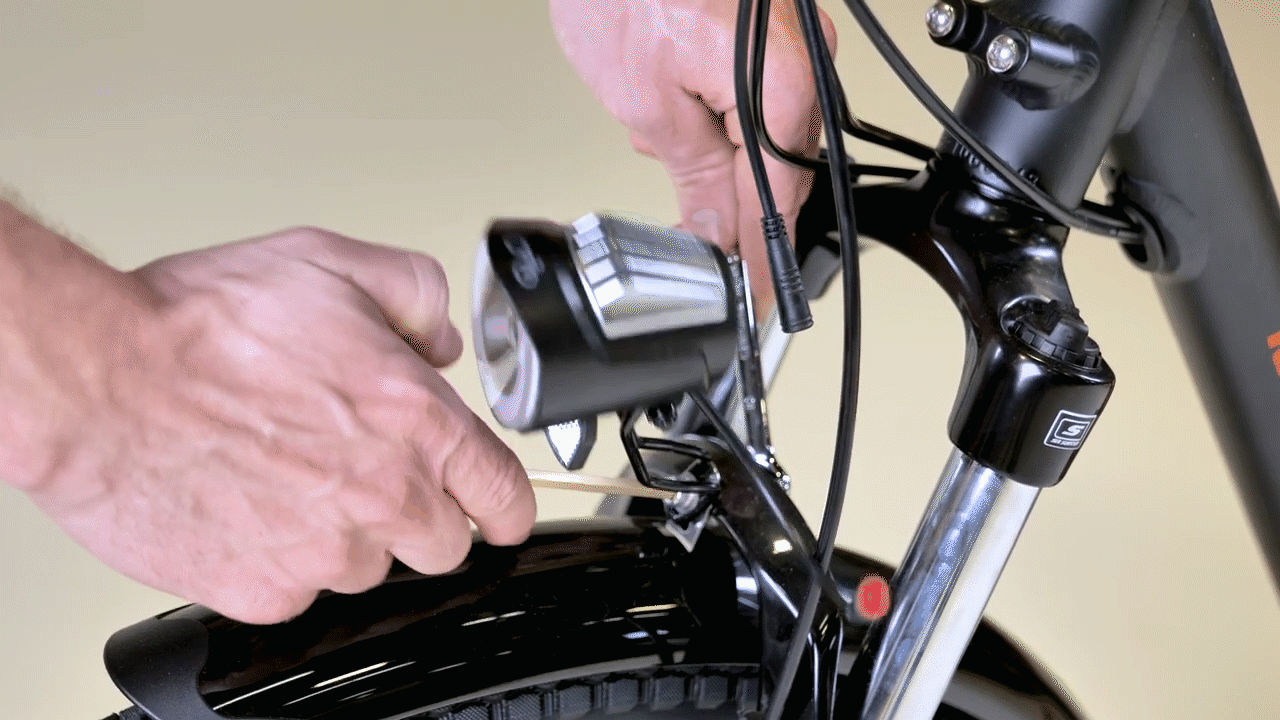
- Store the old headlight for later use, or recycle according to local rules.
- Use a 5 mm Allen wrench and a 10 mm wrench to remove the headlight mounting hardware. Set the hardware aside; it will be used to install the premium headlight.
Continue to the next section to install the premium headlight.
Install the Premium Headlight
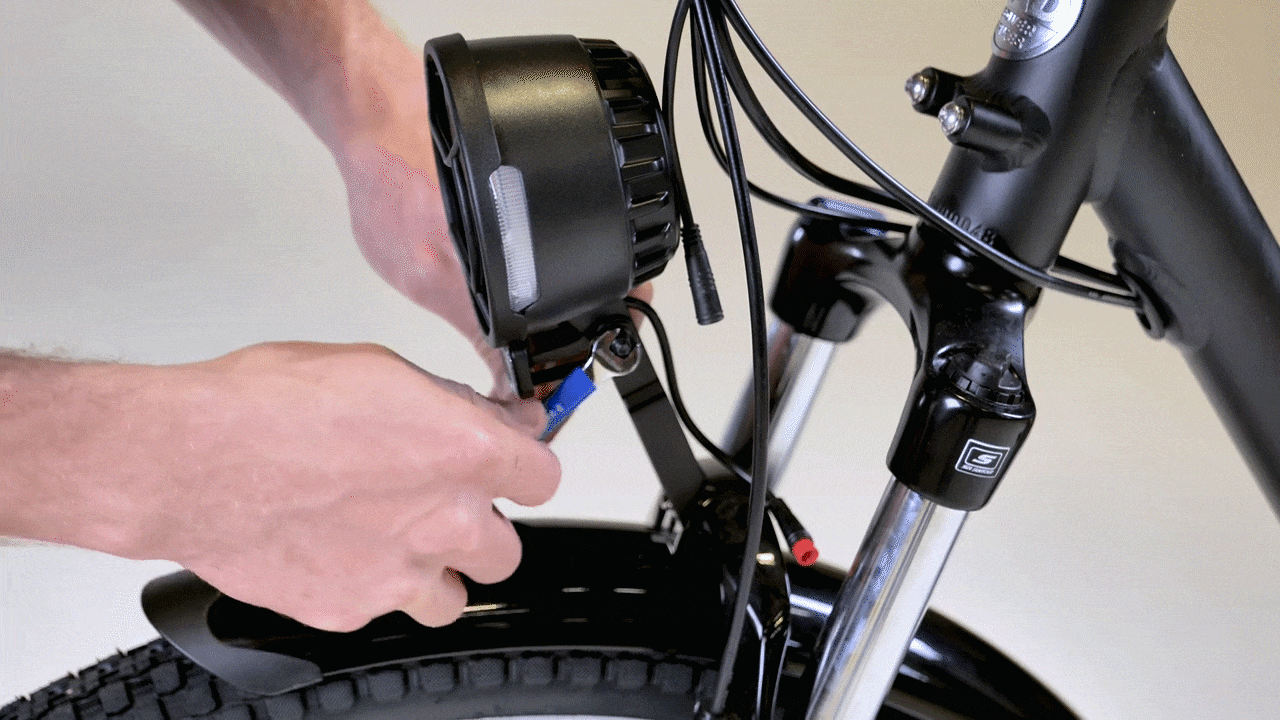
- Locate the premium headlight and the mounting hardware from the old headlight.
- Optional: Remove the rock guard from the front of the premium headlight. If you want to keep the rock guard installed, continue to the next step.
- Tilt the headlight away from the mount to access the rock guard bolt.
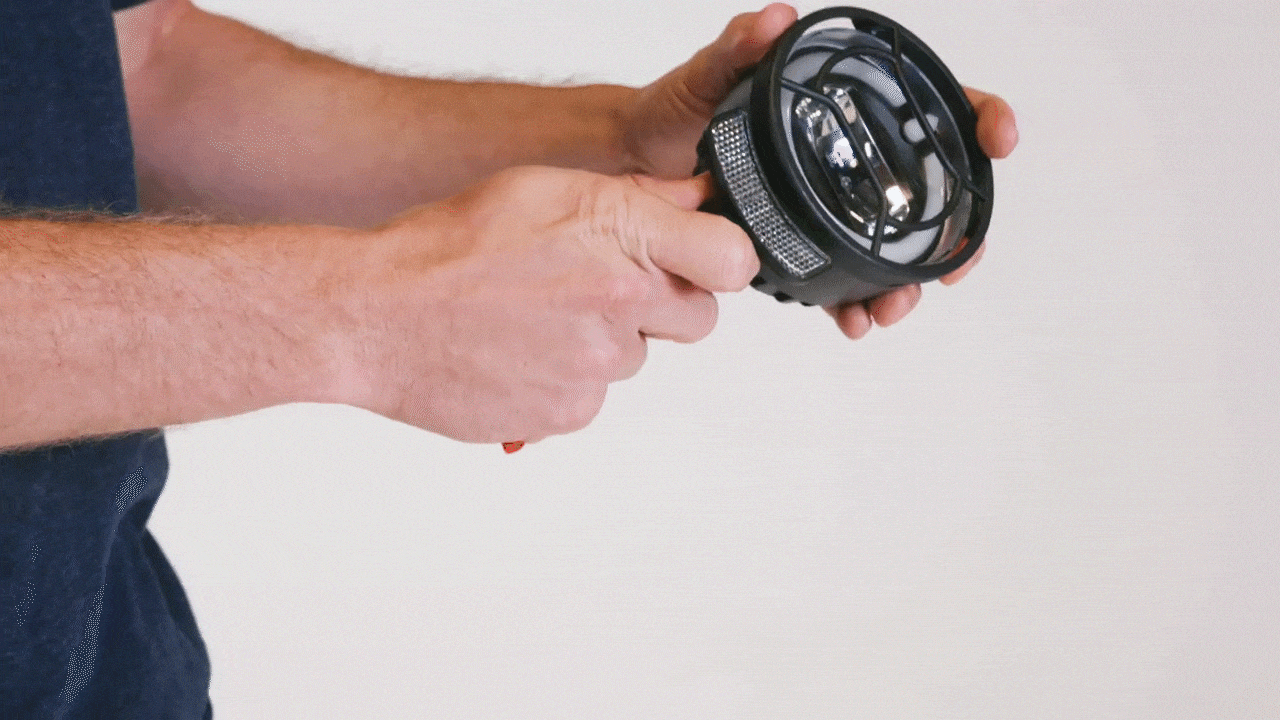
- Use a Phillips head screwdriver to remove the rock guard bolt.
- Gently remove the rock guard and store it for future use, or recycle according to local rules.

- Reinstall the bolt and tighten securely. Do not overtighten.
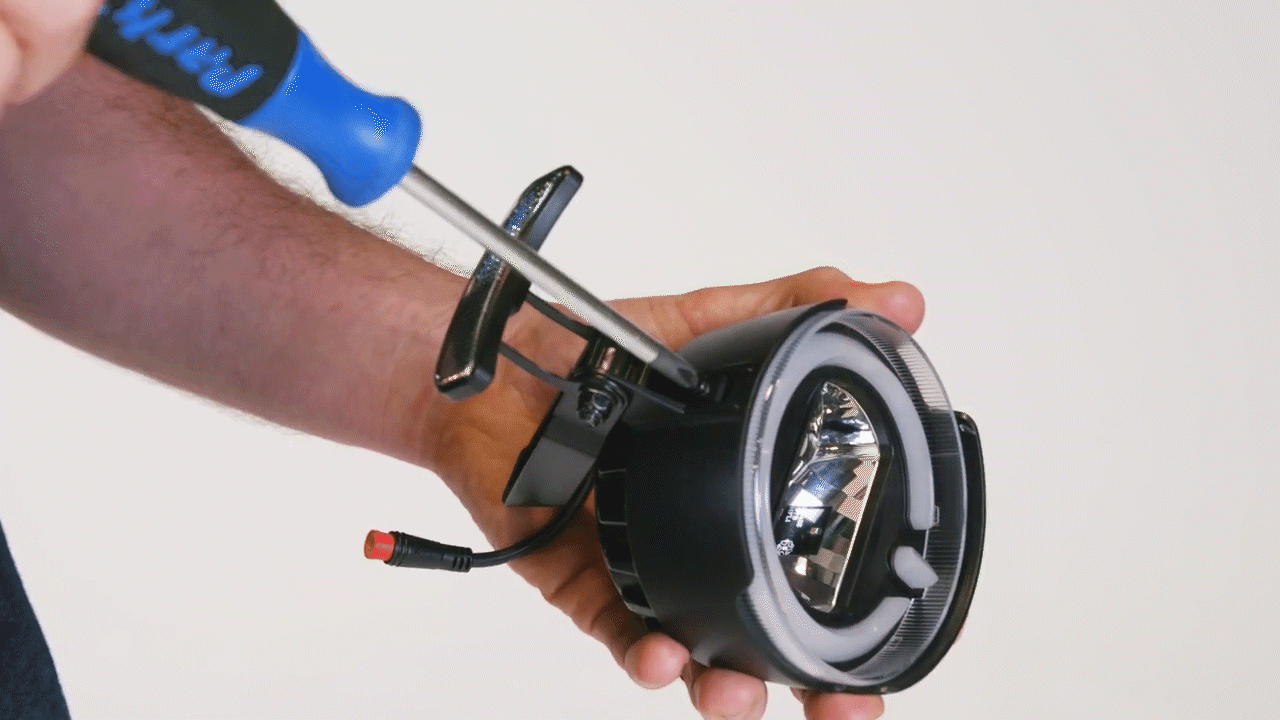
- Tilt the headlight away from the mount to access the rock guard bolt.
- Prepare and install the headlight mounting hardware.
- Pass the bolt through a washer, the fender mounting point (if installed), the headlight mount, and the fork. Pass the second washer over the bolt end on the other side of the fork, and thread on the locknut by hand.
- Use a 5 mm Allen wrench and a 10 mm wrench to tighten the bolt securely. Torque the bolt to 6 Nm.
- Ensure the fender (if installed) is centered and is clear of the tire before riding. Adjust by hand if needed.
- Pass the bolt through a washer, the fender mounting point (if installed), the headlight mount, and the fork. Pass the second washer over the bolt end on the other side of the fork, and thread on the locknut by hand.
- Adjust the headlight angle downward so it won’t blind oncoming traffic. If needed, use a 3 mm Allen wrench and an 8 mm wrench to loosen the headlight angle adjustment bolt, then adjust the headlight downward, and tighten the headlight angle adjustment bolt. Do not overtighten.
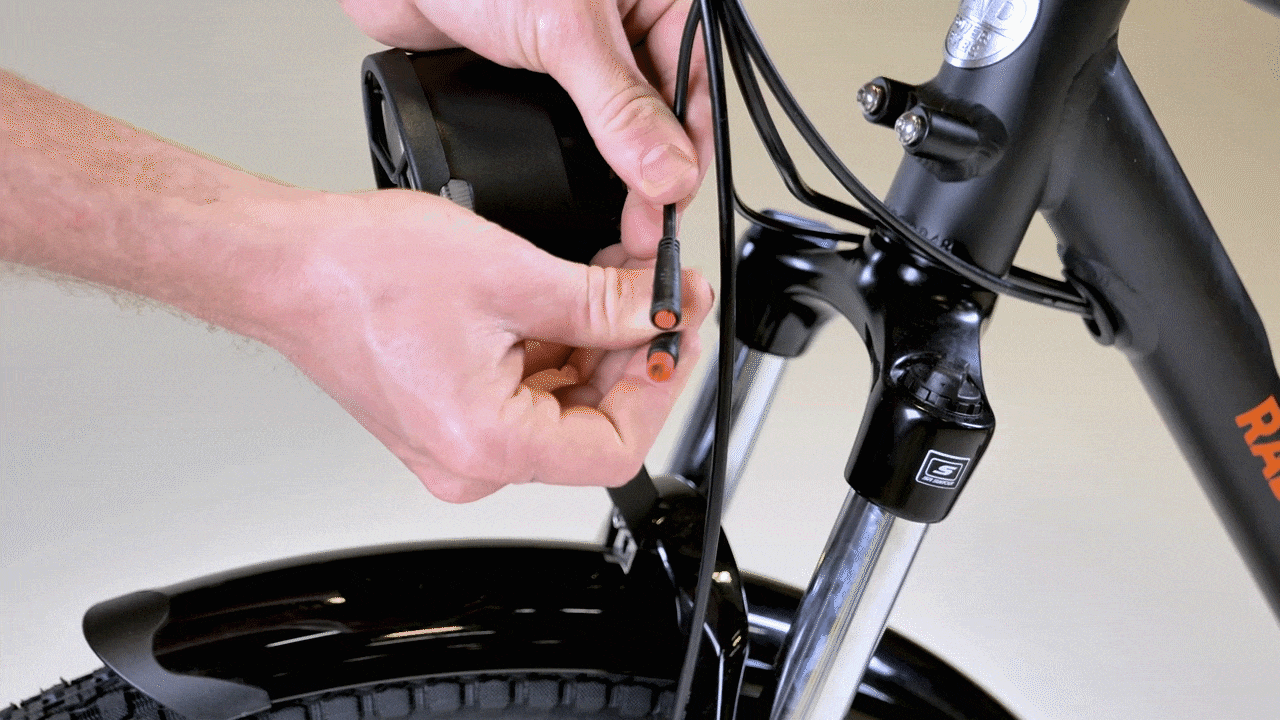
- Plug in the headlight. Locate the connector ends. Line up the internal notch and pins (and external arrows) and press directly together, without twisting, to connect.
- Reinstall the battery, test the bike fully before riding, and ride Rad!