Error 21 troubleshooting guide
An Error 21 on the LCD display often indicates a problem with the power going from the battery to the controller. On an LED display, Pedal Assist Level "0" will flash to display an Error 21.
The error can appear if the bike has been pushed to work harder than recommended by Rad Power Bikes for optimal performance (such as throttling up a large hill or exceeding weight capacity). Click HERE to learn more about riding on hilly terrain and carrying cargo.
This error can often be cleared by turning the bike off and on again. If the issue continues once the bike is turned on, follow the steps below to troubleshoot the error so you can get back to riding Rad. This guide uses a 2019 RadCity Step-Thru, but the steps will be the same for most models.
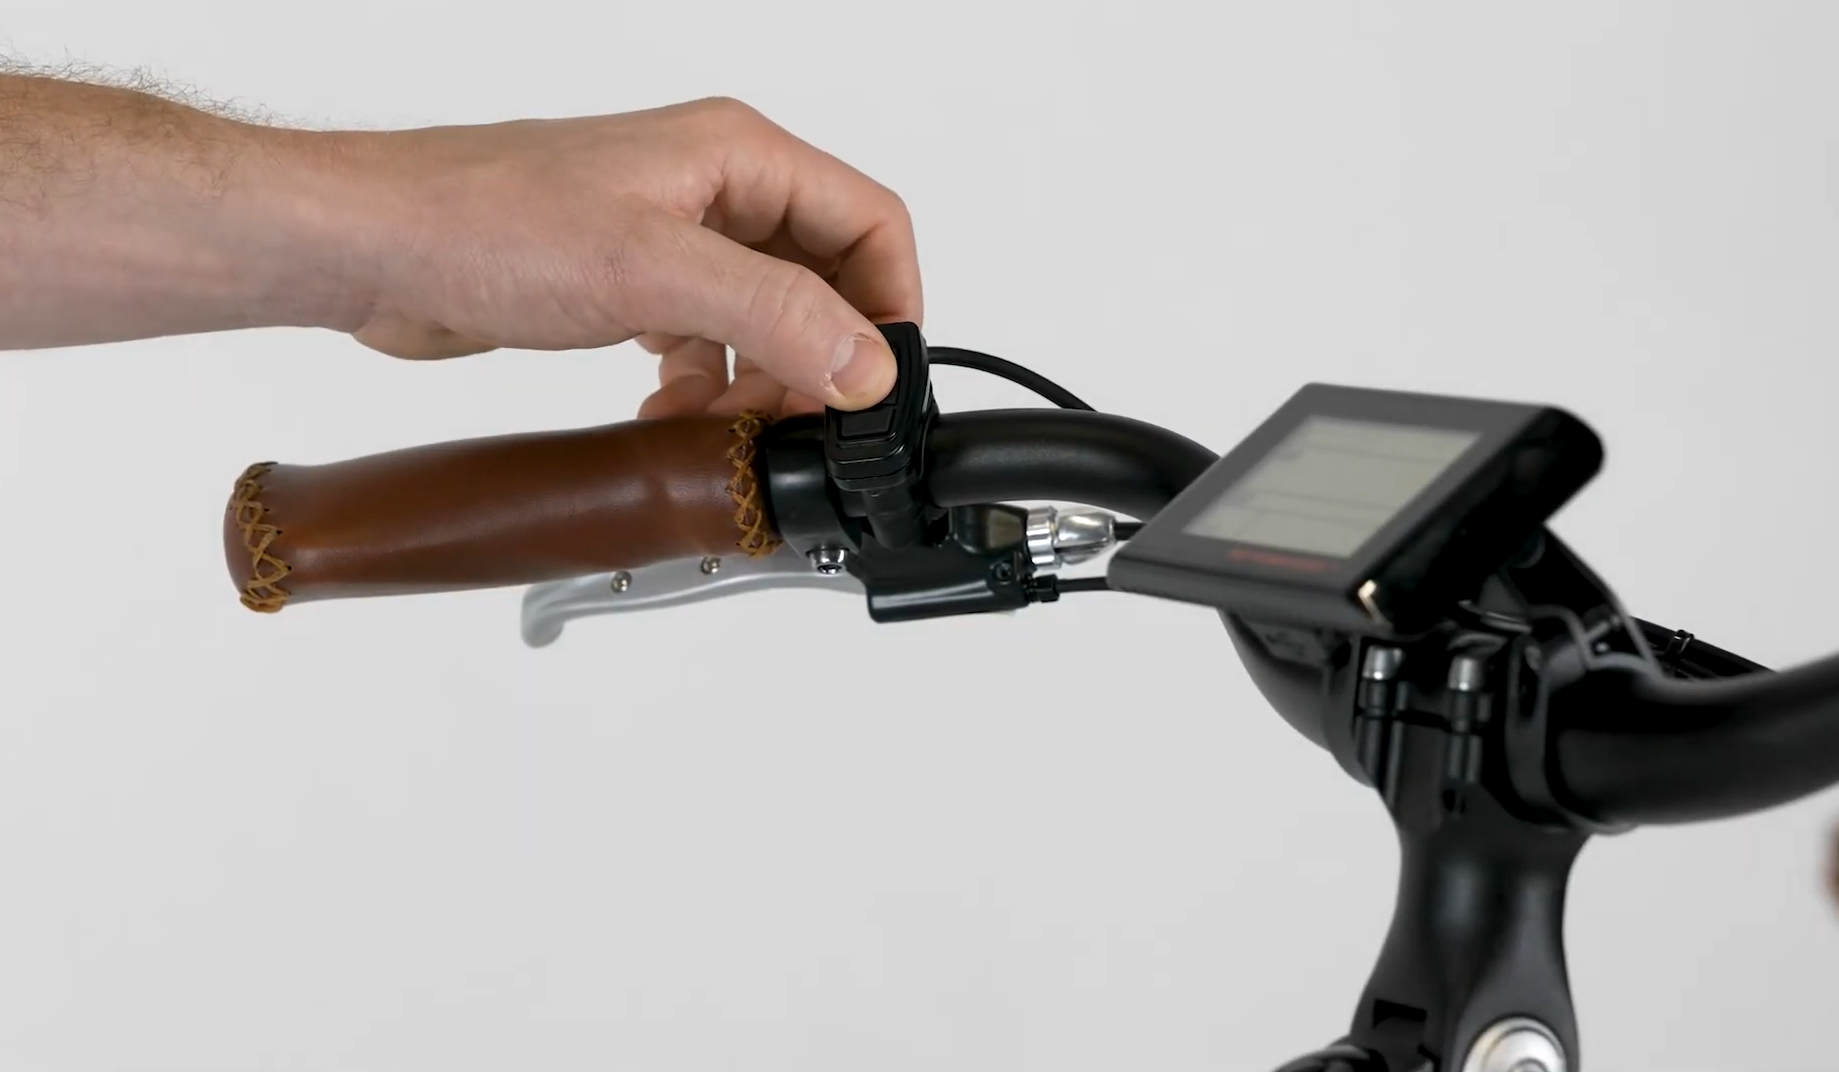
- Get the bike ready for maintenance. Turn off the bike, remove the battery, and press MODE or the power button to discharge remaining power.
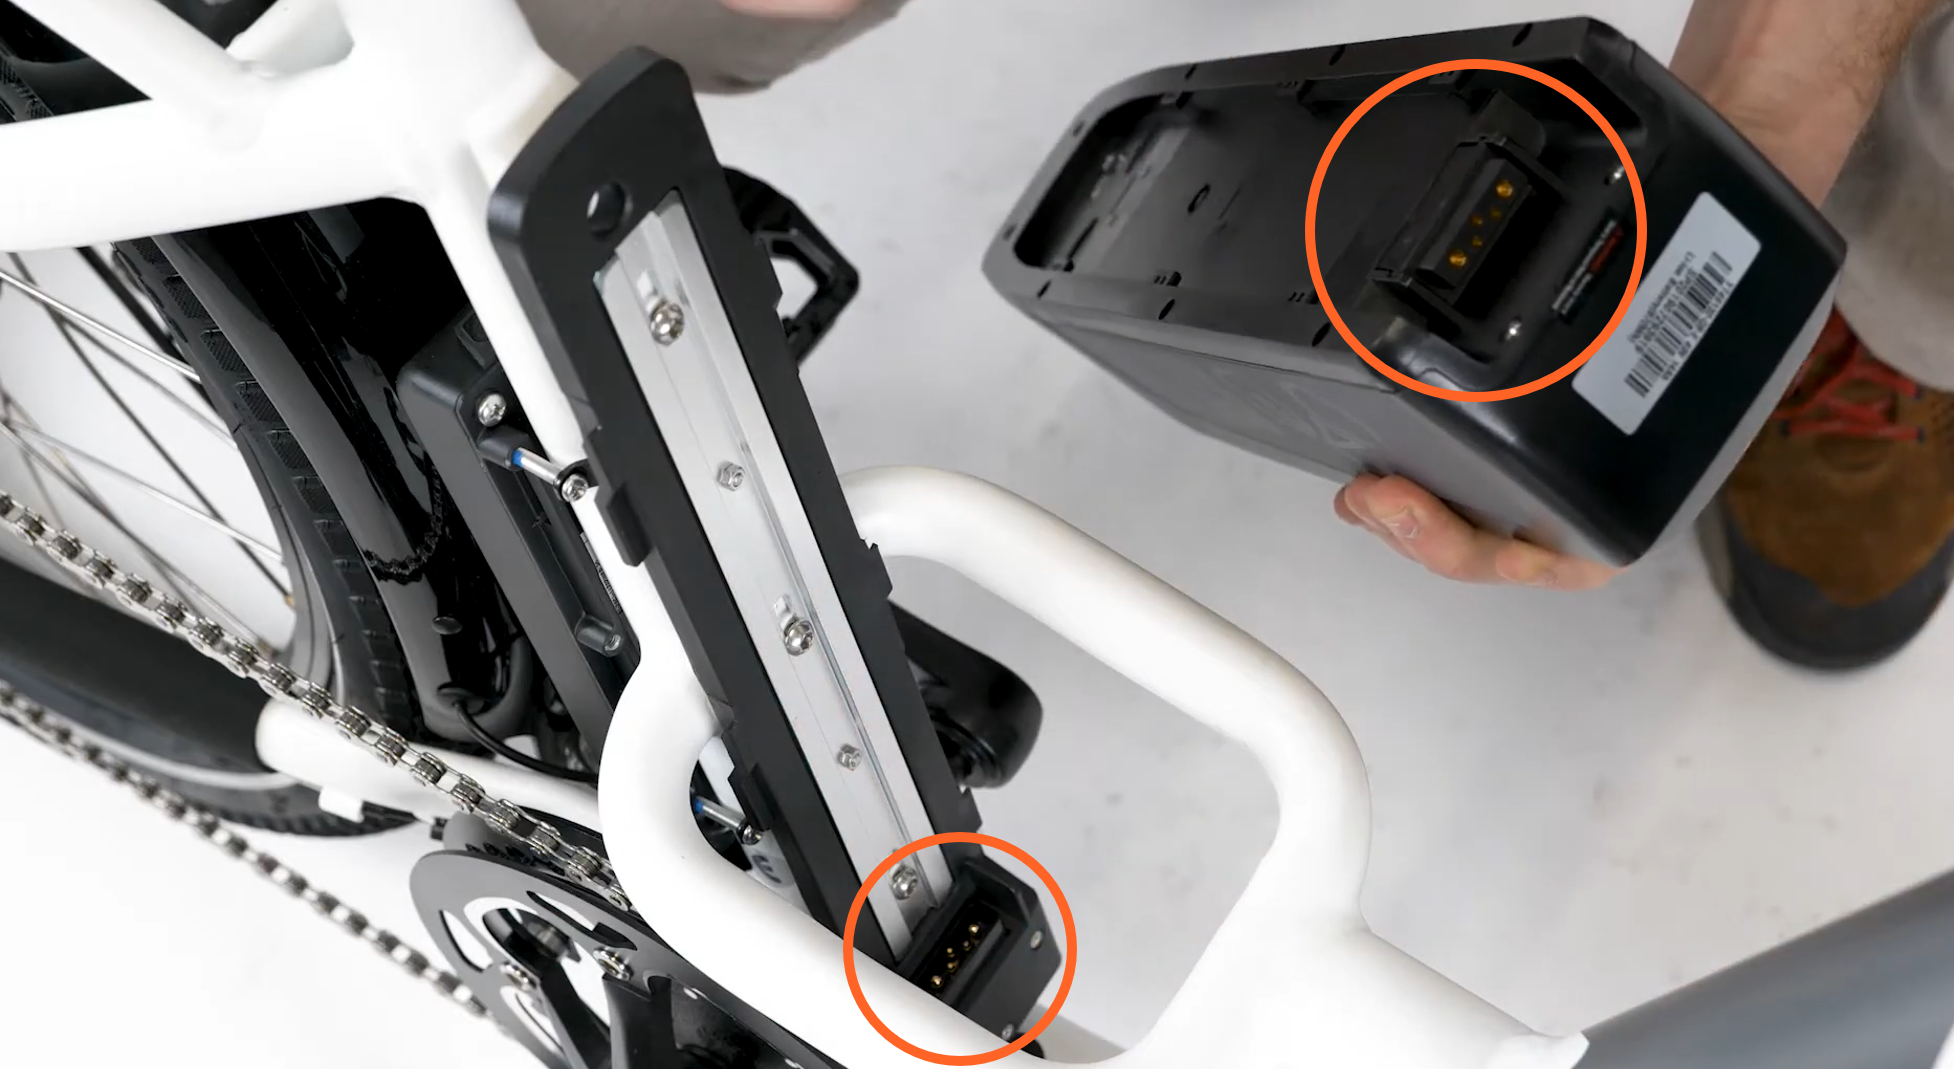
- Check the battery and battery mounting tray.
- Inspect the battery terminal contacts and battery mounting tray. The contacts must be clean and dry. If they are wet, dirty, or damaged, contact Rad Power Bikes Product Support for more help.
- Check if the issue is resolved. Reinstall the battery and turn on the bike. If Error 21 appears, remove the battery and press and hold MODE or the power button to discharge remaining power, then continue to the next step.
- Inspect the battery terminal contacts and battery mounting tray. The contacts must be clean and dry. If they are wet, dirty, or damaged, contact Rad Power Bikes Product Support for more help.
- Check the battery connector.
- Locate the battery connector. Trace the cable from the battery mounting tray to the connector. The connector is the largest connector by the bottom bracket and is black inside with two large prongs.
- Unplug the battery connector. Snip zip ties as needed to access the connector. Pull each side of the connector directly apart, without twisting, to unplug.
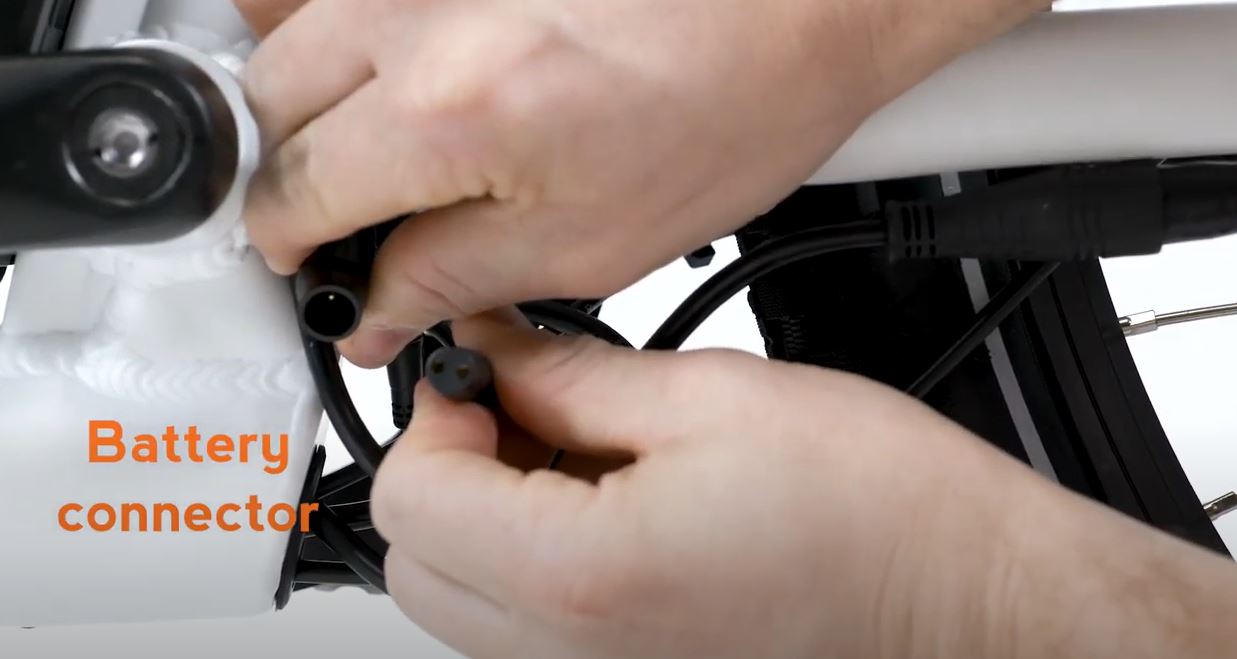
- Inspect the inside of the connector. The inside must be clean and dry. If the inside is wet, dirty, or damaged, contact Rad Power Bikes Product Support for more help.
- Plug in battery connector. If the connector looks normal, line up the internal notch and pins (and the flat side) and press directly together, without twisting, to reconnect.
- Replace the snipped zip tie and trim it to be flush and smooth.
- Check if the issue is resolved. Reinstall the battery and turn on the bike. If Error 21 appears, remove the battery and press and hold MODE or the power button to discharge remaining power, then continue to the next step.
- Locate the battery connector. Trace the cable from the battery mounting tray to the connector. The connector is the largest connector by the bottom bracket and is black inside with two large prongs.
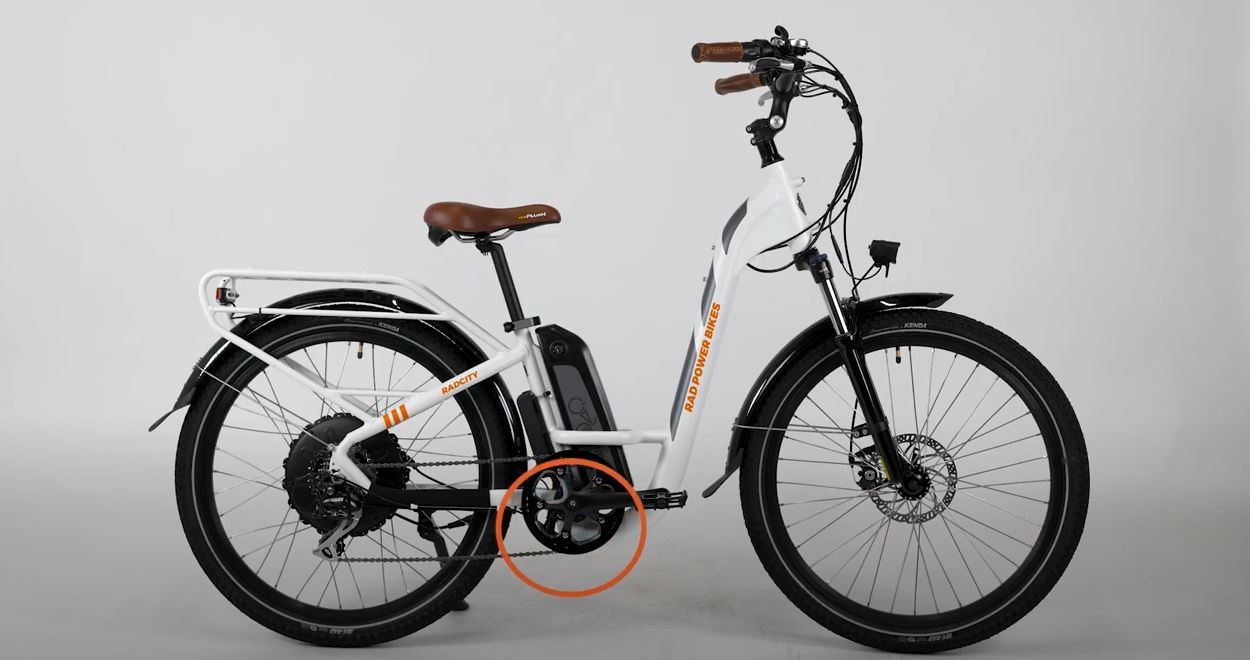
- Check the motor connector.
- Locate the motor connector. Trace the cable from the motor to the connector. The connector is large, black, and located near the rear wheel.
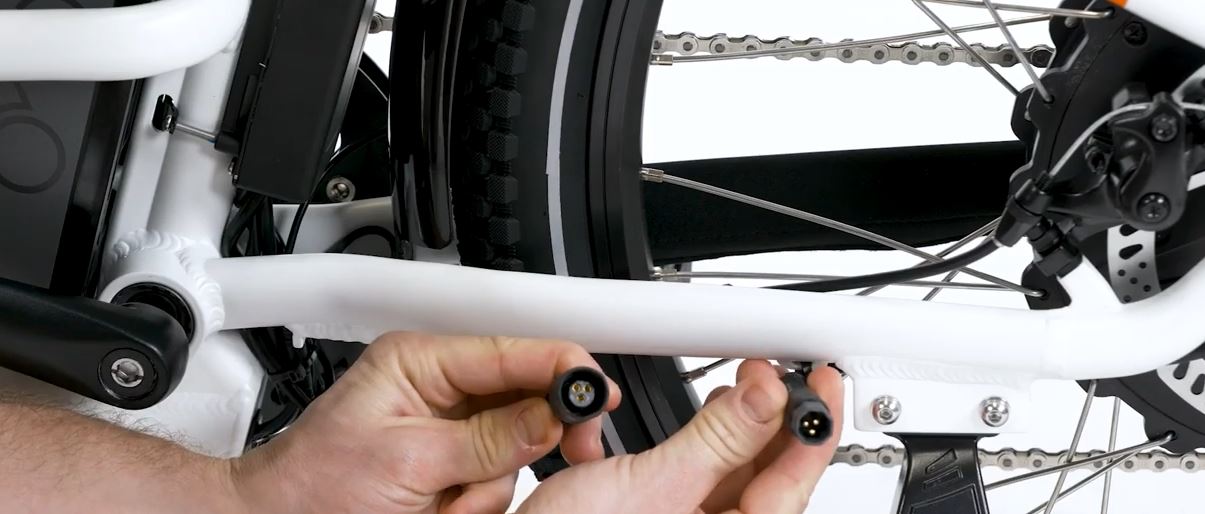
- Unplug the motor connector. Snip zip ties as needed. Pull each side of the connector directly apart, without twisting, to unplug.
- Inspect the inside of the connector. The inside must be clean and dry. If the inside is wet, dirty, or damaged, contact Rad Power Bikes Product Support for more help.
- Plug in motor connector. If the connector looks normal, line up the internal notch and pins (and external arrows) and press directly together, without twisting, to reconnect.
- Replace the snipped zip tie and trim it to be flush and smooth.
- Check if the issue is resolved. Reinstall the battery and turn on the bike. If the error persists, contact Rad Power Bikes for more help.
- Locate the motor connector. Trace the cable from the motor to the connector. The connector is large, black, and located near the rear wheel.
- Test the bike fully and ride Rad!