Wood Panels accessory installation guide
Follow the steps below to install the wood panels accessory on a RadRunner or RadRunner Plus.
Tools needed:
- 4 mm Allen wrench
- 8 mm wrench
- Torque wrench with a 4 mm Allen bit
- The wood panels accessory kit from Rad Power Bikes
Hardware bolt head, style, and size may vary between models and require different tools. Use the appropriate head size and type of tool for your bolts. Ensure the tool is pressed firmly into the bolt head and turn slowly to prevent stripping.
- Get the bike ready for installation. Turn off the bike, remove the battery, and press and hold the MODE or power button to discharge remaining power.
- Locate the bag included in the accessory kit containing bolts, washers, and locknuts.
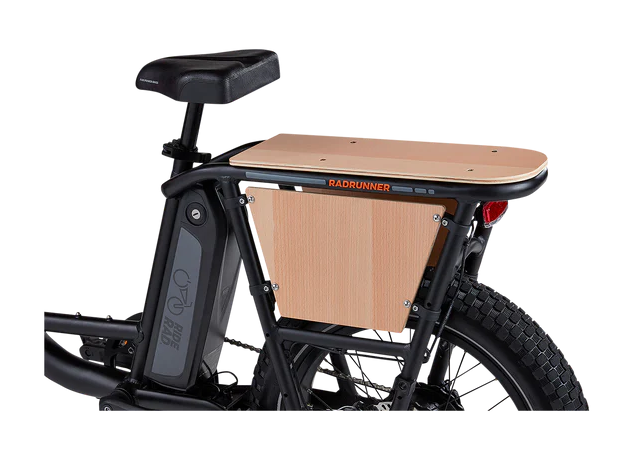
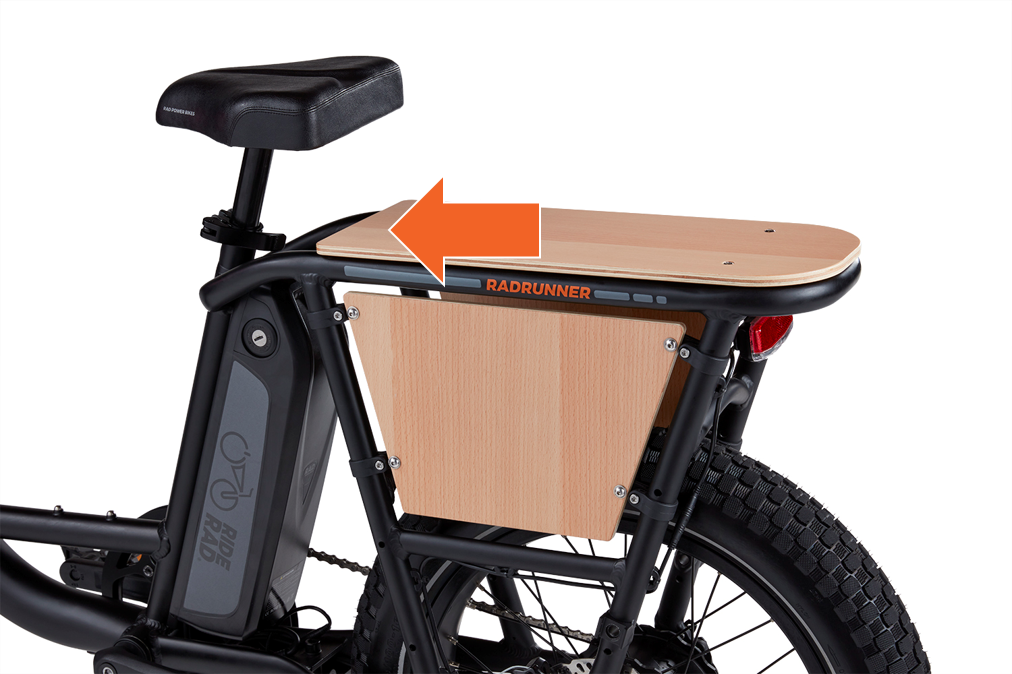
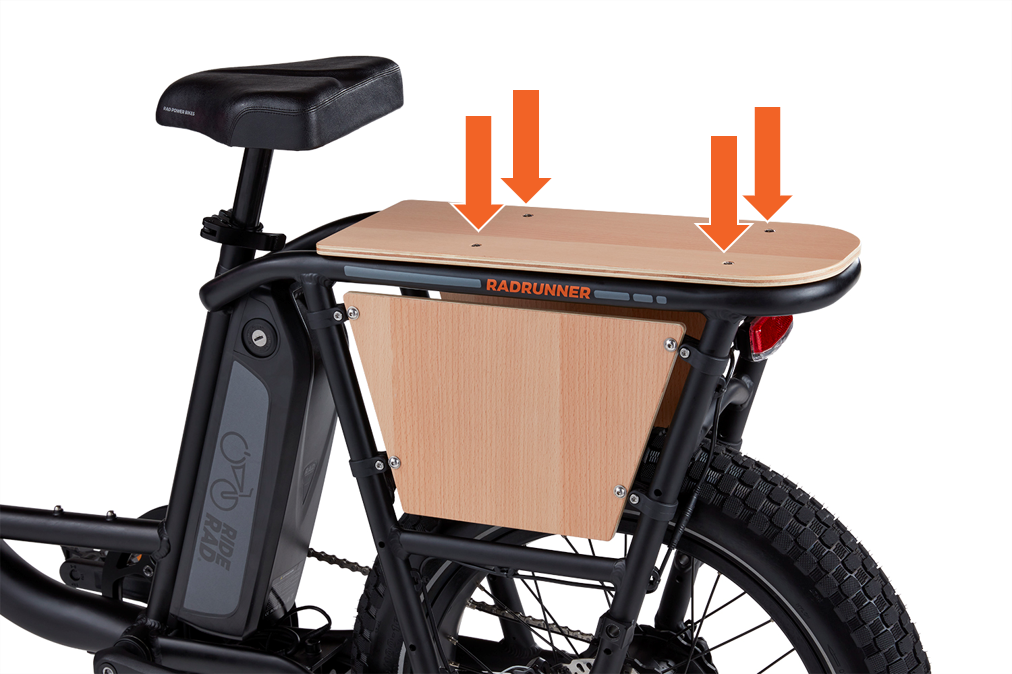
- Orient the wood deck so the flat side points toward the front of the bike and the recessed mounting holes face upward.
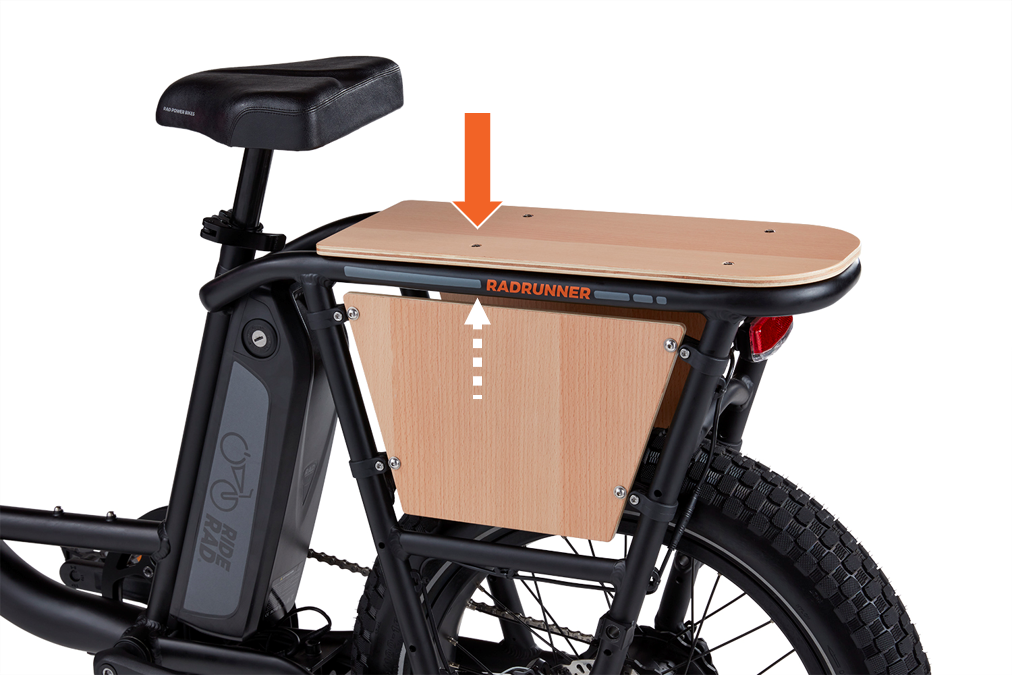
- Secure the wood deck to the rear rack.
- Place the wood deck in position on the rear rack so the mounting holes are aligned.
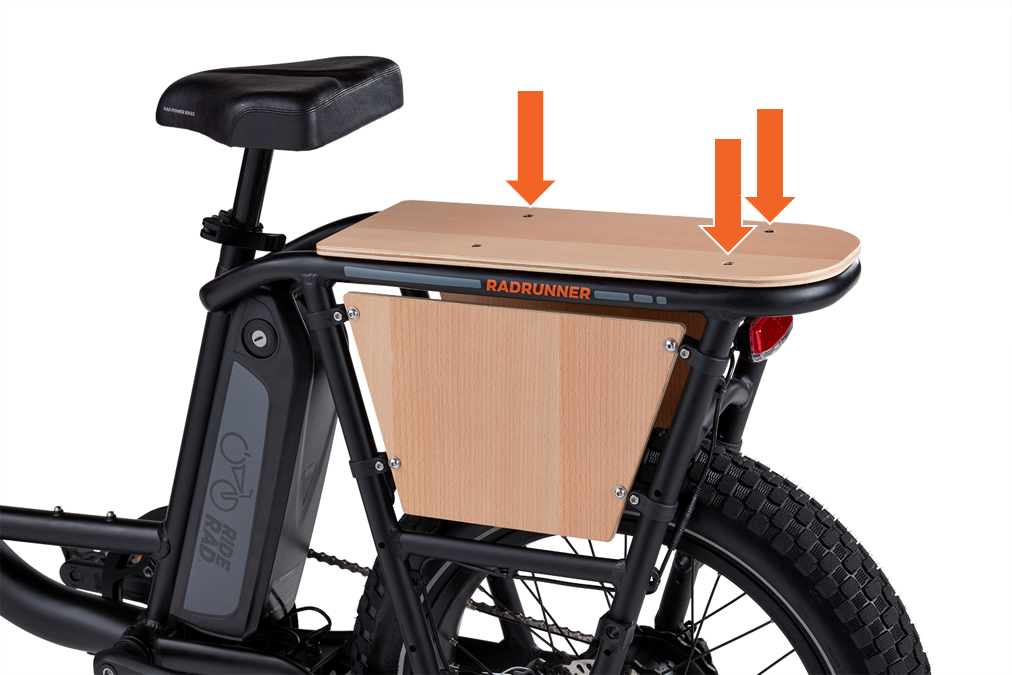
- Pass a bolt through a mounting hole on the top of the wood deck and through a mounting hole on the rack. On the underside of the wood deck, pass a flat washer onto the bolt end, then thread on a locknut by hand. Leave the hardware loosely secured for now.
- Repeat with the other 3 bolts.
- Adjust the wood deck by hand and ensure it is centered with the rear rack.
- Tighten the 4 bolts using a 4 mm Allen wrench on the bolt and an 8 mm wrench on the nut, moving in an “X” pattern to tighten the bolts evenly and securely.
Continue to the next section to install the side wood panels.
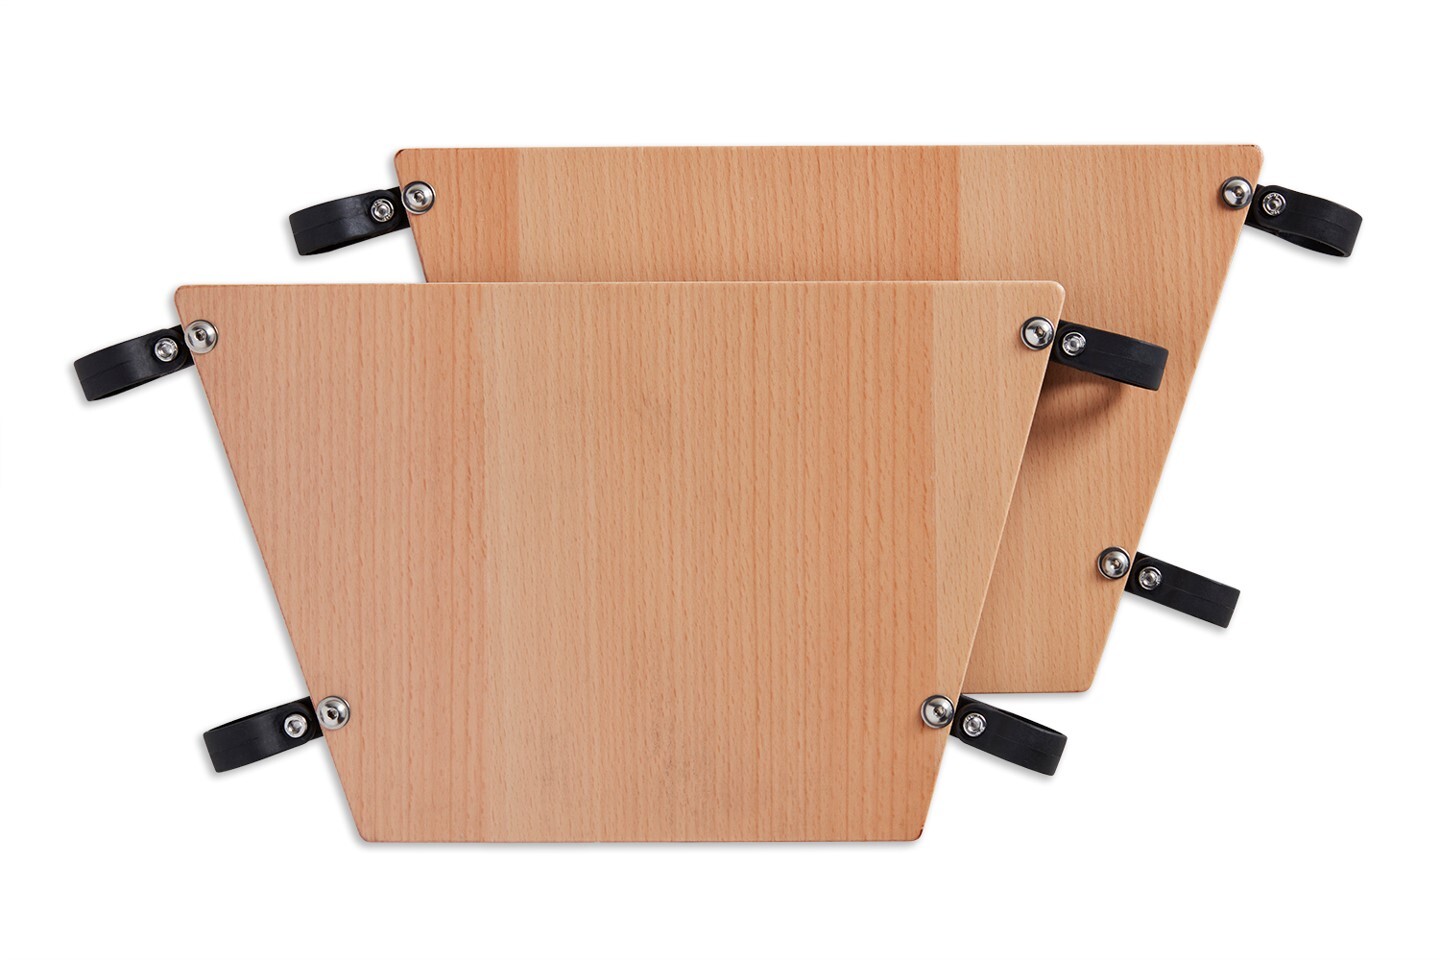
- Locate the wood panels and the bag with 8 p-clamps included in the accessory kit.
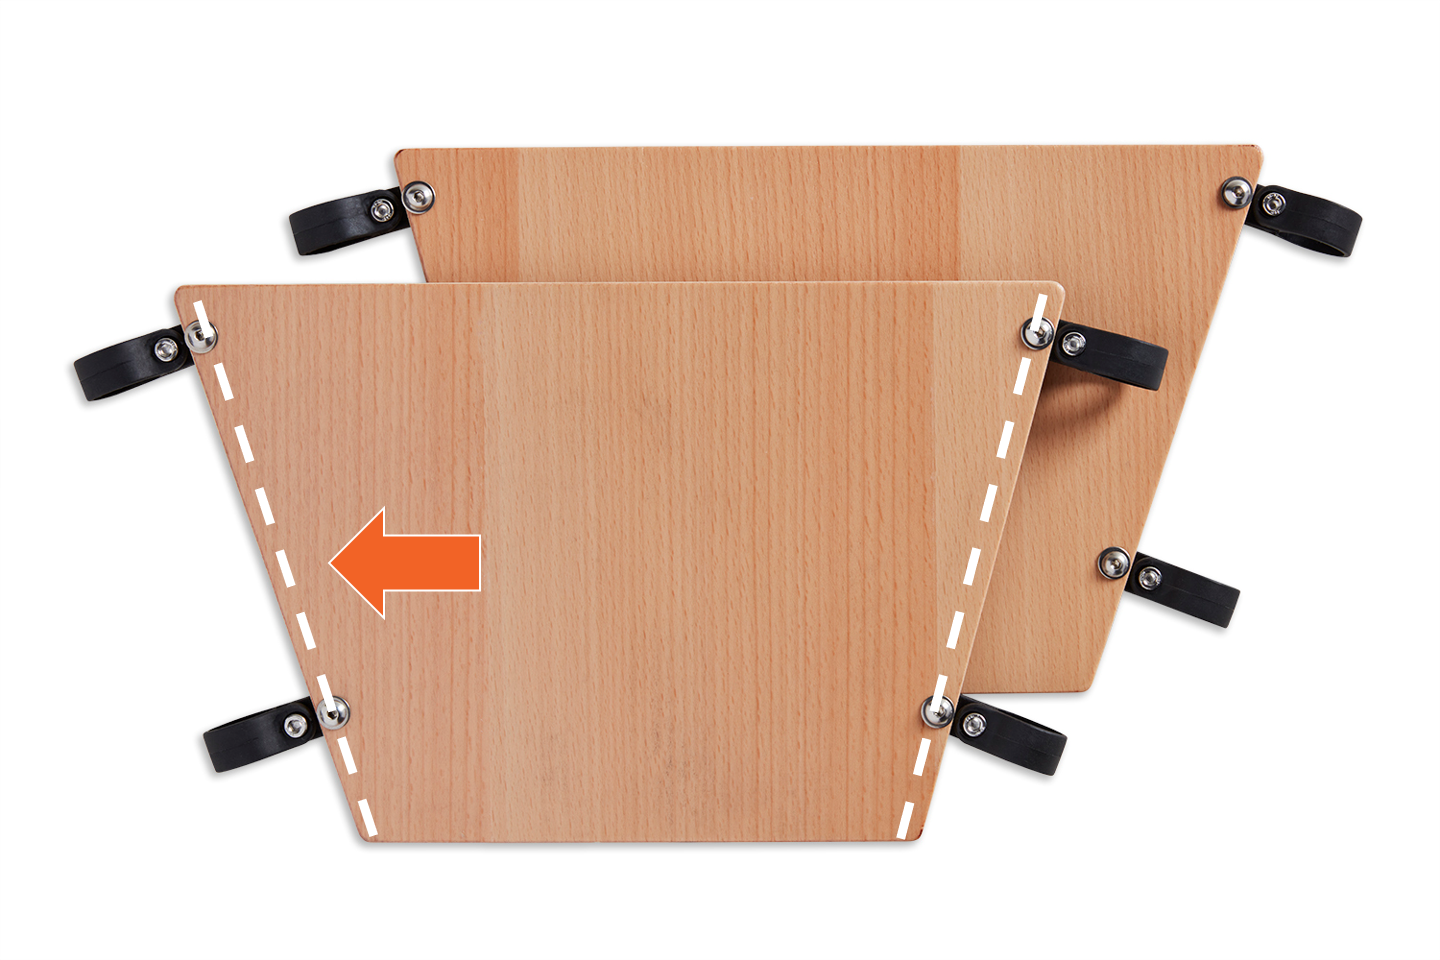
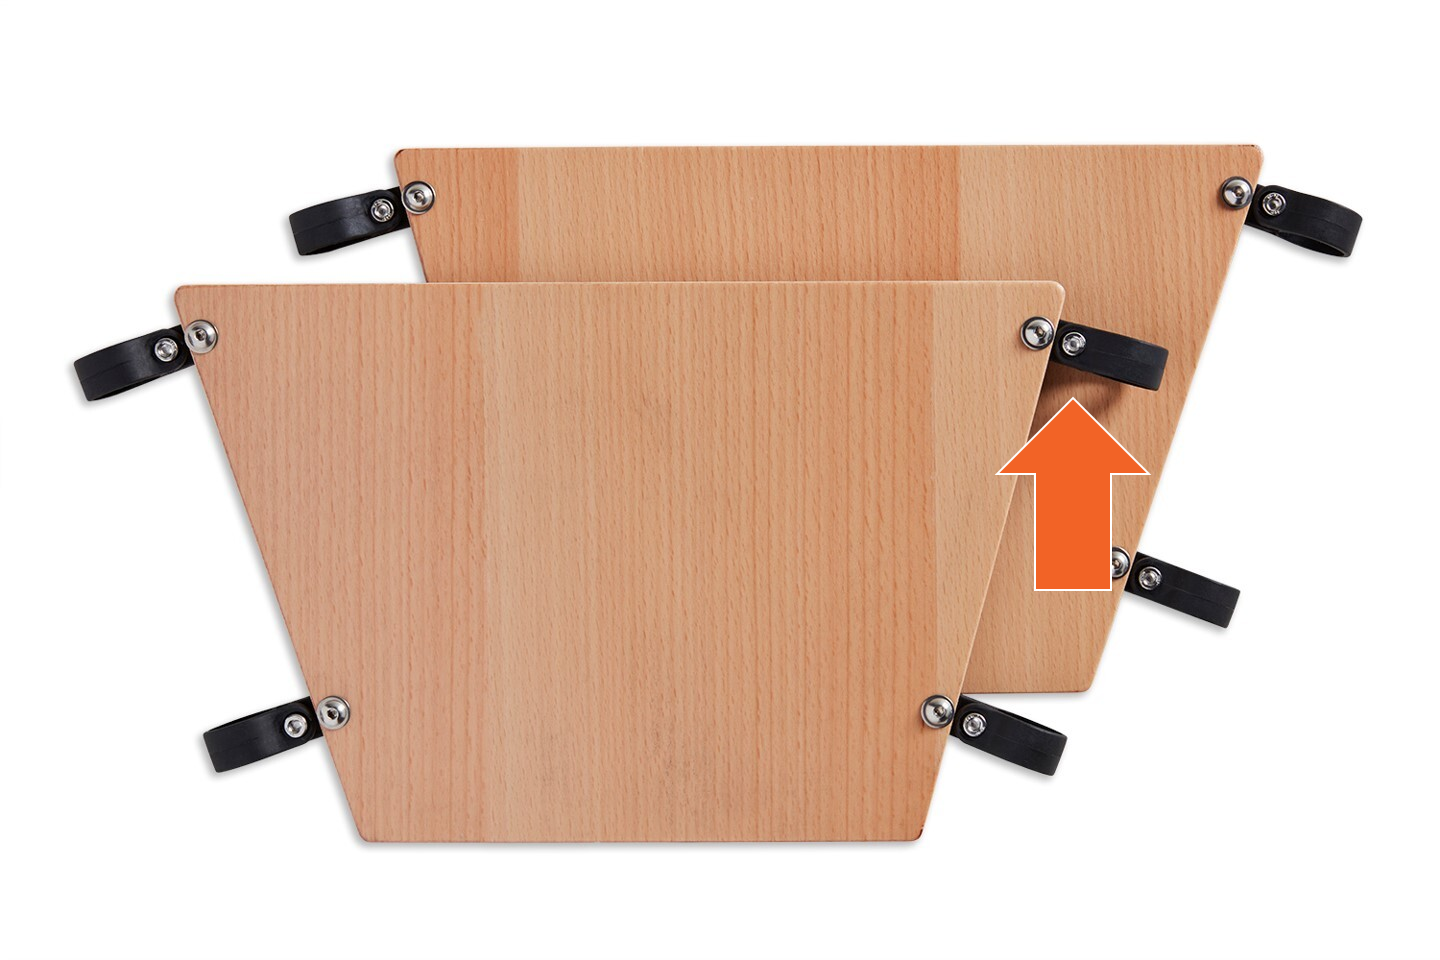
- Stand at the right side of the bike and hold one of the panels up to the rack where it will be installed. Identify the side of the panel that is angled more than the other side; the angled side will be installed toward the back of the bike. Tip: Hold the wood panel where it will be mounted on the rack. Flip the wood panel so the side that is angled more is pointing toward the back of the bike. You can also lay the panel on a flat surface to help make it easier to see which side is angled more than the other side.
- Secure the p-clamps to the wood panels.
- Remove the bolt from a p-clamp stem. Hold the backing nut in place on the back of the p-clamp stem (shown below) and use a 4 mm Allen wrench to remove the bolt and washer. Keep the washer on the bolt end.
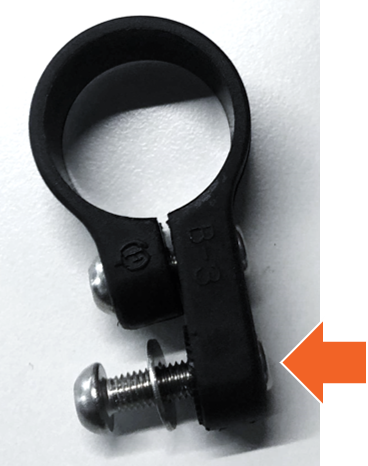
- Pass the bolt through a wood panel mounting point, then pass a p-clamp stem with the backing nut over the bolt end. Hold the backing nut in place and use a 4 mm Allen wrench to tighten the bolt securely. Do not overtighten.
- Repeat with the other 3 mounting holes on the panel.
- Repeat steps a-c on the other wood panel.
- Remove the bolt from a p-clamp stem. Hold the backing nut in place on the back of the p-clamp stem (shown below) and use a 4 mm Allen wrench to remove the bolt and washer. Keep the washer on the bolt end.
- Secure the wood panels to the rear rack.
- Place one wood panel in position on the right side of the rear rack. Ensure the side with more of an angle is closest to the back of the bike and that the p-clamps are facing away from the rack.
.png?revision=1)
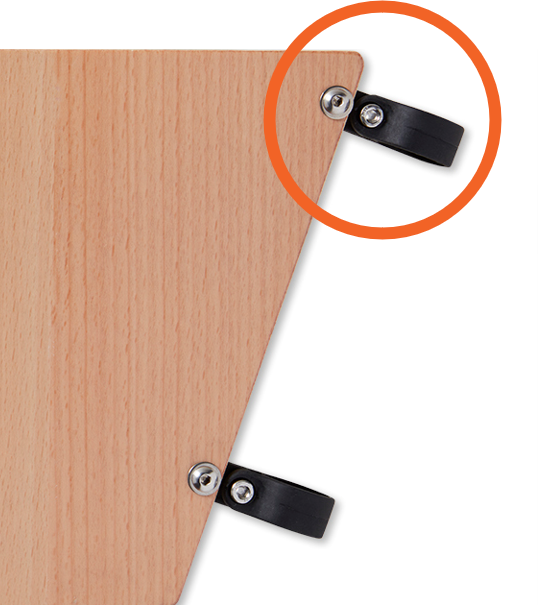
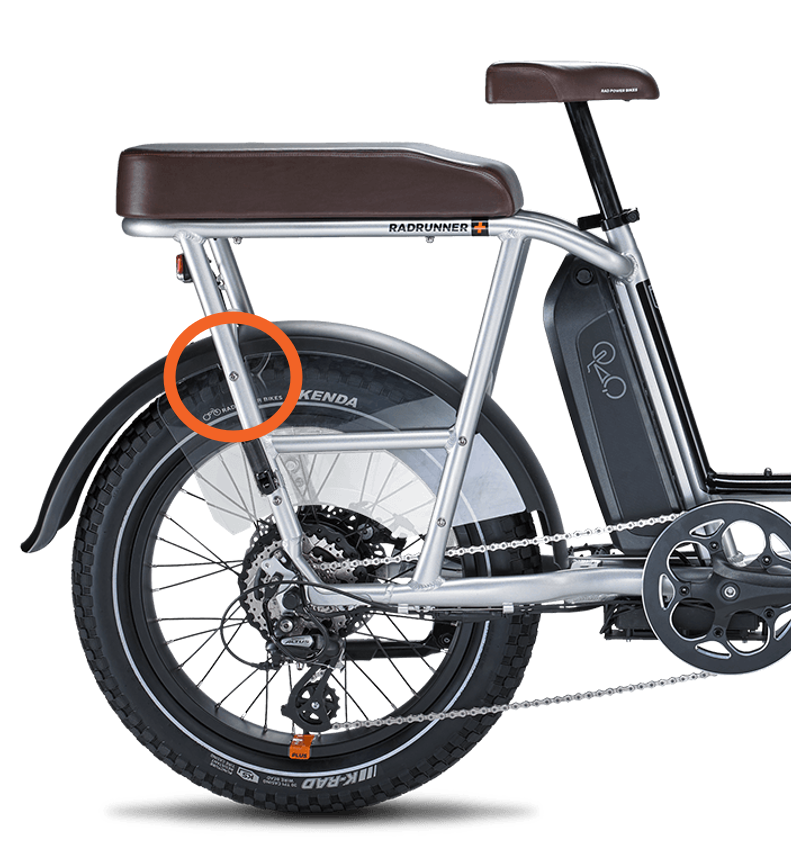
- Remove the bolt from the upper-right p-clamp (shown below). Hold the backing nut in place on the back of the p-clamp and use a 4 mm Allen wrench to remove the bolt. Carefully open the p-clamp and wrap it around the rack arm. Reinstall the bolt loosely for now.
- Repeat with the upper-left p-clamp, then repeat with the lower 2 p-clamps. If wheel skirts are installed, remove the wheel skirt bolts closest to the back of the bike, then wrap the p-clamp around the rack arm, and reinstall the wheel skirt bolts.
- Check that there is equal spacing around all sides of the panel and adjust the wood panel and p-clamps by hand, if needed.
- Use a 4 mm Allen wrench to tighten the 4 bolts securely. Do not overtighten.
- Repeat steps a-e with the other wood panel on the other side of the bike. Make sure the side with more of an angle is closest to the back of the bike.
.png?revision=1)
- Place one wood panel in position on the right side of the rear rack. Ensure the side with more of an angle is closest to the back of the bike and that the p-clamps are facing away from the rack.
- Check that the wood panels and wood deck do not touch any moving parts.
- Reinstall the battery, test the bike fully before riding, and ride Rad!
Read all warnings that came in your bike manual and those below before using this product.
Only one person—the rider—should be on the RadRunner or RadRunner Plus at a time when this accessory is installed. Transporting a passenger (any person in addition to the rider) when this accessory is installed can result in serious injury or death to either or both the rider and the passenger. This accessory is not designed for carrying passengers.
Do not exceed the rear rack weight limit listed in your owner's manual. Overloading any component can cause component failure, loss of control, serious injury, or death.
The kickstand is not designed to be used for loading cargo. Do not assume the bike is stable and balanced when using the kickstand. Always hold onto the bike when cargo is being loaded, in place, or attached to the bike.