Mechanical brake lever replacement guide
Follow this guide to replace a mechanical brake lever on your ebike in the unlikely event it becomes damaged or determined to be non-functional by Rad Power Bikes Product Support. Ebike brakes and components may wear out faster than would be the case for non-motorized bicycles, requiring more service.
This guide will show how to replace the right brake lever, which requires the removal of the throttle. If you are replacing the left brake lever, you do not need to remove the throttle.
NOTE: This guide only applies to mechanical brakes. For information about replacing hydraulic brake components, refer to this article.
Tools needed:
- Flat head screwdriver
- Isopropyl alcohol
- Paper towel
- Flat side cutters
- 3 mm Allen wrench
- 5 mm Allen wrench
- Torque wrench with 3 mm and 5 mm Allen bits
- A few zip ties
- The replacement brake lever from Rad Power Bikes
Remove the Handlebar Grip
- Get the bike ready for maintenance. Turn off the bike, remove the battery, and press and hold the MODE or Power button to discharge any remaining power.
- Remove the handlebar grip.
- Remove the end cap. Use a flat head screwdriver to remove the grip end cap.
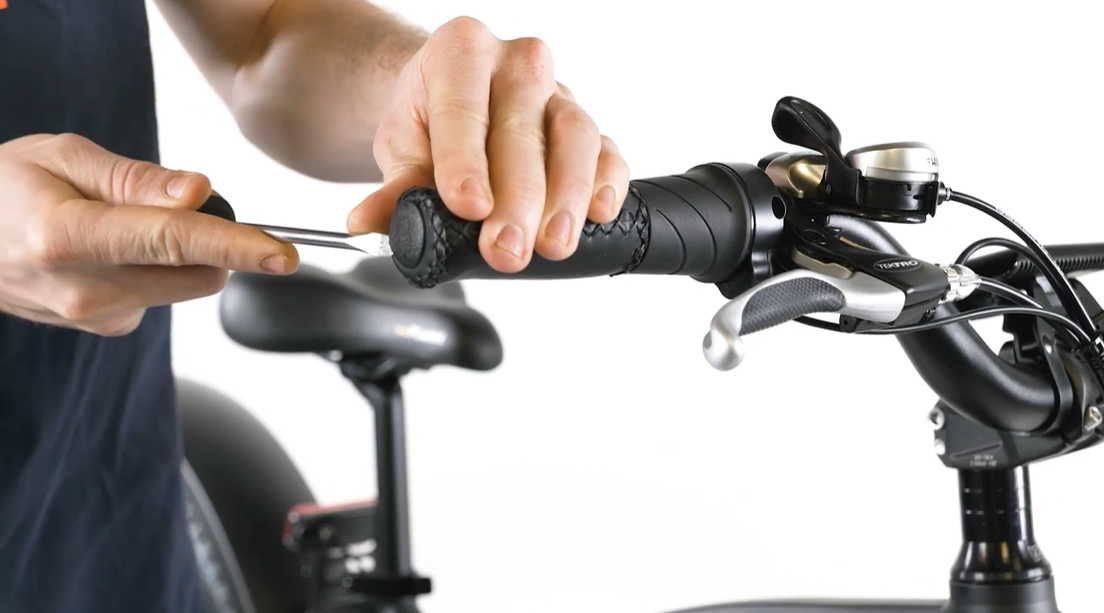
- Remove the grip. Twist and pull the grip off the handlebar end. If needed, apply a small amount of rubbing alcohol in between the grip and the handlebar as temporary lubrication: carefully insert the screwdriver between the handlebar tubing and the grip, pry the grip away from the handlebar slightly, then use a paper towel or squeeze bottle to apply the alcohol in the gap.
NOTE: Some ebikes (ex. RadTrike) may come with lock-on grips on the handlebar. In this case, you would need to use a 3 mm Allen wrench to remove the small screw holding the grip in place before removing the grip.
- Remove the end cap. Use a flat head screwdriver to remove the grip end cap.
- Remove the throttle (if replacing the right brake lever).
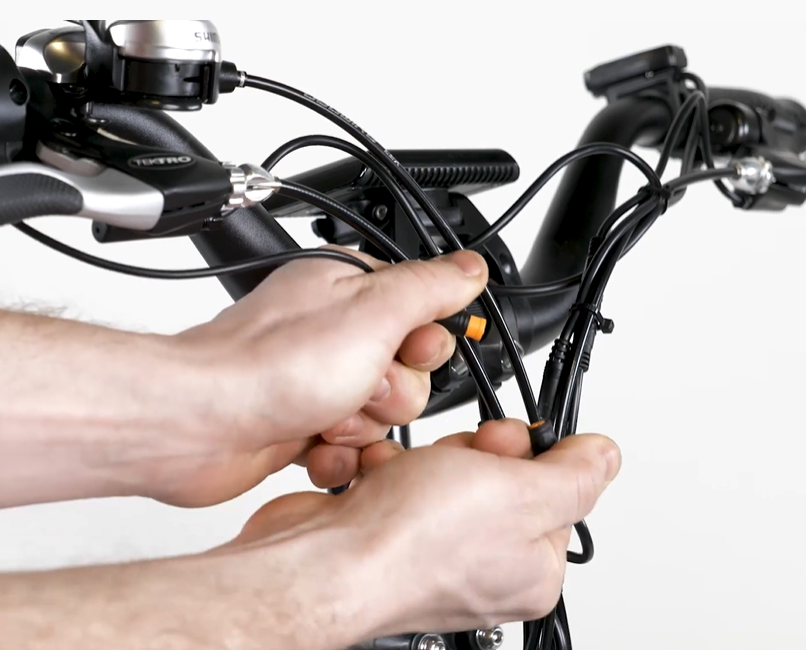
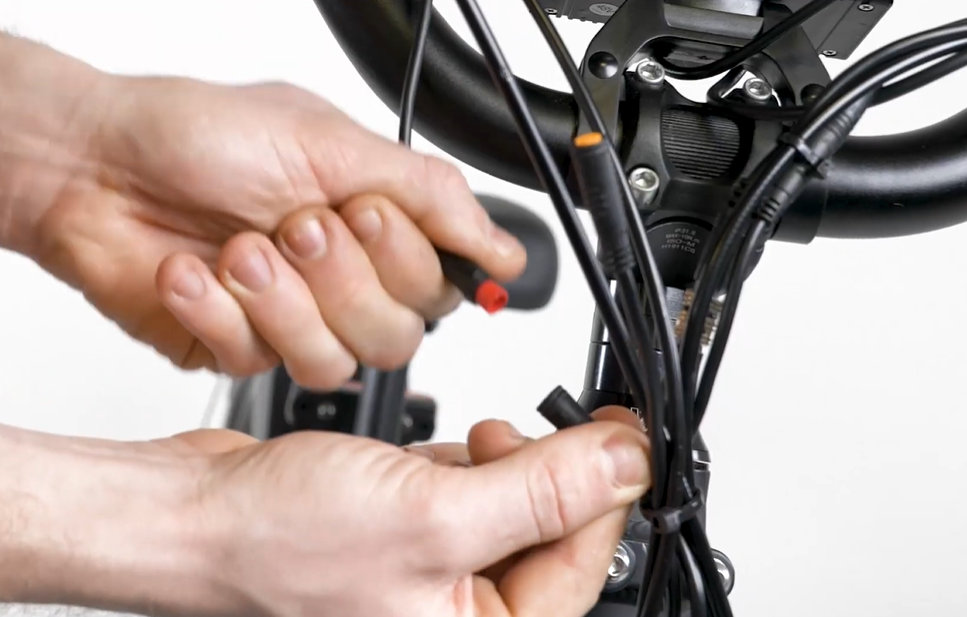
- Unplug the throttle connector. Trace the cable from the throttle to the connector. Snip the zip tie and pull the connector directly apart, without twisting, to unplug.
- Loosen the throttle clamp bolt. Use a 3 mm Allen wrench to loosen the throttle clamp bolt.
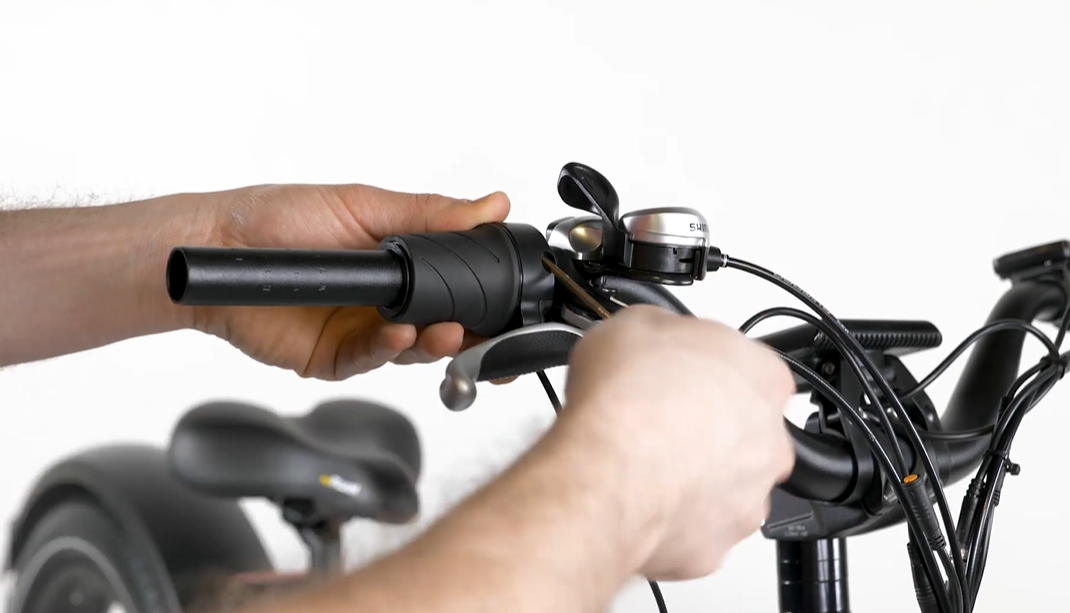
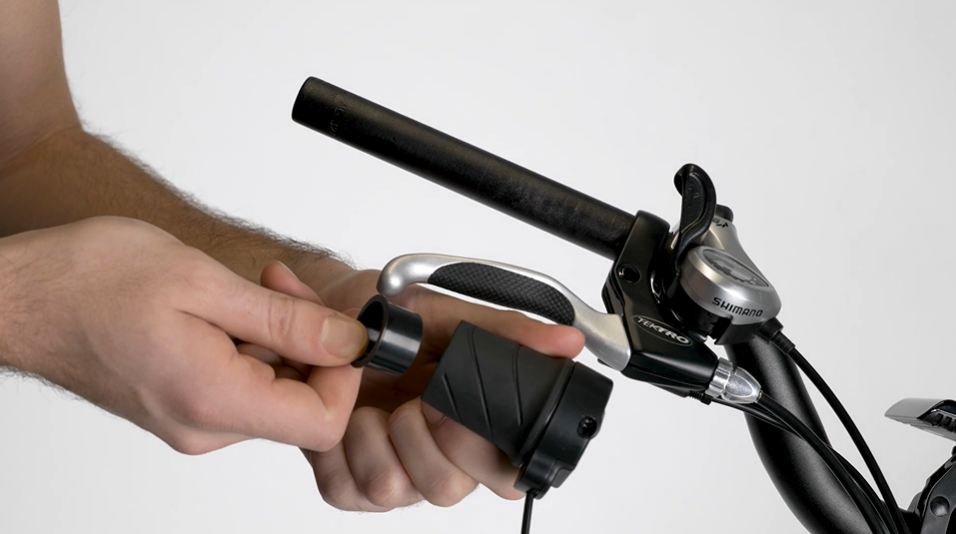
- Remove the spacer and then the throttle. Slide the spacer and throttle off the handlebar end, making note of the spacer orientation, which is critical for reinstallation.
- Unplug the throttle connector. Trace the cable from the throttle to the connector. Snip the zip tie and pull the connector directly apart, without twisting, to unplug.
Remove the Old Brake Lever
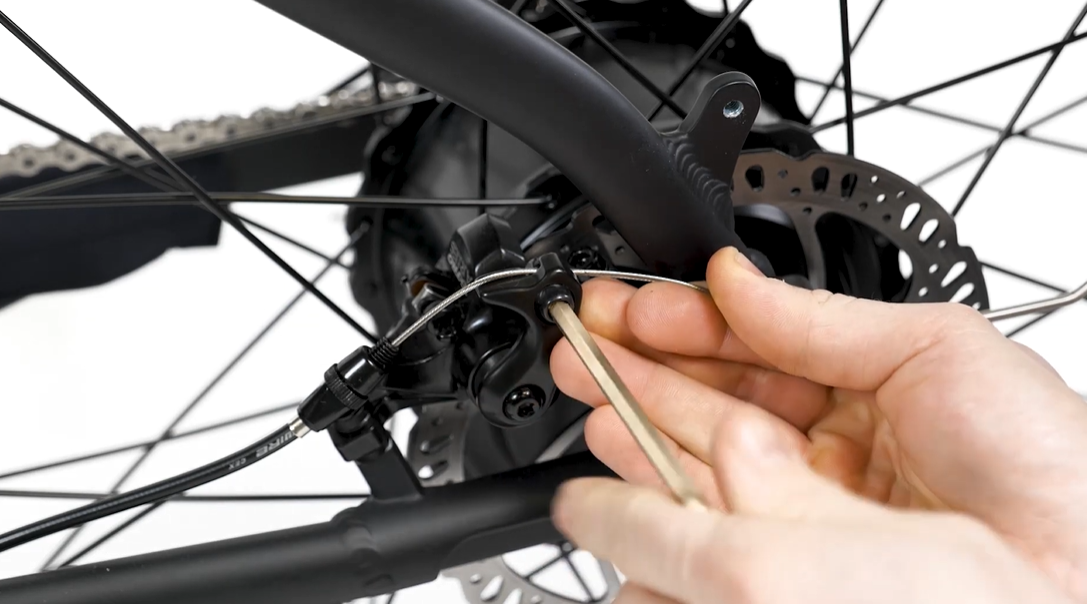
- Locate the brake caliper and add brake cable slack. The right lever connects to the rear caliper and the left lever connects to the front caliper. Use a 5 mm Allen wrench to loosen (but not remove) the cable pinch bolt one full turn.
- Align the barrel adjuster and lock nut slits at the brake lever. Twist the barrel adjuster and lock nut until the slits line up with the slot on the brake lever housing.
- Remove the brake cable from the lever. Pull the brake cable housing out of the brake lever. Squeeze the brake lever and lift the cable stop up and out of the brake housing.
- Unplug the brake connector. Trace the cable from the lever to the connector, then pull directly apart, without twisting, to unplug.
- Remove the old brake lever. Use a 5 mm Allen wrench to loosen the brake lever clamp bolt, then slide the lever off of the handlebar and recycle the part according to local rules.
Install the New Brake Lever
- Install the new brake lever. Slide the new brake lever onto the handlebar end and adjust it to be at the same angle as the other brake lever. Thread in the bolt by hand, then use a 5 mm Allen wrench to tighten the bolt. Torque to to the value listed in your Owner's Manual.

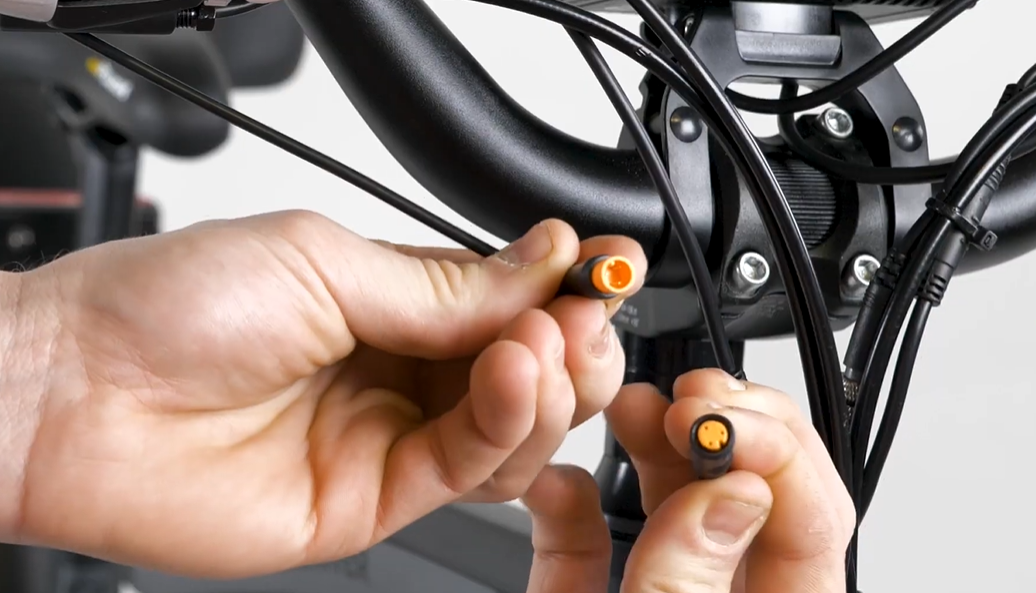
- Reconnect the brake connector. Line up the internal notches and pins (and external arrows) and press directly together, without twisting, to reconnect.
- Install the brake cable into the new lever.
- Line up the barrel adjuster, lock nut, and lever housing slits.
- Squeeze the brake lever to reveal the mounting point for the cable stop at the end of the lever. Place the cable stop into the mount and pass the cable through the slits at the front of the lever, lock nut, and barrel adjuster.
- Press the brake cable housing end into the barrel adjuster.
- Rotate the barrel adjuster and lock nut to secure the cable. Twist the lock nut away from the barrel adjuster until it is flush against the brake lever housing to secure it in place.
- Add tension to the brake cable. At the brake caliper, pull and hold the brake cable end and use a 5 mm Allen wrench to tighten the cable pinch bolt. Torque to the value listed in your Owner's Manual.
- Squeeze the brake lever a few times to fully seat the cable housing and test the brake cable adjustment. The lever reach must be comfortable for your hand size, but not so tight that there is no space between the lever and handlebar grip. If the brake lever is too close to the grip when squeezed, refer to the Mechanical Brake Adjustment Guide article for adjustment instructions.
- Reinstall the throttle if it was removed.
- Slide the throttle and then the spacer onto the handlebar. The spacer must be properly installed between the throttle and the handlebar grip for the bike to operate safely. Use a 3 mm Allen wrench to tighten the throttle clamp bolt. Torque to to the value listed in your Owner's Manual.
- Plug in the throttle connector. Line up the internal notches and pins (and external arrows) and press directly together, without twisting, to connect.
- Slide the throttle and then the spacer onto the handlebar. The spacer must be properly installed between the throttle and the handlebar grip for the bike to operate safely. Use a 3 mm Allen wrench to tighten the throttle clamp bolt. Torque to to the value listed in your Owner's Manual.
- Reinstall the handlebar grip. Orient the grip so the narrower end points toward the center of the bike. Apply a small amount of isopropyl alcohol to the handlebar. Twist the grip into place and reinstall the end cap. Once the alcohol dries, the grip must not move easily.
NOTE: If your ebike handlebar has lock-on grips, you will need to use a 3 mm Allen wrench to secure the grip in place.
- Replace snipped zip ties. Secure the cables with zip ties and trim them to be flush and smooth.
- Reinstall the battery and test the bike fully before riding.