RadRover handlebar stem replacement guide
This article will show you how to replace the handlebar stem on your RadRover 5 and RadRover Step-Thru 1.
Watch the video and follow the steps below.
Tools needed:
- 3 mm and 5 mm Allen wrenches
- A torque wrench
- Flat side cutters
- A few zip ties
- A small amount of assembly grease
- A replacement handlebar stem from Rad Power Bikes
- Get the bike ready for maintenance. Turn off the bike, remove the battery, and press and hold MODE to discharge remaining power.
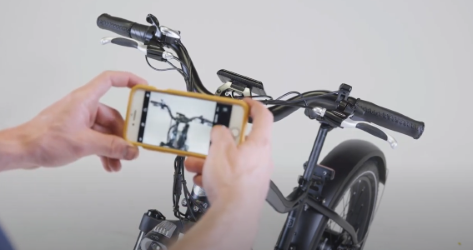
- Take a photo of the handlebar alignment and brake lever angle to help with reinstallation.
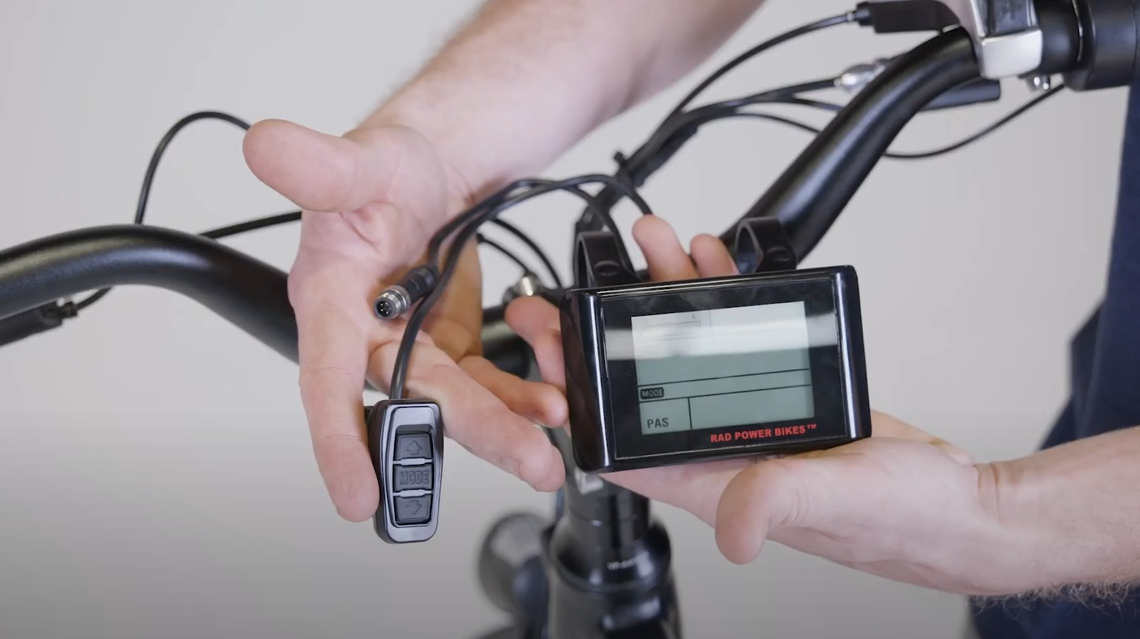
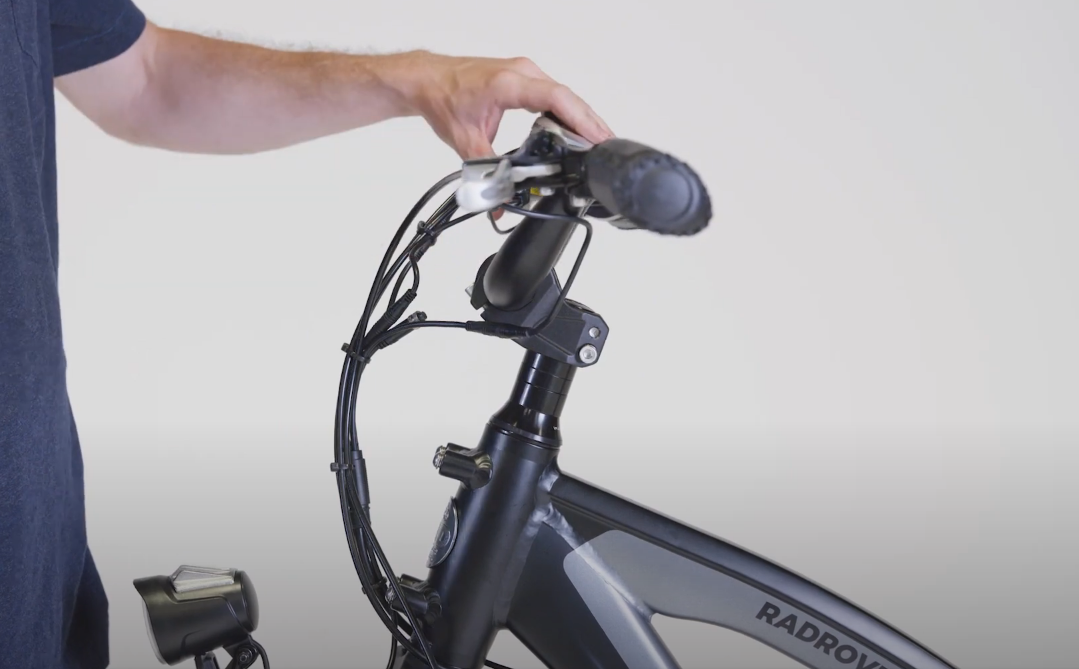
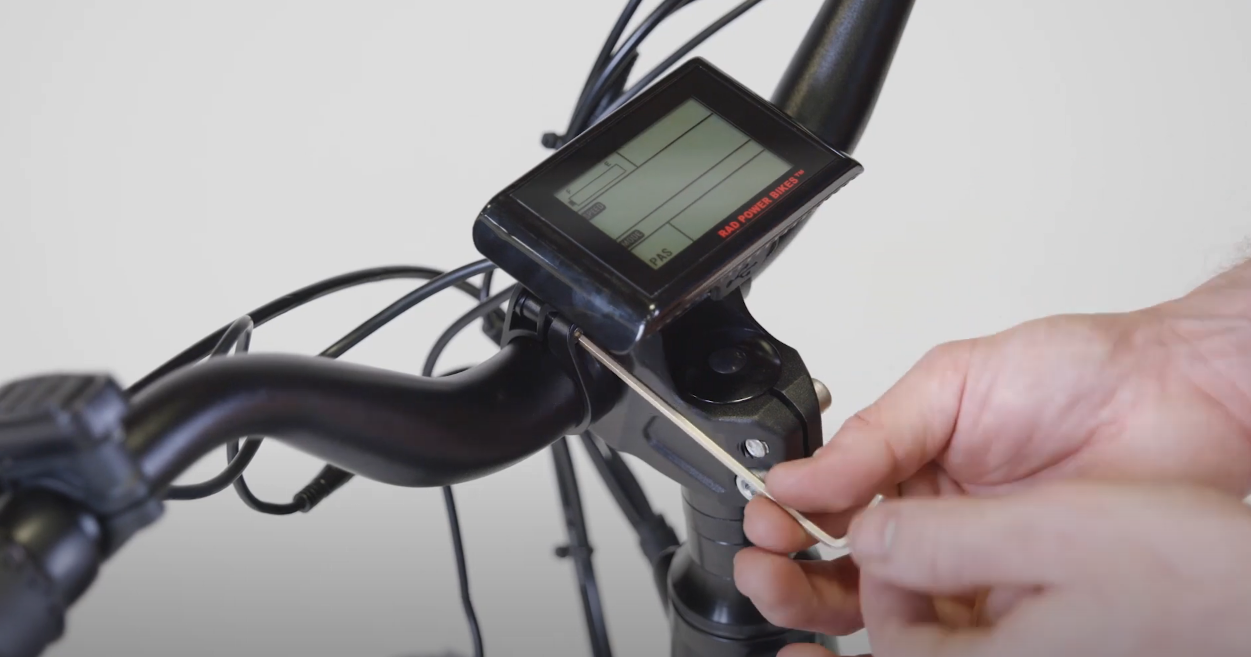
- Remove the LCD display and remote to access the stem faceplate bolts.
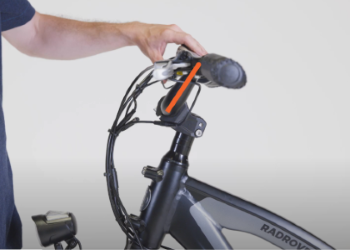
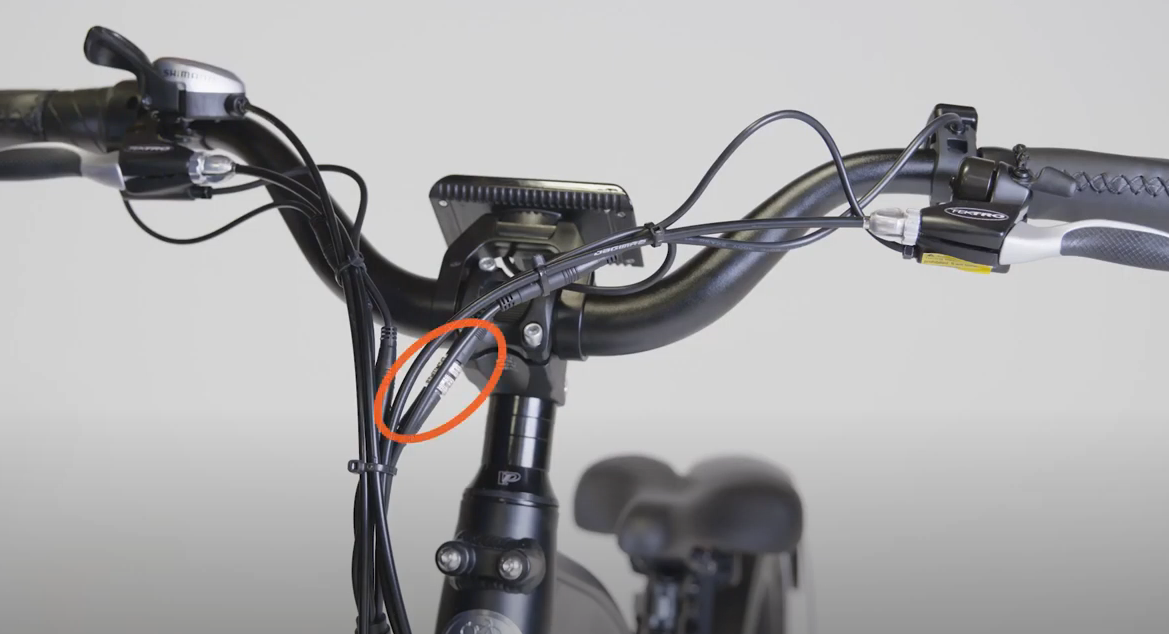
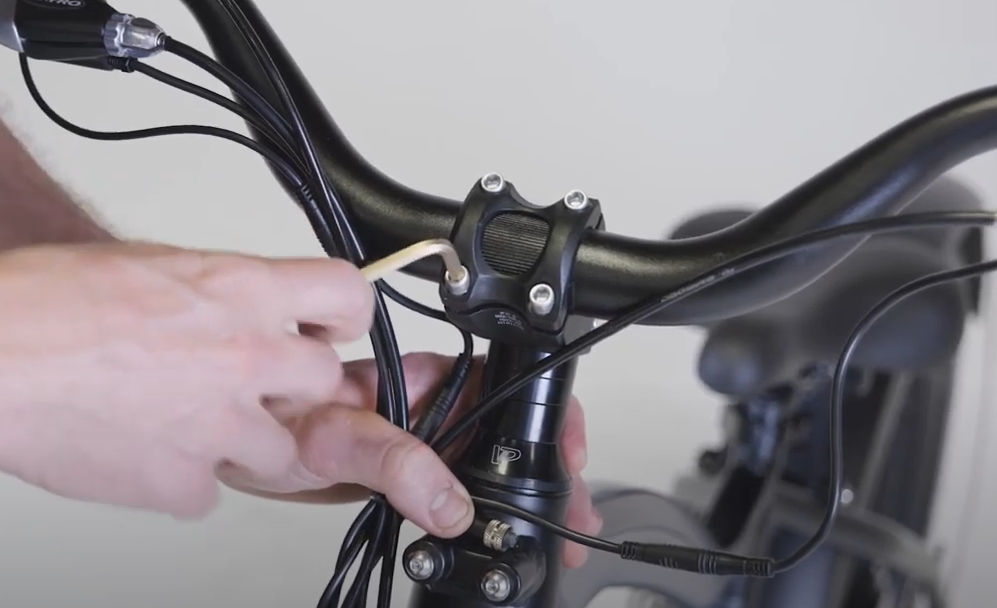
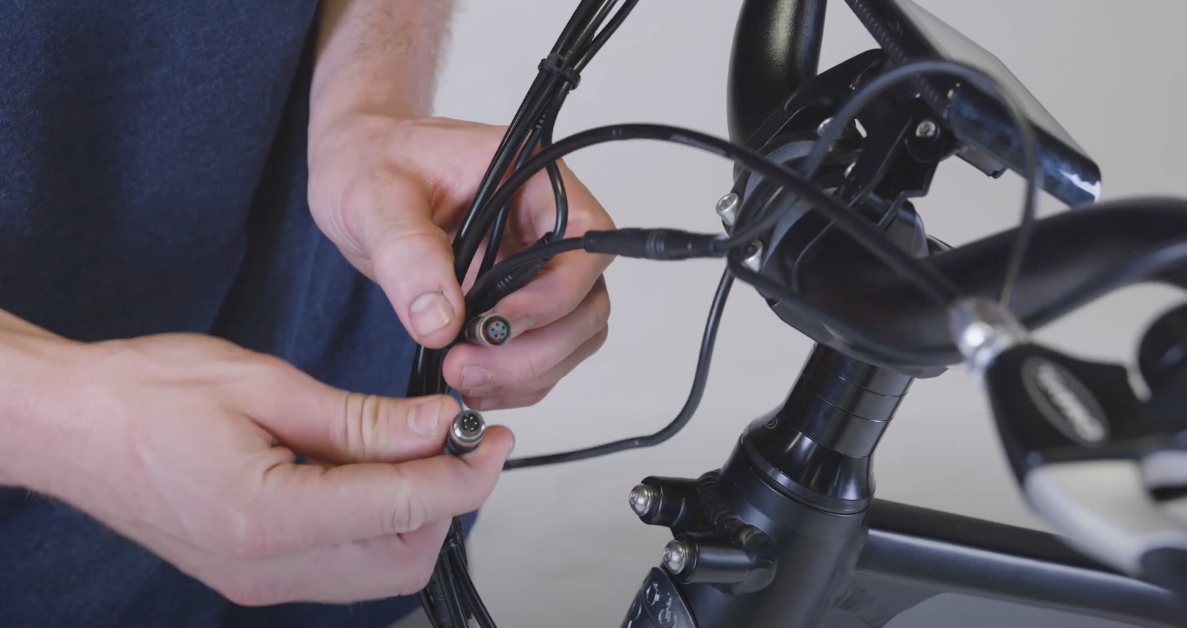
- Locate the display connector and snip a zip tie if needed. Unplug the display connector by untwisting the metal portion fully and then pulling directly apart.
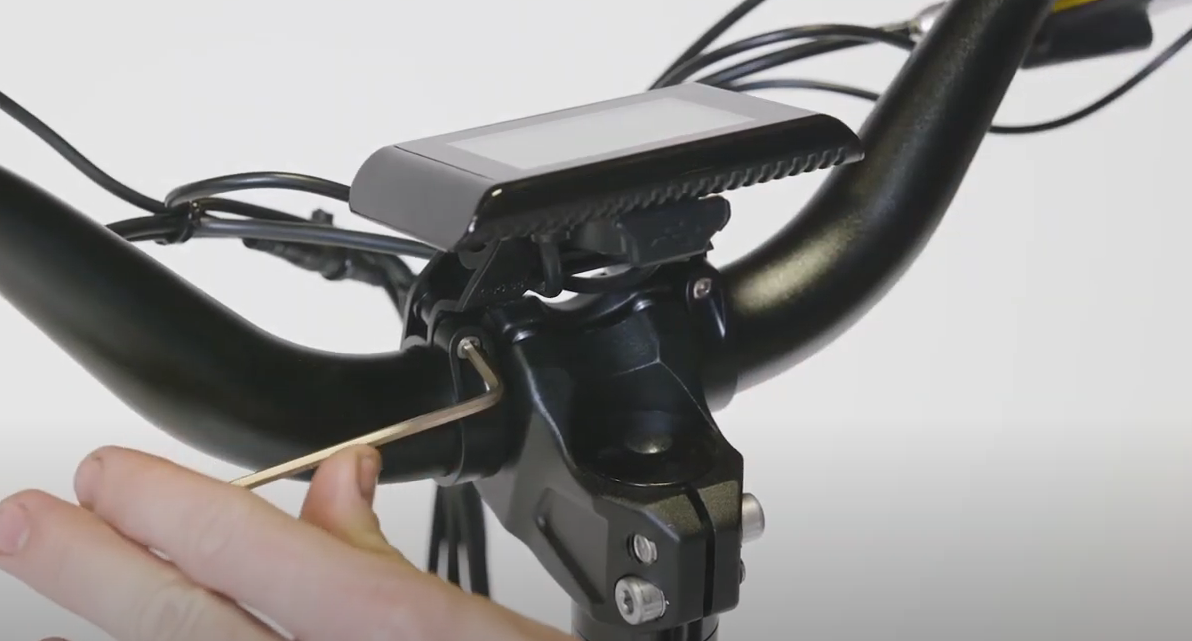
- Use a 3 mm Allen wrench to remove the display clamp bolts and the remote clamp bolt. Set these bolts aside for reinstallation.
- Remove the display and remote clamps from the handlebar and set aside for reinstallation.
- Locate the display connector and snip a zip tie if needed. Unplug the display connector by untwisting the metal portion fully and then pulling directly apart.
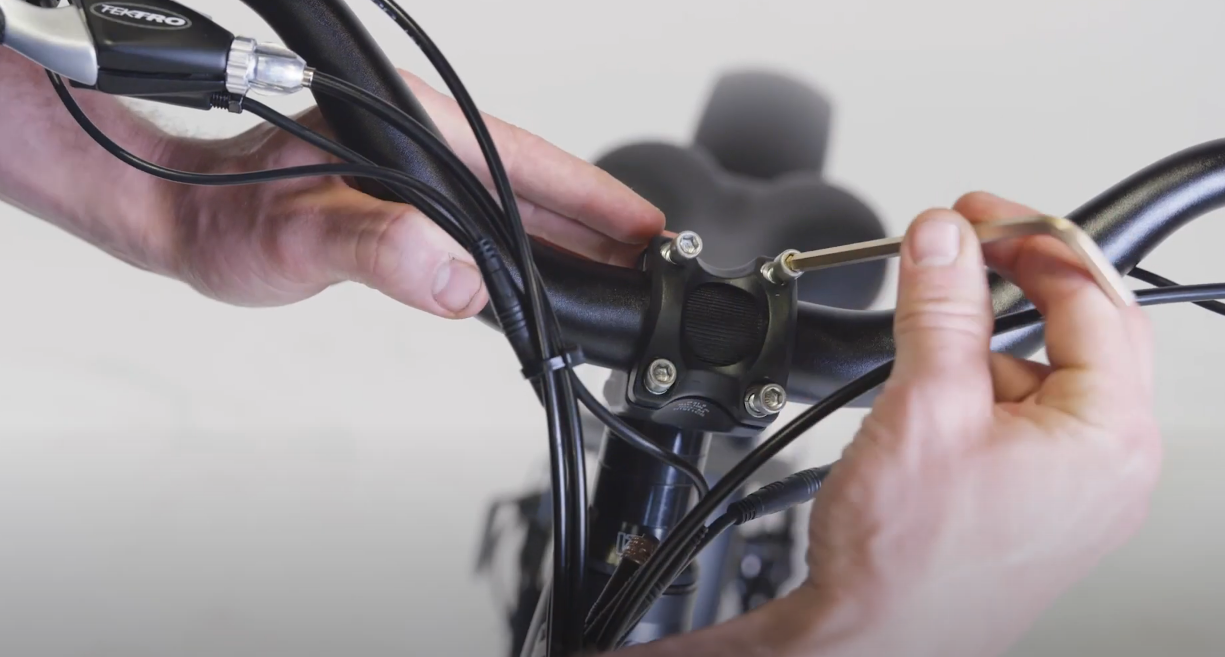
- Use a 5 mm Allen wrench to remove the four bolts from the handlebar stem faceplate. Loosen each bolt evenly about one half turn at a time and alternate between bolts, moving in an X pattern. Remove the bolts, split washers, and the faceplate. Recycle or dispose of the faceplate and bolts according to local rules.
- Carefully set the handlebar on the ground.
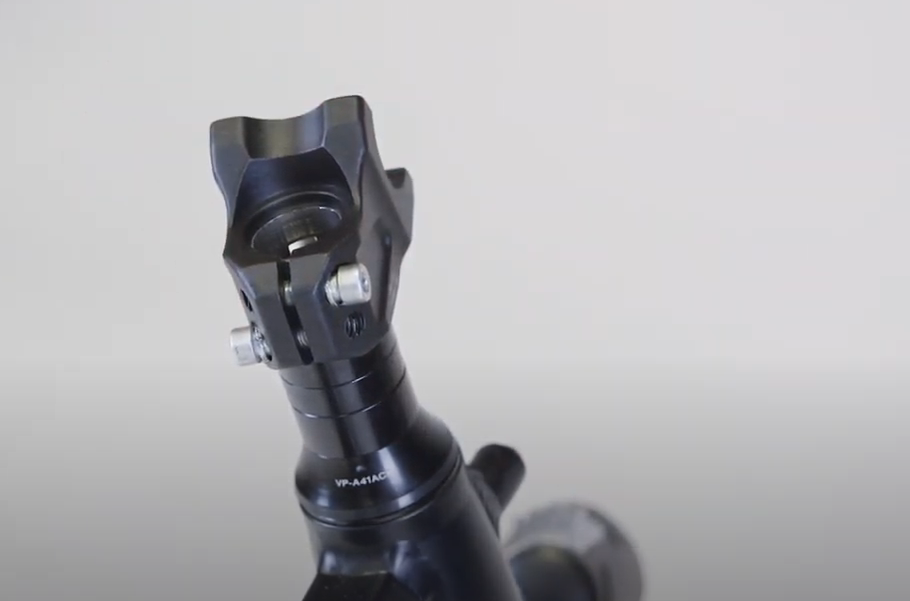
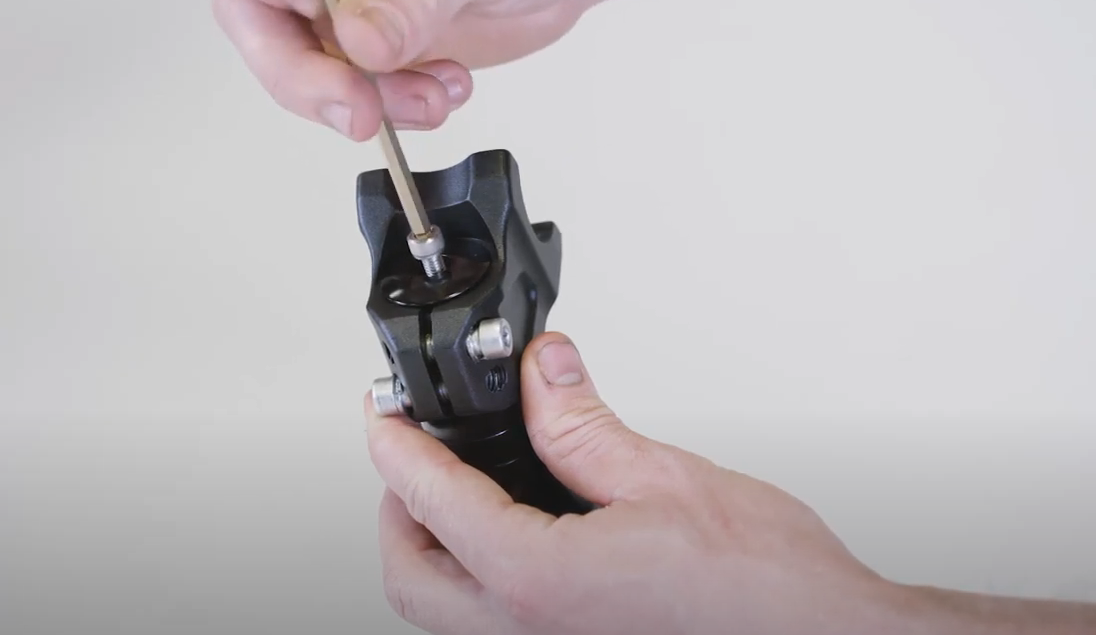
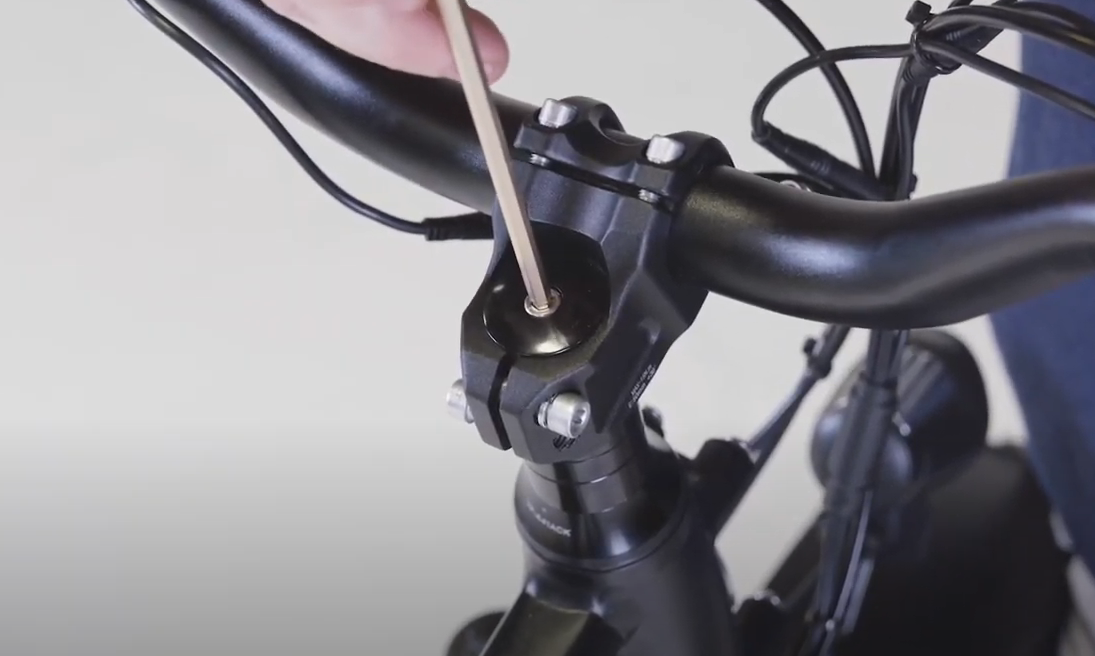
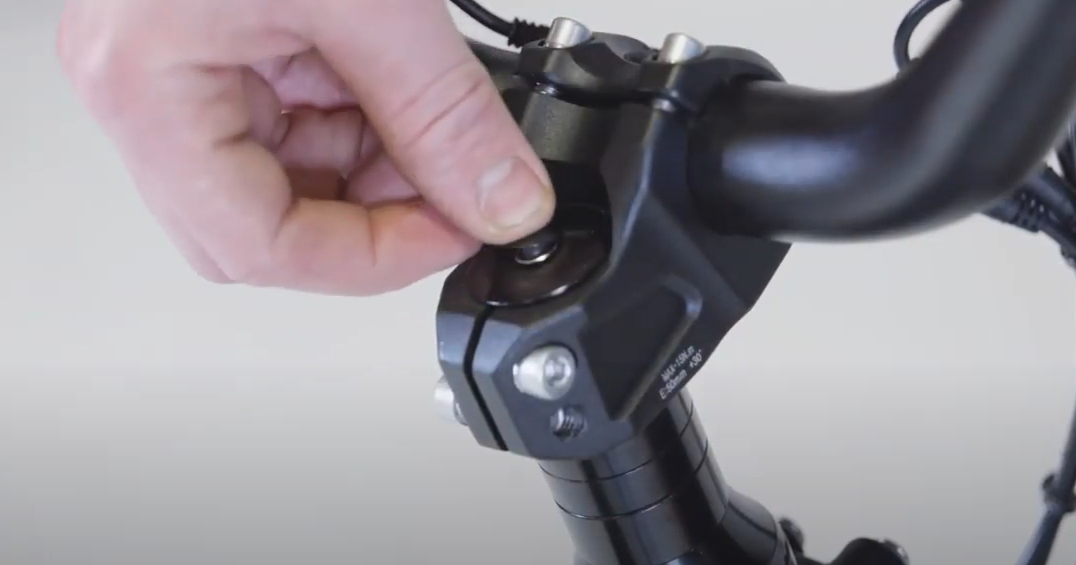
- Remove the top cap bolt cover, bolt, and top cap. Carefully remove the top cap bolt cover on the stem. Use a 5 mm Allen wrench to remove the bolt, and remove the top cap. Set them aside for reinstallation.
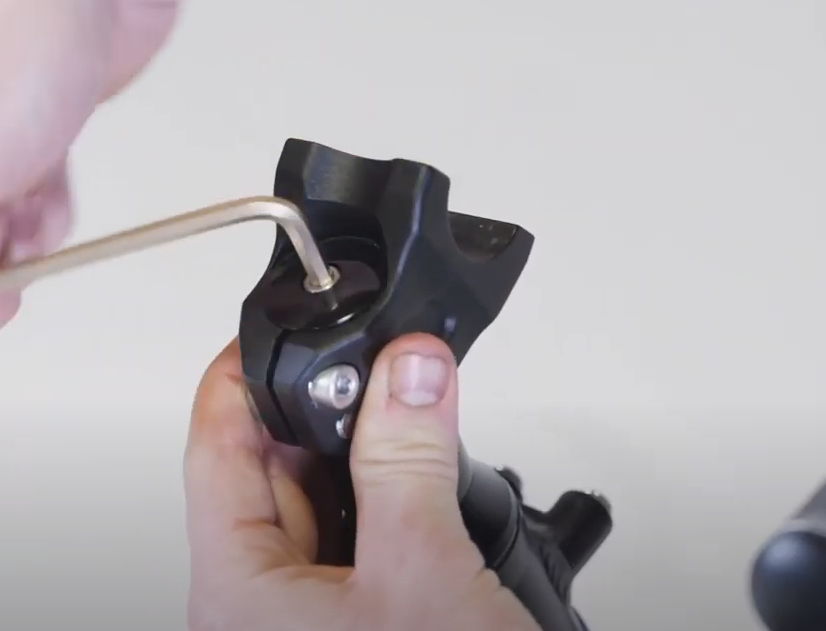
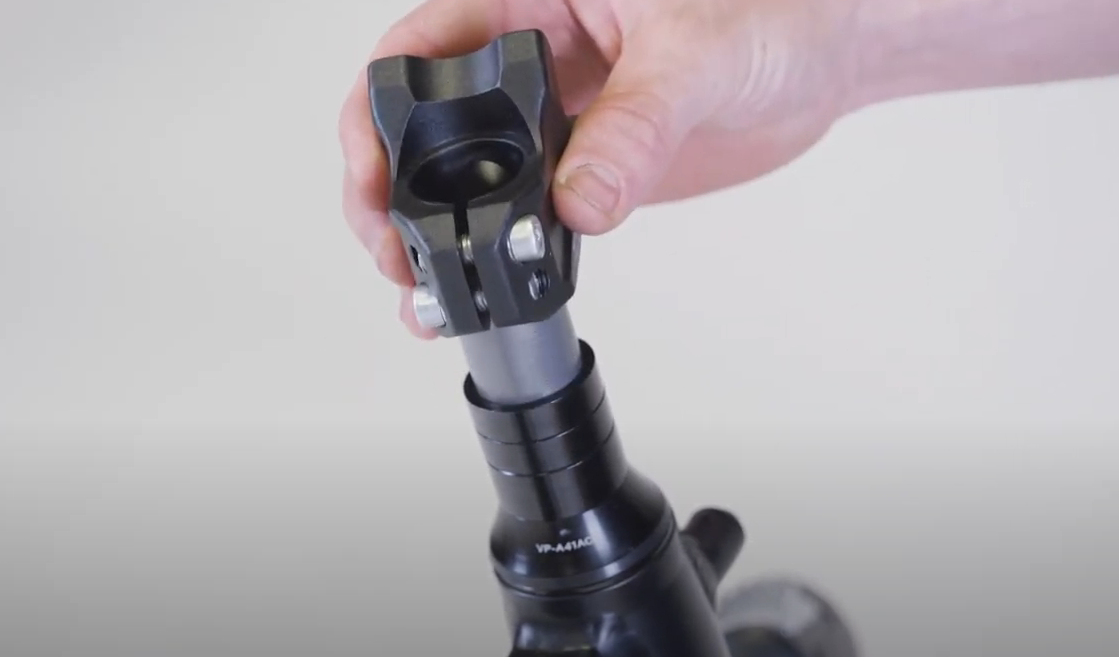
- Use a 5 mm Allen wrench to loosen or remove the stem clamp bolts and lift the stem off of the steerer tube. Recycle or dispose of the old stem according to local rules.
Continue to the next section to install the new stem.
- Place the new stem into position onto the steerer tube. Loosen the pre-installed stem clamp bolts if needed.
- Install the top cap and top cap bolt and use a 5 mm Allen wrench to tighten partway until you feel some resistance.
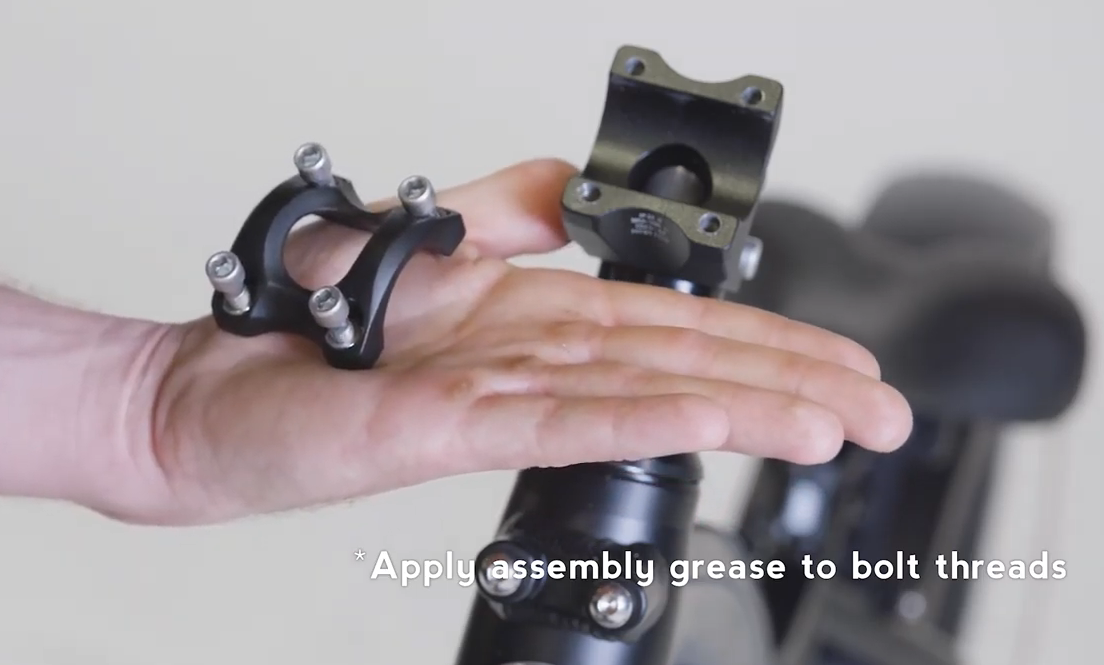
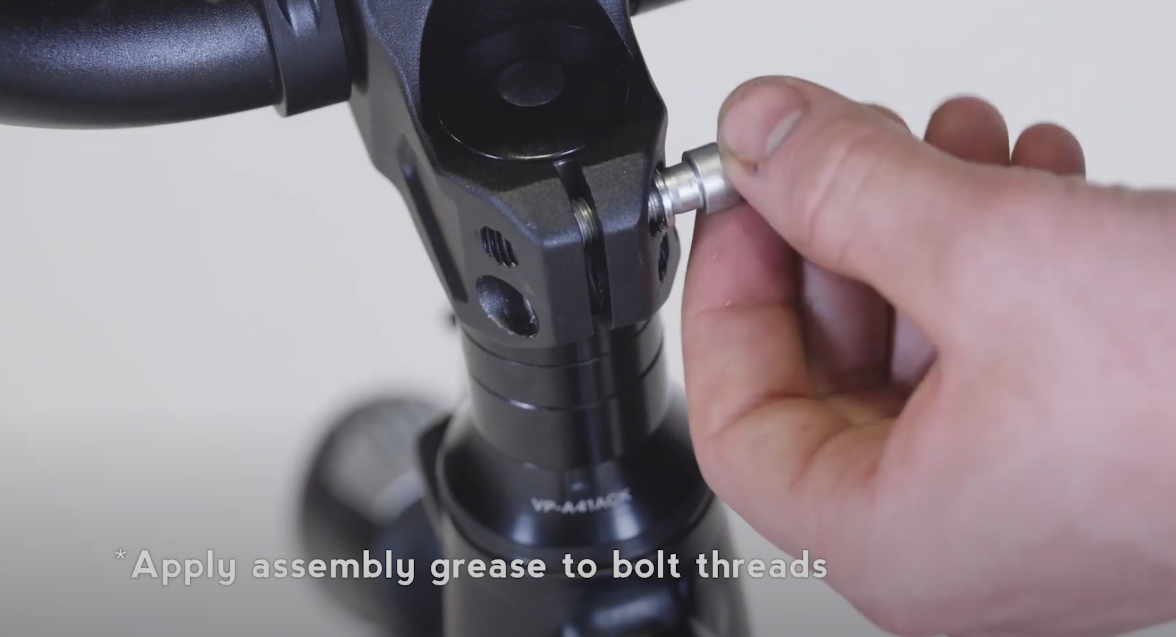
- Locate the handlebar stem faceplate and hardware. Ensure a split washer is on the end of each of the four bolts, apply a small amount of assembly grease to the bolt threads, and place them and the faceplate near the handlebar stem.
- Place the handlebar into position on the stem. Trace the front brake cable directly upward from the front brake caliper to the left handlebar, and ensure the cables and wires are not twisted.
- Center and secure the handlebar and place the stem faceplate on the handlebar and stem. Tighten the four stem faceplate bolts evenly and partway.
- Adjust the handlebar, matching the grip and brake lever alignment to your photo from earlier.
- Tighten the stem faceplate bolts evenly, tightening each bolt one quarter turn and alternating bolts in an X pattern, until all four bolts are torqued to 10 Nm.
- Center and secure the handlebar and place the stem faceplate on the handlebar and stem. Tighten the four stem faceplate bolts evenly and partway.
- Tighten the top cap bolt one quarter turn at a time and then test for ideal tightness. It must be tight enough that there is no forward or backward play inside the headset, and loose enough that the handlebar and wheel can turn freely. Repeat the process of tightening one quarter turn and testing until ideal tightness is achieved.
- Check if the headset needs to be adjusted.
- Check if the headset is too loose. Place one hand over the spot where the top of the front fork meets the bike's headtube. At the same time, use your other hand to squeeze the left brake lever, and gently rock the bike front to back.
If you feel a knocking sensation under your hand or hear a "clunking" or rattling sound, the headset is likely too loose.
- Check if the headset is too tight. Hold onto the top tube and lift the front wheel off the ground slightly. Without holding the handlebar, carefully tilt the bike slightly to one side and check if the front wheel "flops," or easily and quickly turns to the side.
If the front wheel will not flop to the side, the headset is likely too tight.
- Check if the headset is too loose. Place one hand over the spot where the top of the front fork meets the bike's headtube. At the same time, use your other hand to squeeze the left brake lever, and gently rock the bike front to back.
- Adjust the headset tightness, if needed. Repeat the process of tightening one quarter turn and testing until ideal tightness is achieved.
Do not overtighten the headset. Overtightening the headset can damage the headset bearings.
- Reinstall the top cap bolt cover.
- Align and secure the handlebar stem.
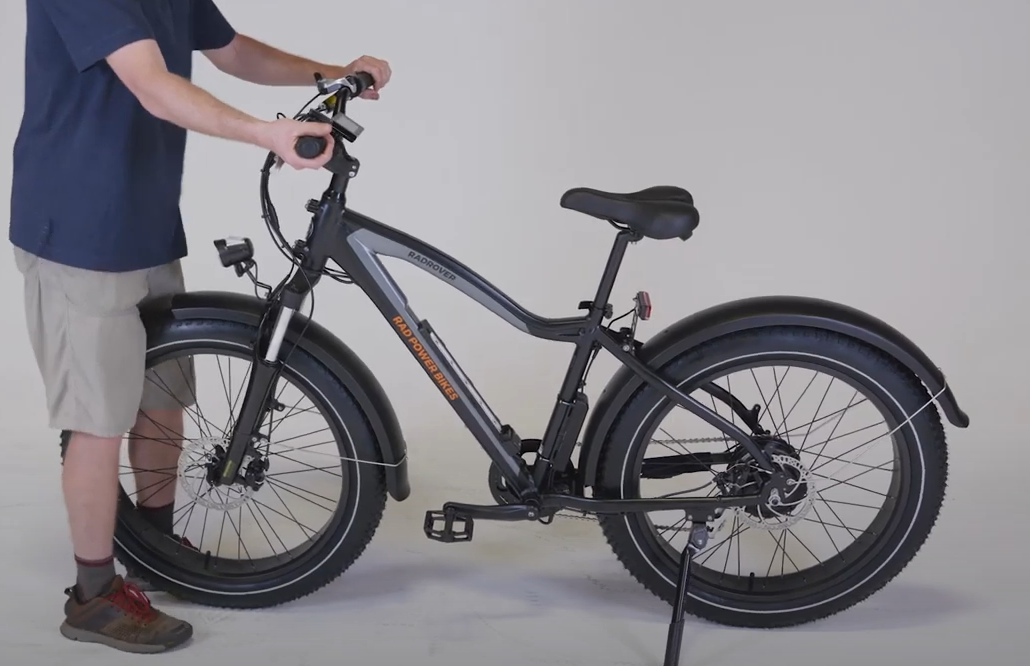
- Stand at the front of the bike and brace the front wheel between your feet and lower legs.
.PNG?revision=1)
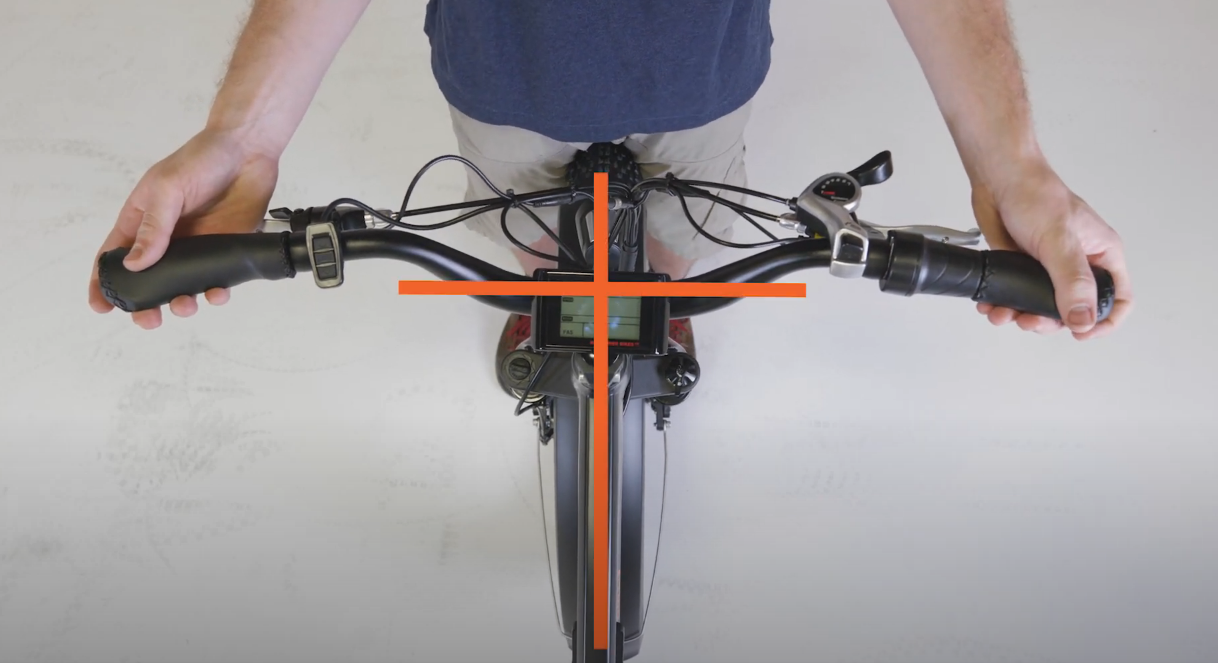
- Adjust the front wheel so it points directly forward and is in line with the frame. Rotate the handlebar and stem independently of the wheel so the handlebar is centered and perpendicular to the wheel direction. To ensure proper alignment, use the center of the wheel and front fork as a reference point.
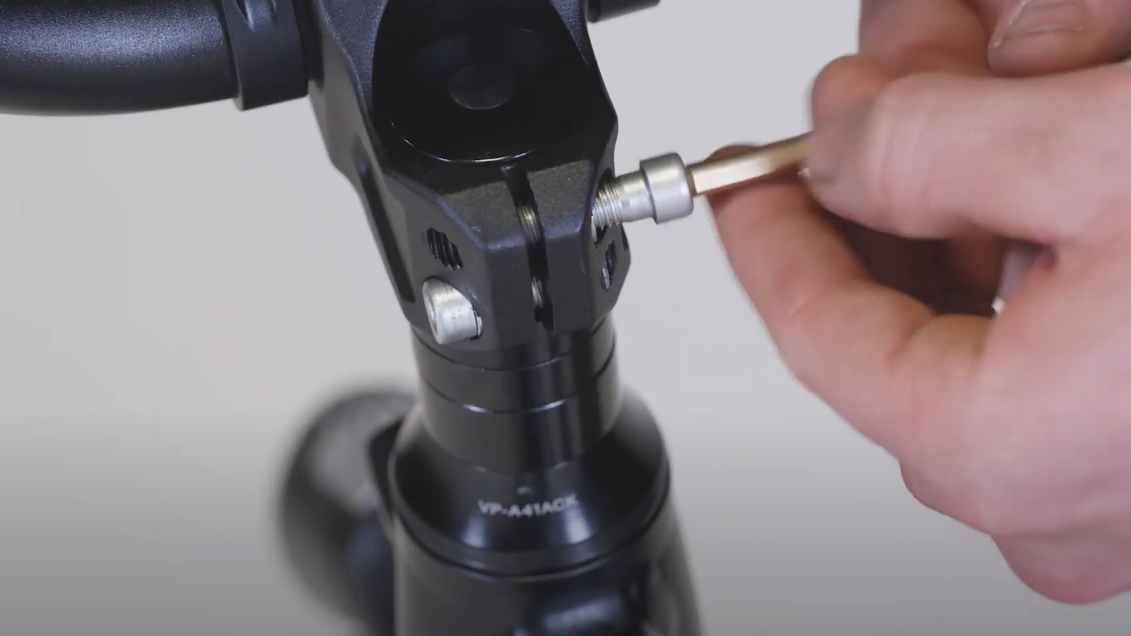
- Apply a small amount of assembly grease to the stem clamp bolt threads.
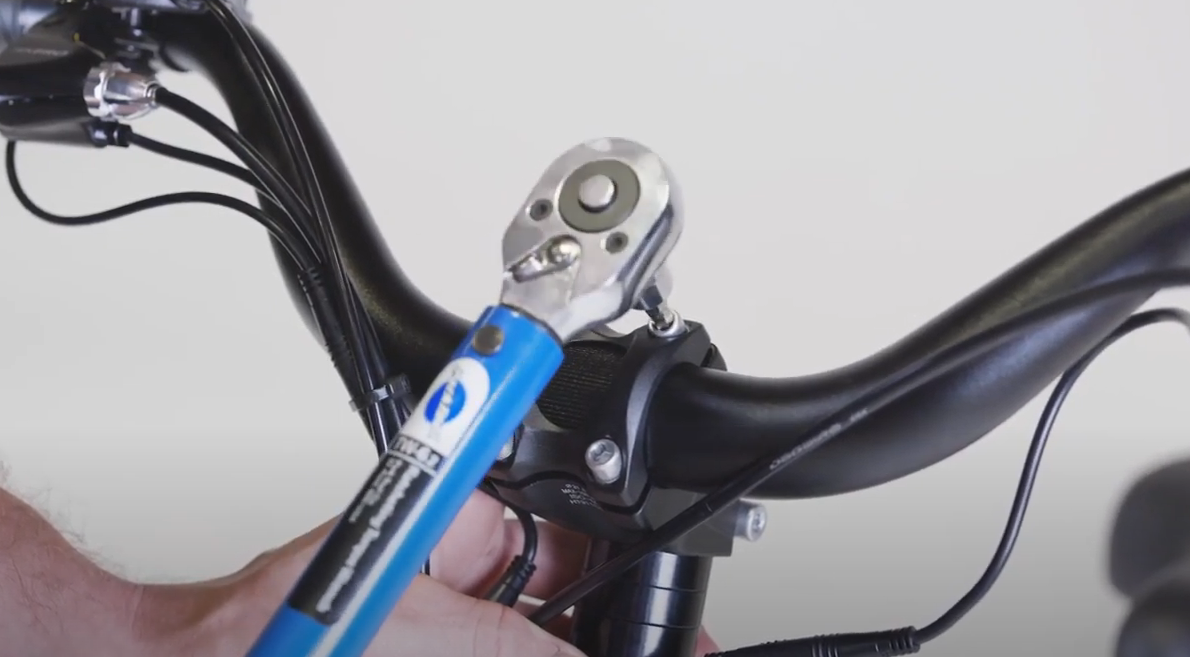
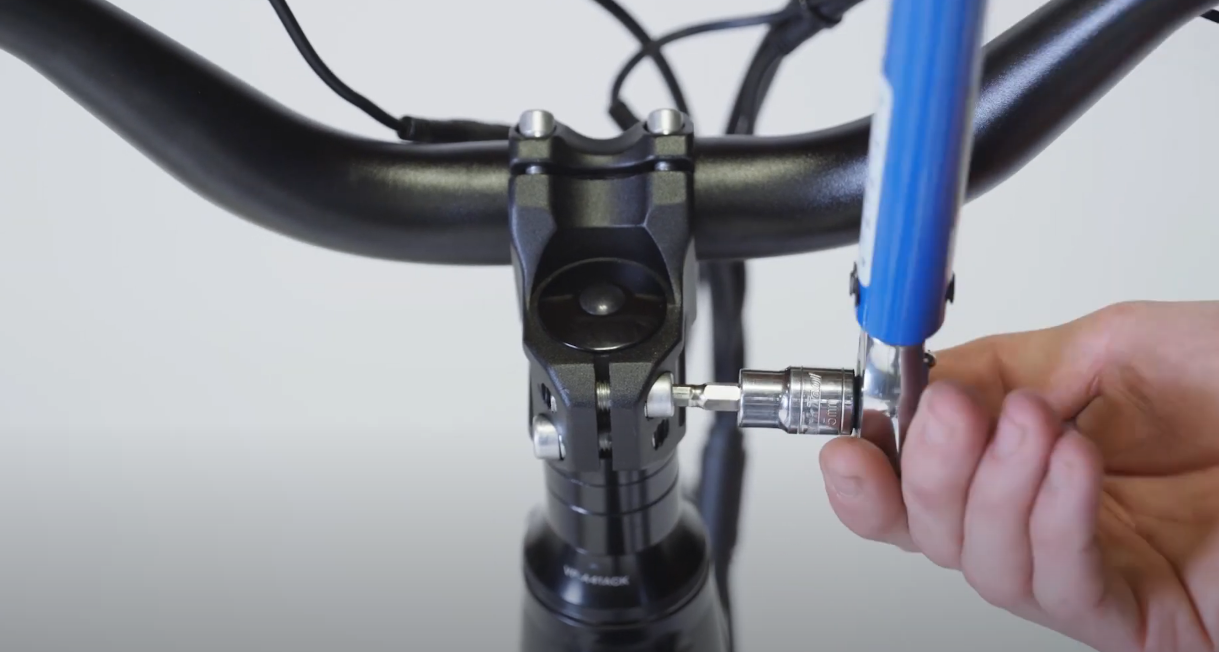
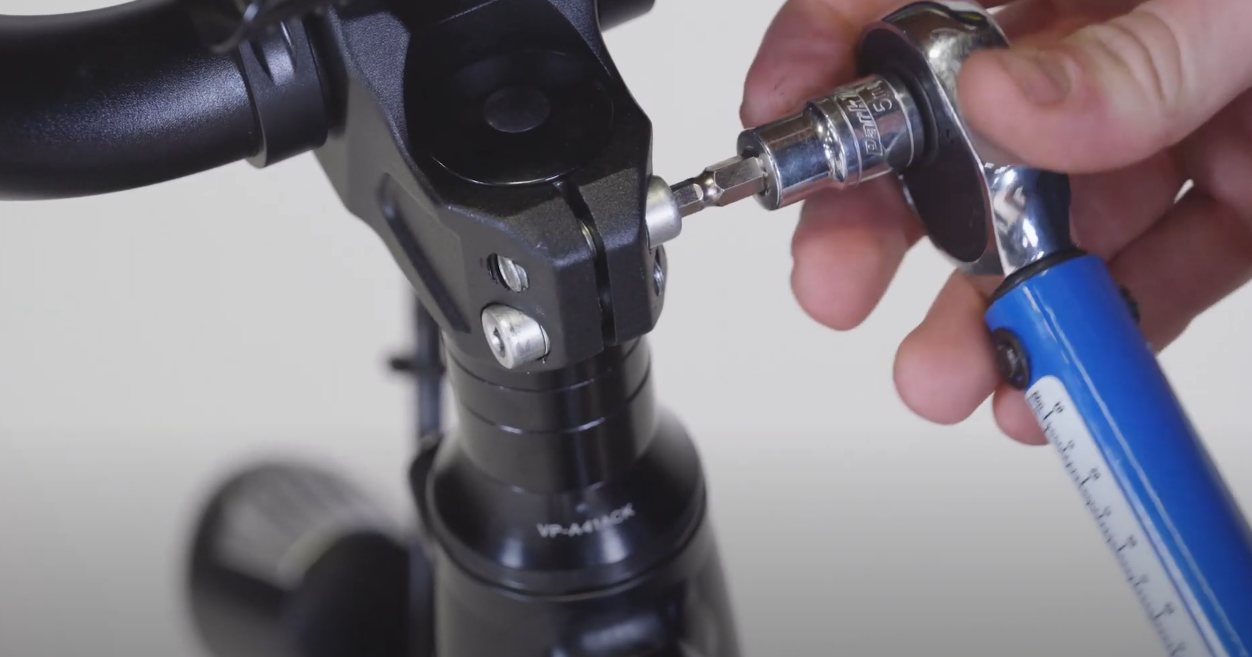
- Install the stem clamp bolts and tighten partway until the bolts touch the other side of the clamp and you feel some resistance. Then use a torque wrench to tighten the bolts evenly by turning one quarter turn and then switching bolts. Repeat, tightening one bolt one quarter turn then alternating to the other bolt, until both bolts are torqued evenly to 15 Nm.
- Check two more times that the bolts are properly torqued to 15 Nm. Once the torque wrench indicates that both bolts are properly secured, recheck that each bolt is properly secured two more times. Start at the top bolt, torque to 15 Nm, then switch to the bottom bolt, and torque to 15 Nm. Repeat once more to verify the torque of each bolt.

- Stand at the front of the bike and brace the front wheel between your feet and lower legs.
- Reinstall the display and remote by passing the clamps over the handlebar. Install the bolts and use a 3 mm Allen wrench to tighten the bolts partway. Adjust the display and remote so they are easily visible to the rider and the remote buttons will be easy to press while riding. Tighten the bolts securely. Do not over tighten.
- Plug in the display connector. Align the internal notch and pins and press the ends directly together, without twisting, to reconnect. Then twist the metal portion fully to tighten securely.
- Replace any snipped zip ties and trim them to be flush and smooth.
Follow the steps in the next section to perform a twist test to ensure there is no excess movement in the stem.
- Perform a twist test to check the security of the handlebar stem to the steering mechanism (the steerer tube).
- Stand at the front of the bike and brace the front wheel between your feet and lower legs.
- Hold both handlebar grips and push forward with one hand while pulling back with the other hand. Push and pull with about 20 pounds of force with each hand.
- Repeat the twist test with the opposite hand pushing and pulling with about 20 pounds of force applied. Ensure the handlebar and front wheel are still properly aligned.
- Observe any movement or changes in the alignment of the stem.
- Stand at the front of the bike and brace the front wheel between your feet and lower legs.
- If the stem twists out of alignment, follow the instructions below to properly torque both bolts.
- Loosen and remove the stem clamp bolts. Loosen the bolts one half turn at a time, starting with the top bolt and alternating between bolts, until you can remove each of them. Ensure there is a small amount of assembly grease on the bolt threads. Keep the bolts nearby for reinstallation.
- Align the stem so the handlebar is perpendicular to the front wheel.
- Install the stem clamp bolts and tighten partway until the bolts touch the other side of the clamp and you feel some resistance. Then use a torque wrench to tighten the bolts evenly by turning one quarter turn and then switching bolts. Repeat, tightening one bolt one quarter turn then alternating to the other bolt, until both bolts are torqued evenly to 15 Nm.
- Check two more times that the bolts are properly torqued to 15 Nm. Once the torque wrench indicates that both bolts are properly secured, recheck that each bolt is properly secured two more times. Start at the top bolt, torque to 15 Nm, then switch to the bottom bolt, and torque to 15 Nm. Repeat once more to verify the torque of each bolt.
- Perform a twist test again. If the handlebar and stem can rotate out of alignment with the front wheel, discontinue bike use and contact Rad Power Bikes Product Support for more assistance.
- If you pass the twist test, meaning there was no movement in the stem, the new stem has been successfully installed.
- Loosen and remove the stem clamp bolts. Loosen the bolts one half turn at a time, starting with the top bolt and alternating between bolts, until you can remove each of them. Ensure there is a small amount of assembly grease on the bolt threads. Keep the bolts nearby for reinstallation.
- Reinstall the battery, test the bike fully, and have your work inspected by a certified, reputable bike mechanic.
On any bike, bolts and other hardware can vibrate loose during shipping and over time with normal use. Check your bike components and hardware are tightened securely and/or to required torque specifications before each ride and have your bike regularly serviced by a certified, reputable bike mechanic.
LOOSE OR IMPROPERLY TORQUED HARDWARE CAN CAUSE LOSS OF CONTROL, ACCIDENTS, SERIOUS INJURY, OR DEATH. Check that all hardware is securely tightened to the required torque values before each ride.